
Not sure which color combination looks better? There’s just one color that doesn’t fit in and you want to change it but have no clue which option? I totally understand, it has been a struggle for every graphic designer, especially when you first started.
Lucky you, today Adobe Illustrator has made its tools and features more user-friendly than for example ten years ago when I was a graphic design student.
Instead of changing colors one by one like I had to, now you can change the colors much easier thanks to the Recolor feature in Adobe Illustrator. Well, I have to say that the Eyedropper Tool has always been really helpful as well.
If you’re a hardcore free spirit designer, maybe creating original color swatches with the color picker is a better option for you.
Anyways, today you’ll learn four different ways to change the color of objects in Adobe Illustrator using these awesome features along with some useful tips.
Without further ado, let’s dive in!
Table of Contents
4 Ways to Change the Color of an Object in Adobe Illustrator
Note: Screenshots are taken from Illustrator CC Mac version. Windows or other versions might look slightly different.
Whether you are working on different versions of artwork, or simply want to change a specific color of an object, you’ll find a way.
Method 1: Recolor Artwork
How convenient! If you haven’t tried the Recolor Artwork feature of Adobe Illustrator, you should. This is the best method you can use if you want to change the whole color scheme of an object.
Step 1: Select the objects you want to change colors. Hold down the Shift key to select multiple objects, or if you want to select all objects hit Command + A.

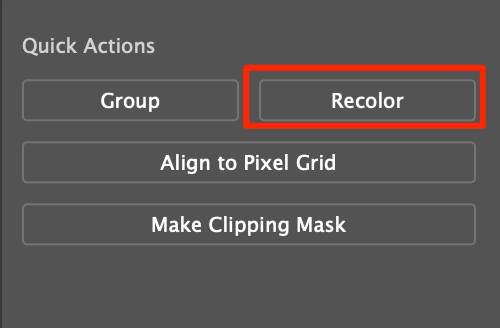
When your object is selected, you’ll see a Recolor button on the Properties panel.
Step 2: Click on the Recolor button.
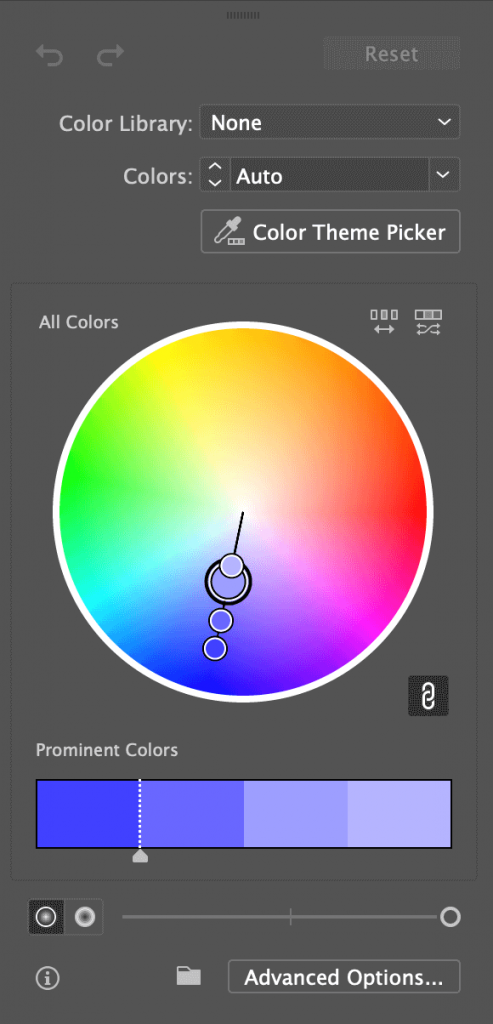
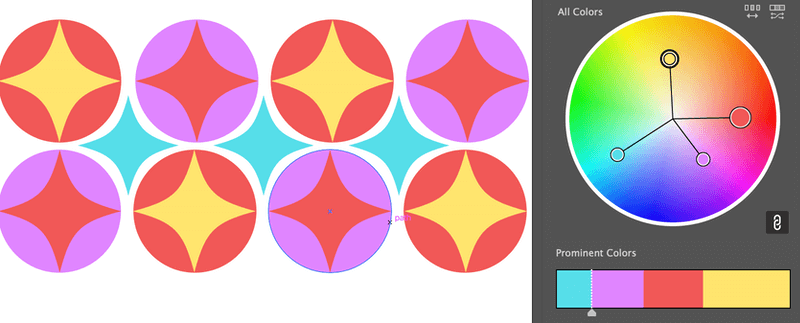
You’ll see a color editing window and the original color of your artwork is shown on the color wheel.
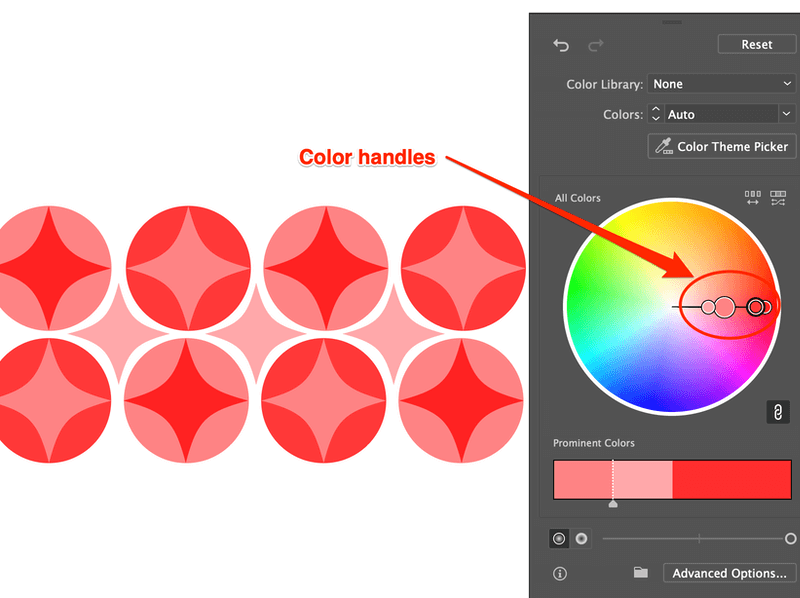
Step 3: Now there are a couple of things that you can do to change colors.
If you want to change the color of all objects, click on one of the color handles and drag until you find your ideal color.
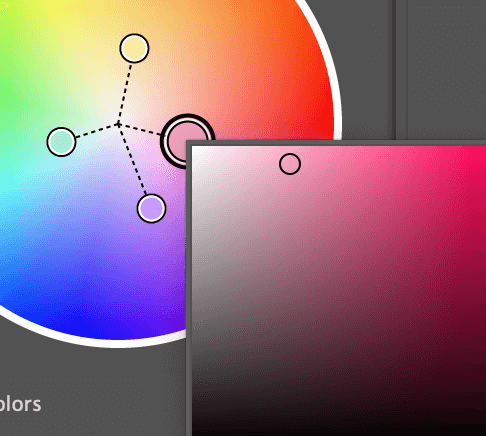
If you want to change a specific color, click the Link Unlink harmony Colors icon. You can unlink the colors and edit them individually.
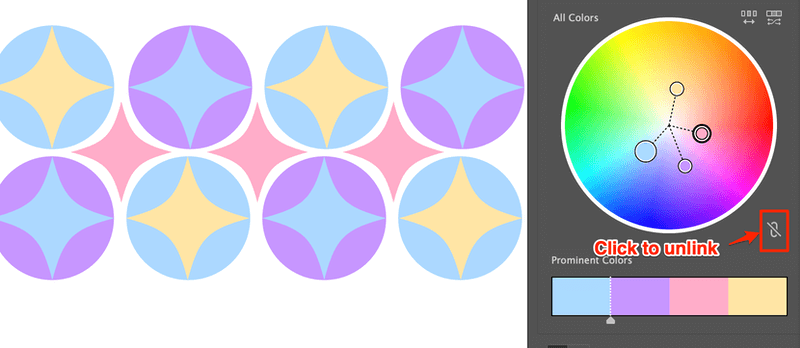
Tips: More editing options are available when you right-click on the unlinked color, and you can always go to edit in the Advanced options.
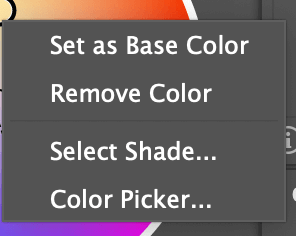
When you edit a specific color, it’s not a bad idea to right-click, select shade, and then edit it in a specific color window.
The last step is, have fun editing!
Method 2: Color Picker
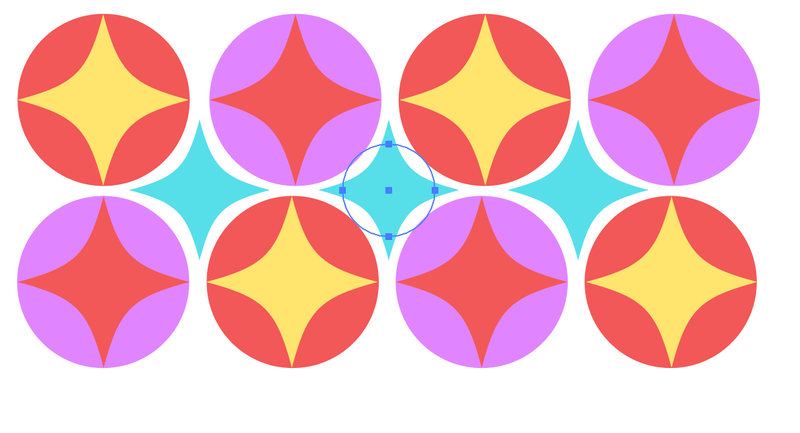
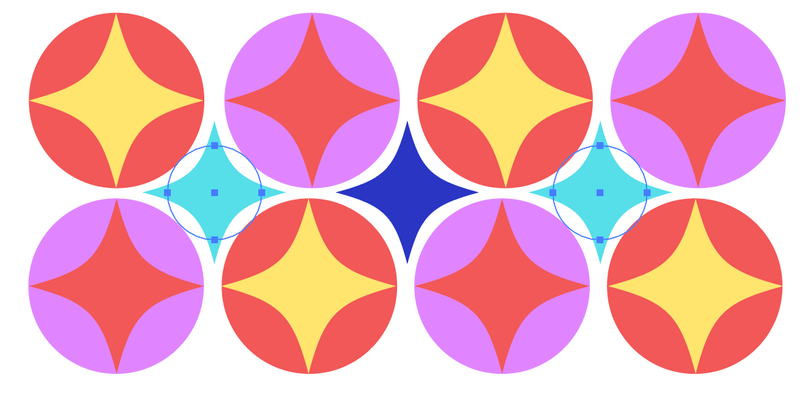
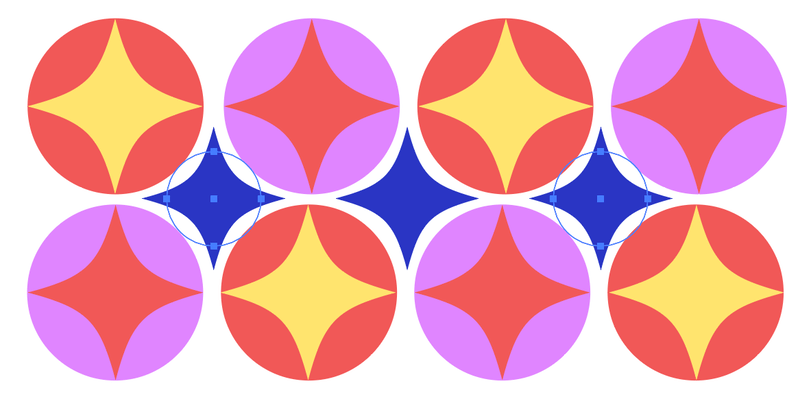
Step 1: Select an object. For example, I selected the blue sparkle shape in the middle to change its color.
Step 2: Double-click on (Color) Fill in the toolbar on the left side of your screen.
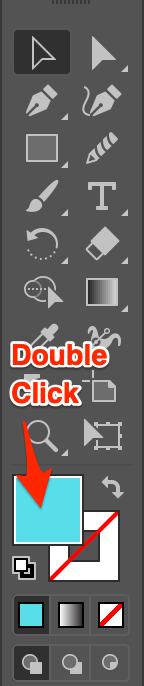
A Color Picker window will pop up.

Step 3: Move the circle to select a color or input the color hex code to get a specific color.
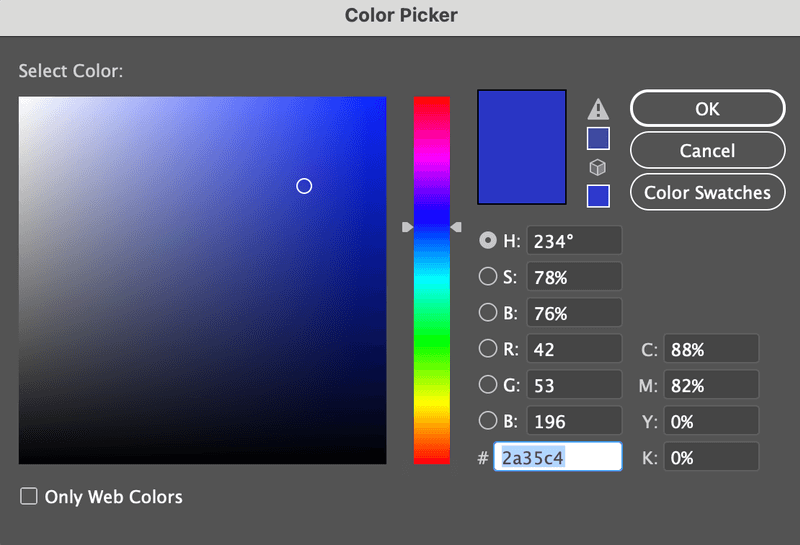
Step 4: Click OK.

Method 3: Eyedropper Tool
This is a good option if you have sample colors ready. For example, here my sample color is the blue sparkle shape in the middle and I want to change the color of the two shapes next to it to the same color.
Step 1: Select an object.
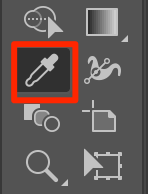
Step 2: Choose the Eyedropper Tool from the toolbar or activate it using the I key.
Step 3: Find the sample color and click on the sample color area.
4. Color Gradient
Getting a bit fancier, you can also change the original color to a gradient.
Step 1: Select an object.
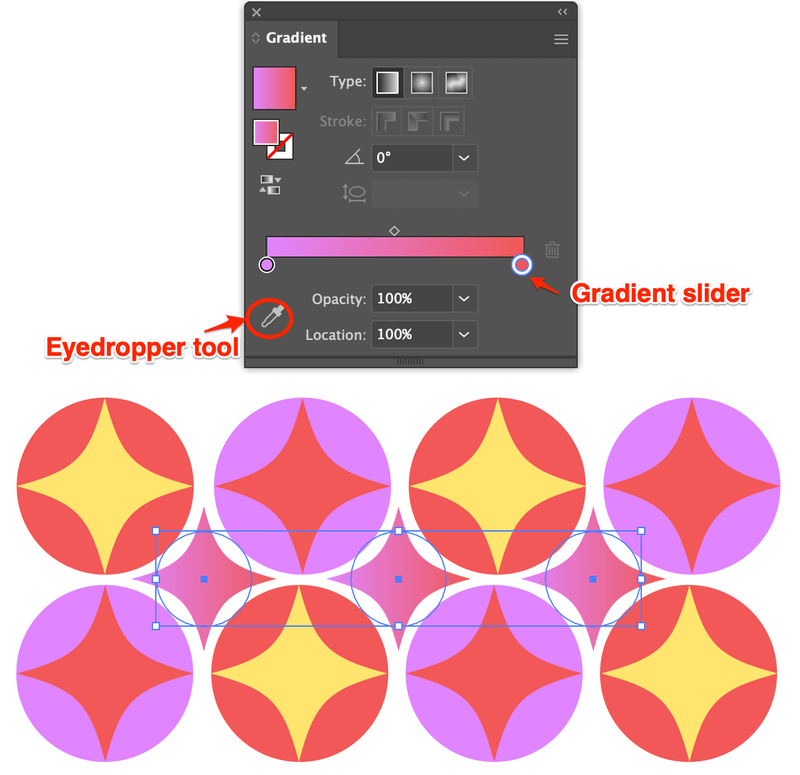
Step 2: Select Gradient Tool (keyboard shortcut G), or just click on the gradient option under Fill.
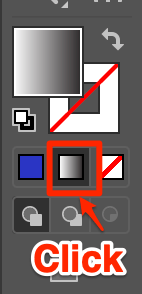
Step 3: Click on the gradient sliders to select colors and move around to make the gradient effect that you want. An easier option is using the eyedropper tool to choose sample colors for your gradient effect.
Questions?
Below are some common questions your fellow designer friends asked about recoloring colors in Adobe Illustrator. You might also want to check them out.
How to change only one color of a vector image?
First of all, ungroup the object, and you can change one color of an object using the color picker or eyedropper tool. If you want to change all elements of one color, use the Recolor method above, unlink harmony colors, and edit a specific color.
Is there a way to delete all of one color in Illustrator?
Yes, you can delete all of one color in Illustrator and it’s super easy. Hold down the Shift key, select all of the same colors that you want to delete, and hit Delete on your keyboard. If your color objects are grouped, you’ll have to ungroup them first.
Where are my color swatches in Illustrator?
If you don’t see color swatches to the right of your Illustrator document, you can set it up quickly. Go to the overhead menu Window > Swatches, it’ll show up along with other tool panels on the right-hand side.
You can also find more swatches from the Swatch Libraries menu, or create your own swatches and save them for future use.
Final Thoughts
Each method above has its advantages on particular tasks. For example, I’m still quite amazed by the Recolor feature because it saves me tons of time when making different versions of illustrations.
I find the eyedropper tool great for creating color swatches, which I use 99% of the time for brand design.
The color picker and gradient tools let you flow freely. I mean, explore your creativity.
About June Escalada
Ralf
That was really helpful, well explained, thank you!
June Escalada
You’re welcome!