I remember when I worked at an event company years ago, I had to design a lot of brochures, obviously including photos. However, the standard rectangular images don’t always fit in graphics-based artwork.
Sometimes the images I had to put on the artwork were different sizes, so I had to crop them into the same or at least a corresponding shape or size in order to make the design look nice. That was such a struggle.
Well, with time and practice, I’ve found my best solution for it, which is to crop the image into shapes! Believe me, you’ll be surprised what you can do and It’s actually quite fun.
In this tutorial, you’ll learn the quickest, super useful, and fancy way to crop an image in Adobe Illustrator.
Excited? Let’s dive in!
Table of Contents
3 Ways to Crop an Image in Adobe Illustrator
Note: Screenshots are taken from the Illustrator CC Mac version. Windows or other versions might look slightly different.
Depending on how you want your image cropped, there are several options to make it happen and the simplest way is no doubt, the crop tool. But if you want to crop out a shape, or have the freedom to manipulate the image, use the clipping mask or opacity mask method.
Method 1: Crop Tool
This is the quickest and easiest way to crop an image if you want to trim a photo in a rectangular shape.
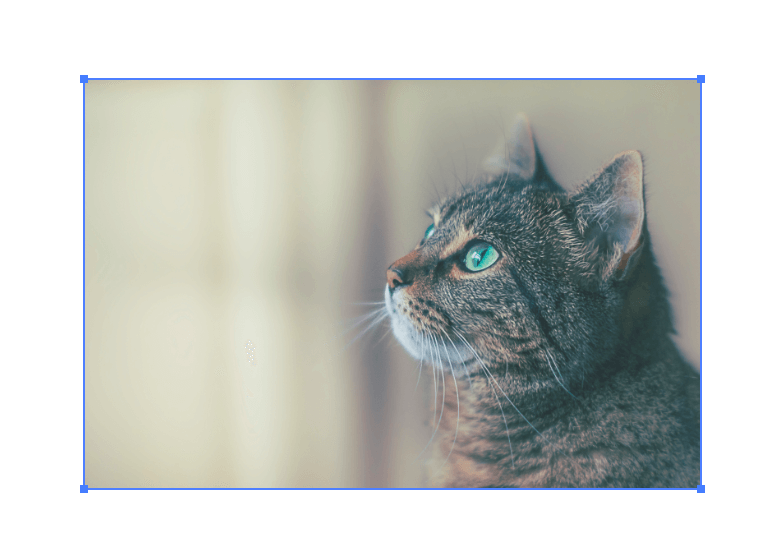
Step 1: Place an image in your Adobe Illustrator document.
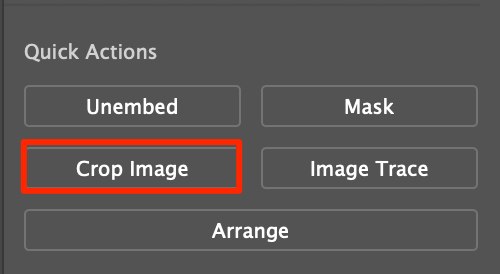
Step 2: Click on the image. You will see a Crop Image option in Quick Actions under the Properties panel.
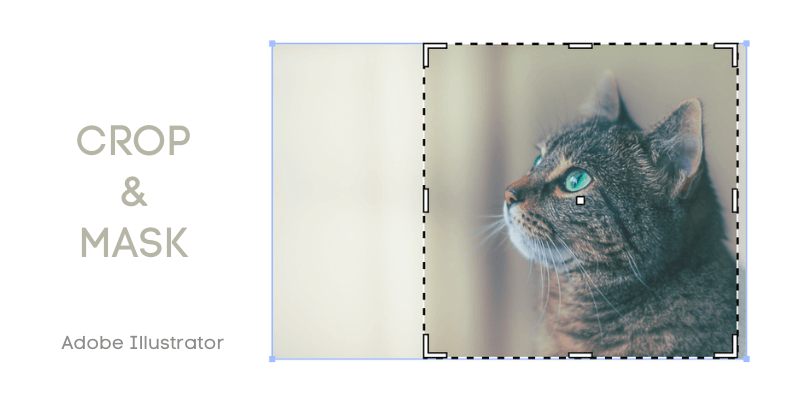
Step 3: Click the Crop Image option. A crop area box will show on the image.
Step 4: Move around the box to select the area you want to crop.
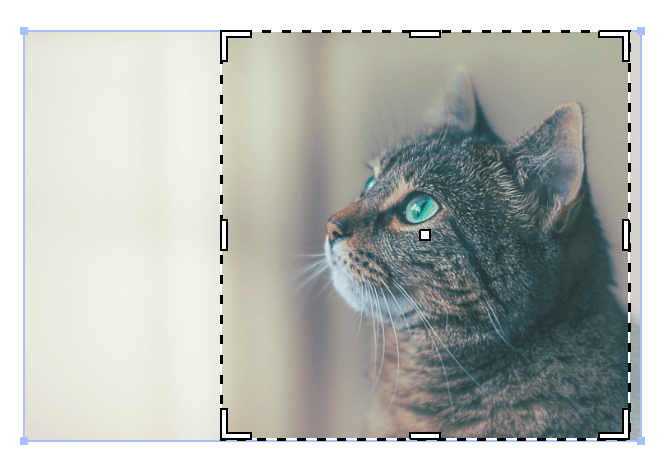
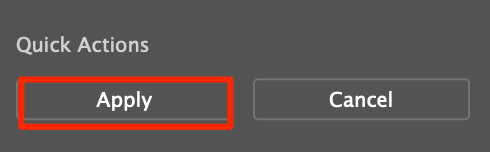
Step 5: Click Apply.
That’s it.

Method 2: Clipping Mask
You can crop an image by making a clipping mask with the help of the Pen Tool or shape tools depending on what shape you want. Create a shape on top of the image, and make a clipping mask.
In this tutorial, I use the Pen Tool to create a shape. The steps are easy but it might take some time if you’re not familiar with the pen tool.
Tips: maybe you’ll feel more confident after reading my pen tool tutorial.
Step 1: Select the Pen Tool and start tracing the cat outline, remember to close the path at the last anchor point.
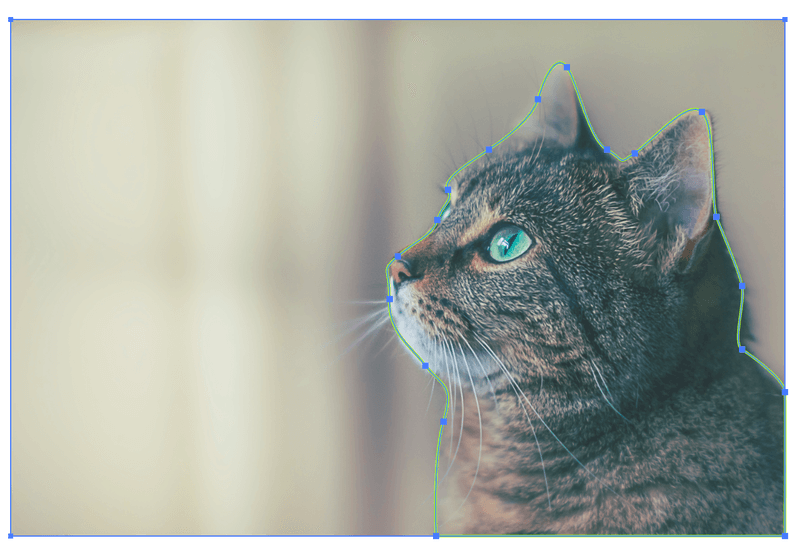
Step 2: Select both the image and the pen tool path. The path must be on top of the image.
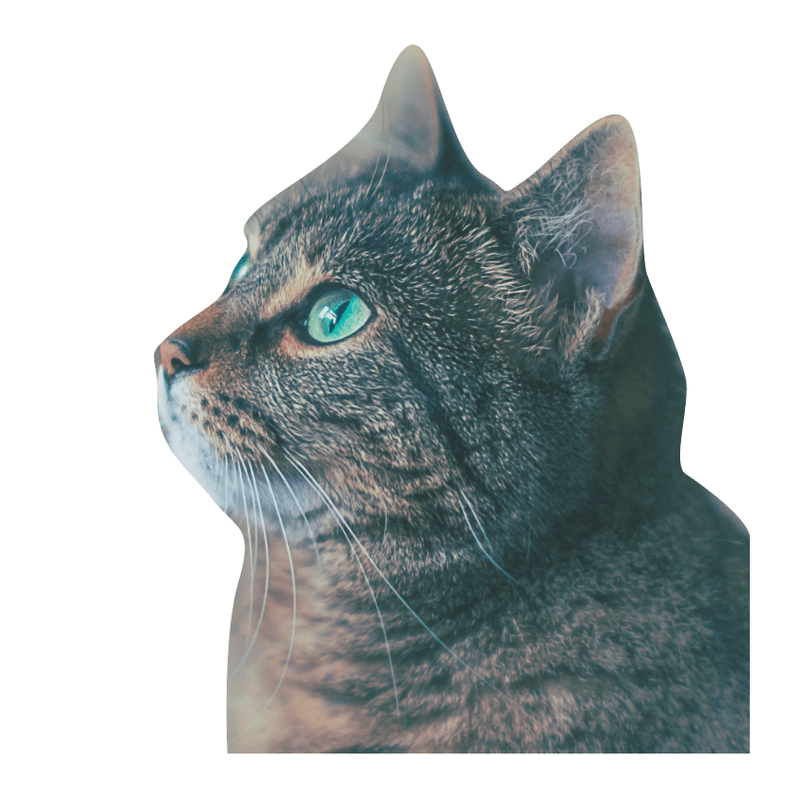
Step 3: Right-click on the mouse and select Make Clipping Mask.
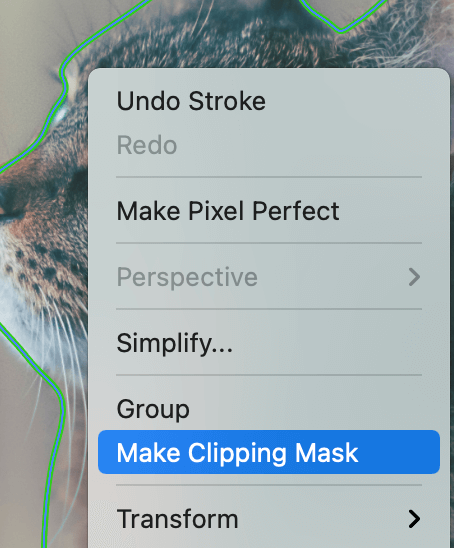
Or use the keyboard shortcuts Command + 7.
Method 3: Opacity Mask
Let’s call it the fancy way to crop an image because there’s more to it. Similar to the clipping mask method, you can manipulate the image even more.
Before getting started, get your Transparency panel ready from Window > Transparency.
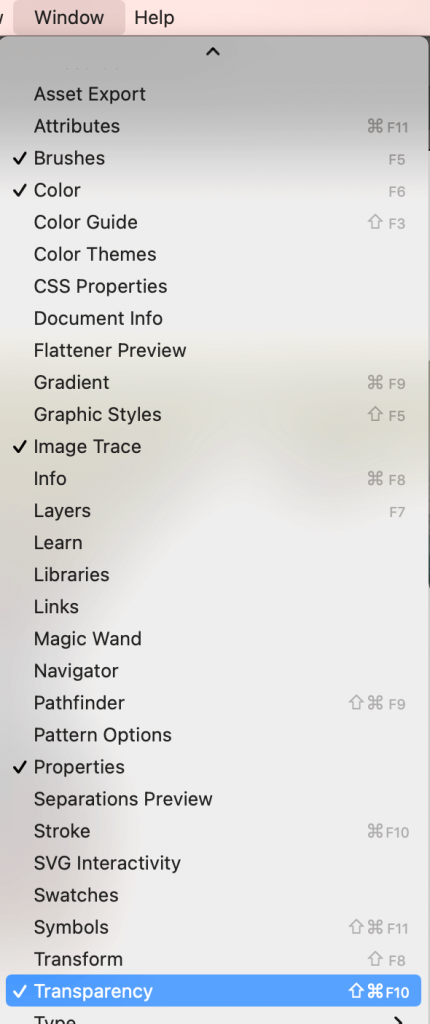
A Transparency pop-up window should show on the right side of your document.
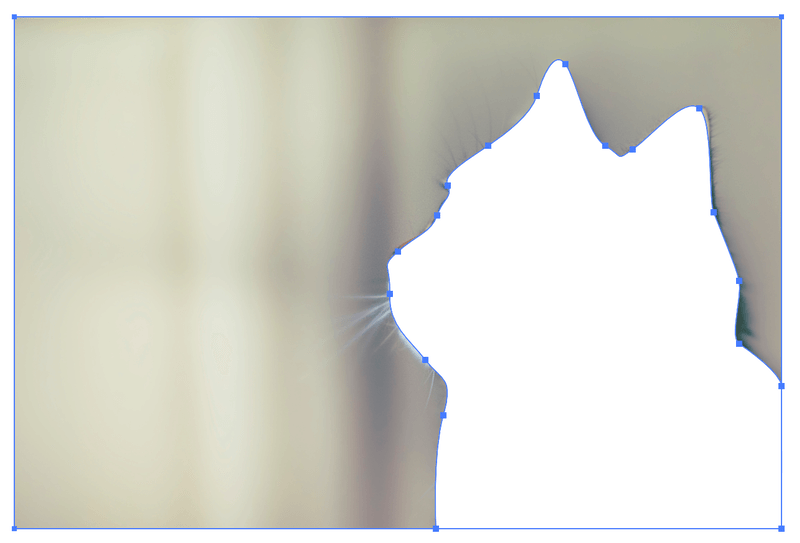
Step 1: Create a shape on top of the image.
Step 2: Fill it in white. The white area is the part of the image that you will see after cropping.
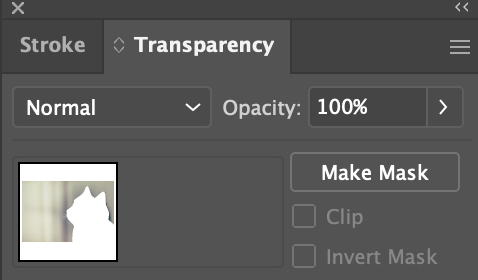
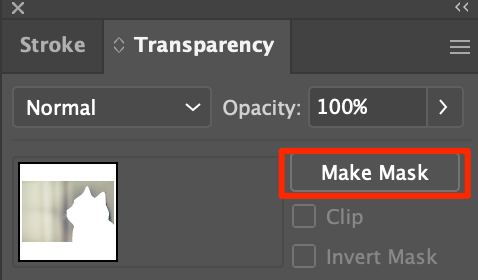
Step 3: Select the shape and image.
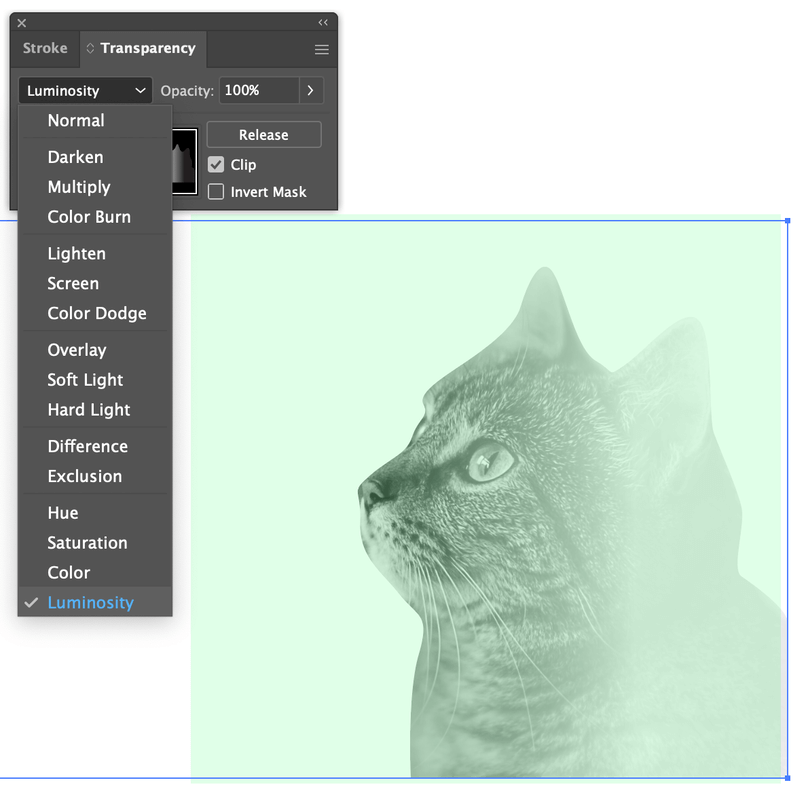
Step 4: Find the Tranparency panel and click Make Mask. You can adjust the opacity level, change the blending mode, or just leave it as it is.
Now comes the exciting part, you can also make a gradient image as you crop. Instead of filling it white, fill the shape with gradient black and white and make a mask.
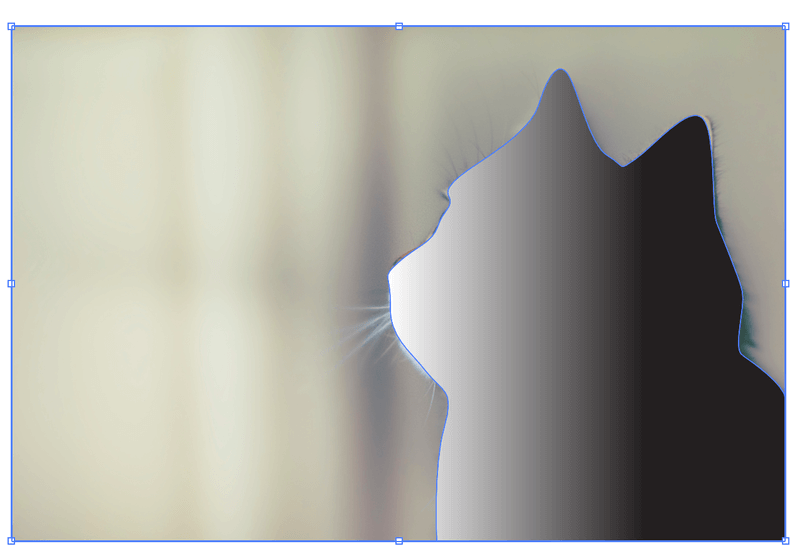

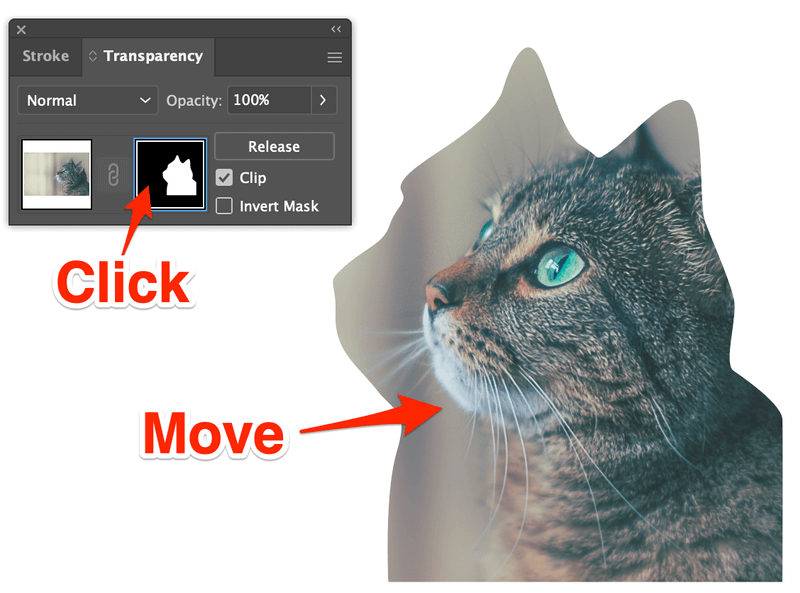
If you want to move around the crop area, click on the mask (that looks black and white), and click and drag on the cropped image to adjust the crop area.
Now let’s add a background color and change the blending mode. See, that’s why I said it’s a fancy version of image cropping.
FAQs
You’ll find quick answers to the questions related to cropping images in Adobe Illustrator below.
How do I crop an image into a circle in Illustrator?
The fastest way to crop an image into a circle is by using the Ellipse tool and making a clipping mask. Use the Elipse tool to draw a circle on top of your image, select both the circle and the image, and make a clipping mask.
Why can’t I crop my image in Illustrator?
If you are talking about the Crop Tool, you must select your image to see the crop button. It doesn’t show in the tool panel when no image is selected.
If you are using the clipping mask or opacity mask method, you must have both the shape (mask) and the image selected to crop.
How do I crop an image without losing quality in Illustrator?
First of all, make you place a high-resolution image in Illustrator for cropping. You can enlarge the image to crop it. But make sure to hold the Shift key while you drag to enlarge so that the image won’t get distorted.
For high-resolution images, you shouldn’t have a problem with image quality after you crop them.
Wrapping Up
Whether you want to remove the unwanted area or crop a shape from an image, the three methods above will get you what you want. Use the Crop Image button for a quick crop, and the others for more complex image cropping.
Good luck!
About June Escalada