
I bet you’ve already seen so many logos made with curved text. Coffee shops, bars, and food industries love using a circle logo with curved text. I understand it looks good and sophisticated.
I know you may have many questions because I was in your shoes ten years ago. Before starting my graphic design journey, I always thought this kind of logo should be pretty hard to make, because of its different text effects like the arch, bulge, wavy text, etc.
But later as I got more and more sophisticated with Adobe Illustrator, I got the trick. It’s SO EASY to make curved text with the help of Illustrator’s easy-to-use tools. Not exaggerating at all, you’ll see why.
In this tutorial, you’ll learn three easy ways to curve text so you can make a fancy logo or poster too!
Without further ado, let’s dive in!
Table of Contents
3 Ways to Curve Text in Adobe Illustrator
Note: Screenshots are taken from Illustrator CC Mac Version. Windows or other versions might look slightly different.
You can add a quick effect to curve text by warping the text, or simply use Type on a Path for easy editing. If you’re looking to make something crazier, try the Envelope Distort.
Method 1: Warp
The easy-to-use Wrap tool offers many options to curve text. And if you want to curve arch text, this is the right place to make it happen.
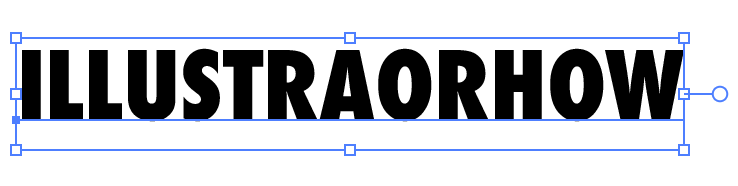
Step 1: Select text.
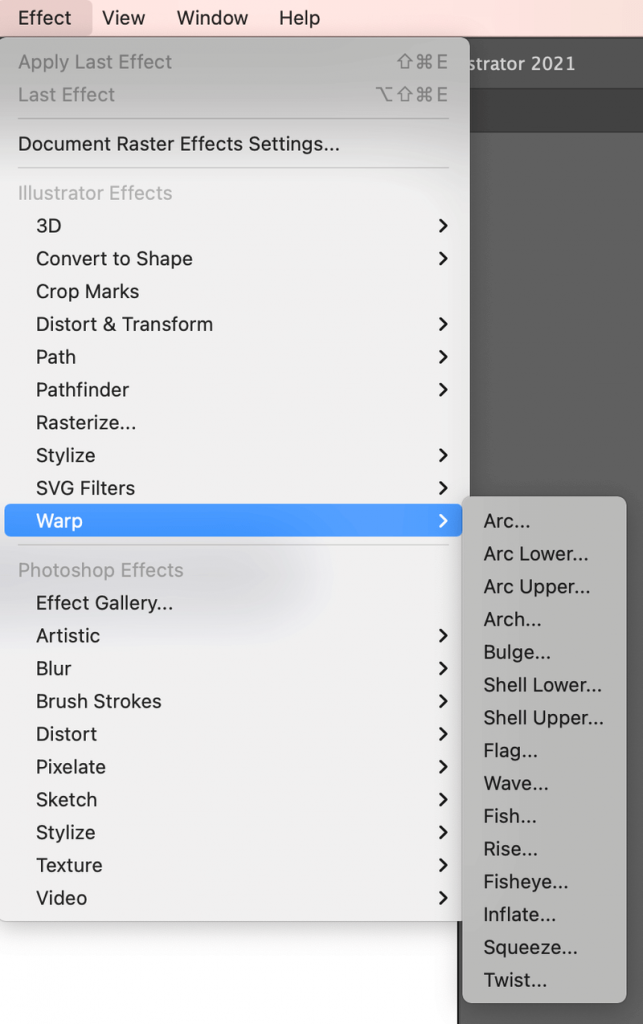
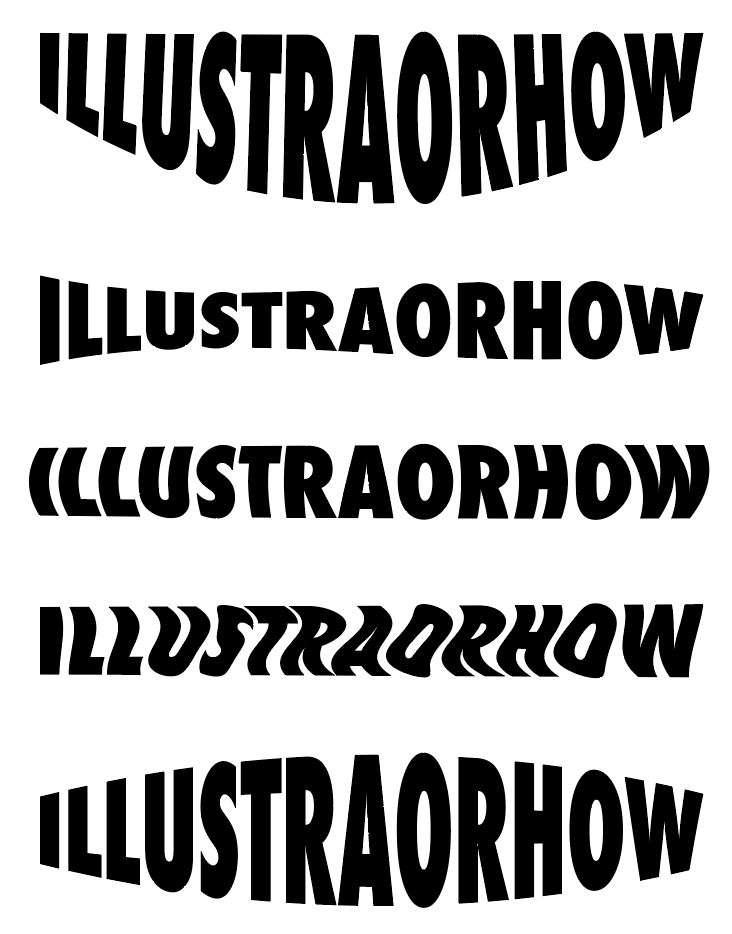
Step 2: Go to Effect > Warp, and you’ll see 15 effects that you can apply to your text.
Step 3: Choose an effect and adjust the Bend or Distortion settings, if you’re happy with the default settings, go ahead and click OK.
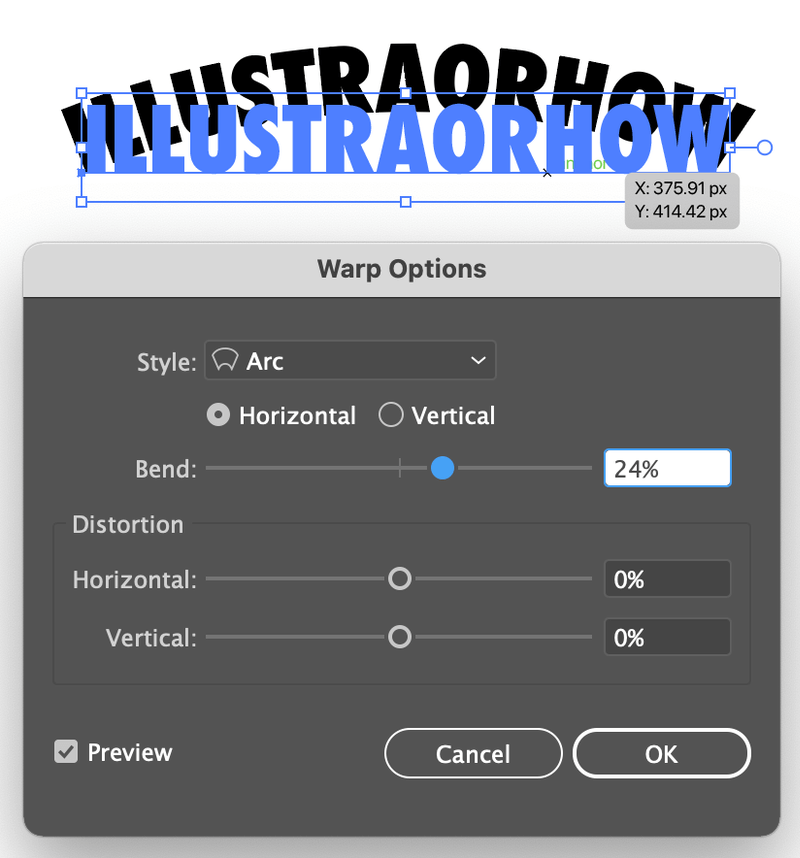
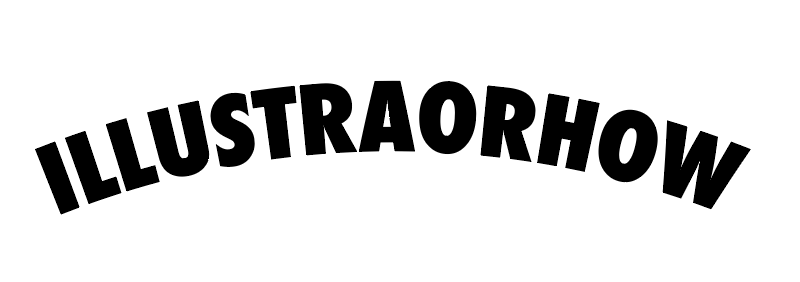
For example, I slightly adjusted the Bend setting to 24%, this is what the arch effect looks like.
Let’s try another effect following the same step.

Anyways, there’s a lot you can do with the Warp effect. Play with it.
2. Type on a Path
This method gives you the most flexibility to quickly edit curved text and make text follow a path.
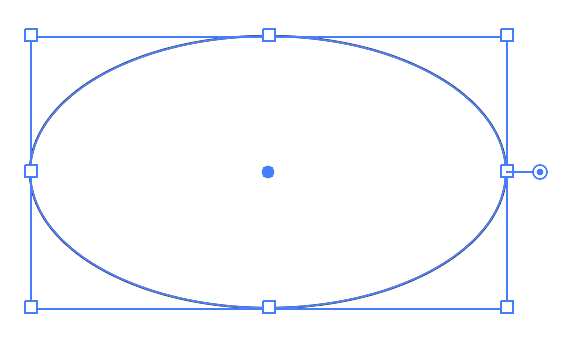
Step 1: Draw an ellipse shape with the Ellipse Tool (L).
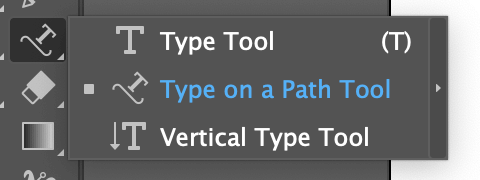
Step 2: Select the Type on a Path Tool.
Step 3: Click on the ellipse.
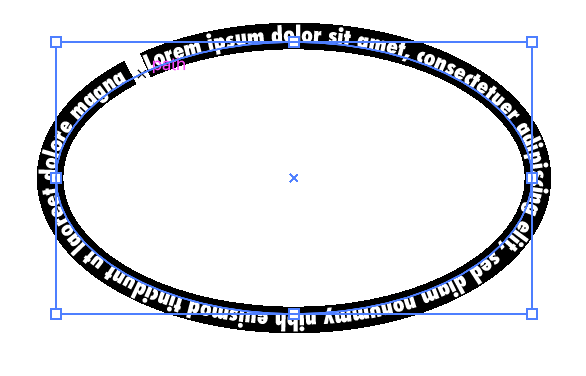
Step 4: Type. When you click, some random text will appear, just delete it and type your own.
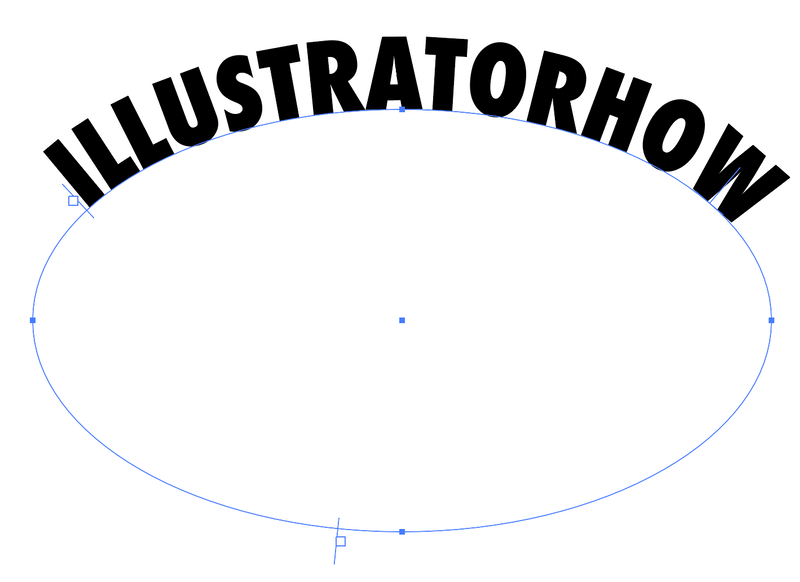
You can move around the position of your text by moving the control brackets.

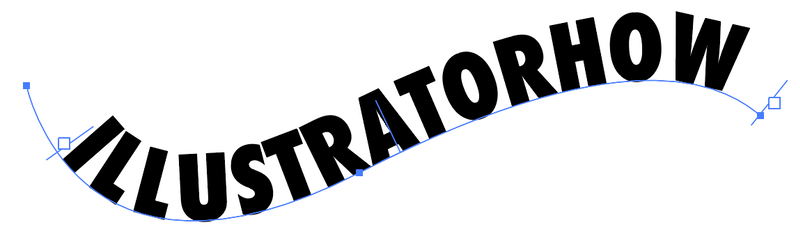
If you don’t want to create text around a circle, you can also create a curve using the pen tool.
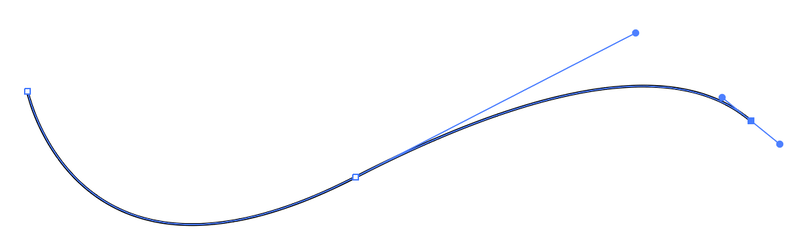
Same theory. Use the Type on a Path tool, click on the path to create text, and move the control brackets to adjust position.
Method 3: Envelope Distort
This method gives you more flexibility to customize the curves in detailed areas.
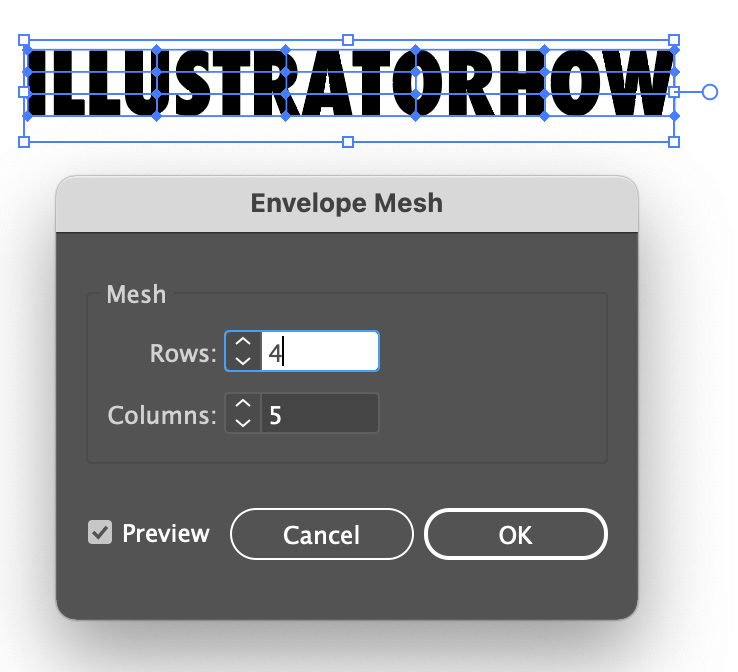
Step 1: Select text.
Step 2: Go to Object > Envelope Distort > Make with Mesh. A window will pop up.
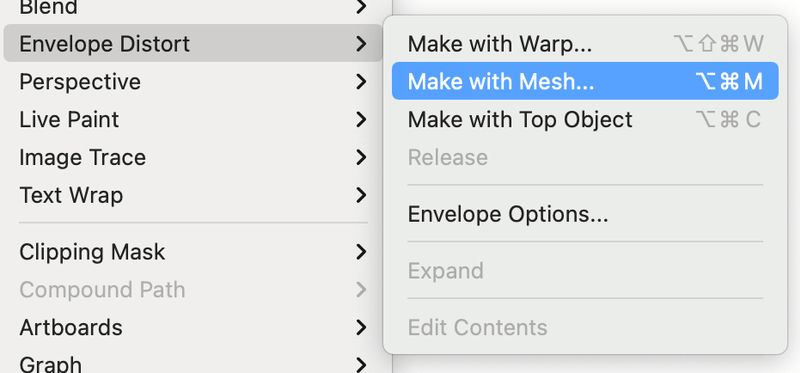
Step 3: Input the number of rows and columns. The higher the number, the more complicated and detailed it gets. This means there’ll be more anchor points to edit.
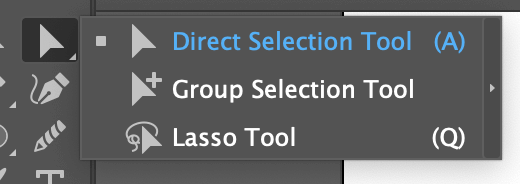
Step 4: Select the Direct Selection Tool (A).
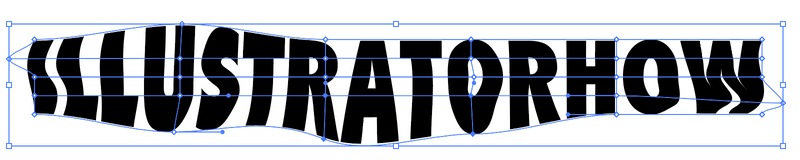
Step 5: Click on anchor points to curve text.
FAQs
Here are a few other questions you might also be interested in about curving text in Adobe Illustrator.
How do you convert text to outlines on a curve in Illustrator?
If you applied Warp effects or Type on a Path to create curved text, you can directly select the text, and create an outline (Command + Shift + O). But if you used the Envelope Distort method, you’ll have to double-click on the text to convert it to outlines.
How do you edit the curved text in Illustrator?
You can edit the curved text directly on the path. Simply click on the text, and change the text, font, or colors. If your curved text is made by Warp or Envelope Distort, double-click on the text to make the edit.
How to curve text in Illustrator without distortion?
If you are looking for a perfect arch text effect, I would recommend using the Arch option from the Warp effects. Keep the default Distortion (horizontal and vertical) settings to avoid distorting your text.
Conclusion
Curved text is widely used in logo design and posters. Choosing the right curved text makes a big difference in your creative work.
There’s always one best solution for a specific problem. Be patient and practice more, and you’ll soon master when to use which method to achieve your ultimate goal.
About June Escalada
Viviane
Thank you for these thorough (multiple options provided),clear, easy-to-follow, understand, and apply explanations. Now I don’t feel like a helpless dummy!
June Escalada
Glad my tutorials helped 🙂