I bet you’ve already seen this kind of super cool text effect design?
Being a graphic design newbie ten years ago, I always wondered how does it happen? I just didn’t think it was that easy until I tried. Nothing crazy, just select and click a couple of times.
You can create an awesome text poster or vector using the Envelope Distort tool or simply fill your paragraph in a shape with the help of the Type Tool. Whatever you’re making, you’ll find a solution today.
In this tutorial, I’m going to share with you two quick and easy ways to fill a shape with text in Adobe Illustrator.
Let’s dive in!
Table of Contents
2 Easy Ways to Fill a Shape with Text in Adobe Illustrator
You can fill text in a shape using Envelope Distort and the famous Type Tool in a couple of selects and clicks. Envelope Distort fits text in a shape by distorting the text form while the Type Tool simply fills text in a shape without distorting the text.
Note: Screenshots are taken from Adobe Illustrator CC Mac version. Windows or other versions might look slightly different.
Method 1: Envelope Distort
You can create a really cool text effect using the envelope distort tool and it’s super easy to make.
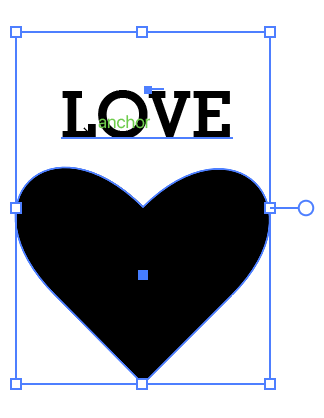
Step 1: Create a shape that you’ll fill your text in. If you downloaded a vector shape, place it on your artboard. For example, I’m creating a heart shape and I’m going to fill it with text.

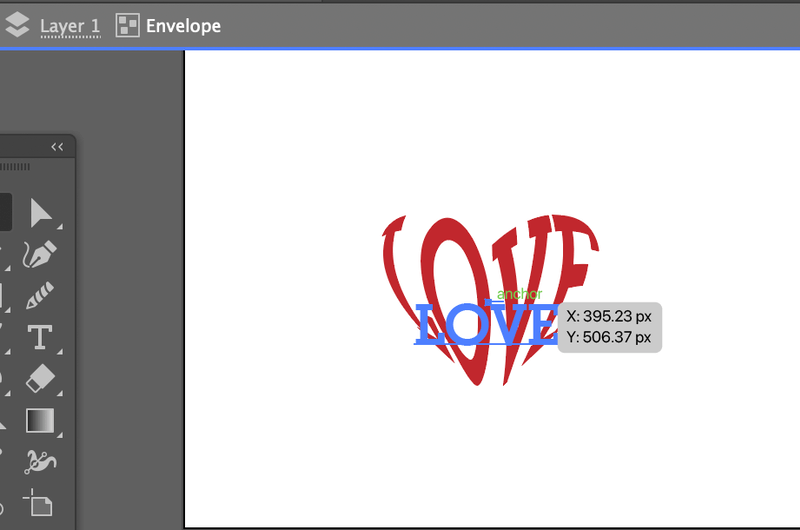
Step 2: Use the Type Tool to add text to your Illustrator document. I typed the word love.
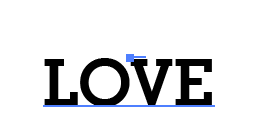
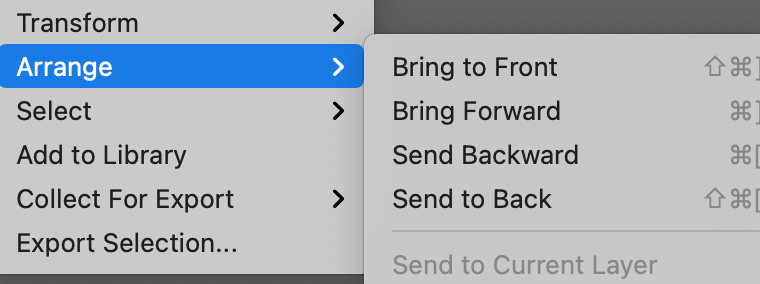
Step 3: Bring the shape to the front with the keyboard shortcuts Command + Shift + ] or right-click on the shape Arrange > Bring to Front.
Note: Your top object must be a path, if your text is on top, you should send it back (behind the shape) before going to Step 4.
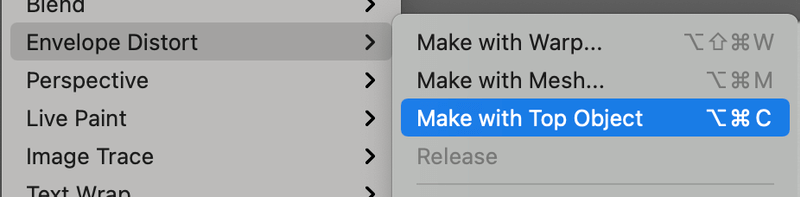
Step 4: Select both the shape and text and go to the overhead menu Object > Envelope Distort > Make with Top Object.
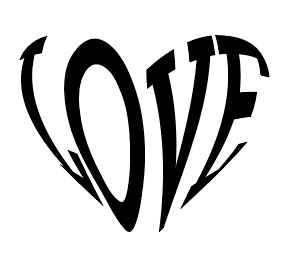
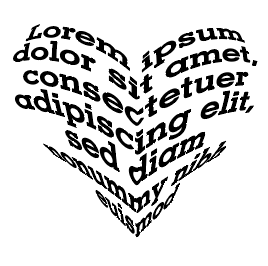
You should see something like this.
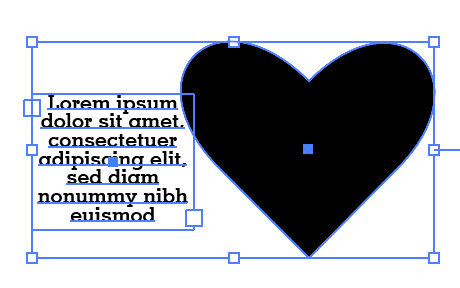
It works the same if you have a paragraph of text. Select the text box and the shape, and follow the same steps.
Method 2: Type Tool
If you’re filling a paragraph or text in an object but don’t want to distort any text, the Type Tool is the go-to.
Step 1: Create a shape or place a shape in Adobe Illustrator.
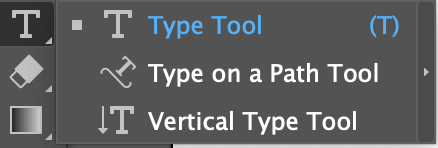
Step 2: Select the Type Tool. When you hover your mouse near the shape path, you’ll see a dotted circle around the type icon.
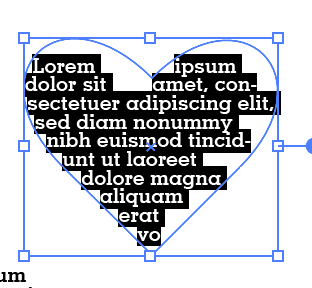
Step 3: Click near the shape border and you should see Lorem Ipsum text filled in the shape. Simply replace your text on it.
Pretty easy, right?
FAQs
Below you’ll find quick answers to some of the questions related to filling a shape with text in Adobe Illustrator.
How do you fill a letter with text?
Create a text outline of the letter and go to the overhead menu Object > Compound Path > Release. Then you can use either of the methods above to fill it with text.
How to change the color of the text filled in a shape?
If you use the Type Tool method, you can directly change the text color by selecting the text and choosing a color from Swatches or the Color Picker.
If you want to change the color of text made by envelope distort, double-click on the text within the shape and change the color from the separated layer. Double-click the artboard again to exit the layer editing mode.
How do I fill different text in a shape?
I assume you’re talking about using the Envelope Distort?
You will need to create different paths and fill in different text using the same method: Object > Envelope Distort > Make with Top Object and combine them.
Wrapping Up
Filling text into a shape in Adobe Illustrator is only a few clicks away. The type tool method works best when you simply want to fit text into a shape. It’s quick and allows you to edit text easily.
If you are thinking of creating a text vector or design and don’t mind distorting the text, try the Envelope Distort option. Just keep in mind that your top object has to be a path.
Have fun creating!
About June Escalada
Dinesh
Nice 🙏
Mary Raring-Hart
This is great – but doesn’t solve the problem I have. My client is a Girl Scout Troup leader. She wants the “Girl Scout Law” to spiral inside the Girl Scout trefoil (looks like a weird 4-sided clover)…with words copying the 4 different shapes. Can you help me figure this one out? Thanks. 🙂
June Escalada
Hi Mary,
Make sure you use the pen tool to draw the shape you want the text to be in and then use the Envelope Distort to create the effect. You might have to adjust it with the transform tool to get the ideal result.
nancy
thanks for your clear tutorial.
June Escalada
Glad it helps 🙂
Shannon
Thank you so much for this, I’ve been looking all over for it!
June Escalada
You’re welcome Shannon! Glad it helps!
Rebecca
Thank you! This was so easy to understand. Great tutorial and it worked like a charm!I can’t wait to experiment with this on other things!
June Escalada
Hey Rebecca, glad it helped! I’ll keep posting more tutorials 🙂
Lynn
Nice tutorial, easy to understand. But is there also a way to change the background?
June Escalada
Hey Lynn!
You mean changing the artwork background or?
RANDY HUBBELL
Awesome!
George at Fuzzy Quilts
Thanks for the tutorial, June.
For others – after you’ve created your Method 1 object:
To edit the TEXT, you can just click on the object to change the words, the font, size, leading, tracking, etc.
To edit the SHAPE, click on the object and select Object/Envelope Distort/Edit Envelope. Note that the shape will have been recreated from how you originally drew it – additional points or bezier handles may have been added.
June Escalada
Awesome! Thanks for sharing, George!
Francesco
Can you explain why in Step 3 you tell us to Bring Object to the Front but not even before the Step is finished (in the Note Section), you instruct to Send the Text to the Back?
Very confusing.
June Escalada
Hi Francesco, sorry about the confusion. The object should be on top of the text.
rose
Hi, this was really helpful but is there a way i could add an outline to the shape with the text in it ?
June Escalada
Hi Rose,
Can you send me a screenshot of what it looks like?