
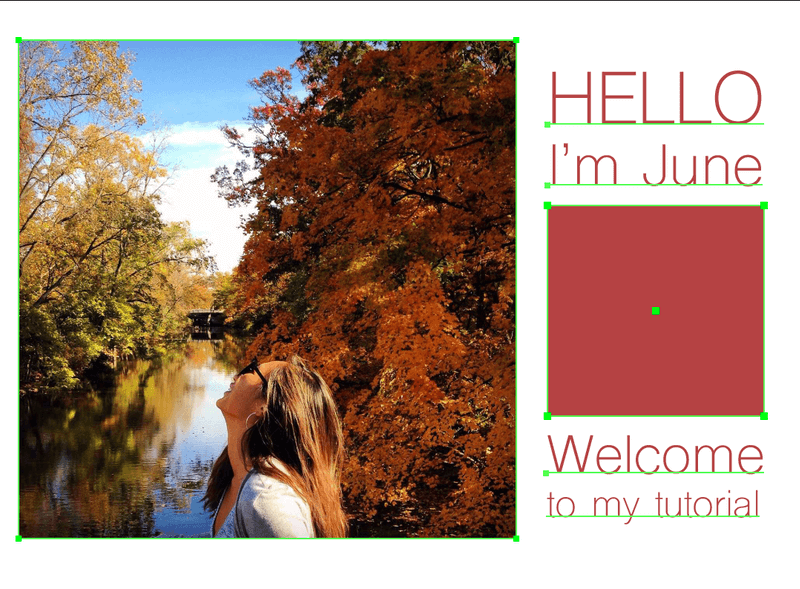
Grayscale design is a trendy style that many designers like, including myself. I mean, I love colors but grayscale gives another feeling. It’s more sophisticated and I love using it as a poster or banner background to make my information content stand out. Yup, that’s my trick.
Imagine, when you are designing a poster with little information (two to four lines of text), what do you do with the empty space?
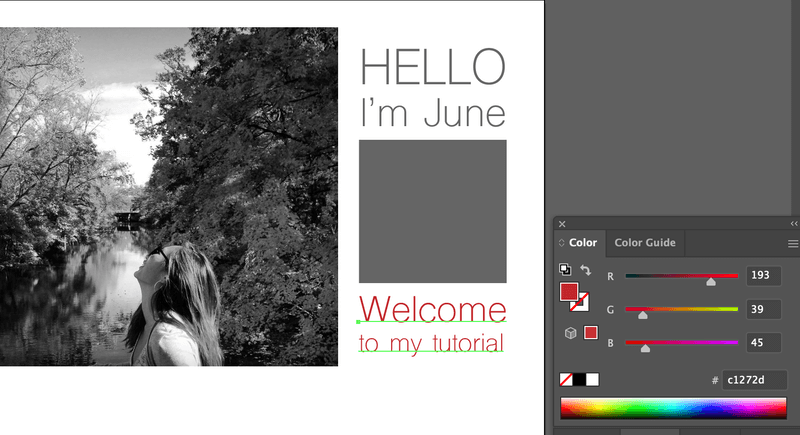
You can simply add a color background, but adding a grayscale photo related to your event will give an upgrade to the look and make your text stand out.

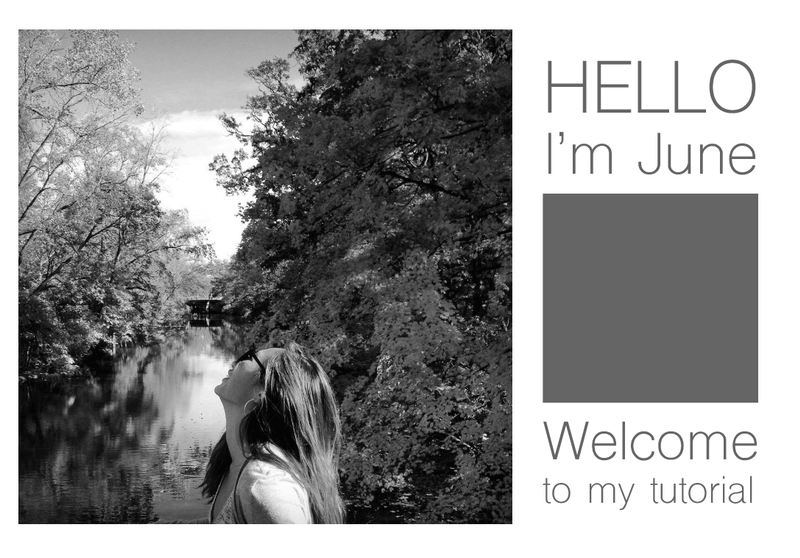
See, this image is a bit darker than the standard grayscale. Right, you can also adjust brightness and make your information more readable. Looks good? You can make it too.
Keep reading to learn different ways to convert an image to grayscale and how to adjust it in Adobe Illustrator.
Let’s dive in.
Table of Contents
3 Ways to Make an Image Grayscale in Adobe Illustrator
Note: Screenshots are taken on the Illustrator CC Mac version, the Windows version might look slightly different.
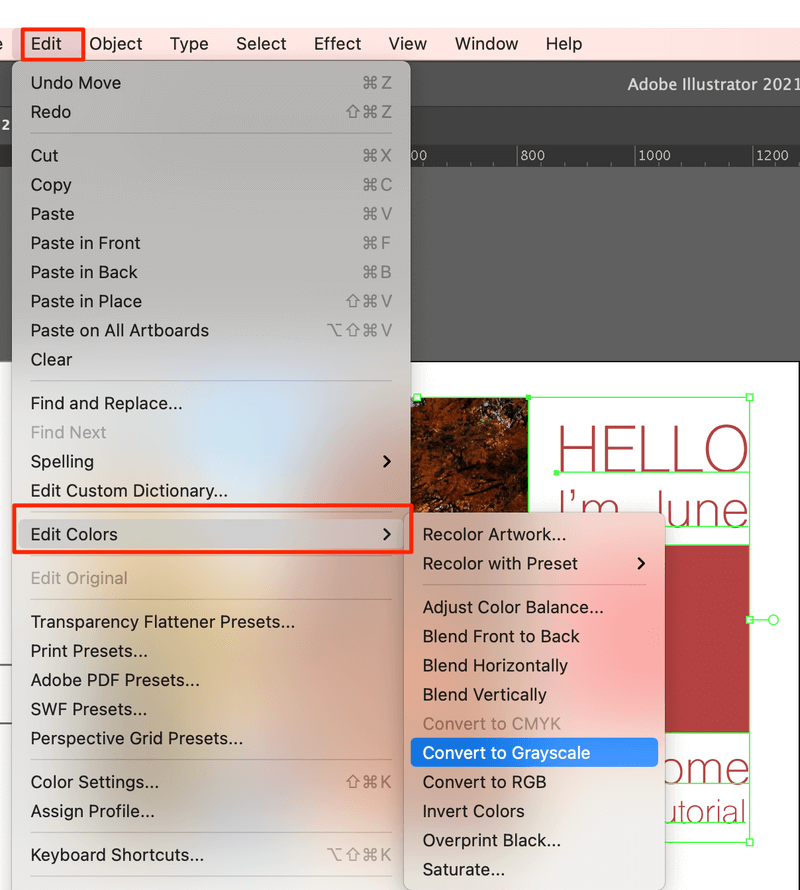
Edit Colors > Convert to Grayscale is the most common way to make an image grayscale. But if you’d like to adjust and black and white level of the image or other settings, you might want to switch to other methods.
Method 1: Convert to Grayscale
This is the quickest and easiest way to make an image grayscale, but the grayscale mode is by default. If what you need is a standard grayscale image. Go for it.
Step 1: Select the image. If it’s a poster and you want to convert the whole artwork to grayscale. Then select all (keyboard shortcut Command + A).
Step 2: Go to the overhead menu Edit > Edit Colors > Convert to Grayscale.
That’s all!
Told you, it’s quick and easy.
Method 2: Desaturate
You can also desaturate the image in Illustrator to make it grayscale.
Step 1: As always, select the image.
Step 2: Go to the overhead menu and choose Edit > Edit Colors > Saturate.
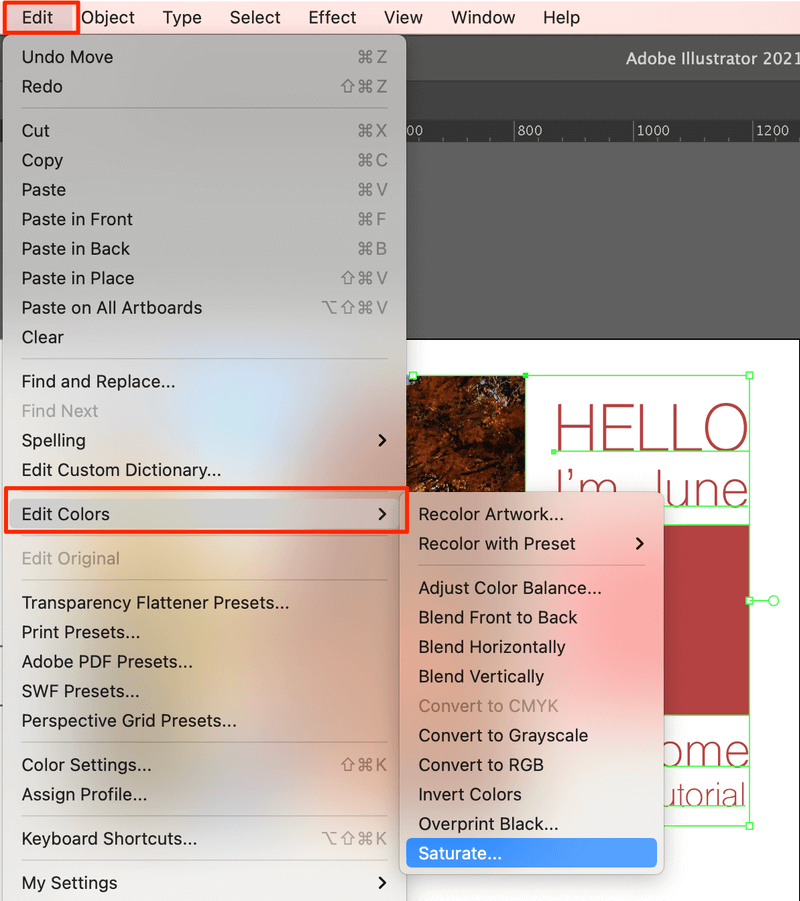
Step 3: Move the intensity slider all the way to the left (-100). Check Preview to see how the image looks while you adjust.
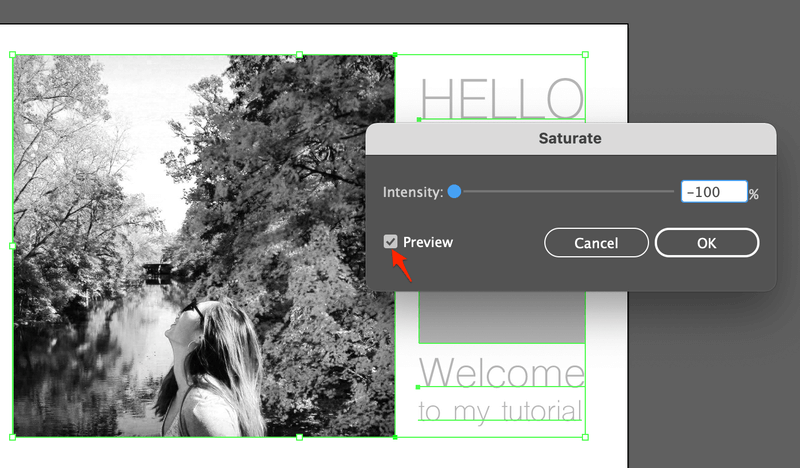
There you go!
If you don’t want your image fully grey, you can adjust the slider accordingly.
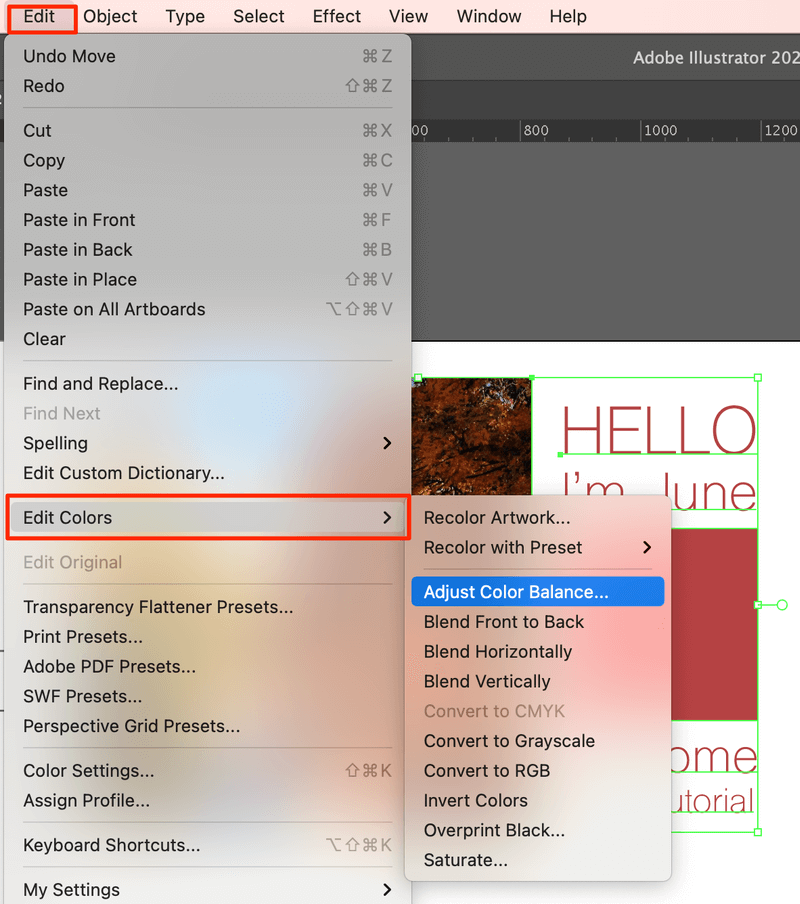
Method 3: Adjust the Color Balance
In this method, you can change the black and white level of the image. Move left to increase brightness and move right to make the image darker.
Step 1: Select the image.
Step 2: Go to the overhead menu and choose Edit > Edit Colors > Adjust Color Balance.
Step 3: Change the Color Mode to Grayscale. Check the Preview box to see how the image looks.
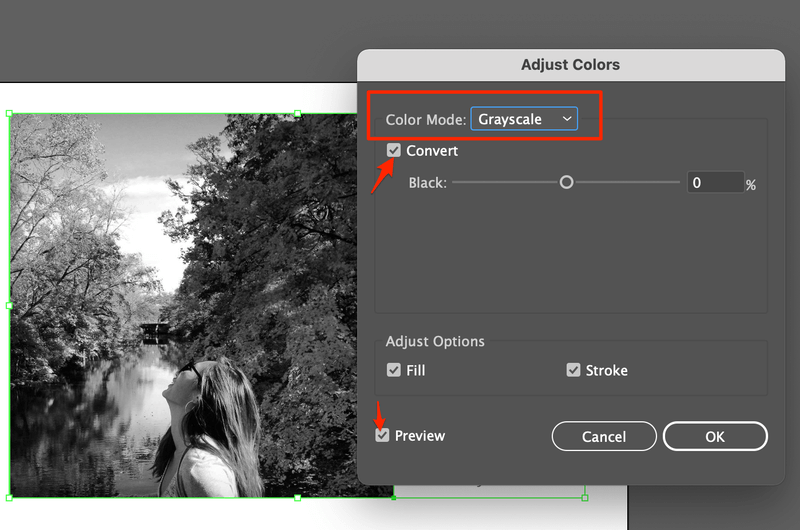
Step 4: Check the Convert box.
Step 5: Adjust the black and white level if you need or you can leave it as it is.
Step 6: Click OK.
Anything Else?
Looking for more answers related to converting images to grayscale in Illustrator? Check out what other designers also asked.
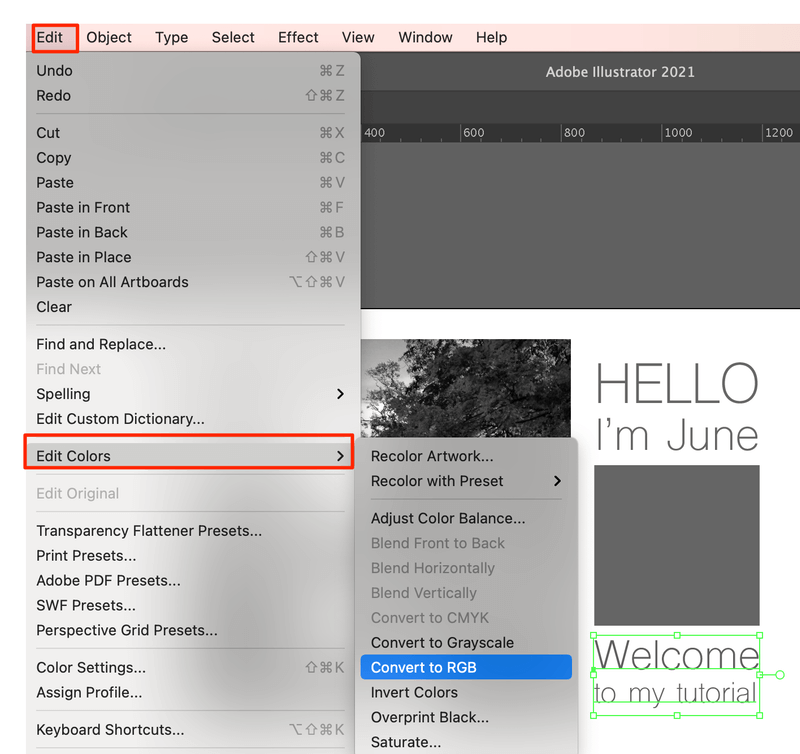
Can I add color to a grayscale image in Adobe Illustrator?
Yes, you can. For example, you want to color the text of the grayscale poster. Select the grayscale text, and go to Edit Colors > Convert to RGB or Convert to CMYK.
And then go to the color panel and choose the desired color.
If you want to add color to a photo, you could adjust the color balance or add color objects to the image to make a mix.
How to convert grayscale images to RGB or CMYK mode in Adobe Illustrator?
You can convert a grayscale image to RGB or CMYK mode based on your original file color mode setting. If you created the file with RGB mode, you can convert it to RGB, and vice versa. Go to Edit > Edit Colors > Convert to RGB/CMYK.
How do you make a PDF grayscale in Adobe Illustrator?
Open your PDF file in Illustrator, select all objects, and then go to Edit > Edit Colors > Convert to Grayscale. Same steps as converting an image to grayscale or black and white.
You’re All Set!
Now you’ve mastered how to convert an image to grayscale, you can use the methods above to convert objects to grayscale as well. For all methods, select your objects, go to Edit Colors and you’re free to explore.
Remember my trick? A mix of grayscale background and colorful content is not a bad idea.
About June Escalada
Amy
All of my color edit options are grayed out. Our advertising director looked at my settings and we cant figure it our. I have googled as much info as I can and, nothing. Please help. Any information will be greatly appreciated. I have the newest version of Illustrator (2022)
June Escalada
Hi Amy,
Have you checked the color mode? Is it in Grayscale? If the color options from the Swatches are in grayscale, you can try to use the Eyedropper tool to sample a color to see if it works.
Hope you get your problem solved 🙂
Joe
Hi Amy,
I was experiencing the same issue as you but I have found a fix. With your image selected, go to Object > Rasterize… choose your preferred settings and click Ok.
Now when you have your image selected and you go to Edit > Edit Colors you should have options available to you. I choose Saturate… and then turn it all the way down.
Seems like an odd thing to have to do rasterizing a photo, but a fix is a fix!
Hope that works for you!