As Adobe Illustrator simplifies its 3D feature, it takes almost no effort to make a cube in Adobe Illustrator.
But who says a cube has to be 3D? It can be 2D as well and you don’t need to use the 3D effect if you don’t feel comfortable with it.
In this tutorial, you will learn two how to make a 2D and 3D cube in Adobe Illustrator.
Let’s dive in!
Table of Contents
How to Make a Cube in Adobe Illustrator (2D & 3D)
Depending on the effect you want to create, you can make a cube shape to fit in your 2D graphic design or a 3D style using the Extrude & Bevel effect.
Note: all screenshots are taken from Adobe Illustrator CC Mac version. Windows or other versions can look different.
Making a 2D cube
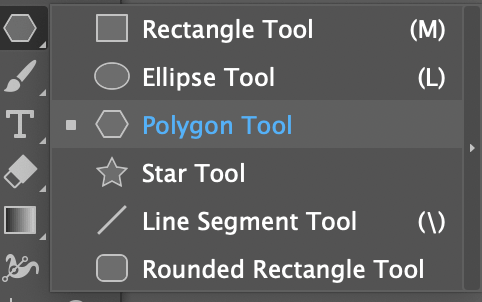
Step 1: Select the Polygon Tool from the toolbar. Usually, it’s on the same menu as the Rectangle tool.
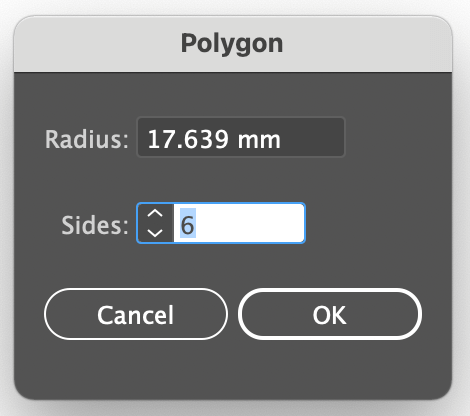
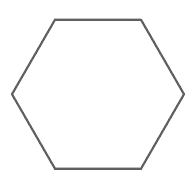
Click on the artboard to make a 6-sided polygon.
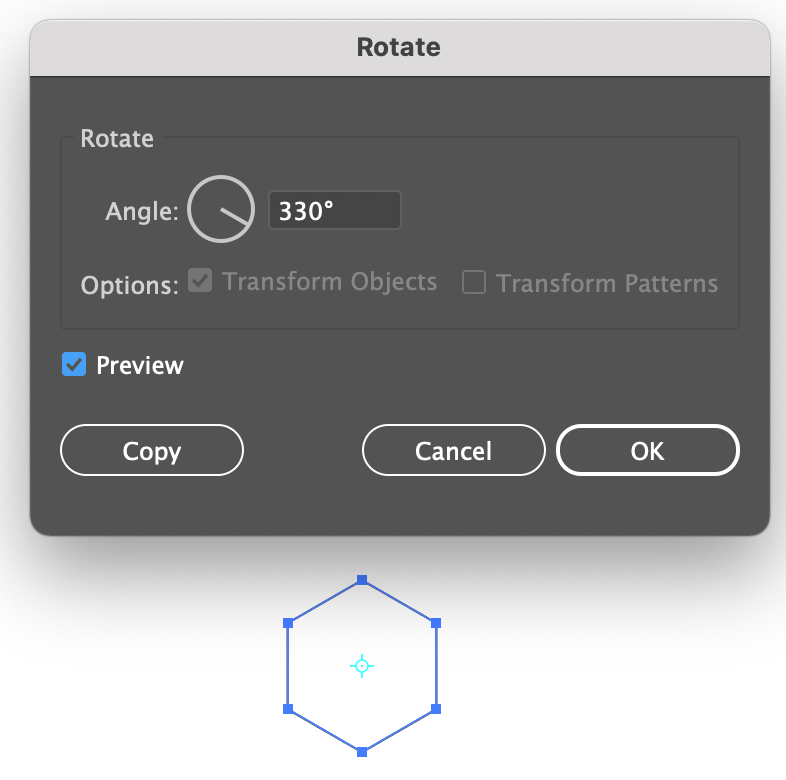
Step 2: Select the polygon and rotate it at 330 degrees. You can rotate it manually or double-click on the Rotate Tool to input the exact angle value.
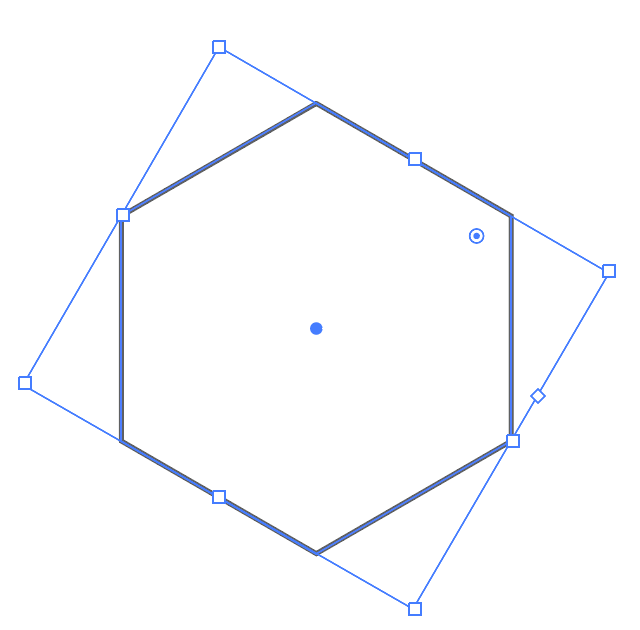
You can also scale the polygon to make it bigger or smaller. Click and drag on any corner of the bounding box, and hold the Shift key to scale proportionally.
Step 3: Select the Line Segment Tool (\) from the toolbar.

Click on the bottom anchor point of the polygon and draw a line from there to the center. If your smart guide is on, it’ll show when you reach the center.
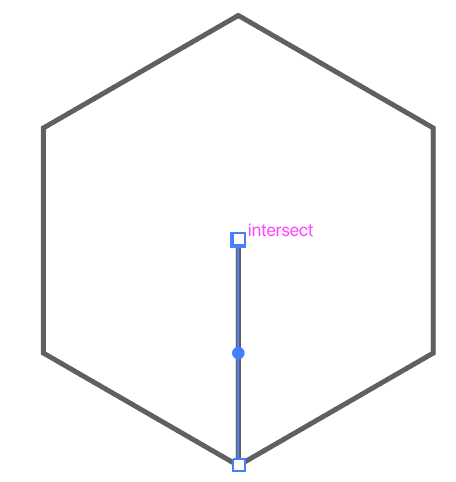
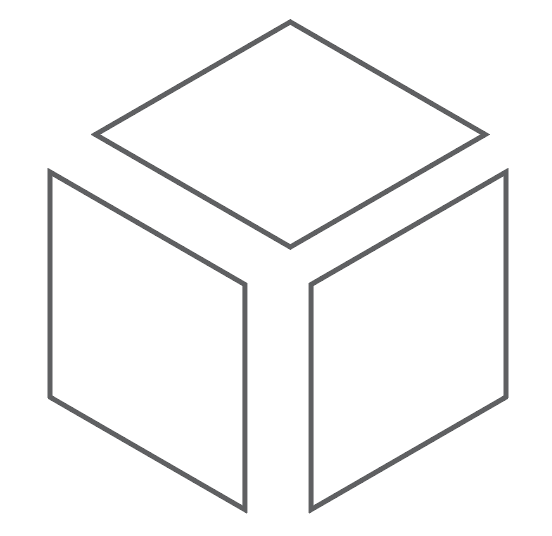
Repeat the same step for the other two corners to connect the lines to the center, and you’ll see a cube.
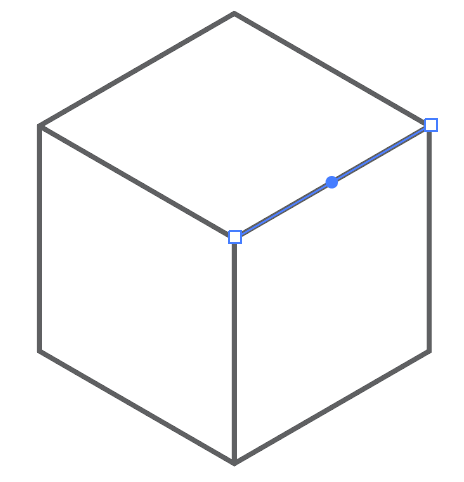
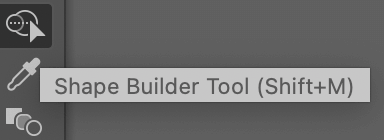
Step 4: Select all (the polygon and the lines) and choose the Shape Builder Tool (keyboard shortcut Shift + M) from the toolbar.
Click on the three surfaces of the cube.
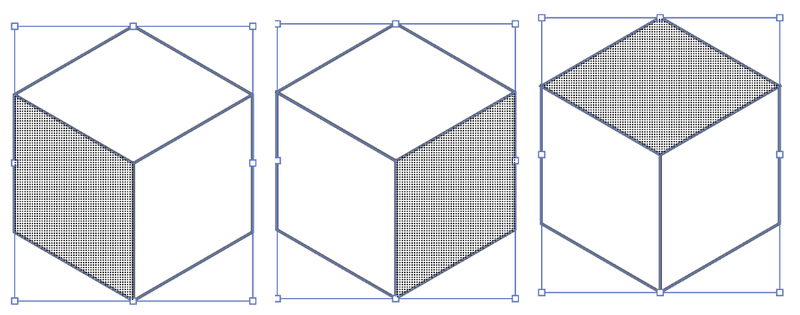
They will become shapes instead of lines. You can separate them to double-check if the shapes are built.
Put them back together after you make sure the shapes are formed and you’re pretty much done. Now you can add colors to your cube!

Tip: After adding colors, I recommend grouping the object together if you want to move around.
Not exactly the effect you’re looking for? You can also make a more 3D-looking cube using the 3D effect.
Making a 3D cube
Step 1: Select the Rectangle Tool (keyboard shortcut M) from the toolbar, and hold the Shift key to draw a square.

Step 2: With the square selected, go to the overhead menu and select Effect > 3D and Material > Extrude & Bevel.
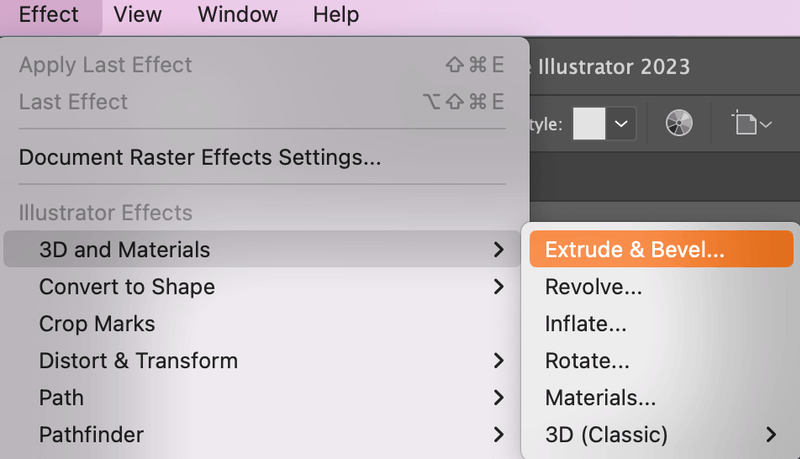
Once you choose the Extrude & Bevel option, you’ve already created a cube and you’ll see the 3D panel where you can adjust the settings of the 3D effect.
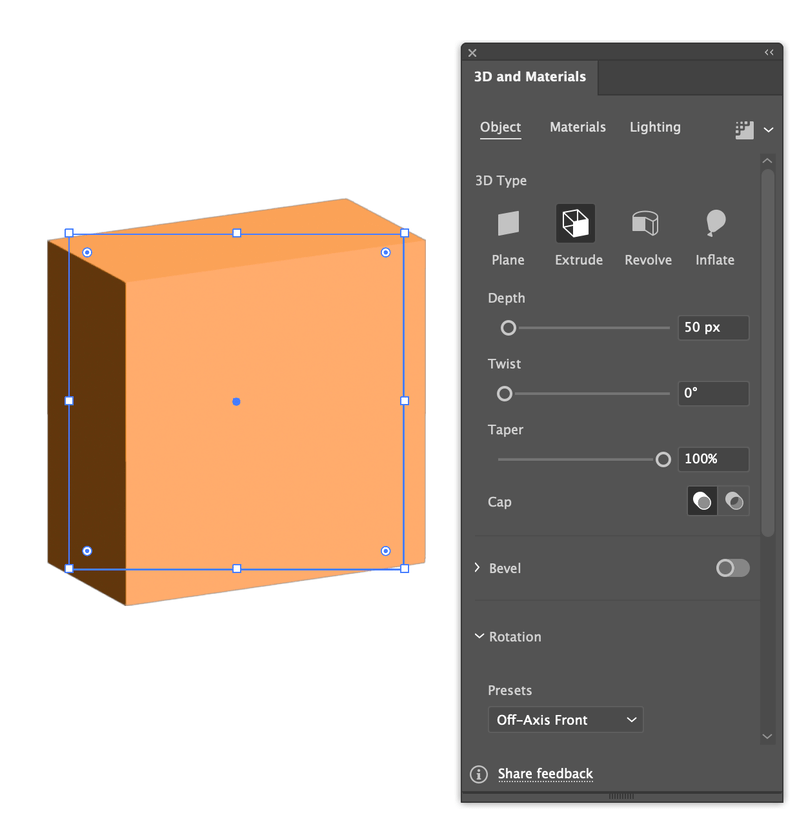
The first thing you can adjust is the Depth, which specifies the depth of the object. In simple words, how far is the shading color (black in this case) from the (square) surface.
For example, the default value was 50 pt (you can see how it looks from the screenshot above), now I increase the value to 129 px (it’s a random value), and it looks “deeper” and more 3D.

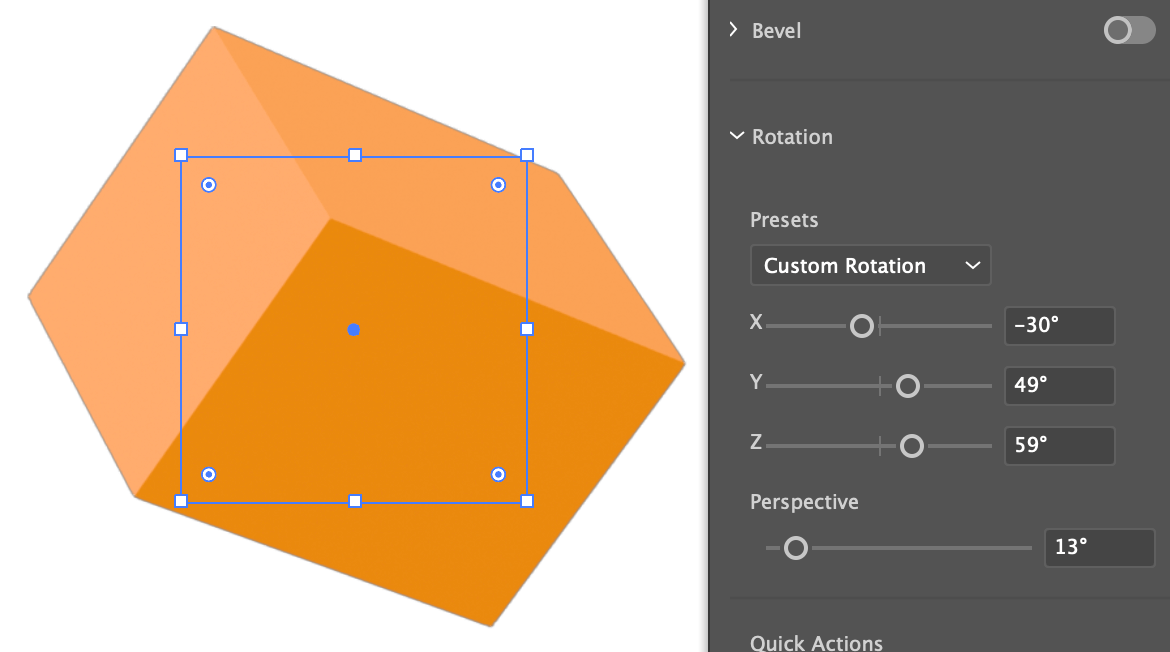
You can also rotate the cube by adjusting the x, y, and z values or changing its perspective.
Once you get the position ready, you can go to Lighting and adjust the light source/shading of the cube.

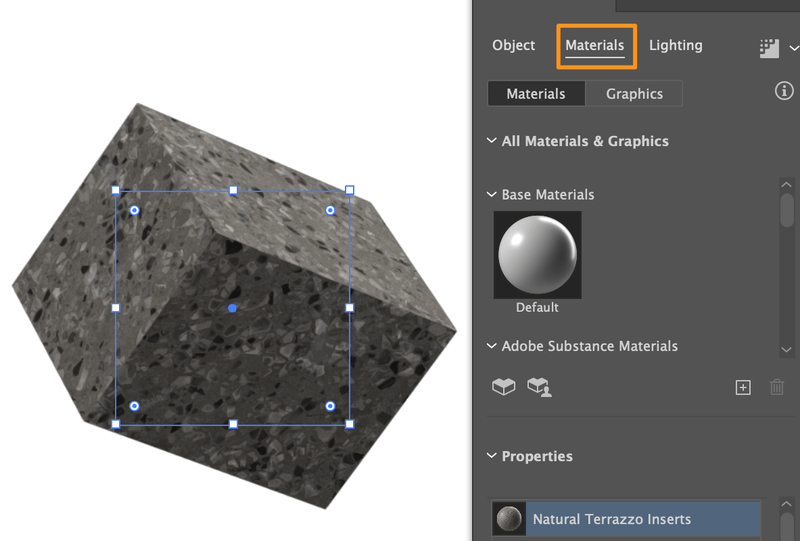
Another fancy thing you can do is from the Materials settings. You can add a texture/material to the cube.
If you want a detailed explanation of making 3D objects, you might want to explore and try the different options of each setting.
Conclusion
Actually, it’s a pretty clear A or B choice. If you want to make a 2D cube, use the polygon tool, line tool, and shape builder tool. If you want to create a more realistic 3D-style cube, choose the Extrude & Bevel effect. It can be more complicated than making a 2D cube, just take your time to explore the options and styles.
About June Escalada
Sd
Illustrator has new 3D feature in latest version
June Escalada
Yes! I just got the CC 2022 version and saw that feature. Pretty cool. Basically it’s the same effect but easier to manipulate the different settings.
Zeeshan Siddiqui
Hi June, it was nice reading your article and even nicer to know that there are people other than me who actually consider Adobe Illustrator as their best friend 😀
Keep writing, keep inspiring 🙏🏼
Muhammad wasim
Good work dear keep it up