You can find the actual Fill Tool in the toolbar but there are several other tools that you can use to fill objects with colors in Adobe Illustrator.
The fill action means adding color, or elements inside an area. Let me make it easier for you, in Illustrator it means adding/filling color or gradient to objects.
I’ve been using Adobe Illustrator for nine years, working with colors every day, I use different coloring tools for different occasions. For example, the Eyedropper Tool and Color/Color Guide are the tools I used the most to fill colors.
In this article, you’ll learn different tools to fill color in Adobe Illustrator including where they are and some quick tutorials of how they work.
Ready to explore?
Table of Contents
Where is the Fill Tool in Adobe Illustrator
Note: Screenshots are taken from the Illustrator CC 2021 Mac version. Windows or other versions might look slightly different.
Fill Color using the Fill Tool
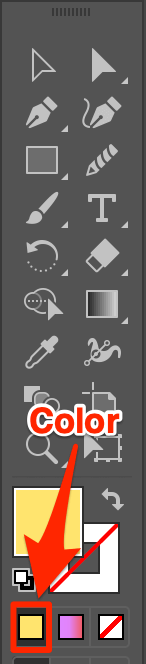
The actual Fill tool is the solid square icon located in the toolbar. I’m sure you’ve seen it many times already.
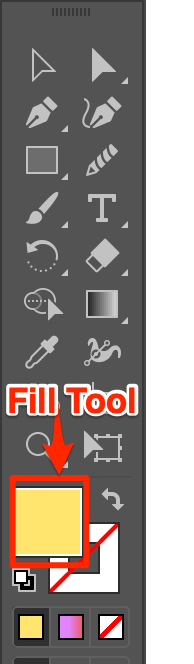
You can also activate the Fill Tool using the keyboard shortcut X. Actually, you can switch between Fill and Stroke by pressing the X key.
Fill Color using the Eyedropper Tool
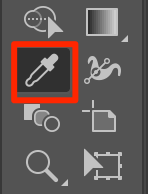
If you’re a shortcut person like me, go ahead and hit the I key on your keyboard. Otherwise, you can find the Eyedropper Tool in the toolbar.
Fill Color using Swatches/Color
In some Illustrator versions, the Swatches and Color panels show up on the right-hand side of the document when clicking on objects.
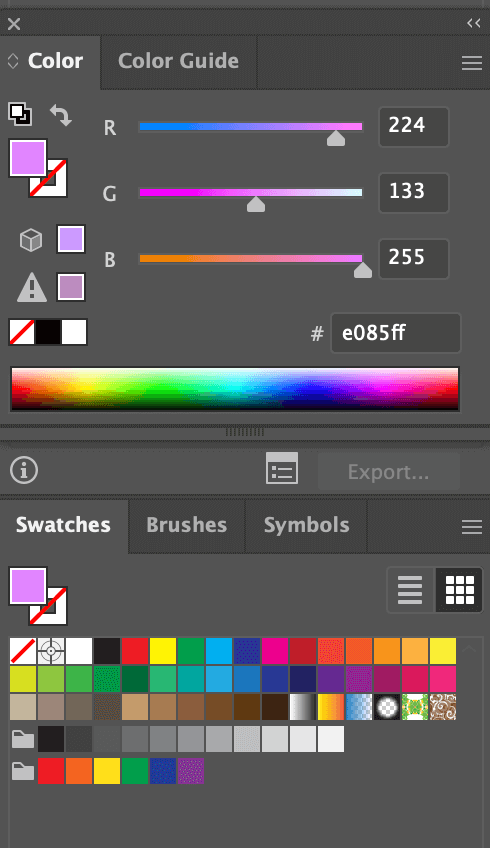
If the panels are not showing for you, you can do a quick setup from Window > Swatches and Window > Color.
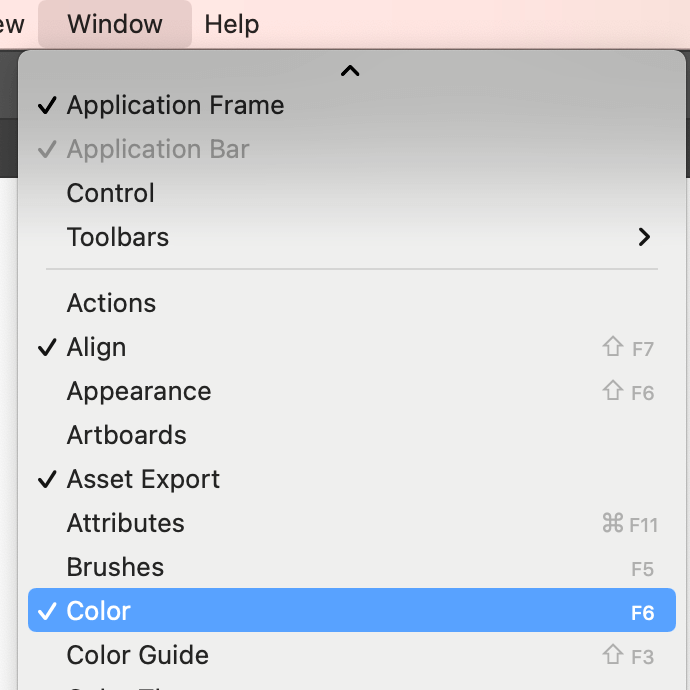
You can also activate the Color panel by clicking on the Color icon in the toolbar. When you click, the Color panel will show up on the right side along with other panels.
Fill Color with the Live Paint Bucket Tool
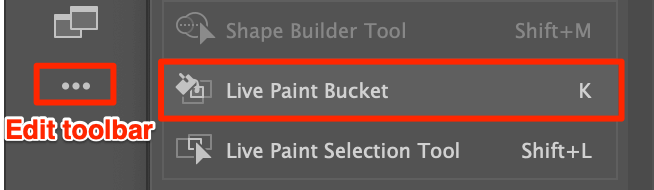
The Live Paint Bucket Tool may seem like a stranger to you because it’s hidden and you’ll have to set it up or depending on the Illustrator version, sometimes you can find it in the same folder tab as the Shape Builder Tool.
You can find the Live Paint Bucket Tool from Edit Toolbar > Live Paint Bucket, or you can always use the keyboard shortcut K.
Quick Tutorials & Tips
As I mentioned above, they are several ways to fill objects with colors. I’m going to give you a quick guide to the most common four methods: Fill Tool (Color Picker), Eyedropper Tool, Color/Color Guide, and Swatches.
1. Fill Tool
It gives you the freedom to explore and pick whatever color you like and you have the option to input the color hex code. It’s important to keep color consistency when you work on branding design, or event VI, so using accurate color hex code is a must.
Step 1: With your object selected, double click the Fill Tool icon and the Color Picker window will show.
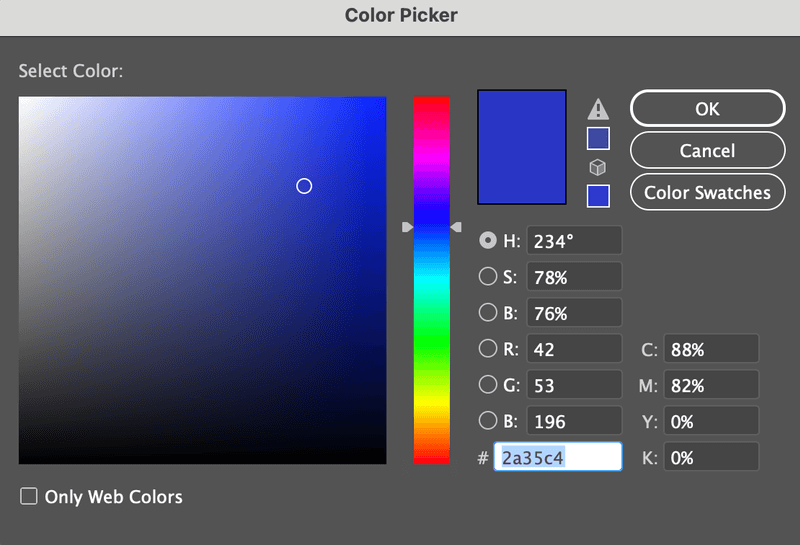
Step 2: Select a color from the Color Picker or input color hex code and click OK.
2. Eyedropper Tool (I)
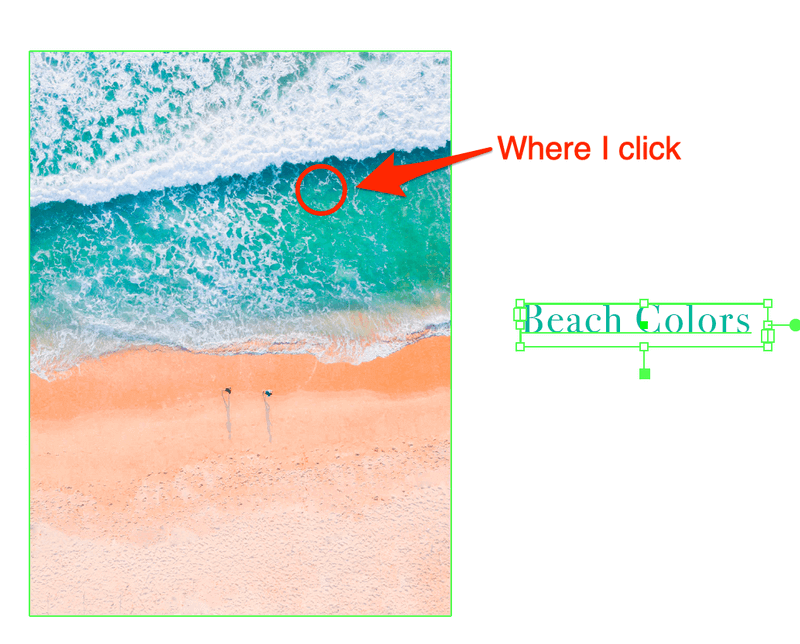
It’s the best and easiest way to fill your object with color when you have sample colors. You can use it to sample colors from an image you like and apply the colors to your artwork.
Step 1: Select the object and select the Eyedropper Tool.
Step 2: Find sample color and click on it. When you click, your object (in this case text) will be filled with the sample color.
3. Swatches
It’s convenient if you’re looking for basic color filling. Actually, there are more color options in the Swatch libraries menu, or you can create your unique swatches and save them for future use.
Step 1: Select object.
Step 2: Click on a color on the Swatches panel.
4. Color/Color Guide
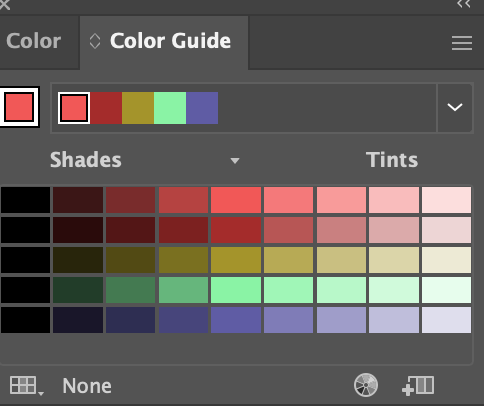
When you have no clue about color combinations, the Color Guide is the go-to. You can start with its color suggestions and later make your own.
Step 1: Select object.
Step 2: Select a color on the Color or Color Guide panel.
Wrapping Up
Using the right tool for the right project is trouble-saving and time-saving. I strongly recommend you find and set up the essential color/fill tools before working on your project. It only takes a few minutes and you can have your tools handy.
Have fun with the colors!
About June Escalada