
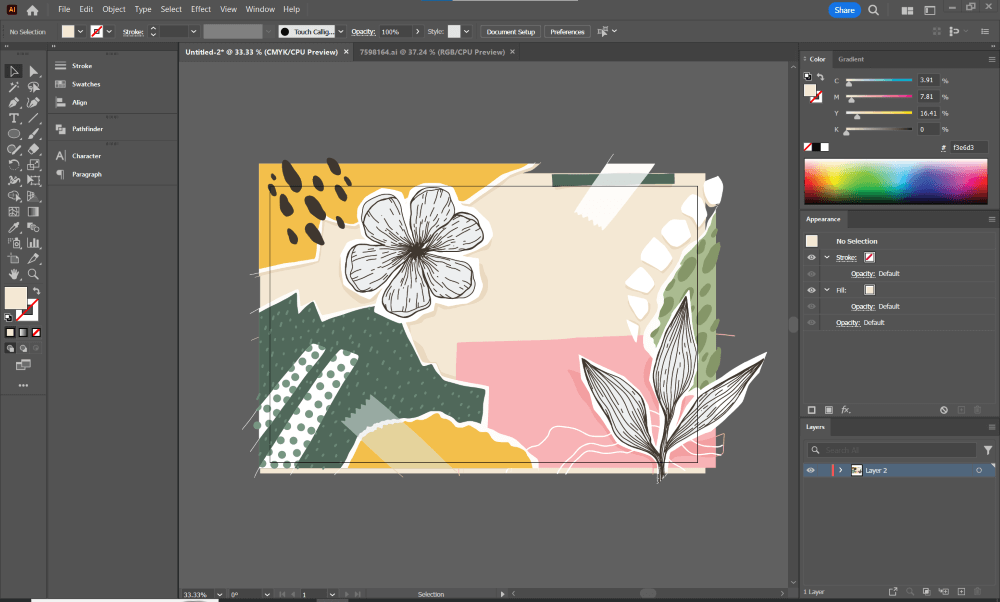
Don’t worry when you see extra artwork outside of your artboard, because when you save or export your file, with the right settings, it’s not going to show. For example, you can choose Trim View to preview what’s going to show on the final version of your artwork.
When I first started using Illustrator, I was so cautious with the design elements, trying to make the perfect rectangle color background that fit the artboard, worrying that the messy drafts would show (I like to keep my ideas/drafts in the same file to keep track of my design process).
This post will show you how to crop to the artboard in Adobe Illustrator. The Artboard is essential to your document as that is what is going to show when printing, viewing outside of Illustrator, etc. I will show you several ways to work with your artwork and artboard in Illustrator.
Let’s get started.
Key Takeaways
- To simply view only the artwork within the artboard boundary, go to View > Trim View.
- You can always resize the artboard manually or by exact dimensions.
- If you need to have your artboard crop to be the same size as some of your artwork, go to the Object menu > Artboards and you can either choose Fit to Artwork Bounds or Fit to Selected Art.
- The keyboard shortcut for the Artboard tool is Shift + O.
How to Crop to Artboard in Adobe Illustrator
As you are creating, more than likely you will have bleed or positioned graphics that extend beyond the artboard. Because of this, sometimes you want to get a preview of what the artwork will look like with that “cut-off”. Adobe knows this and has built-in an option to make this easy.
Here’s how it works.
Note: The screenshots below are taken from the Adobe Illustrator CC Windows version. Other versions can look different.
Navigate to the top menu View, then click Trim View.
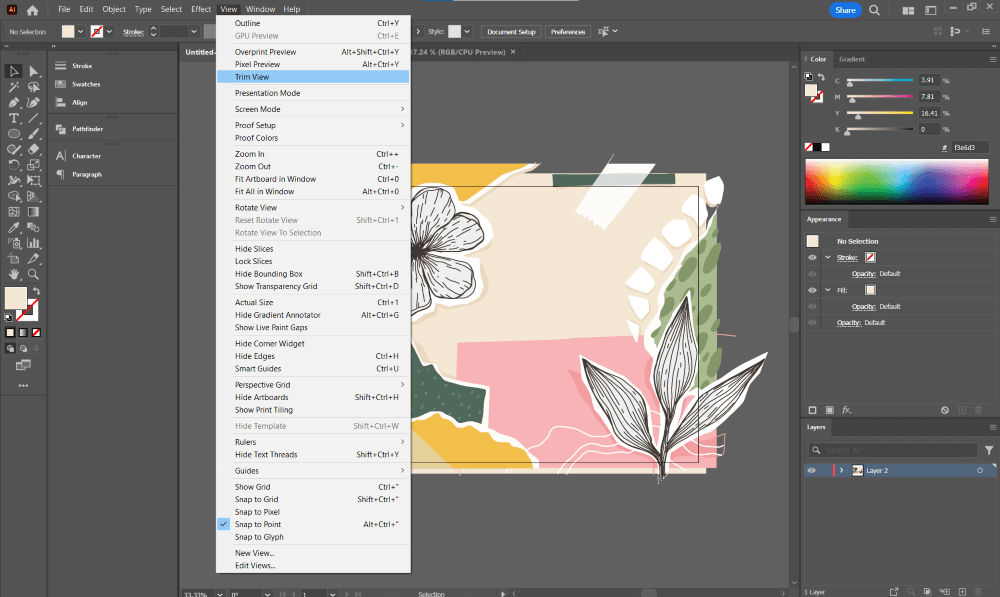
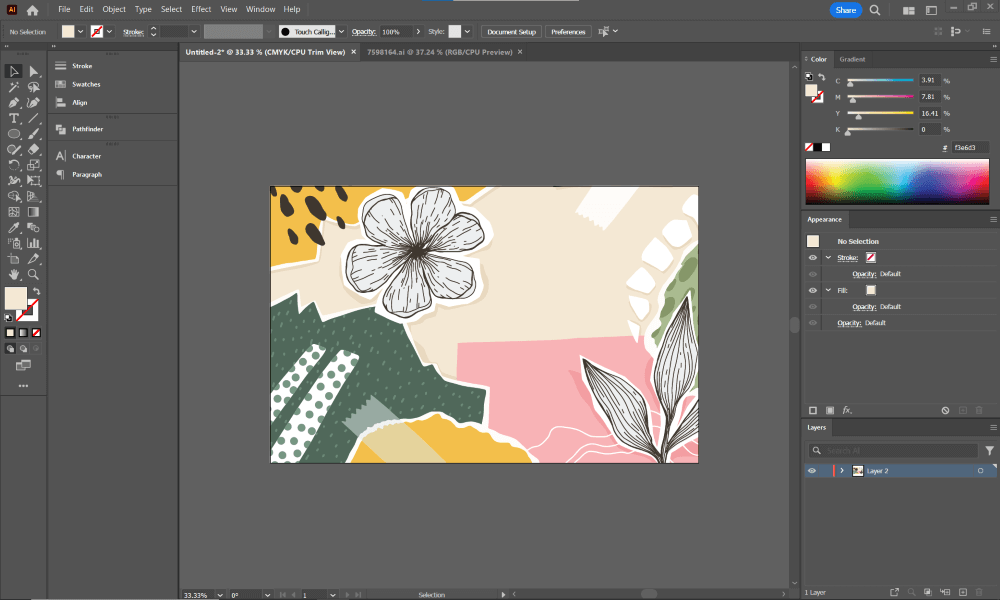
Now you can view only the artwork that is within the boundaries of your artboard.
Alternative Ways to Crop Artboard in Adobe Illustrator
While we are on the subject of artboards, here are some other ways:
For example, you can use the Artboard Tool (Keyboard Shortcut Shift + O) to manually drag the edge points in or out to resize your artboard.
Another way is to use the Artboard Tool and type the dimensions in at the top of the interface to change your artboard to a specific size.
Or go to the main menu Object > Artboards and you have the option to Fit to Artwork Bounds or Fit to Selected Art.
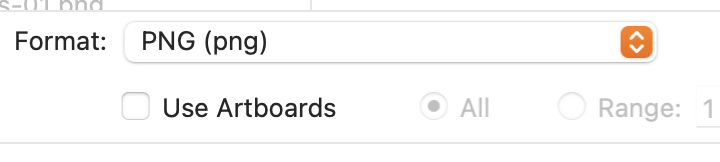
If you want to keep the artwork element in your design file but crop the edges when saving an image, you can choose the Use Artboard option when you save your Illustrator file as a JPEG or PNG.
FAQs
Here are a few quick answers to some of the most commonly asked questions related to how to crop to an artboard in Adobe Illustrator.
Does cropping the artboard get rid of the artwork outside of the boundaries?
No, cropping the artboard does not. When trimming the view, it is simply temporary and you can even still click on artwork that is outside of the artboard too!
Will my PDF print all of the artwork, including what is outside of the artboard?
No, the artboard is precisely what determines what will print for you. Anything outside of the artboard will not print or be viewable unless opened in Adobe Illustrator.
Final Thoughts
The Artboard is very important to your document and you will definitely want to learn how to control it. The option to Trim View is wonderful to help get a sense of what the artwork looks like trimmed down to your artboard. Then you can use the Artboard Tool to crop the artboard or choose the Use Artboards option when saving your Illustrator file.
Have you tried the Trim View option in Illustrator? What situation did you use it for? Let me know in the comments below.