
The Intertwine Tool allows you to easily overlap objects, paths, and text in Adobe Illustrator. Select all the objects/paths/text that you want to intertwine, go to the Object menu, and select Intertwine > Make.
Before discovering this amazing tool, I was always using the offset path to create overlapping text or paths. I have to say that, the Intertwine tool makes it much easier.
In this article, I will show you how to use the Intertwine Tool to overlap text and paths in Adobe Illustrator.
Let’s get started.
Key Takeaways
- The Intertwine tool can be used on two or more objects.
- Once an object is in an intertwine group, you cannot make another intertwine group with it, you just have to edit the first intertwine group.
- The Intertwine tool is located in the Object menu.
How to Use the Intertwine Tool in Adobe Illustrator
Before using the tool, you need to have some objects/paths/text that you want to overlap.
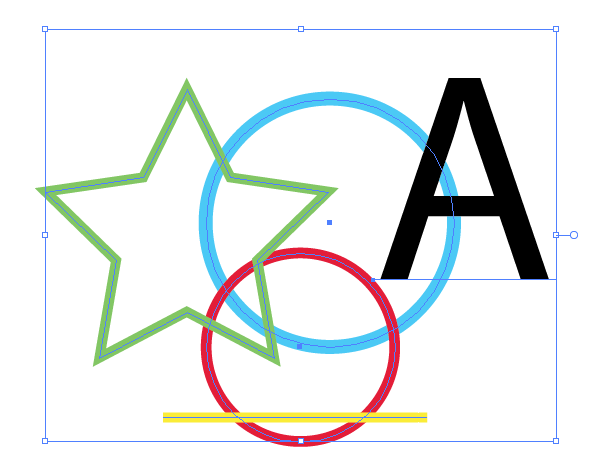
For example, I am using some shapes and the letter A for my example. The paths do not have to be closed, the objects can be a stroke or fill, and you can use text. You can use live text, but if you decide to change the letter(s) that are intertwined, you will have to redo the intertwine as well.
Note: The screenshots from this tutorial are taken from Adobe Illustrator CC Windows version. Mac and other versions can look different.

Step 1: Select the objects that you want to intertwine. You can select multiple objects by clicking and dragging over the objects you want to select, or hold the Shift key and click on the objects you want to select. If you want to select all, use the keyboard shortcut Command/Ctrl + A.
Step 2: With the objects selected, go to the overhead menu and choose Object > Intertwine > Make. This will create your intertwined group.

Now when you hover your cursor over the top of an overlap within your group, you will see a little square-looking cursor or a lasso.
Step 3: Click on the overlapping area of two paths/objects or draw around it to intertwine them.

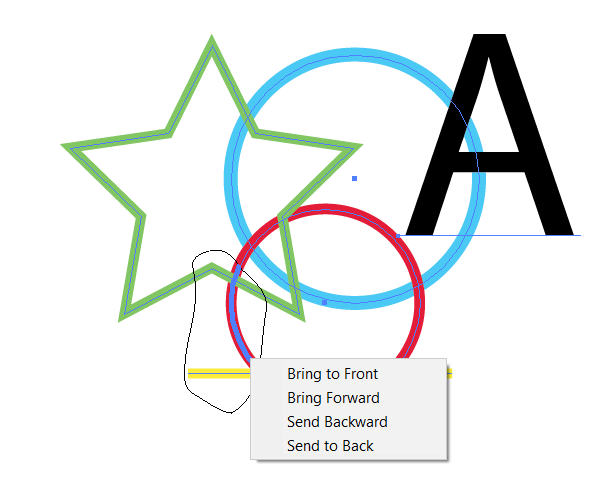
Keep clicking the areas that you want to intertwine or use the lasso tool cursor, which allows you to draw a lasso around where you want it to be intertwined. With that selection, you can also right-click and change the direction of the intertwine.
Continue to use the intertwine tool until you are happy with the look of your creation!

Tip: The intertwine tool menu also has the Release (for when you want to release the intertwined group and get rid of any alterations) and the Edit option (for when you need to edit something within the intertwined group and not get rid of the rest of the work you have done by releasing.
FAQs
Here are a few quick answers to some of the most commonly asked questions related to how to use the Intertwine Tool in Adobe Illustrator
Can you manipulate live text and have it still be editable?
Yes, you can but I wouldn’t necessarily recommend it. If you change any of the text that has an overlap within the group, it will have to be redone when the letter changes because otherwise it won’t line up and look proper.
Can I easily get rid of the intertwines I made and don’t like?
Yes, you can. Navigate to Object > Intertwine > Release. When you release the intertwined path, it will get rid of all of the intertwined looks you added.
Final Thoughts
The Intertwine tool is wonderful for editing overlap objects in Illustrator. quickly and very easily. Image the Olympic rings and how easy the intertwined tool makes it to create something similar.
Have you tried the Intertwin Tool in Illustrator? What did you create with it and was it for fun or work? Let me know in the comments below.