
You can select and drag an artwork you create into the Symbols panel to make it a symbol. From there you will click and drag the thumbnail that contains the new symbol from the Symbols panel to where you want it to be placed in your document.
You can also use the Symbol Sprayer in Illustrator to add multiple symbols at once and use the shifter and other symbol tools to adjust and manipulate the symbols how you would like them to look.
In this article, I’m going to show you how to use different symbol tools such as Symbol Srapyer and Symbol Shifter tools in Adobe Illustrator. The Symbols panel allows you to create reusable graphic images with the same frame but create unique appearances for them in Adobe Illustrator with Symbol tools.
Key Takeaways
- Symbols can be created out of vector artwork, live text, and even raster graphics.
- As with vector symbols, live text symbols are editable when you double-click one of the applied symbols within your document.
- The symbol sprayer adds several instances of the symbol as you click and drag like a spray paint can.
- There are several symbol tools that help create unique appearances and allow you to adjust the placement and sizing of the symbols.
How to Use Adobe Illustrator Symbols
It’s easy to work with symbols in Adobe Illustrator. Besides the Symbols panel, did you know that you can use a symbol as a spray as well? If not, let me show you how!
Before jumping into the trick, I’ll quickly go over how to use symbols in Illustrator just in case you’re not familiar with it.
So what are symbols in Illustrator?
Symbols in Adobe Illustrator are reusable graphic elements that can be easily updated and replicated across a design, saving time and ensuring consistency.
Note: The screenshots from this tutorial are taken from Adobe Illustrator CC Windows version.
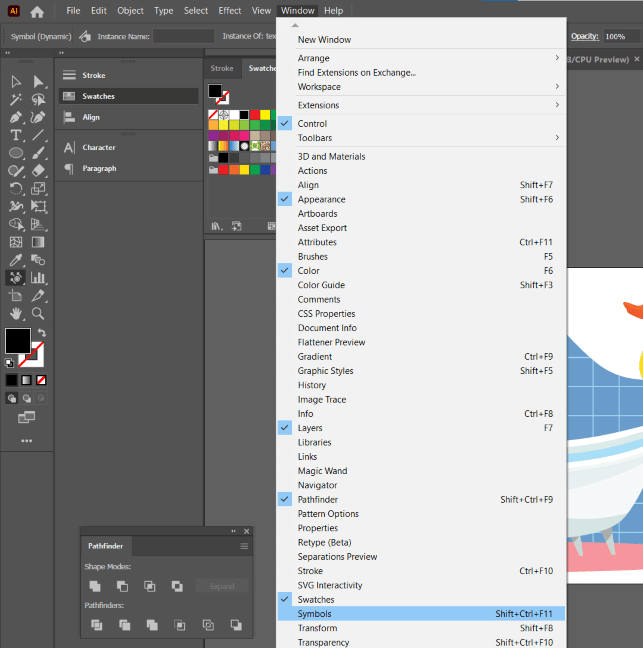
Navigate to the main menu at the top Window > Symbols. This will open up your Symbols panel.
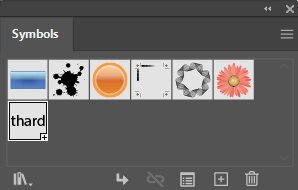
When you open the window, there may be default symbols that load into the window. These are great to practice with.
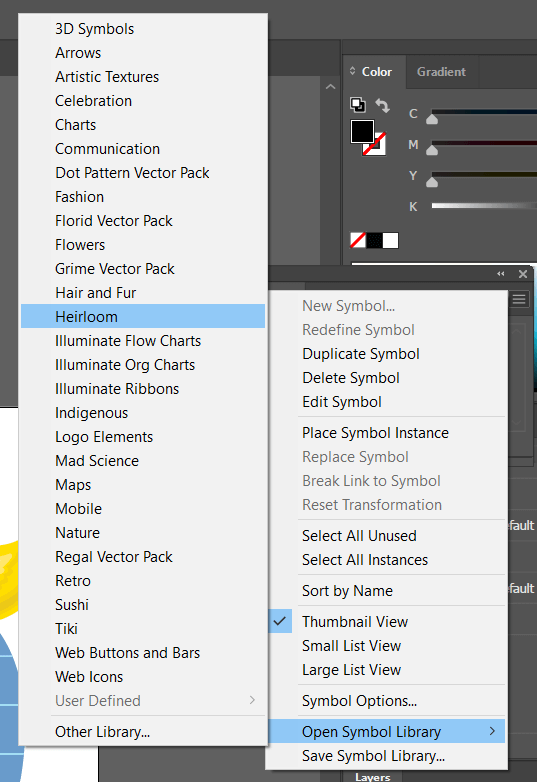
You can find more symbols from the hidden menu (three lines) in the upper right-hand corner, click Open Symbol Library, and there is a list of Illustrator symbol libraries you could try.
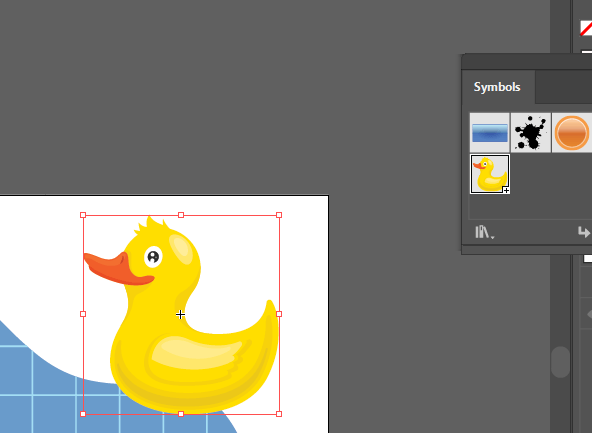
If you can’t find what you want in the symbol libraries, you can also make a custom symbol library. These can be vector artwork, live text, or even raster images. When you have the image you want to be a symbol, select it then click, drag, and drop it to the Symbols panel.
Note: if you do not want that image to be connected to the symbol, hold shift as you drag and drop the image onto the Symbols window.
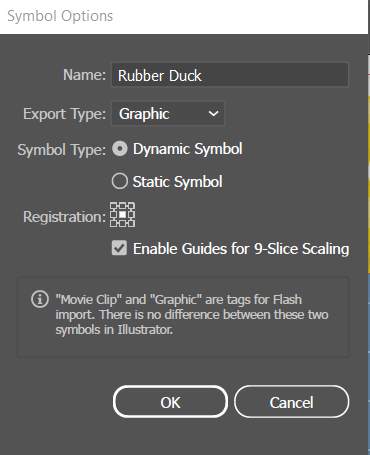
When you drop the image, a dialog box will pop up. You can name the symbol, provide an export type (Movie Clip is only for Flash import, so most likely you will choose graphic), choose dynamic or static, register, and choose whether you want to enable guides for 9-Slice Scaling. When you have those filled out, click OK.
Now your symbol will appear in the symbols window.
Simply click and drag the symbol to your Artboard.

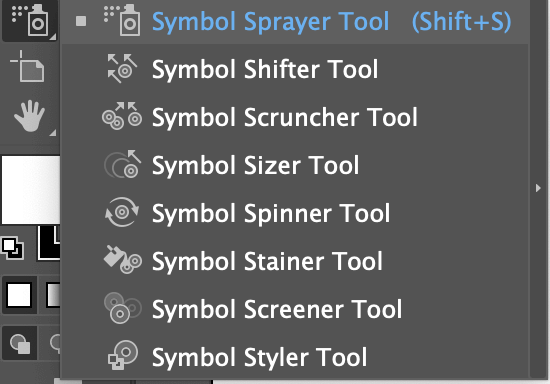
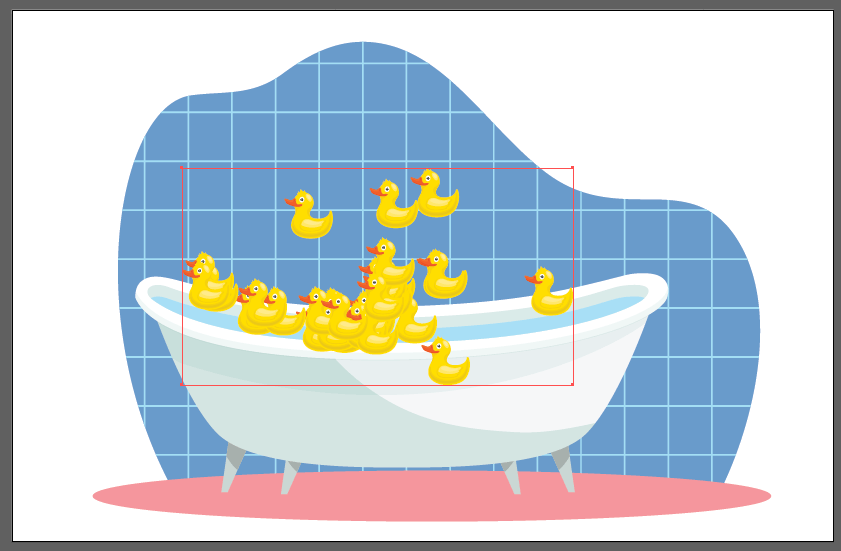
If you want to add multiple symbols, choose the Symbol Sprayer Tool from the toolbar or use the keyboard shortcut Shift + S to activate the tool.
With the sprayer selected, click and drag on your artboard and you will see many copies of the symbol being added. If you want to add just a couple of duplicates, simply click multiple times.

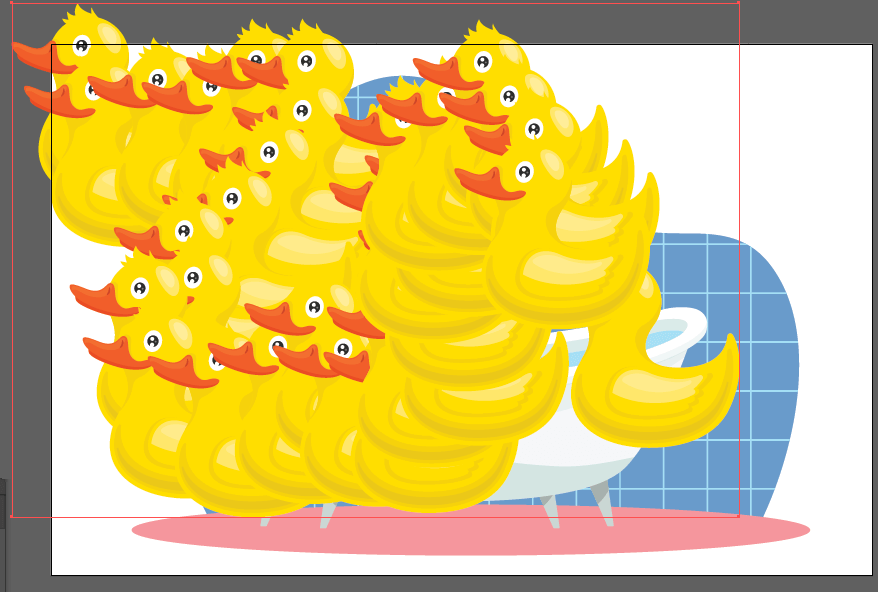
As you can see, my rubber ducks are all over the place. To an extent we can use the Symbols tool to adjust the symbols, but if it is too overwhelming you may just want to redo it. You aren’t able to just edit each one since it is a symbol, but you can edit the original which will make changes to all instances of the symbol.

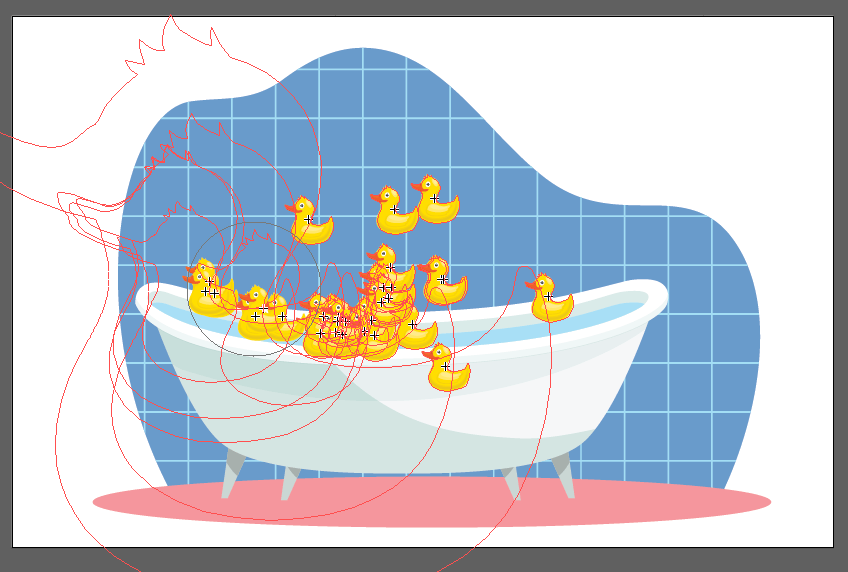
If you want to edit a symbol in Illustrator, double-click one of the symbols and it will work similarly to going into Isolation mode. I made my rubber duck smaller so it is not as overwhelming.

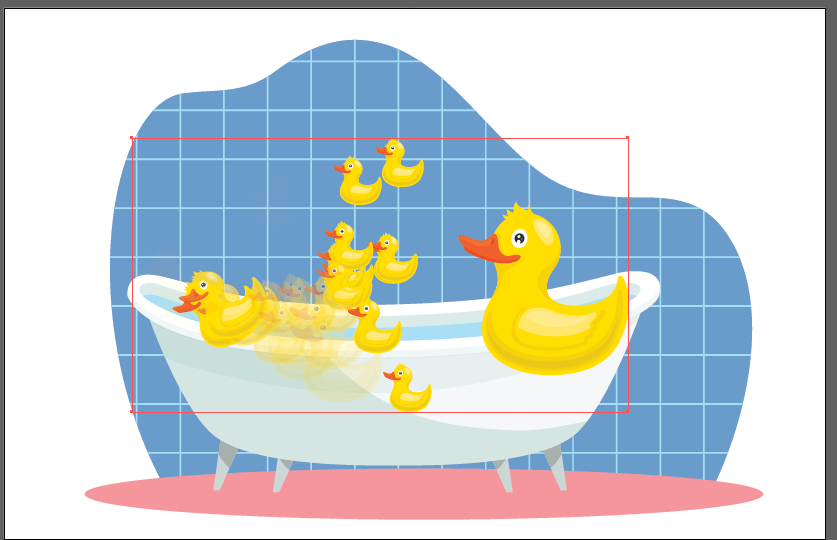
Now I am going to use the Symbol Shifter Tool to adjust the placement of the ducks.
Note: You must select the symbol or symbol group before being able to use the shifter tool.
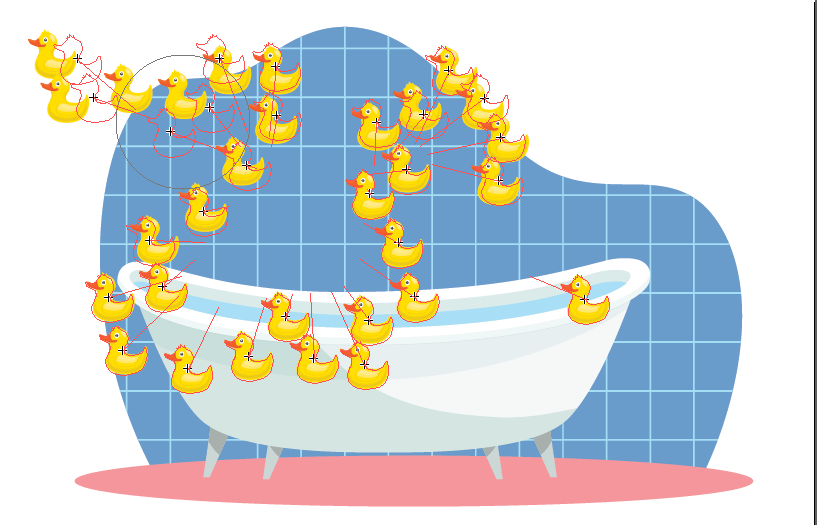
Depending on what changes you want to make, there is probably a Symbols Tool to help with it. My ducks are too far spread out so I am going to use the Symbol Scruncher Tool. This will help my ducks be closer together like they are swimming in the bathtub.
If you want a variety of sizing within the symbol group, get the Symbol Sizer Tool, click, and drag on the graphics to change the size where you are clicking.
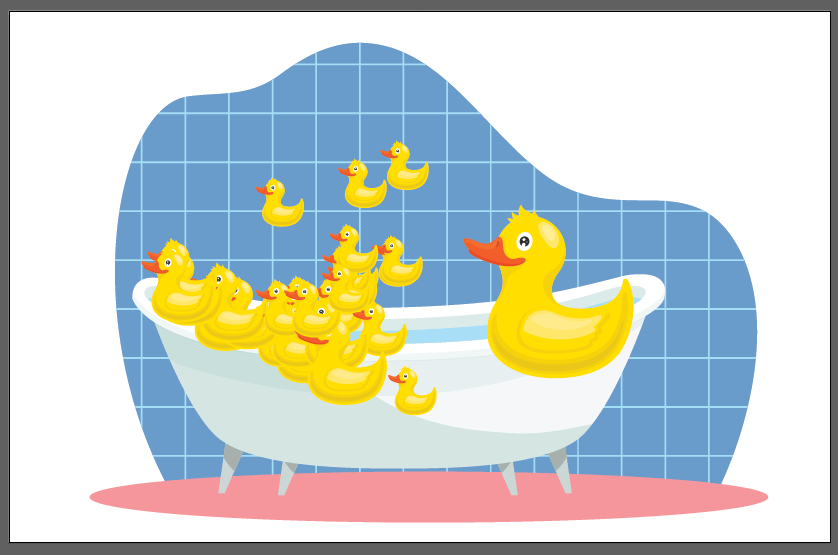
If you want to rotate the symbols, select the Symbol Spinner Tool. Click and drag and you will see how the symbols are going to change with little red arrows.


There are three tools to change the color, transparency, and style: Stainer, Screener, and Styler Tool. Stainer changes color, Screener changes transparency, and style uses the graphic style window to add a different vector style (change outline, fill, etc).
Final Thoughts
Symbols can be vector, text, or even raster images within your Adobe Illustrator file. This is great when you are adding multiple images within the same design, yet you can still make changes to them. If you cannot make the changes you would like, go to Object > Expand. This will remove the connection to the original symbol and you can manipulate them like normal now.
Have you tried the Symbol Tools in Illustrator? What did you create with it and was it for fun or work? Let me know in the comments below.