Some images are just too big to fit in your artwork sometimes. What to do when the images don’t match the size requirement? Obviously, you resize them! But you have to be careful not to distort the images while resizing, and the key to avoiding that is the Shift key.
You can use the Scale Tool, Transform tool, or simply the Selection Tool (I mean bounding box) to scale images in Adobe Illustrator. In this tutorial, I’m going to show you how each method works with detailed steps.
Let’s get started!
Note: all screenshots from this tutorial are taken from Adobe Illustrator CC Mac version. Windows or other versions can look different.
Table of Contents
Method 1: Scale Tool (S)
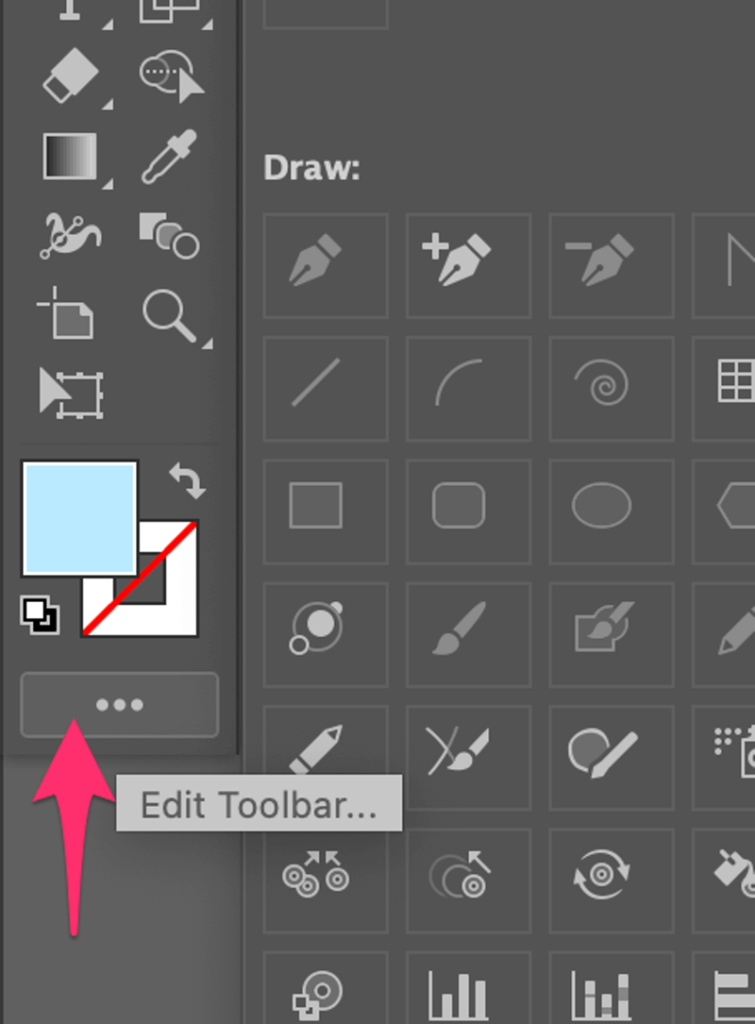
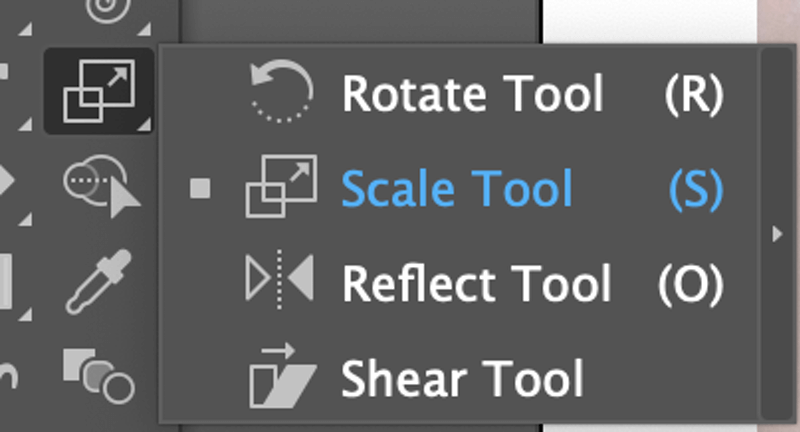
There’s actually a Scale Tool on the toolbar. It should be in the same sub-menu as the Rotate tool. If you don’t see it, you can add it from the Edit Toolbar menu.
Step 1: Select the images with the Selection Tool (keyboard shortcut V). Hold the Shift key to select multiple images, or drag through to select all images if you want to resize all.
Step 2: Choose the Scale Tool from the toolbar, or use the keyboard shortcut S.
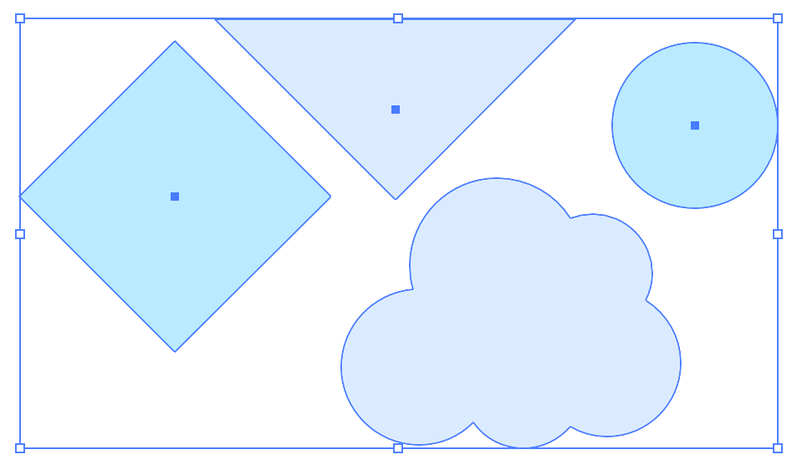
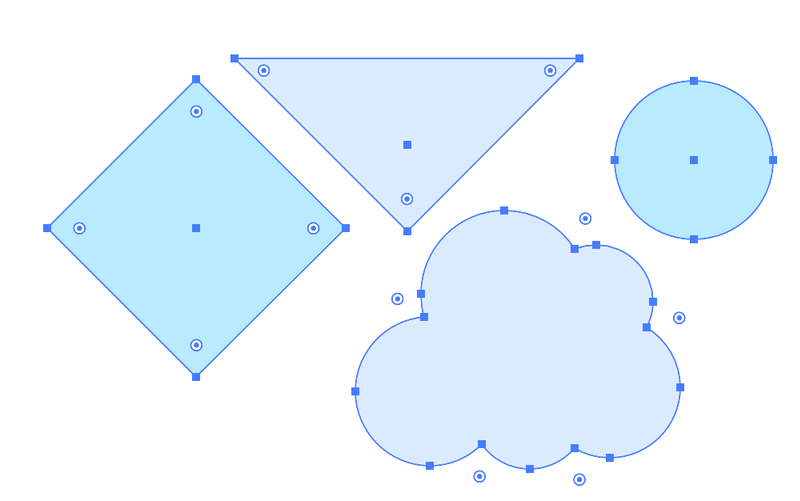
Now you will see anchor points on the images you choose.
Step 3: Click on an empty space near the images and drag out to enlarge the image or drag in to reduce the artwork size. Hold the Shift key while dragging to keep the images proportional.
For example, I clicked and dragged toward the center to make the images smaller. However, I didn’t hold the Shift key, so the images look a bit distorted.
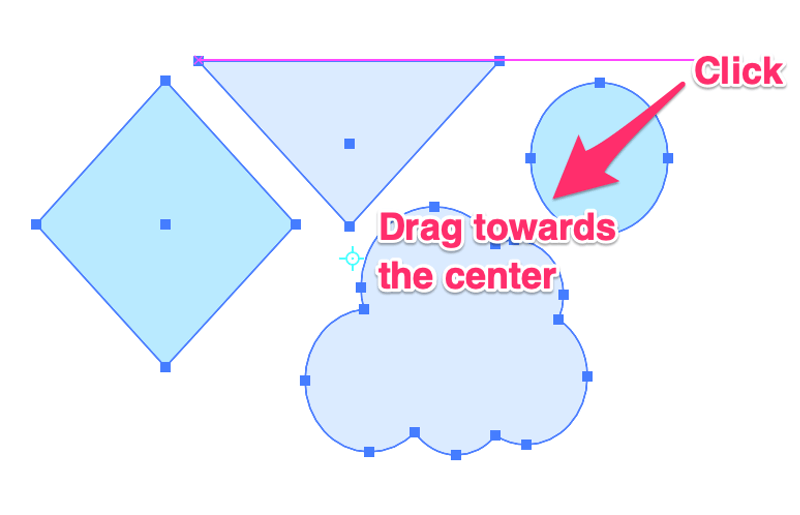
Release the mouse and Shift key when you’re happy with the size.
Method 2: Transform Tool
This method works best when you have an exact size value in mind because you can directly input the width and height.
For example, let’s resize this image to 400 pixels in width. Right now the size is 550 W x 409 H.

Step 1: Open the Transform panel from the overhead menu Window > Transform. Actually, the Transform panel will show under the Properties panel when you select an object or image.
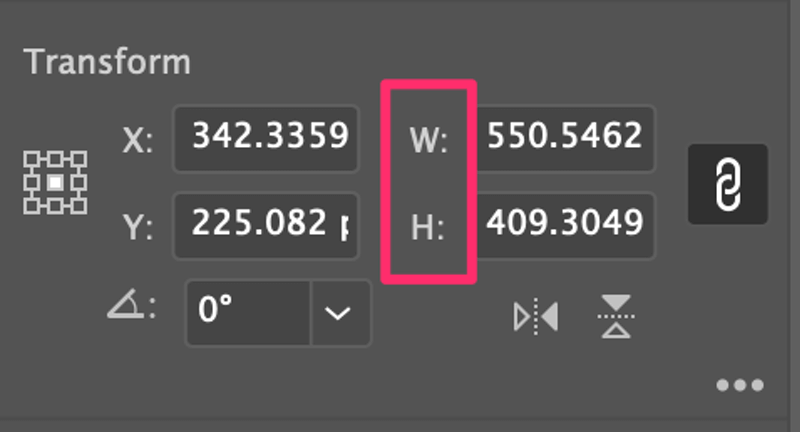
Step 2: Select the image you want to resize and you’ll see its size info on the Transform panel > W (width) and H (height). Change the W value to 400 and you will see that the H value changes automatically.
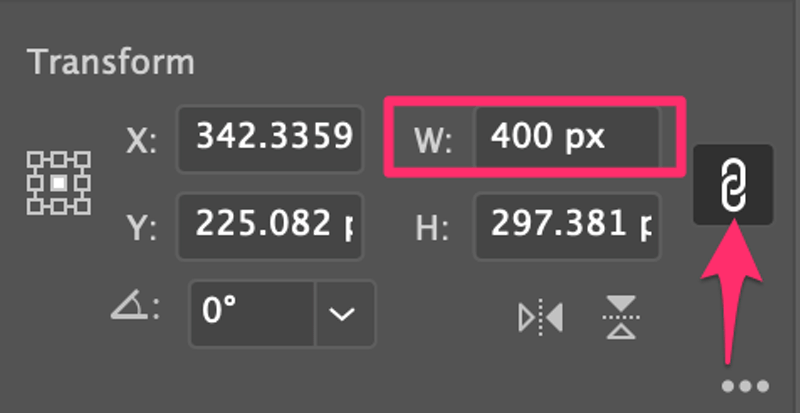
Why? Because the link button is checked. When the linked button is clicked, it keeps the original proportion of the image. If you put a W value, the H value will adjust to a value that matches. Vice Versa. You could unlink the button, but I don’t see why you would want to.
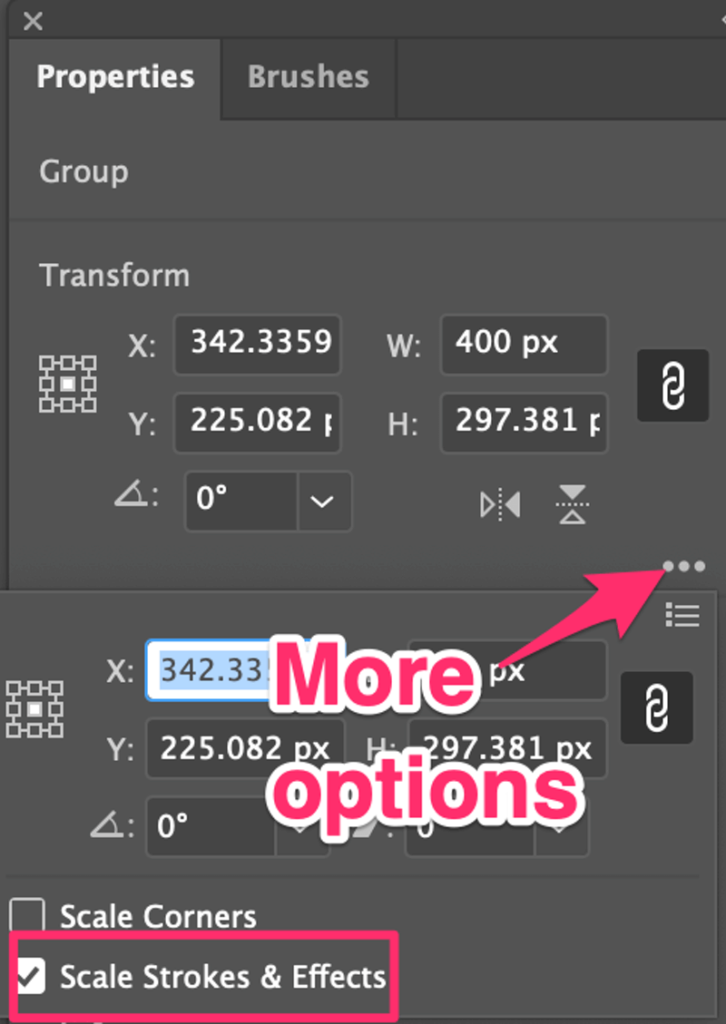
Tips: If your images have strokes, you can click on More Options (the three dots button) and check Scale Strokes & Effects.
Method 3: Bounding Box
This is the most convenient way to resize artwork in Adobe Illustrator. Simply select the images and drag the bounding box to resize. See detailed steps below.
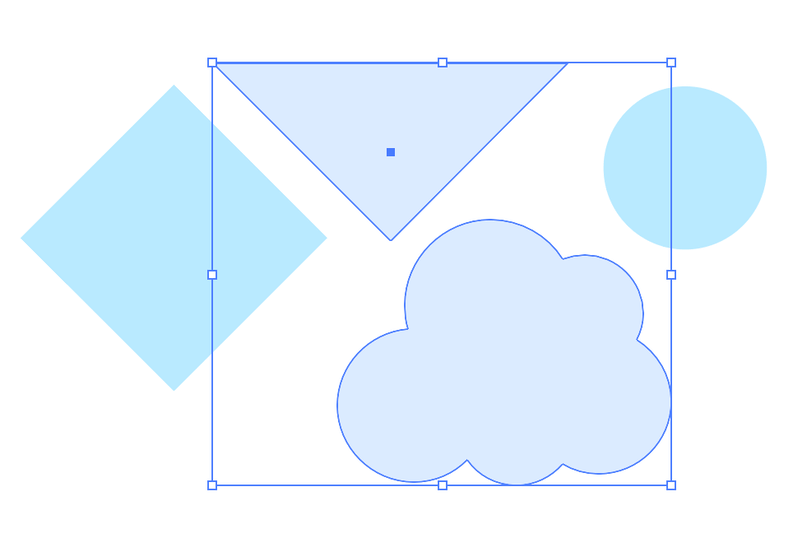
Step 1: Choose the Selection Tool from the toolbar.
Step 2: Hold the Shift key and select the images that you want to resize. You will see the selection within a bounding box. For example, here I selected the triangle and cloud.
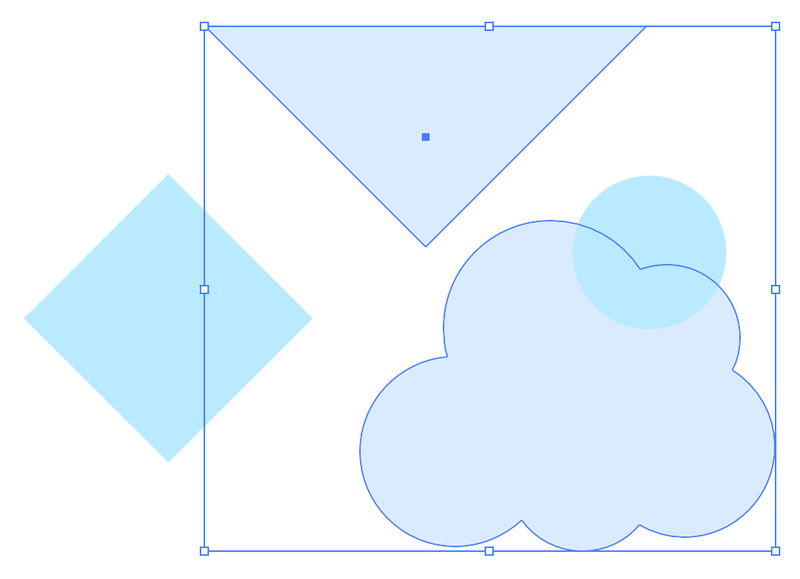
Step 3: Click on one of the corners of the bounding box and drag in or out to resize. Drag out to increase the size, and drag in (towards the center) to reduce the size. If you want to resize proportionally, hold the Shift key when you drag.
How to Reduce the Size of an Image in Adobe Illustrator
If you want to reduce the file size of an image instead of reducing the artwork size, you can do it when you save the file. First, you need to decide whether you’re saving the image as a jpeg or a png.
Then you can change the image resolution. For example, if you choose a lower resolution (72 ppi), your file will be smaller than if you choose a higher resolution let’s say 300 ppi.
Conclusion
It’s so easy to resize your artwork in Adobe Illustrator. Even though there’s a specific tool for it, the Scale Tool, honestly, I barely use it because using the bounding box to resize works perfectly fine.
I do use the Transform panel to resize when I know the size requirement for the images because using the bounding box or scale tool is hard to get the exact size value.
About June Escalada
Cira
How to resize multiple images (not vectorial, jpg images) at once changing all of them to have the same height for example and keeping each images proportion?
Thanks!
June Escalada
Hi Cira, are the jpg images all in different sizes?
Dominique
Thank you SO much for the great tip, June – it really helped! I used the tip #3 “Bounding box” because the other two weren’t suitable for me. I was looking for a way to reduce the size of some images to put on Instagram and the graphics that I had to work with were ginormous so this tip was a God-send – thanks for saving the day, June!
June Escalada
You’re super welcome, Dominique!
Ashisha
Dear
Sometime when save the file not save the all layers what is the issue
June Escalada
Hi, What do you mean? I’m afraid I didn’t understand the issue?
Mally
Thank you very much, it really help
June Escalada
You’re welcome!