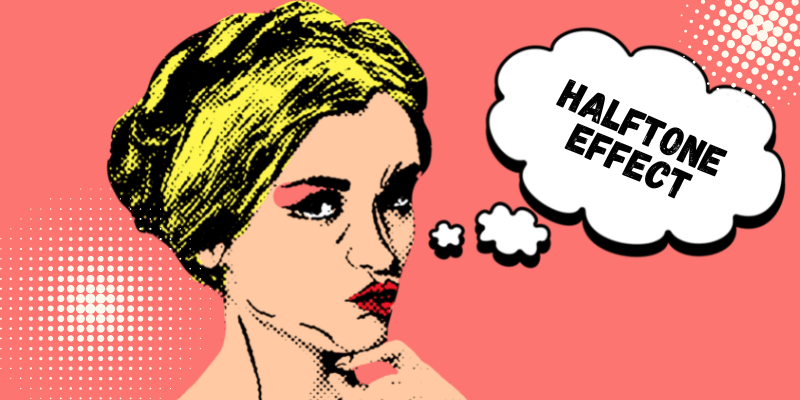
We always try to keep up with the design trends, but some styles are just not replaceable, and the retro style often has the tendency to come back. Yes, I’m talking about the halftone effect, that’s commonly used in pop art or comics.

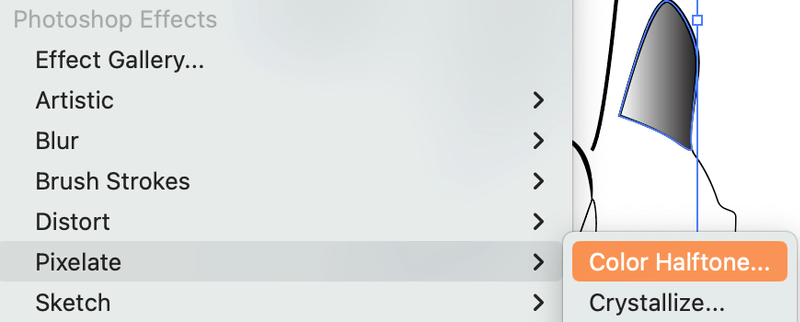
Don’t worry, you don’t have to create and duplicate the circle (halftone dots) hundreds of times to make a halftone effect in Adobe Illustrator because there’s a ready-to-use effect. You can find the Color Halftone effect from the overhead menu Effect > Pixelate > Color Halftone.
Although adding an effect is easy, to get the best halftone effect result, there are some details you should pay attention to. The first thing you should know is that the Color Halftone effect only works when the object has a fill color and it should be grayscale.
Therefore, getting the vector ready is the first step to making halftone patterns/effects in Adobe Illustrator, and the second part is applying the effect and adjusting the settings.
In this tutorial, I’m going to show you how to prepare your design for the halftone effect, apply the effect, and change the halftone pattern color in Adobe Illustrator.
Note: All screenshots from this tutorial are taken from Adobe Illustrator CC Mac version. Windows or other versions can look different.
Part 1: Get Your Vector Graphic Ready for Halftone
The image you’re adding the halftone dots to must be a vector because otherwise, you won’t be able to fill the gradient or add the effect. Follow the steps below to get the vector image ready to make a halftone in Adobe Illustrator.
Step 1: Create the graphic you want to add the halftone effect to. You can either trace an image or create shapes from scratch in Adobe Illustrator. The areas you want to add the halftone dots to must be individual shapes.
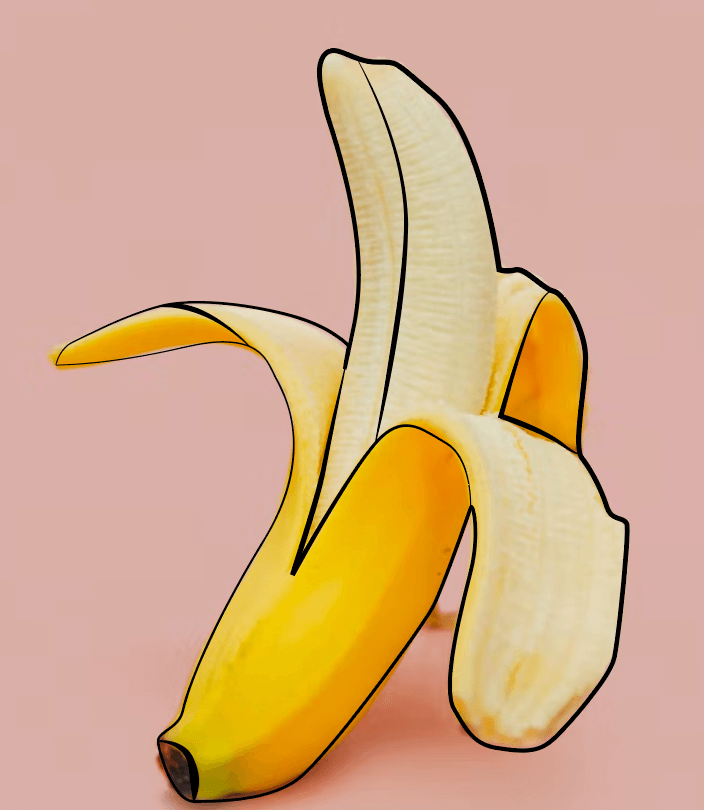
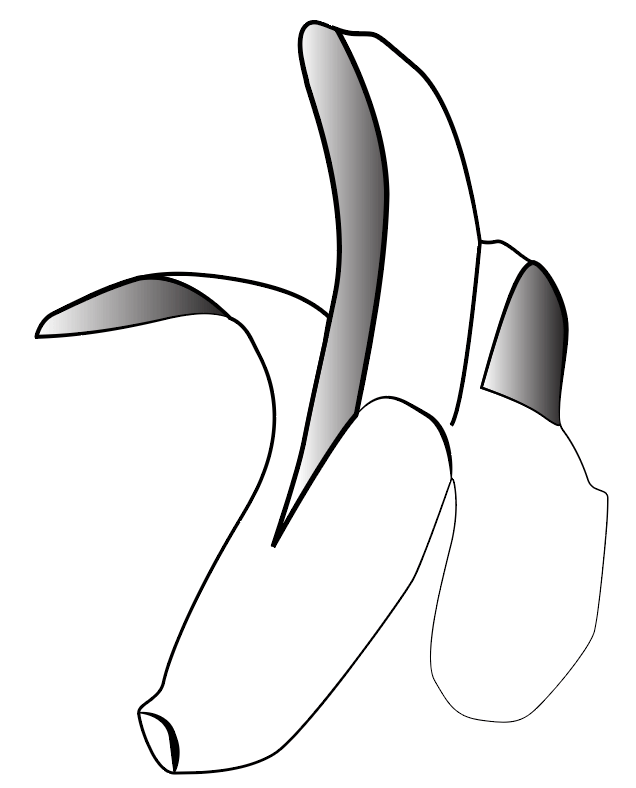
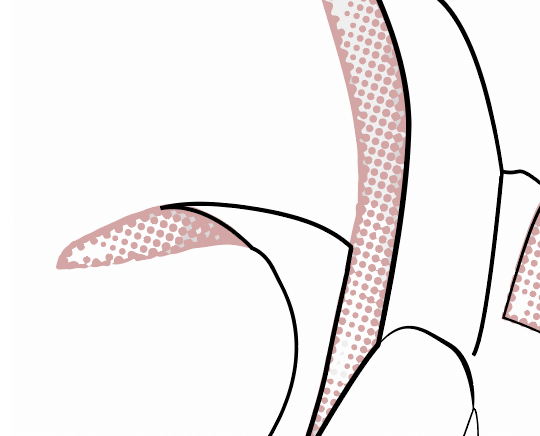
For example, I used the Pen Tool to trace the banana and used the Shape Builder Tool to combine areas that I want to add the halftone effect.
If you’re only filling in the background with halftone dots, simply create a rectangle that’s the same size as your artboard.
As I mentioned early, the Color Halftone effect only works when the object is filled, so after creating the shapes, you should fill the shapes with a solid color or gradient first.
When you fill it with a solid color, the dots will be the same size, it’s going to look like a seamless halftone pattern. And filling it with a gradient creates a fading effect, so the dots’ sizes vary.
Step 2: Select the shape/area you want to add the halftone dots and fill the shape. If you want to fill multiple areas with the same halftone effect, you can group the shapes first.
For example, I’m going to use the Gradient Tool to fill the shape with a greyscale gradient.
Now we can move on to part 2 to add the Color Halftone effect.
Part 2: Create the Vector Halftone Effect in Adobe Illustrator
Applying the effect is easy, but you might take some time to figure out the settings like the distances and positions of the dots depending on the result you’re looking for. But don’t worry, I’ll guide you through.
Here are the steps to add and adjust Color Halftone in Adobe Illustrator:
Step 1: Select the shape/area that’s filled with a gradient, go to the overhead menu, and choose Effect > Pixelate > Color Halftone.
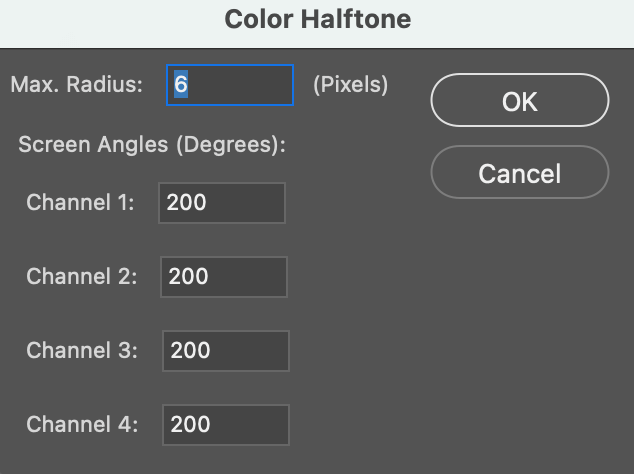
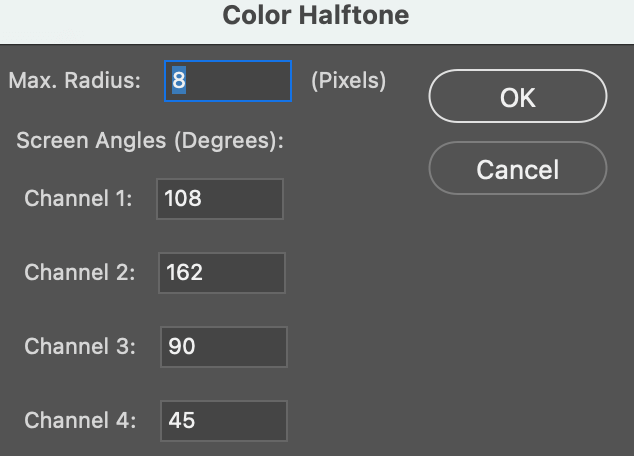
Step 2: Change the Color Halftone settings. Max. Radius determines the size of the biggest dot and the Screen Angles (Degrees) controls the screen angles of the halftone. When it’s set to different values, you’ll see screen “lights” around the dots.
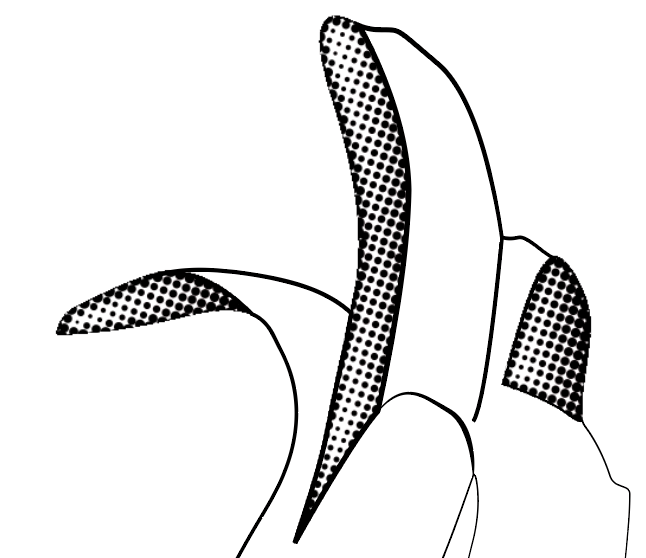
For example, if you leave the default settings, you’ll see an effect like this.
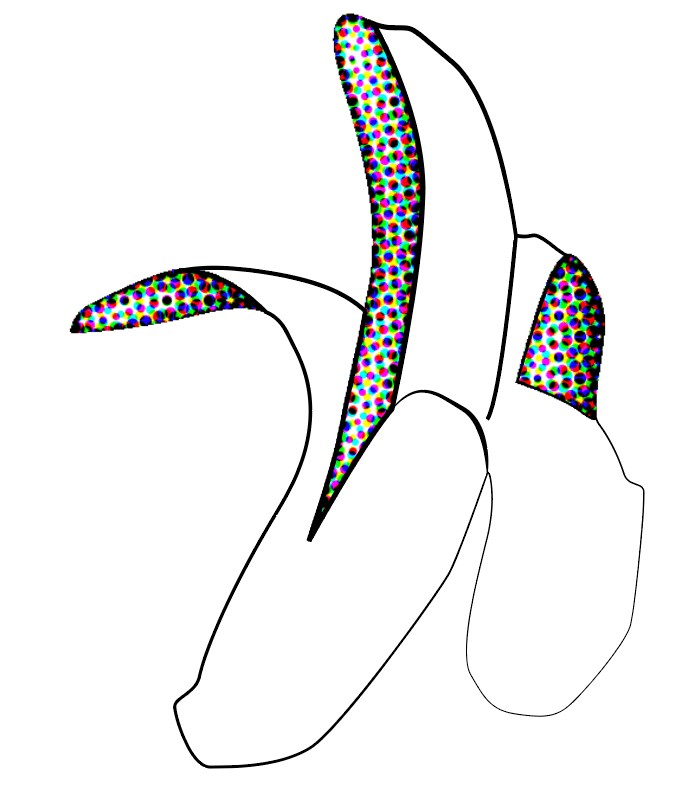
If you change the screen angles to the same value, you won’t see the extra “lights”.
This is the effect when you use a gradient fill. The darker color has larger dots, and the lighter color from the gradient is where the smaller dots will be.
Here comes an important question: What if you don’t want the color black for the halftone dots? And you’ve probably realized you aren’t able to change the color. Well, there’s a solution.
How to Change the Halftone Pattern Color in Adobe Illustrator
The dotted pattern created by the Color Halftone effect isn’t a path or shape, that’s why you can’t change the color. But once you convert the effect into a vector shape, you can.
The result might not be amazing depending on the size and complexity of your halftone pattern. It doesn’t hurt to give it a try though.
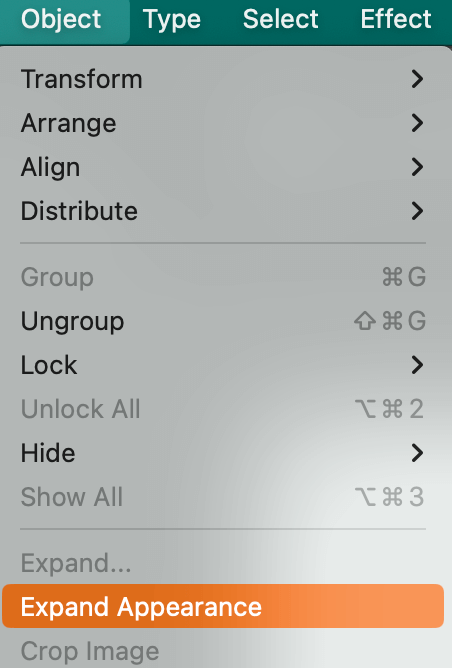
Step 1: Select the area where you added the halftone effect, and go to Object > Expand Appearance.
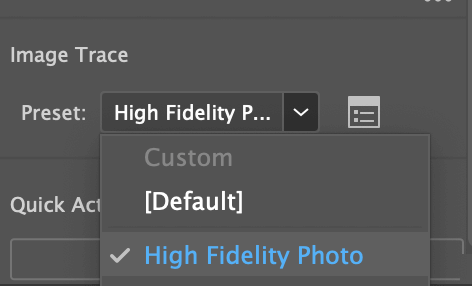
Step 2: With the same selection selected, go to the Properties panel, click Image Trace under the Quick Actions panel, and change the preset to High Fidelity Photo.
This step will vectorize the dots, but you’ll need to get rid of the white background or any other unwanted colors.
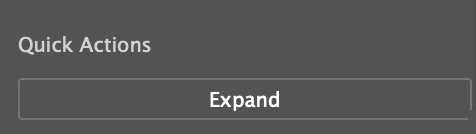
Step 3: Under Quick Action, click Expand and then click Ungroup.
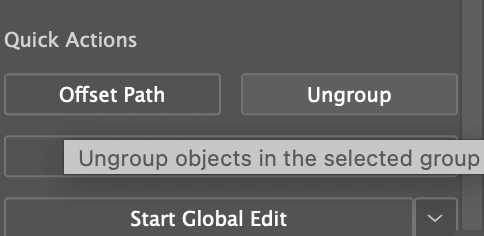
This step will ungroup all the dots into individual dots too, so now we need to group the dots together and there’s a quick way to do it.
Step 4: Select one of the dots and go to the overhead menu Select > Same > Fill Color.

It’s going to select all the dots in the same color, and you can use the keyboard shortcut Command + G to group them.
Here’s when the problem comes. When you vectorize the pattern using Image Trace, the dots can be distorted a bit, and there will be shades, meaning, not all dots are the same shade of black. So you probably have to repeat this step a few times in order to select all the dots.
As you can see, there’s a background color behind the dots. You can use the same method Select > Same > Fill Color and then hit the Delete button to remove the background color.
Conclusion
The Color Halftone effect in Adobe Illustrator works best when in grayscale. You could fill it with other colors, but it’s not recommended because the result will look totally different. You could change the halftone dots’ color, but depending on the complexity of the pattern, the result can vary.