
I love gradients! I love using gradients on text or shapes to give a lively feel. If this is your first time using gradients, it might look so complicated to mix up the colors. The truth is, it’s super easy to make a gradient in Adobe Illustrator because the gradient slider will do the job!
Adobe Illustrator already has some awesome preset gradients that you can find from the Swatches panel, but you can also create your own if you can’t find what you’re looking for.
In this tutorial, you’ll learn how to use the gradient tool including how to add gradients to objects & text, how to change gradient colors, and how to save the gradient you create.
Note: the screenshots from this tutorial are taken from Adobe Illustrator CC Mac version. Windows or other versions can look different.
How to Make a Gradient in Adobe Illustrator
Adding a gradient to an object is easy, but depending on where you choose the tool from, the steps can be slightly different.
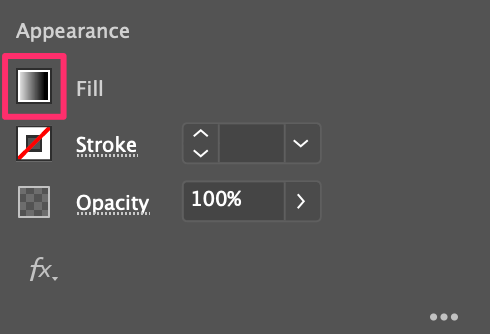
There are several places where you can find the gradient tool in Adobe Illustrator, the toolbar, between fill and stroke, and the Appearance panel when you have an object selected.

For example, let’s add gradients to this shape.
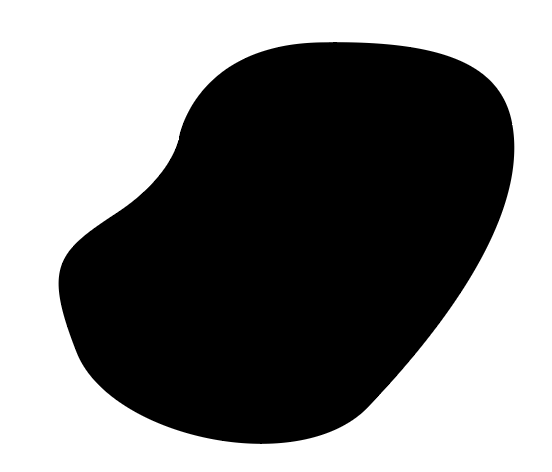
Step 1: Choose the Gradient Tool (keyboard shortcut G) from the toolbar.
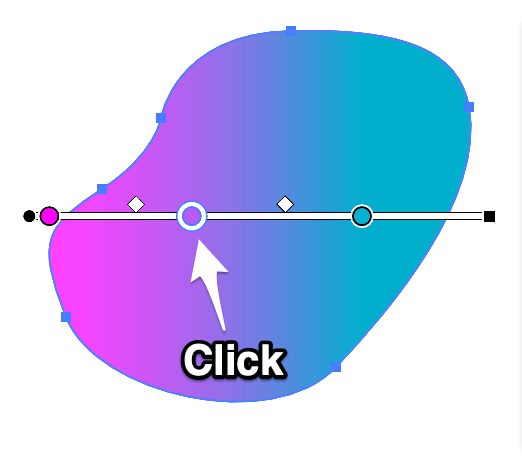
Step 2: Click on the shape and you’ll see a “gradient bar” across the shape. The default gradient color is black & white.
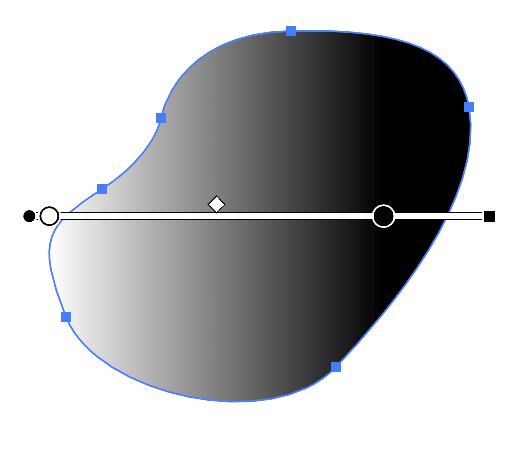
Step 3: Change gradient colors. Click on the circle (one at a time) and choose a color from the Swatches panel.
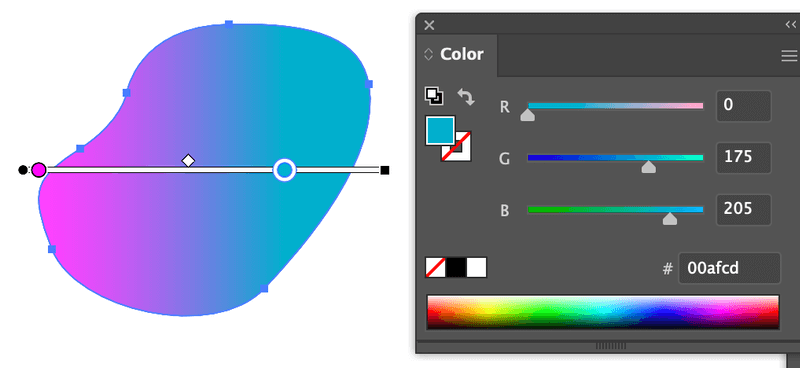
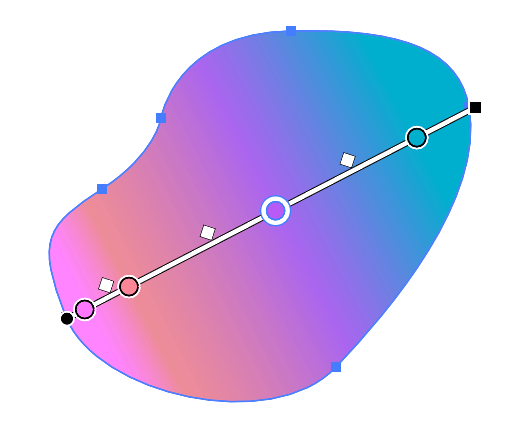
If you want to add more colors, simply click on the “gradient bar” to add another color (which will show in a circle). Move the circle sliders around until you get the gradient effect that you like.
You can add more colors to the gradient if you want, and rotate the “gradient bar”.
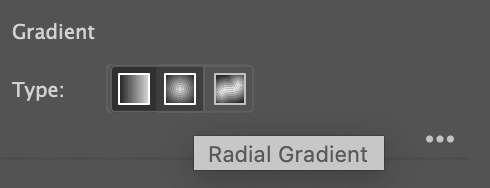
You can also change the gradient style from the Appearance panel.
How to Add Gradient to Text in Illustrator
You won’t be able to fill the live text with a gradient when you see the gradient bar on the text.

So before adding a gradient to the text, you need to create a text outline. For example, follow the steps to make gradient text.
Step 1: Select the text and use the keyboard shortcut Command + O to outline the text.

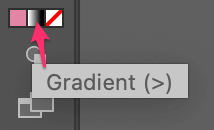
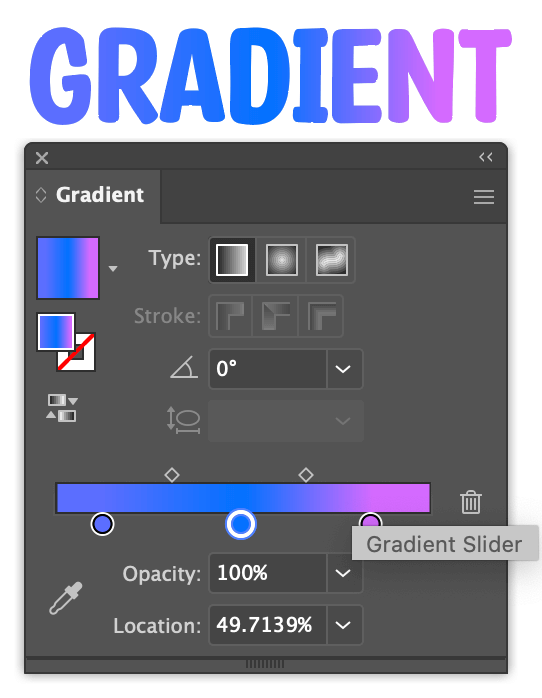
Step 2: Click on the Gradient fill between the fill & stroke at the bottom of the toolbar.
The Gradient panel will automatically pop up. You can change gradient colors and move the gradient slider to adjust the gradient.
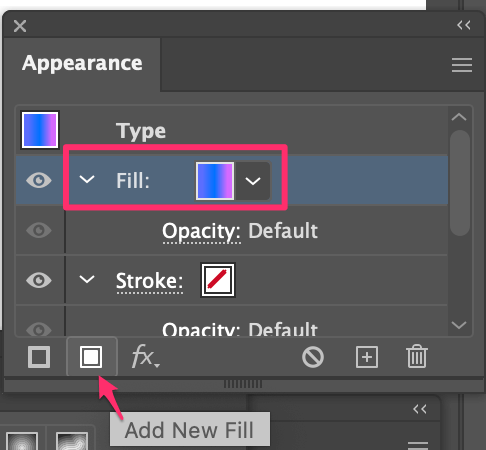
If you don’t want to outline the text, you can also choose Add New Fill from the Appearance panel. Simply select the live text, click Add New Fill, and choose a gradient.
How to Save a Gradient in Illustrator
You can save a gradient that you make from the Swatches panel. For example, let’s save the gradient from this shape.

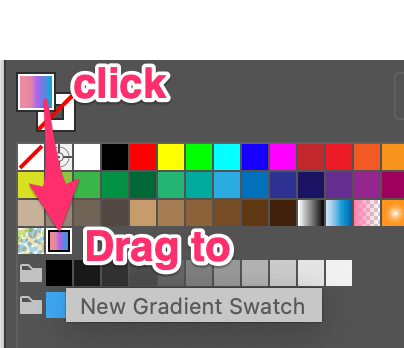
Step 1: Select the shape. You’ll see the fill color on the Swatches panel.
Step 2: Click on the fill color and drag it to the section below (behind other gradients).
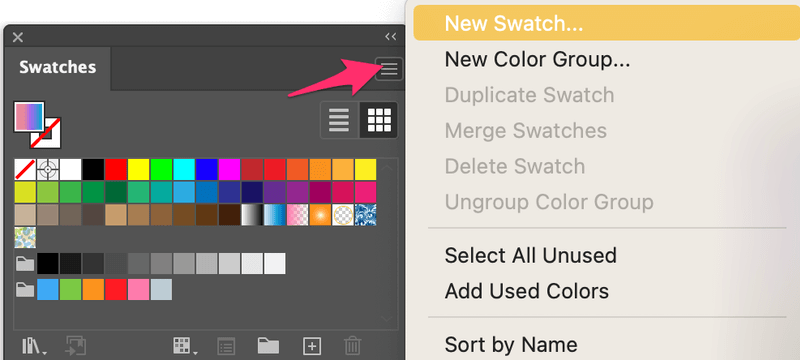
You can also click on the Swatches menu in the top-right corner of the panel and choose New Swatch.
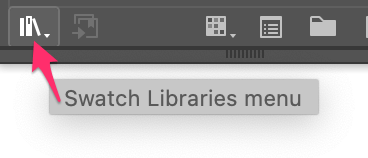
Step 3: Click on the Swatch Libraries menu and choose Save Swatches.
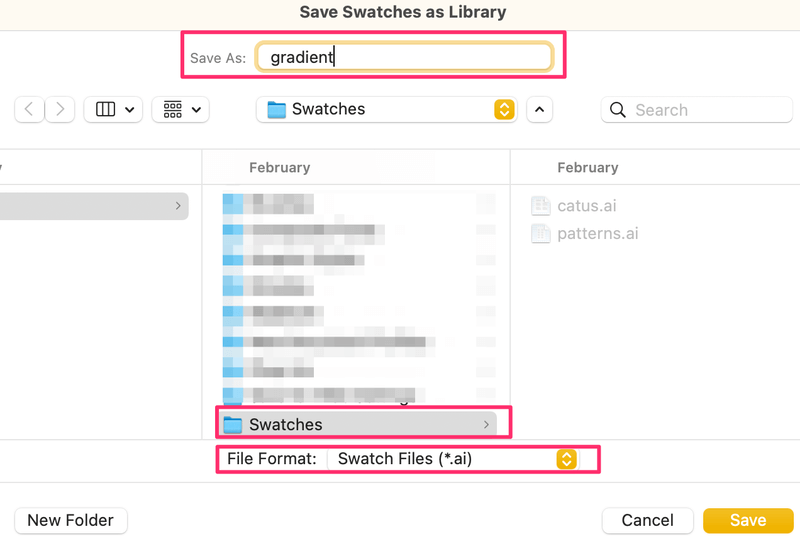
Step 4: Save it as a Swatch File and give it a name. Don’t underestimate this step because you’ll need to remember the name to find the gradient to use later.
Click Save and you can find the saved gradient from the Swatch Libraries menu > User Define.
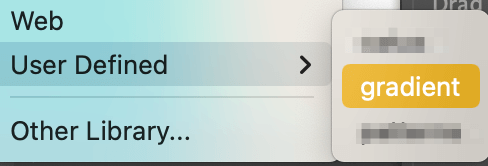
You can use it in any other ai document.

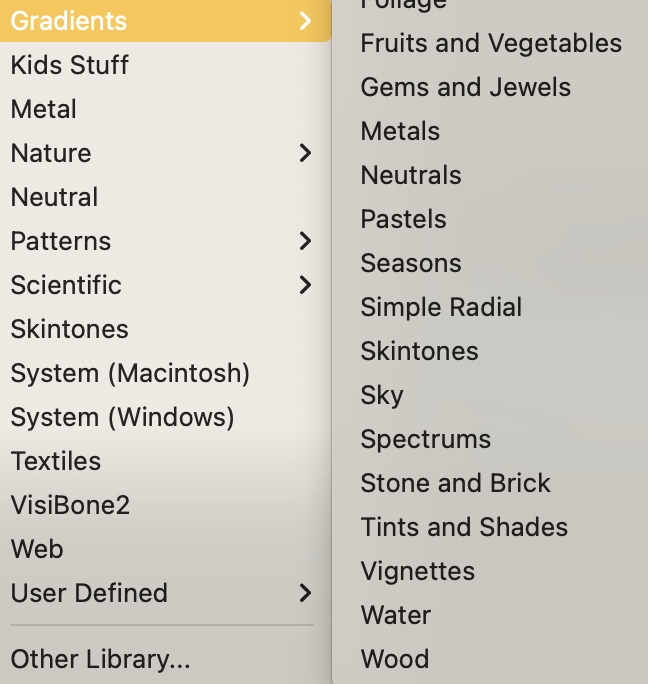
If you don’t want to make your own gradient, you can choose the preset gradients from the Swatches panel > Swatch Libraries menu > Gradients.
Wrapping Up
Congratulations! You’ve learned pretty much everything about using gradients in Adobe Illustrator. If you run into any problems using gradients, leave a message below and I’ll try my best to help.