
There are many ways to design a character in Adobe Illustrator depending on the style. You can use the most basic shapes like circles and rectangles to draw a flat character. Then if you want to make a 3D-style character, simply add an Inflate effect.
In this tutorial, you will learn how to create your own 2D and 3D characters in Adobe Illustrator. Before you start, it’s important to decide what type of character you want to make, so having a reference image is essential.
Note: All screenshots in this tutorial are taken from Adobe Illustrator CC Mac version. Windows or other versions can look different.
How to Draw a Flat Character in Adobe Illustrator
There’s no right or wrong way to do this, but the most common way is to create shapes and put them together. Before getting started, you should have a reference image of the person that you want to design the character. If you don’t have a reference, you can also create a character from scratch.
Either way, remember that a character design is usually a simple cartoon style, which is somehow different from creating an illustration from a portrait.
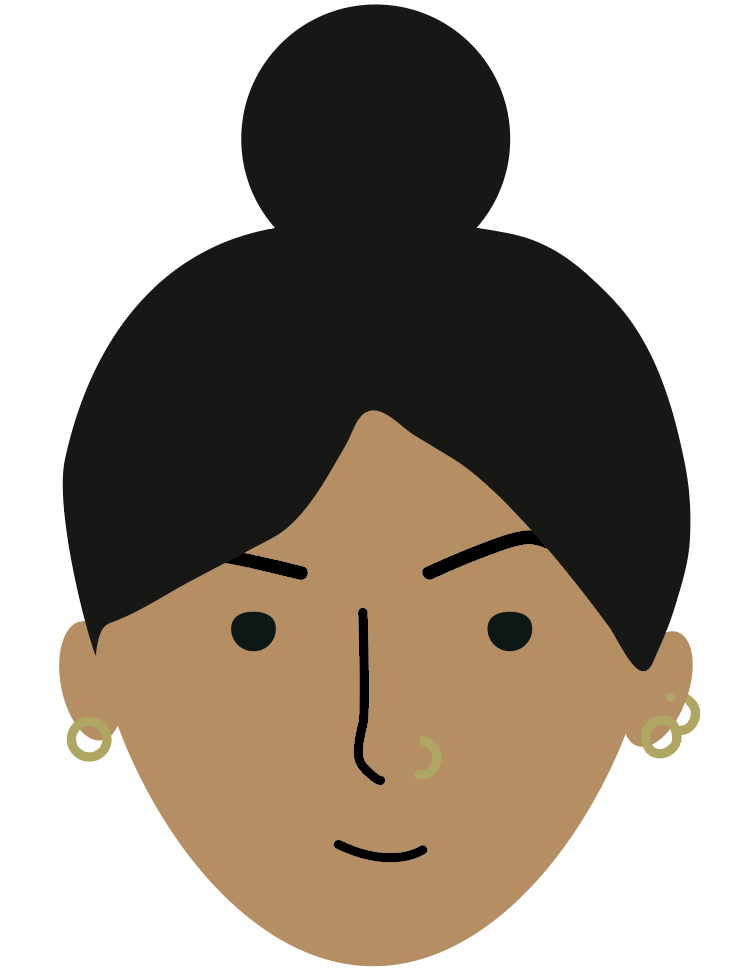
For example, I’ll use this image as my reference.

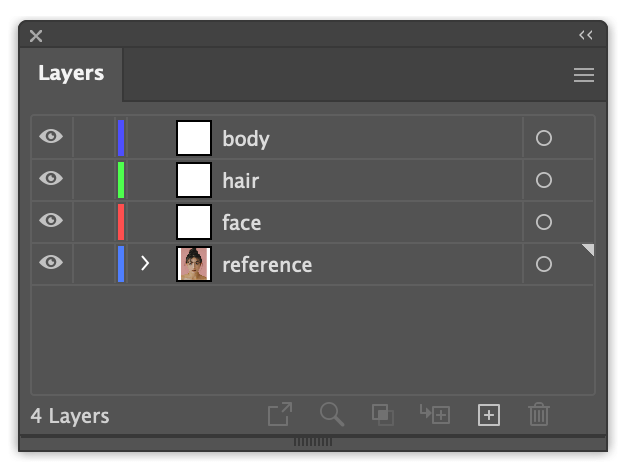
Step 1 (Optional): Create a new layer for different parts of the character like face, body, and background. Or you can organize it in even more specific parts like eyes, ears, etc if the character is more complex.
Tip: It’s always a good idea to work on layers so that you can easily manipulate specific parts of the character.
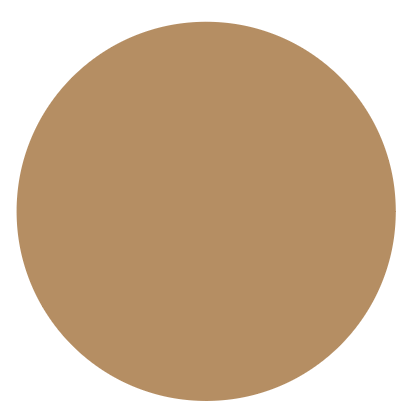
Step 2: Select the face layer, choose a shape tool, and start designing your character. I would recommend starting with the face. For example, you can either use a circle or a square to create the character’s face. Here I’m using a circle.
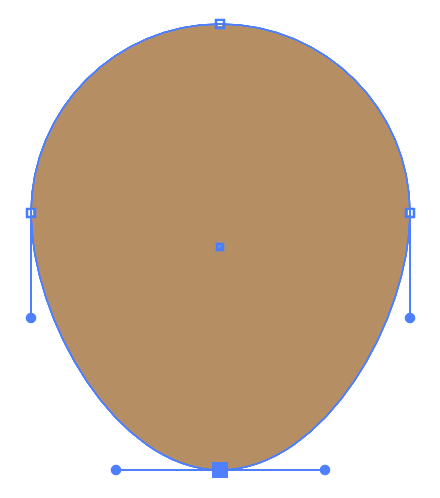
If you want to make it more realistic, you can use the Direct Selection Tool (keyboard shortcut A) to click on the button anchor point of the circle and drag it down to create a face shape.
Here I always used the Eyedropper Tool (keyboard shortcut I) to sample color from the reference image.
Step 3: Draw the facial features. In character drawing/design, you can use minimal shapes or lines to draw facial features.

You can use brushes or the Pen tool to outline the facial features from the original image and move the outlines/shapes to the face.
Once you get the outline, change the stroke style and size to make it look better.

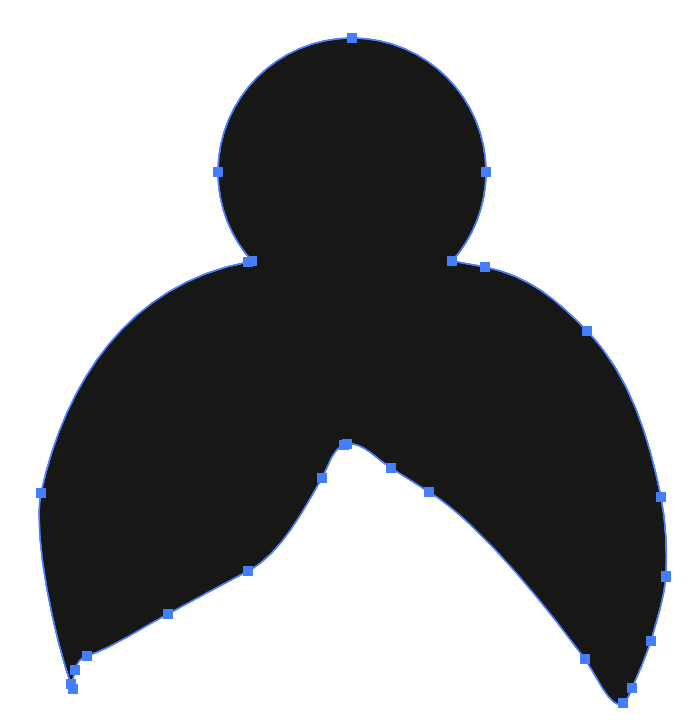
Step 4: Draw hair on a new layer. You can use the pen tool to outline the hair shape of the original image or create a similar style from scratch.
Tip: Most modern character designs have smooth lines, so you can use the Smooth Tool or Direct Selection Tool to create a more “rounded” effect (You’ll see what I mean later on).
Now the character’s head/face is pretty much done. You can make it simpler or more complicated based on the effect you want. For example, I added some details like the piercings.
If you only need to design a head icon, then congratulations, you just made it! Otherwise, follow the steps below to add the body of the character.
Step 5: Draw the body part of the character. To begin with, choose the Rectangle Tool to create a rectangle as the neck of the character. (Feel free to use other shapes to draw a more abstract character. I’m just showing the most “traditional” way here.
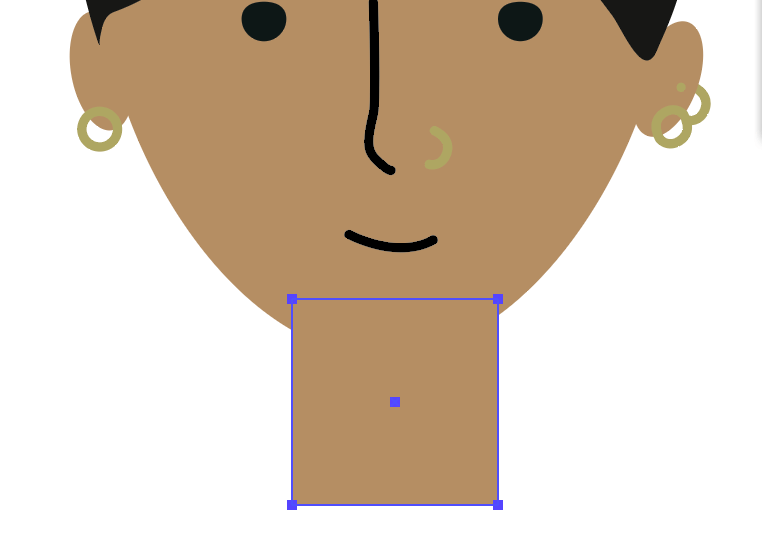
Got the idea? Then you the Pen tool or other shape tools to draw clothes and the rest of the body.
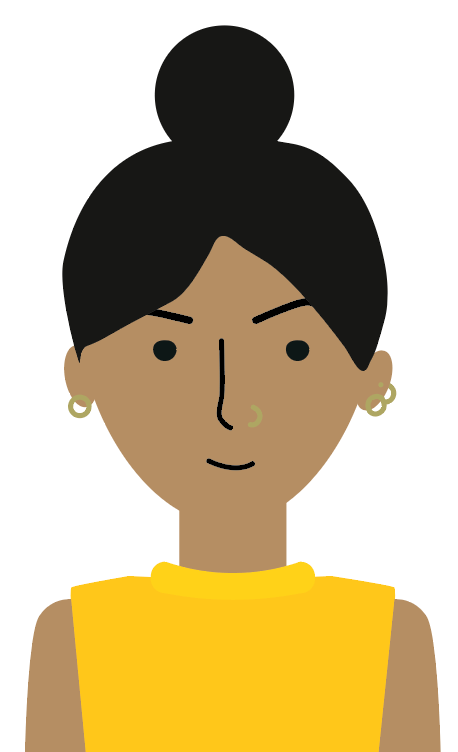
Want to make it a little bit 3D? Here’s what you can do.
How to design a 3D character in Adobe Illustrator
You can simply use the 2D flat character artwork and apply a 3D effect, more specifically, an Inflate effect.
Tip: It’s highly recommended to apply the 3D effect to individual shapes instead of the whole image.
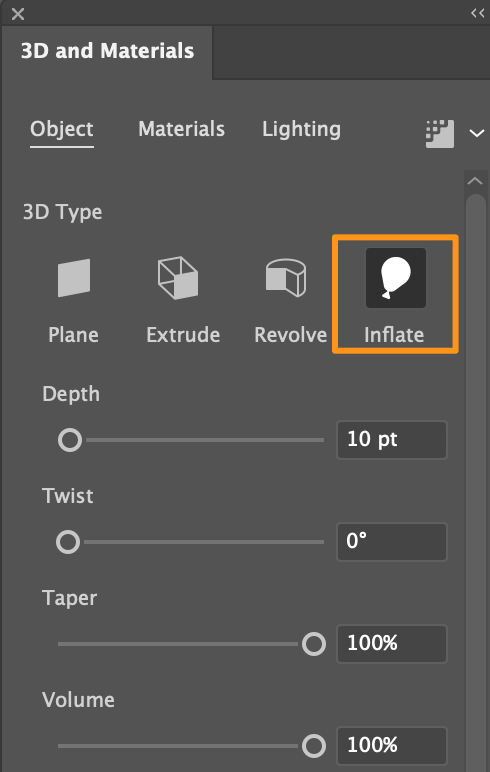
Step 1: Select a shape (part of the character), go to the overhead menu Effect > 3D and Material > Inflate.
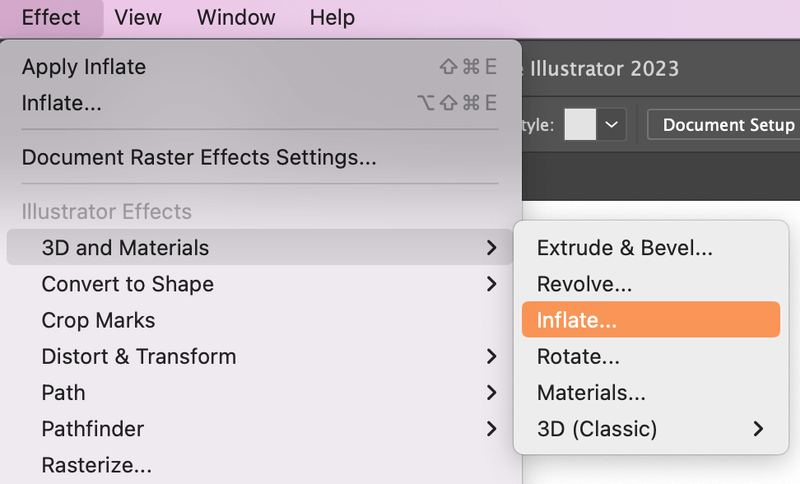
This will open the 3D and Materials panel where you can adjust the effect settings.
Step 2: Adjust the lighting.
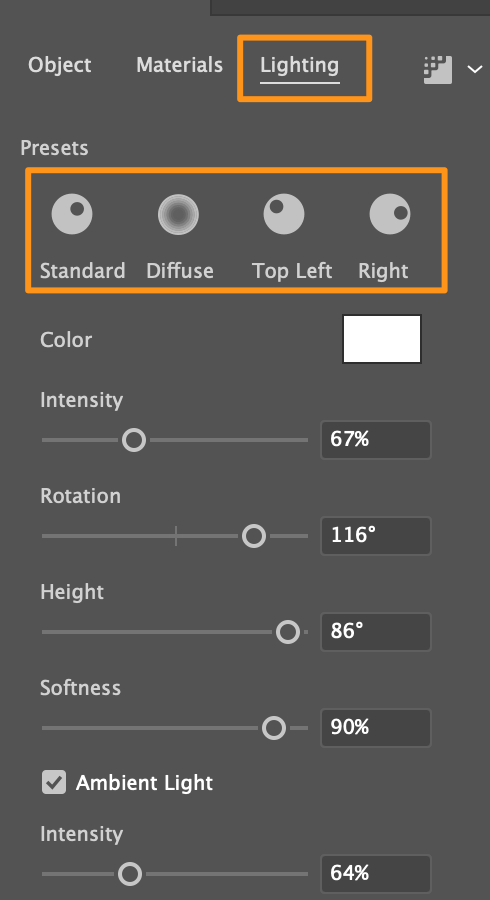
For example, you can choose the light source and intensity. Again, it’s recommended to adjust the individual part like the face, body, clothing, etc.
Note: The black color area won’t show an obvious 3D effect. If you want the effect to show, you can change the color to a lighter gray or any other color you like.
Wrapping Up
You can use the simplest line and shapes to create a flat character design in Adobe Illustrator and if you want to make it 3D, simply apply an Inflate effect. To get the best result, it’s recommended to use layers and work on individual parts of the character.
Did you find this tutorial helpful? Feel free to leave a comment about any doubts or share your ideas.
Raquelia
Hi June,
I did not know about this effect and will try it on one of my characters for my demo reel.. I love to learn new things so keep them coming! Ciao, R
June Escalada
Hi Raquelia, great! Enjoy the creative process!
Priyanka
i love it, your video and blog is really helpfull