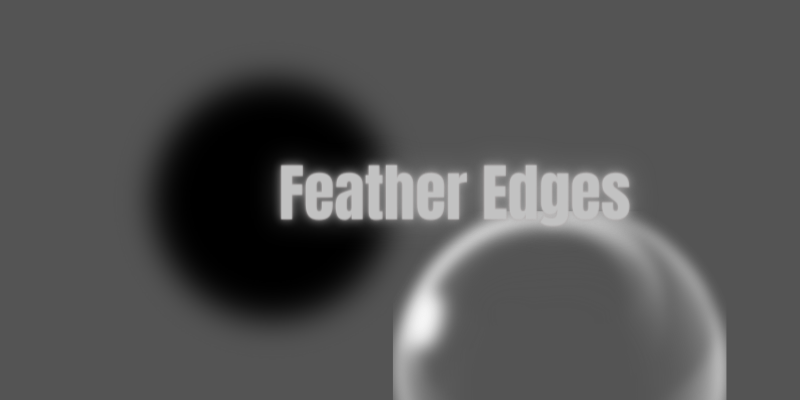
You select the object/shape/clipping mask you want to feather in Illustrator. Then go to the top menu Effect > Stylize > Feather to select the radius of the feather you want.
The Effect menu in Illustrator has a whole list of fun and useful styles you can apply to the things you create in Illustrator, from vector objects and text to clipping masks.
My name is April, and I’ve been working in the graphic design field for 13+ years now. I have been using Adobe Illustrator since the beginning of that and while I have my favorite tools to help create vector art, Adobe is always innovating and coming up with ways to do more in Illustrator.
In this article, I will show you how to feather edges of text and objects in Adobe Illustrator.
Table of Contents
Key Takeaways
- The Feather effect can be used on live/editable text and text that has already been outlined.
- Clipping masks are also able to be feathered.
- You can feather a single object, a group, or multiple objects at once.
- While there is no keyboard shortcut, just navigate to the main menu to Effect > Stylize > Feather.
How to Use the Feather Effect in Adobe Illustrator
Let’s see an example of adding feather edges to a shadow to make it more realistic and natural.
Note: The screenshots below are taken from Adobe Illustrator CC Windows. Mac or other versions can look different.
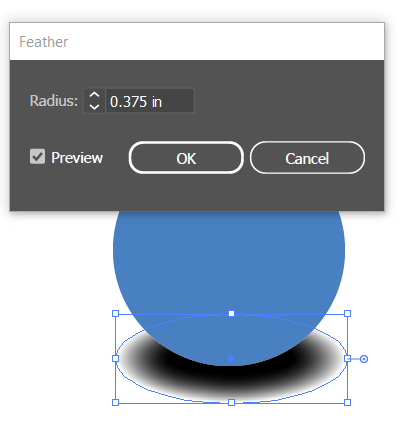
Step 1: Use the Selection tool to select the object to which you want to add a feather edge and head to the overhead menu Effect > Stylize > Feather.
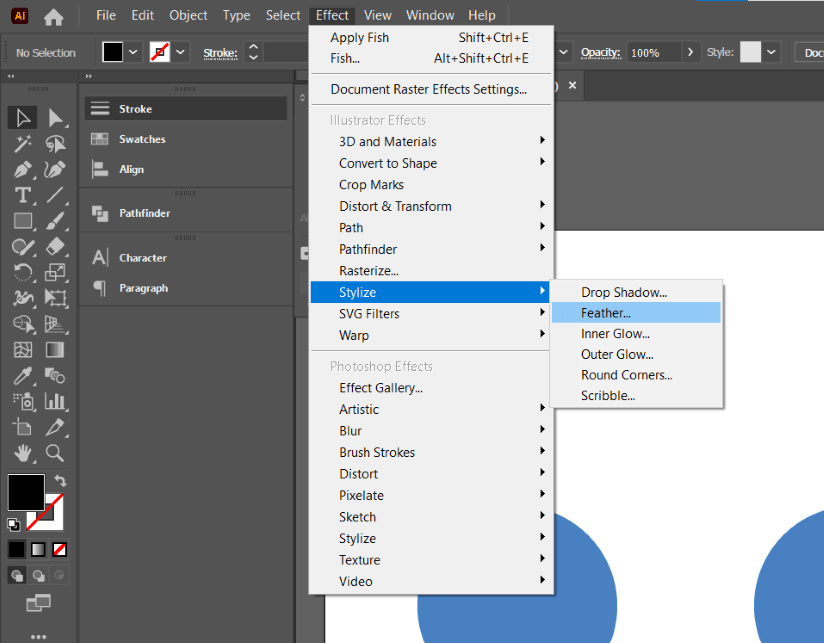
For example, I’m selecting the dark ellipse shape under the circle because I want to make a shadow effect.
Step 2: Choose the radius of the feather that you want. A larger radius will create a larger feather, and a smaller radius will create a smaller feather.
If you aren’t sure how much feathering you want, be sure to check the Preview option so you can view the changes as you make the adjustments.
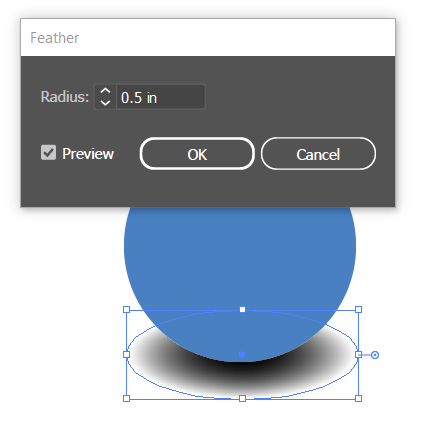
Click OK and now you have added a feathered edge to your object.
Tip: If you want to change or delete the effect, open the Appearance panel from Window > Appearance and click Feather.
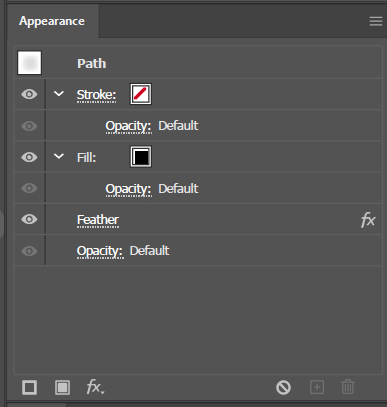
A dialog box will open and allow you to change the radius for the feather. Click OK when you’re satisfied with the changes.
If you have a group or multiple objects you want to apply the same feather edges, simply select the object(s) or group(s) that you want, and then navigate to the feather menu and adjust as needed.
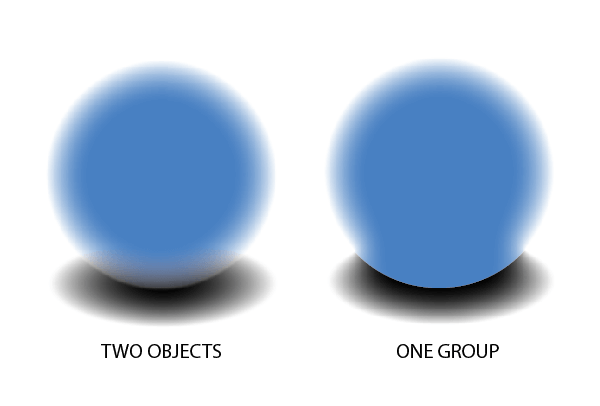
Just remember that the feathering will apply to the outer edges. See below for an illustration of the exact same objects: The left side is two objects with feathering applied whereas the right side is the same two objects, grouped together before adding the feathering.
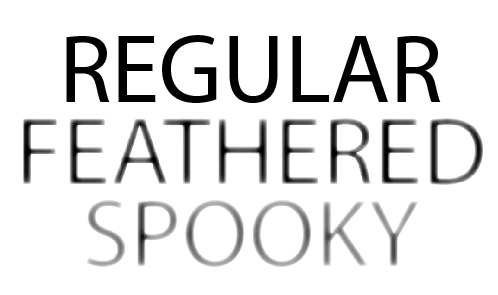
This is where it’s time to get creative! You can feather the edges of text, live or not, and make all sorts of effects. With more feathering I added, I think it gives the text a spooky look! Just select the text and add the feather stylization.
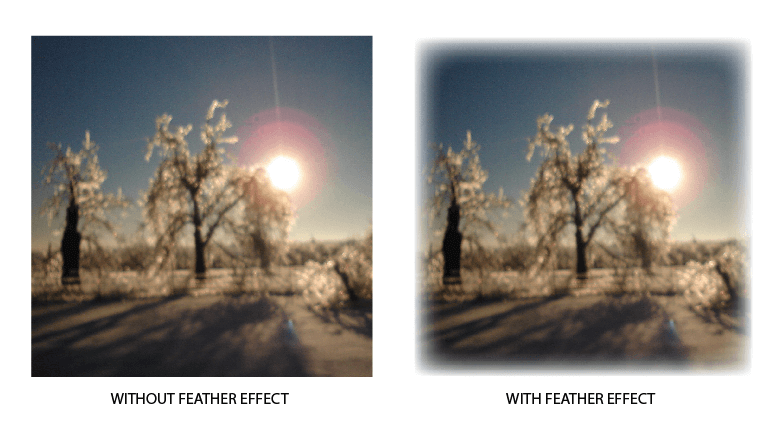
Another helpful use is feathering the edges of a clipping mask. Similarly, you will select the clipping mask (object inside and all) and navigate through the menu to add the feather effect.
Final Thoughts
The Feather effect is a really neat style to be able to use in a vector program such as Illustrator. By changing the radius of the feather you can adjust the style that you want it to be. With feathered edge text to objects and clipping mask, this blurred style edge isn’t just for Photoshop!
Have you tried the feathering edges in Illustrator? What did you create with it and was it for fun or work? Let me know in the comments below.
About April Ahlders