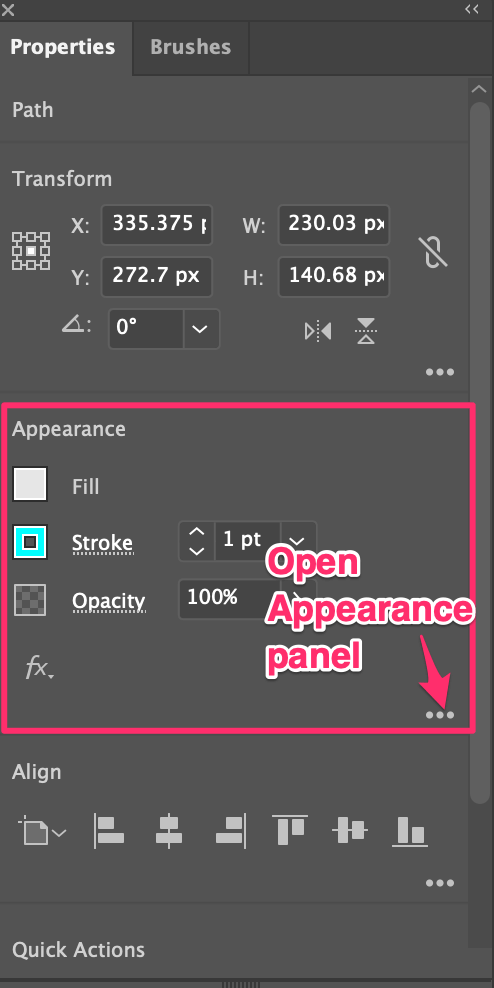
Actually, you don’t have to open the Appearance panel because it’s already there! When you select an object, the Appearance panel automatically shows up on the Properties panel. You wouldn’t see it when no object is selected.
I barely use the actual Appearance panel, because it’s just so convenient to edit objects from the Properties > Appearance panel. That’s right, it has always been there among panels on your right-hand side.
Note: the screenshots from this article are taken from Adobe Illustrator CC Mac version. Windows or other versions can look different.
If you want to open the actual Appearance panel, you can as well. See the hidden menu (three dots) in the bottom right corner. If you click that, the panel will show.
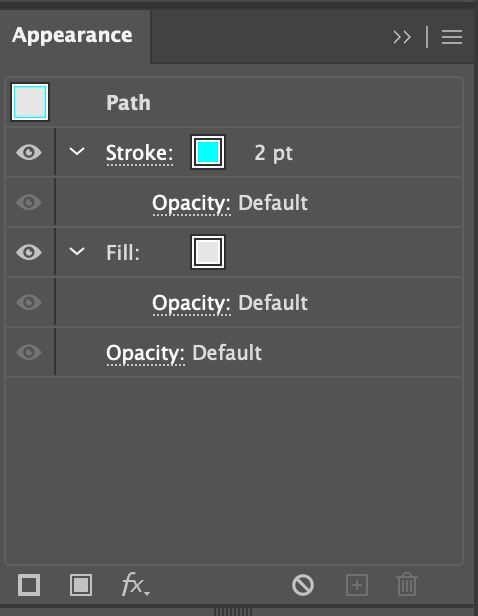
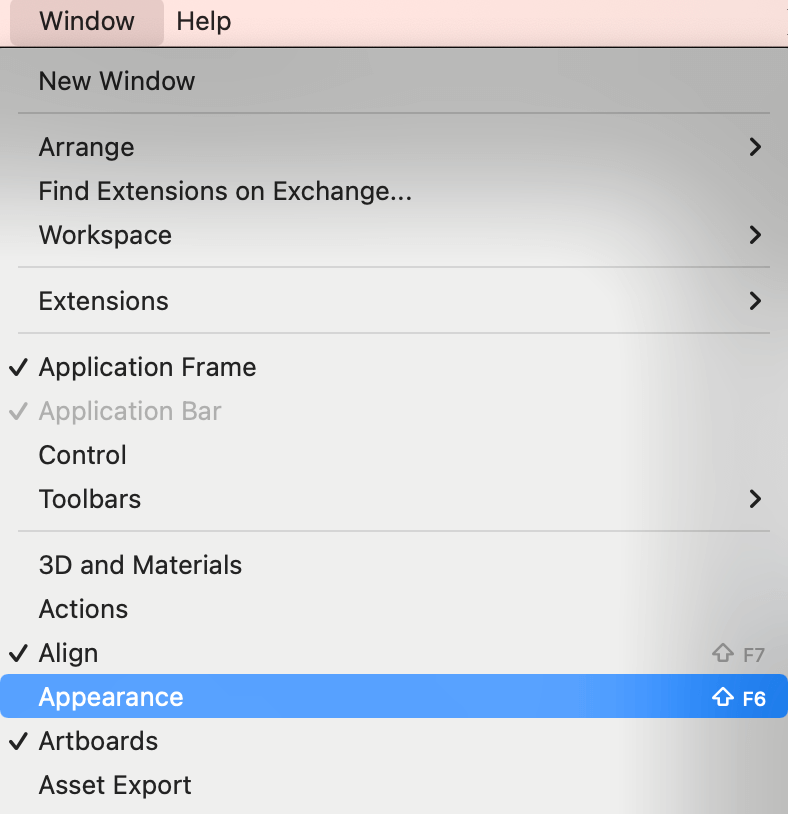
You can also open the Appearance panel from the overhead menu Window > Appearance.
The options on the panel changes depending on whether you have text or path selected.
How to Use Appearance Panel in Illustrator
The Appearance Panel shows attributes of selected objects, including text and path. Here’s a quick guide on how to adjust appearance attributes in Adobe Illustrator.
So what’s the use of the Appearance panel in Illustrator?
If you’re looking at the Appearance panel from Properties, whether you select text or path, it displays three main attributes: Stroke, Fill, and Opacity. You can also see an effect button (fx) where you can apply effects to the selected object.
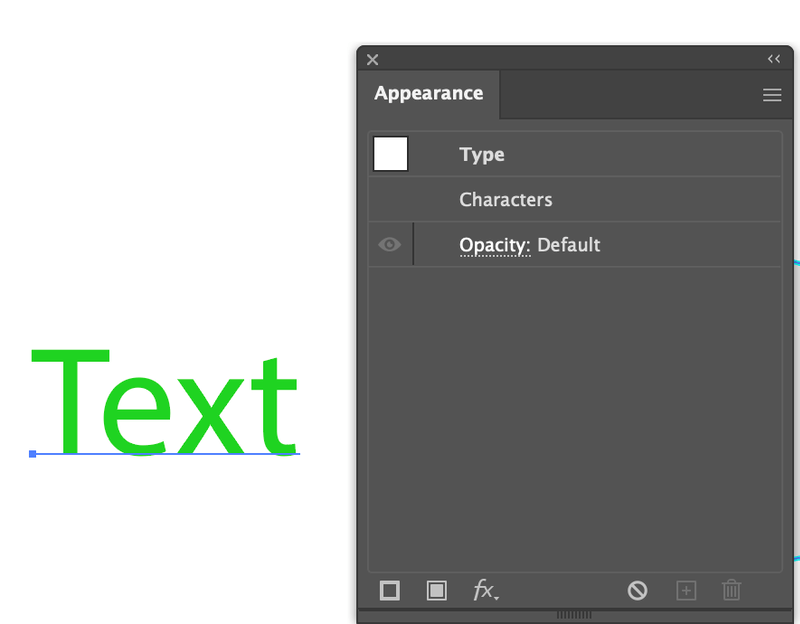
However, you’re working directly on the Appearance panel. The attributes are different.
Let’s take a look at a couple of examples of what the Appearance panel looks like when selecting different objects.
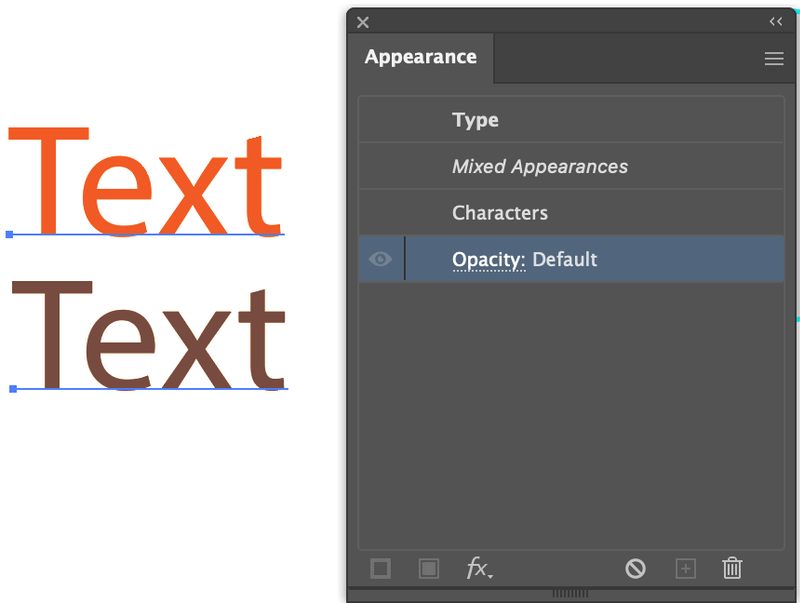
When you select the text, this is what the panel looks like.
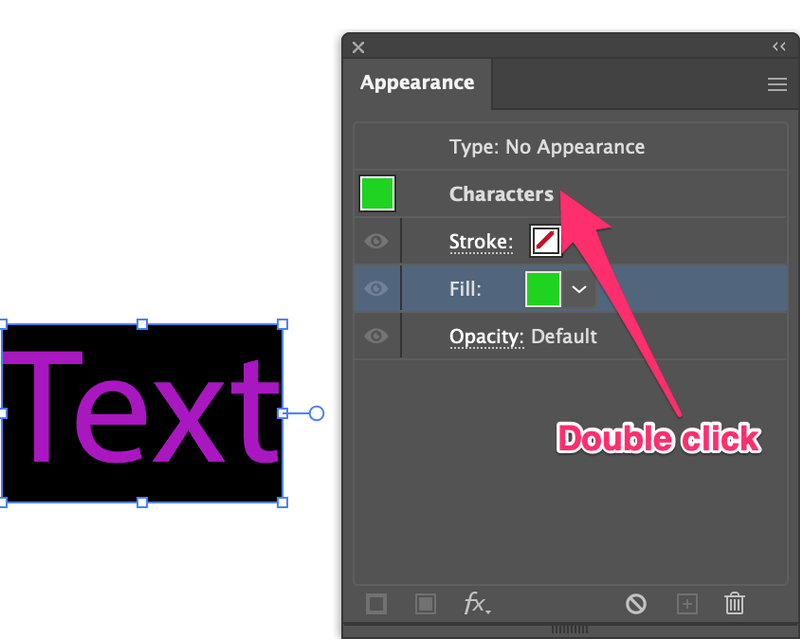
You can double-click Characters and it’ll show more options.
At the bottom of the panel, you can add a new stroke, fill or effect to the text. You can also highlight text using the Appearance panel.
When you have more than one text selected and they don’t share the same Character style, you can only change the Opacity or add a new effect.
Moving on to the path. Any vector shapes, brush strokes, and pen tool paths belong to the Path category.
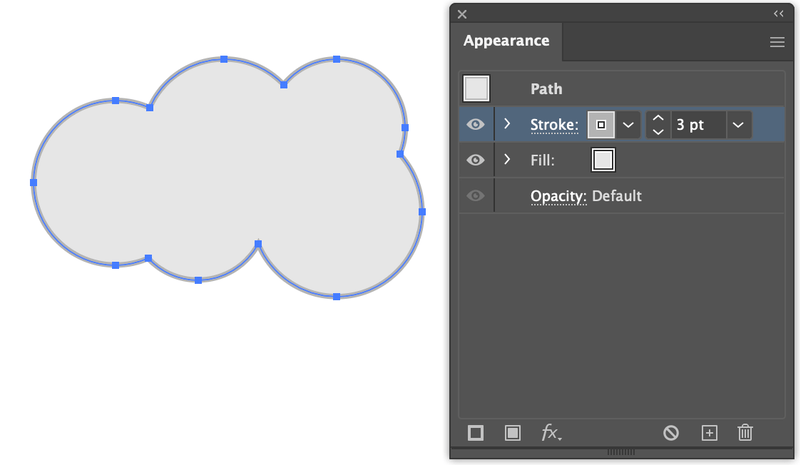
For example, I used the shape builder tool to create a cloud and added fill & stroke colors. As you can see, it shows the appearance attributes like Fill color, Stroke color, and Stroke weight. If you want to change any attributes, simply click on the option to edit.
I didn’t change the Opacity, so it doesn’t show the value. If I change the opacity to a specific value, it will show on the panel.
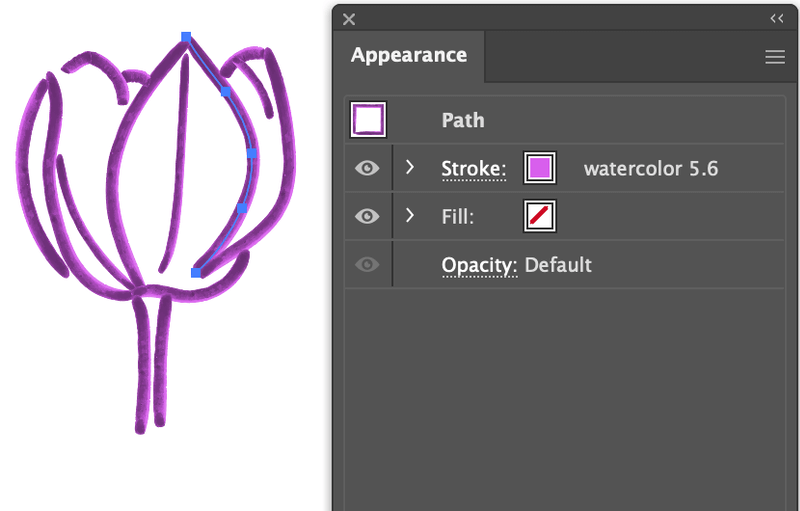
The Appearance panel shows different attributes for different paths. Let’s see another path example. I used a watercolor brush to draw this flower and when I select any stroke, it’ll shows its attributes on the panel, including which brush I used to draw (watercolor 5.6).
You can see more detail about the stroke if you click on that row, and you can edit the appearance, change a brush style, weight, or color.
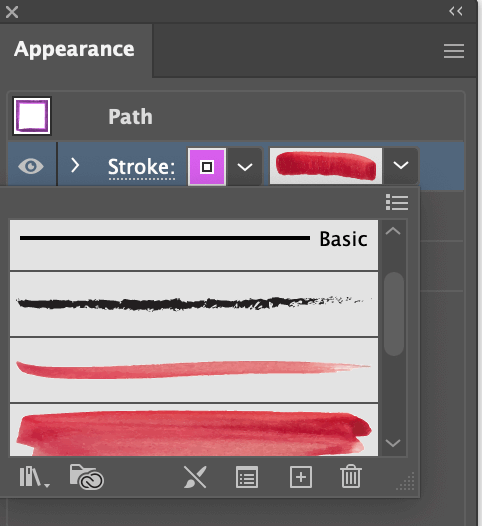
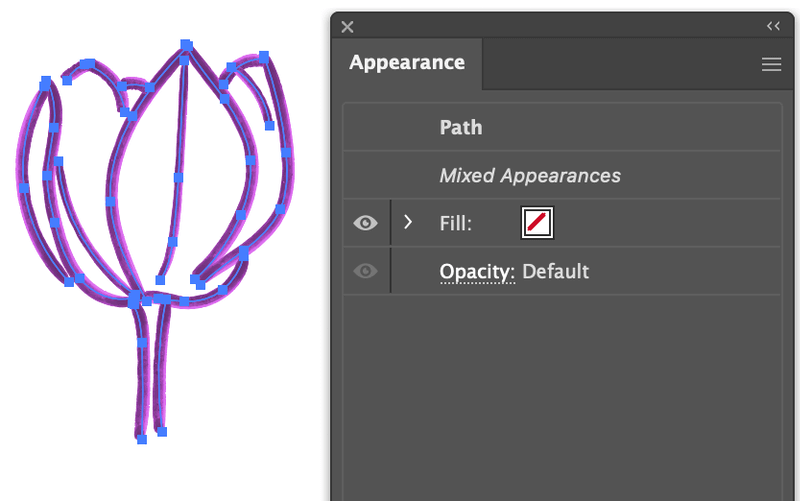
Here’s a tricky thing. Notice that the stroke weights are not all the same? If you select all strokes, you’ll see that you won’t be able to edit the strokes on the Appearance panel and it shows Mixed Appearances.
But if you look at Appearance on the Properties panel, you can edit.
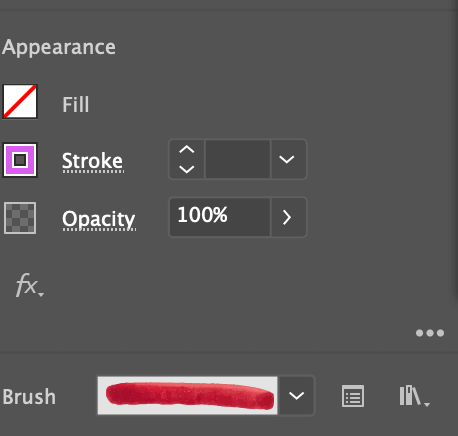
So if at any moment you can’t edit on the actual Appearance panel, you might want to double-check on the Properties panel to see if it works there.
Conclusion
You don’t necessarily need to open the Appearance panel because it’s already open on the Properties panel. All you have to do is select the object you want to see the attributes and the panel will show up like magic.
Personally, I don’t like to keep too many panels open, because I like a clean interface and the Properties panel works pretty well. Plus, you can quickly open the panel from the hidden menu.

