Even though Adobe Illustrator isn’t best known for its photo editing tools, you can still use it for quick image manipulation, such as blurring an image or text.
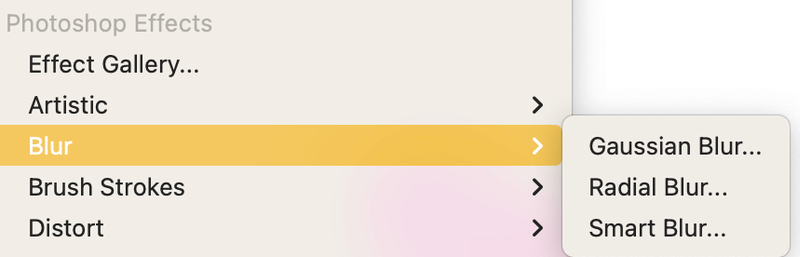
In Adobe Illustrator, you’ll find three blur effects, including Gaussian Blur, Radial Blur, and Smart Blur. Actually, the effects are Photoshop effects, but you can use them in Adobe Illustrator.
In this article, you’ll learn how to use the blur tools in Adobe Illustrator to blur images and text. But before getting into the methods, let me show you where the tools are.
Note: All screenshots from this article are taken from Adobe Illustrator CC Mac version. Windows or other versions can look different.
Where is the Blur Tool in Adobe Illustrator
You can find the blur tools/effects from the overhead menu Effect > Blur (under Photoshop Effects) and choose one of the effects to blur your image.
But where is the Blur Tool in Illustrator?
Unfortunately, as a vector-based software, Adobe Illustrator doesn’t have a Blur Tool.
So if you want to blur part of an image, Photoshop is the go-to, but there’s one exception – you can blur edges in Adobe Illustrator. I’ll show you the method in this tutorial, but let’s go over the three types of blur effects first.
How to Blur an Image in Adobe Illustrator
There are literally only two steps to blur an image in Adobe Illustrator – Step 1: select the image, and Step 2: Choose a blur effect.
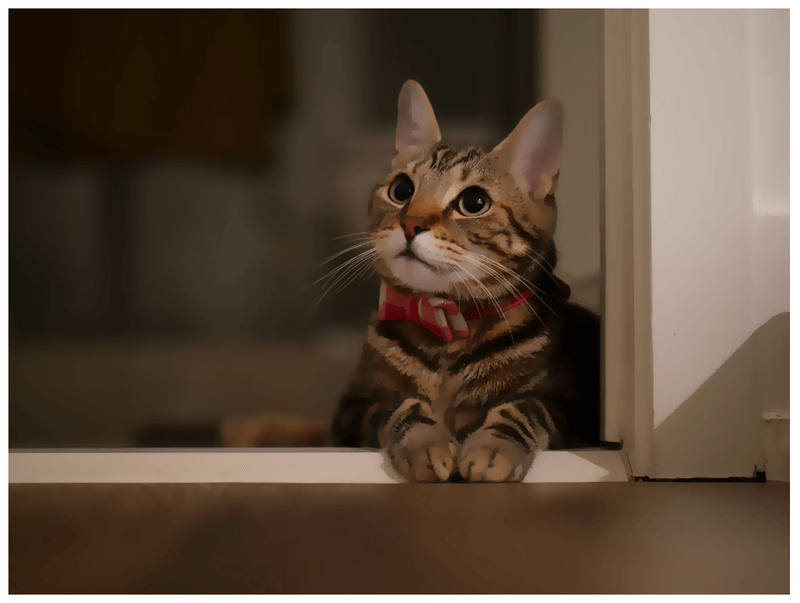
Depending on which blur effect you choose, the settings are different. I’m going to show you how to use the different blur effects on the same image so that you can see the difference between each effect.

So what’s the difference between Gaussian Blur, Radial Blur, and Smart Blur?
Gaussian Blur
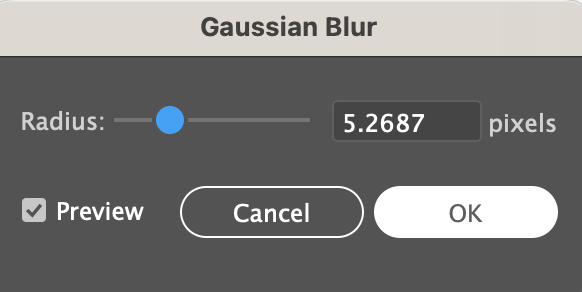
The famous Gaussian Blur creates a feather and smoothing effect, and it’s commonly used to reduce image noise and make objects stand out. For example, you can slightly blur the background image to make the text show clearer.

If you choose Gaussian blur, all you need to do is select the image, go to Effect > Blur > Gaussian Blur, adjust the pixel radius and click OK.
Radial Blur
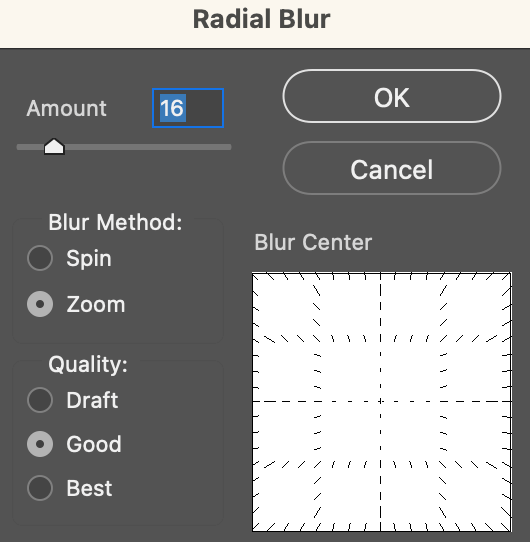
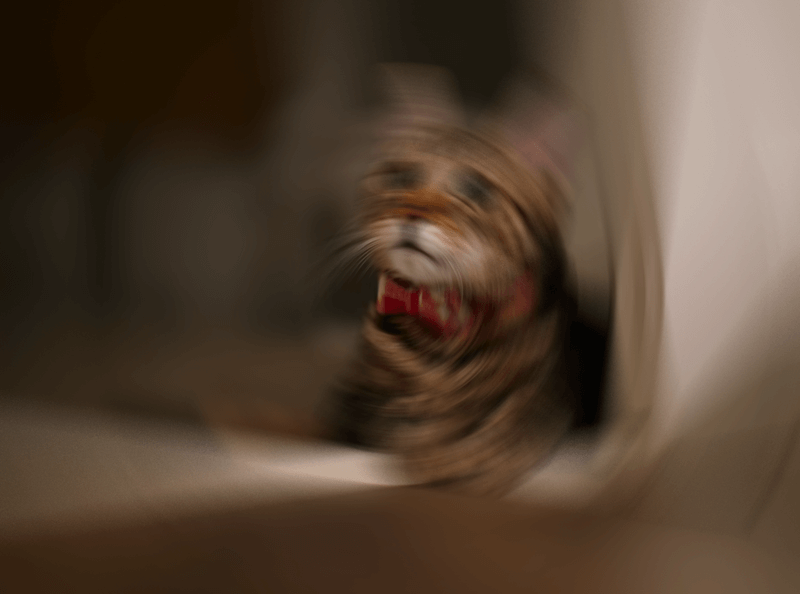
The name always says it. The Radial Blur effect originates a blurring effect from a center point and blurs around the center. There are two types of Radial Blur: Spin and Zoom.

Spin creates turntable blur effects, as the picture below shows.
And Zoom creates tunnel radial blur effects, basically, it blurs the outer part of the image around the center point.

You can adjust the Radial Blur Amount by moving the slider left and right. The higher the amount, the more it blurs.
Smart Blur
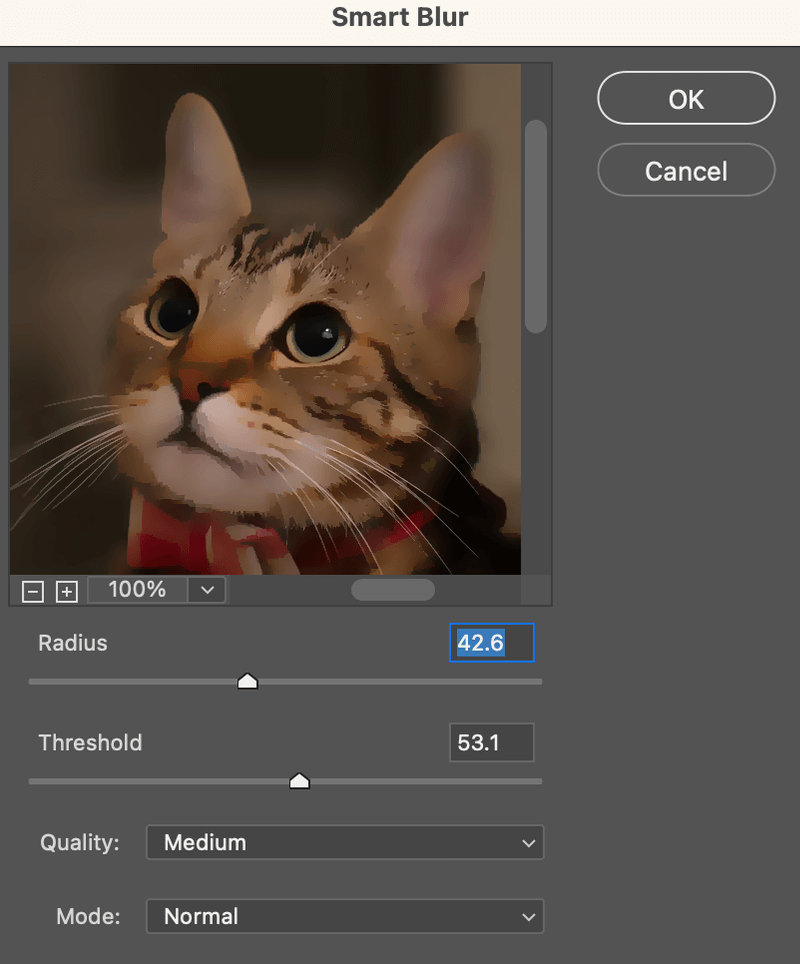
The smart blur effect is almost like an image trace effect, which blurs the details of an image. In other words, it blurs images with precision. You’ll be adjusting the Threshold value to decide how much detail you want to blur.
When you use the smart blur, you’ll mostly adjust the threshold and radius. The higher the threshold, the blurrier it gets. And the radius can add or reduce image details.
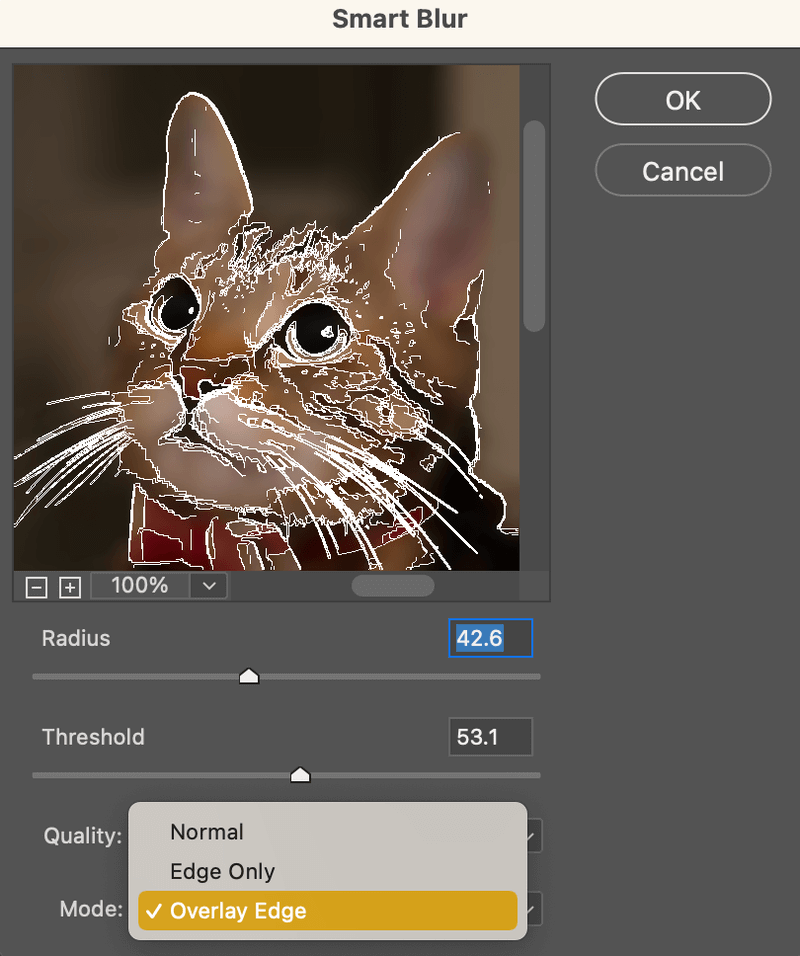
You can also change the Mode to Edge Only or Overlay Edge. Overlay Edge adds white edges and Edge Only adds black & white edges.
How to Blur Part of an Image
As I mentioned earlier, if you want to blur a specific part of an image, Photoshop is the go-to but there’s one exception – blur edges.
If you want to blur only the edges of an image or object, you CAN do it in Adobe Illustrator, but you won’t be using the blur effects.
So, what’s the trick?
You can use the Feather effect.
Follow the steps below to blur edges in Adobe Illustrator.
Step 1: Select the image or object.
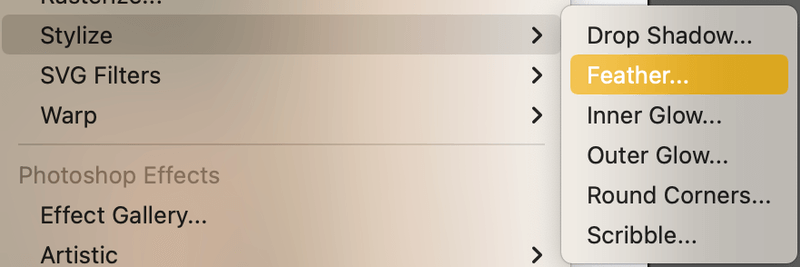
Step 2: Go to the overhead menu Effect > Stylize (under Illustrator Effects) > Feather.
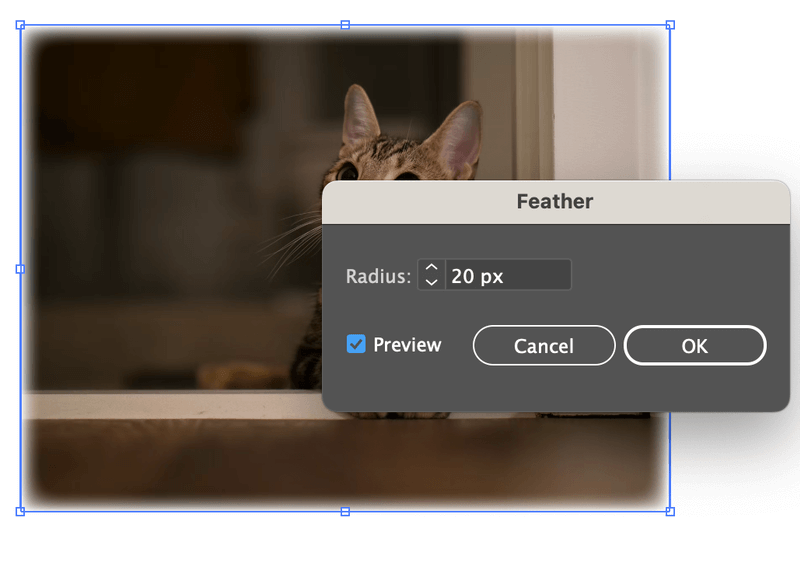
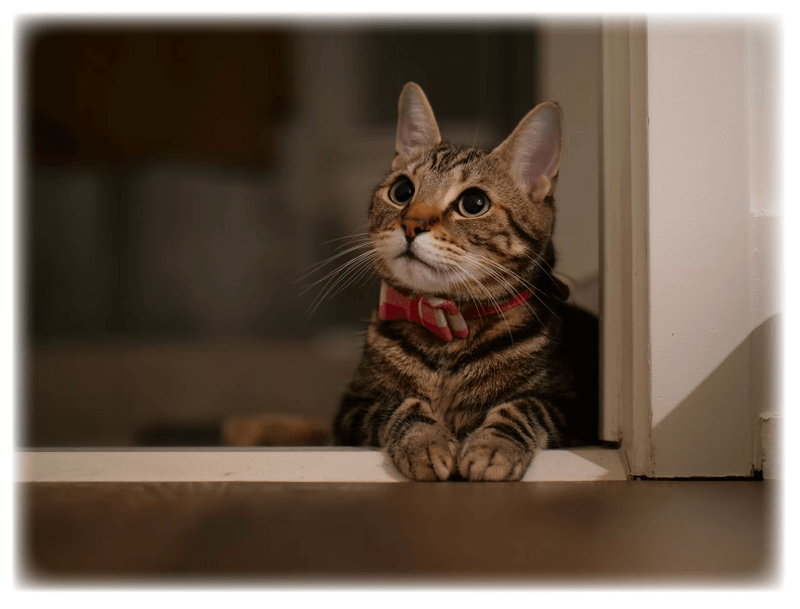
Step 3: Adjust the radius and click OK. The higher the value, the more it blurs.
That’s it!
Just to give you an idea, this is what it looks like when you blur a shape.

How to Blur Text in Adobe Illustrator
Blurring text is basically the same as blurring an image in Adobe Illustrator. Instead of selecting an image, you would select the text. Then you can add one of the blurring effects (except the smart blur) or feather effect to the text.
Why not the smart blur? Because it wouldn’t show the effect when you apply it on vector images, and the text, in this case, it’s a vector.
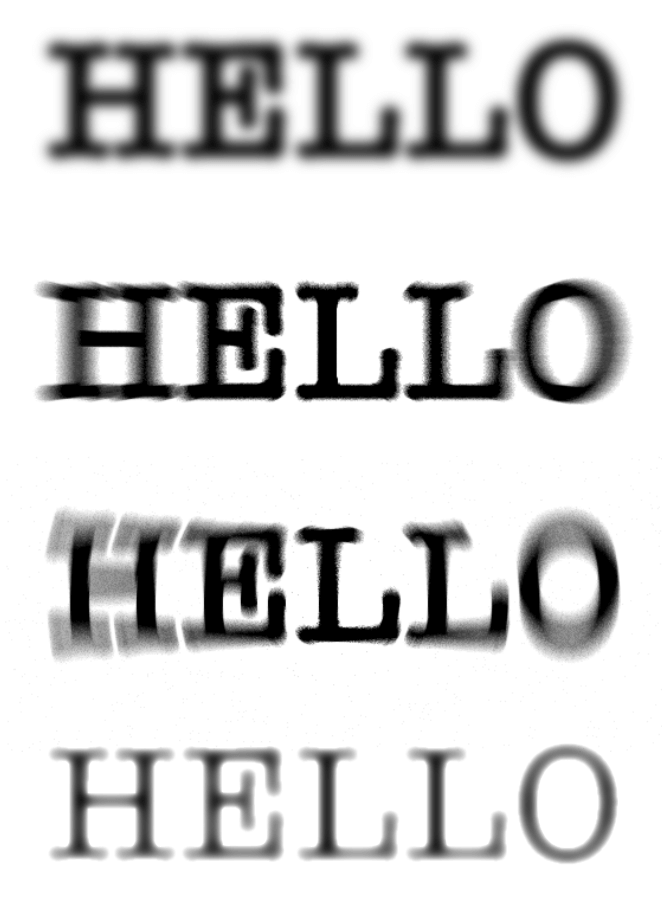
Here are some blurred text ideas.
Wrapping Up
Applying blur effects in Adobe Illustrator is easy once you know what different blur effects do. This article should give you a pretty good idea of each option, and help you quickly decide which effect to choose for the effect you want to create.
Derrick
Thanks a bunch for your wonderful information
June Escalada
You’re welcome, Derrick!
Babar Ali
Thank you so much.