I know, Adobe Illustrator is not the best software for editing images, but adding some smoke effect is something totally doable.
I used to design for a vape company, so I had to add or create different smoke effects like smoky fonts, and cloud effects, etc for their promotional materials. I used to switch between Photoshop and Adobe Illustrator until I found ways to make smoke in Adobe Illustrator.
In this tutorial, I’m going to show you different ways to make smoke in Adobe Illustrator, including making a smoky brush, vector smoke, and adding smoke to an image in Adobe Illustrator.
Note: the screenshots from this tutorial are taken from Adobe Illustrator CC Mac version. Windows or other versions can look different.
How to Make a Smoky Brush in Adobe Illustrator
The tools and features you’ll be using are the line tool, pen tool, envelope distort, and Transparency panel. It’s not difficult but it can be a bit complicated, so pay attention to the details.
Before getting started, change the artboard background color to black because we’ll be using white to make the smoke.
Step 1: Use the Line tool to draw a straight line. Change the stroke color to white, and stroke weight to 0.02 pt.
Note: the thinner the stroke is, the softer the smoke will look.
Step 2: Double-click on the Selection Tool to open the Move settings. Change the horizontal and distance values to 0.02 (same as the stroke weight) and the vertical value should be 0.
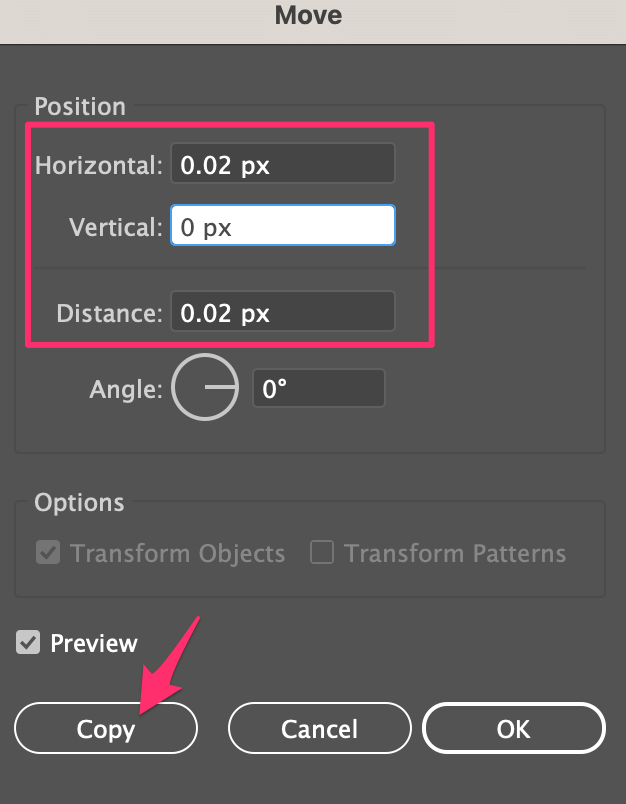
Click Copy.
Step 3: Hold down the Command (or Ctrl key for Windows users) + D keys to duplicate the line. You should hold the keys for a while until you get something like this.

Step 4: Group the lines and lower the opacity to about 20%.

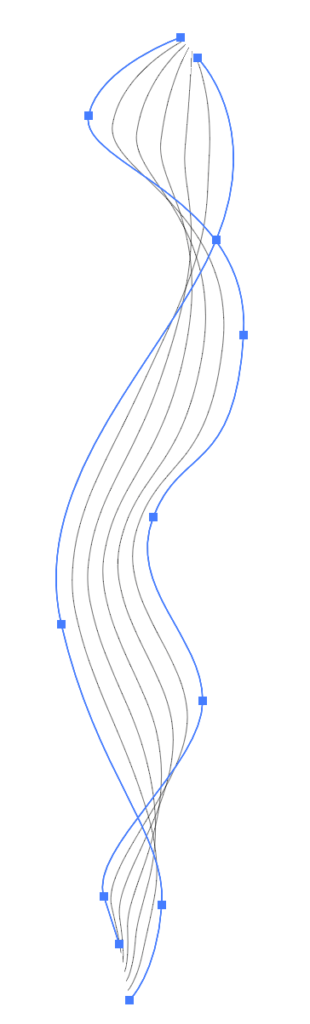
Step 5: Use the Pen tool to draw a smoke shape with multiple intersecting points and close the path. Remove the stroke color and change the fill color to white.

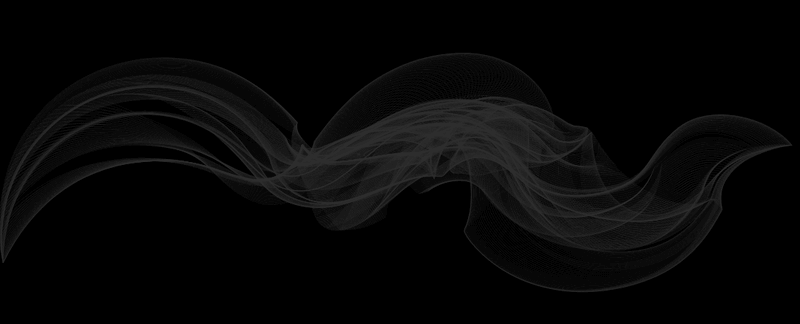
Step 6: Select both the lines and shape, go to the overhead menu, and choose Object > Envelope Distort > Make with Top object.

Now you’ve created a vector smoke. The next step is to make it a brush.
Step 7: Open the Brushes panel and drag this vector smoke to the Brushes panel. Choose Art Brush and change the colorization method to Tints and Shades.
You can also name your smoky brush or change the direction of the brush.
That’s it. Try it out and see how it looks.
You can also try to create text that looks like smoke.
How to Create Smoke Effect in Adobe Illustrator
You can use the envelope distort tool and the blend tool to create vector smoke, or simply blend in a raster image to make a smoke effect. Check out the steps for both types of smoke effects.
Vector
Actually, the smoke brush I showed you above is already a vector, so you can use it to draw and add a smoke effect. And that’s one of the ways to make vector smoke. I’ll show you another way to create vector smoke using the blend tool.
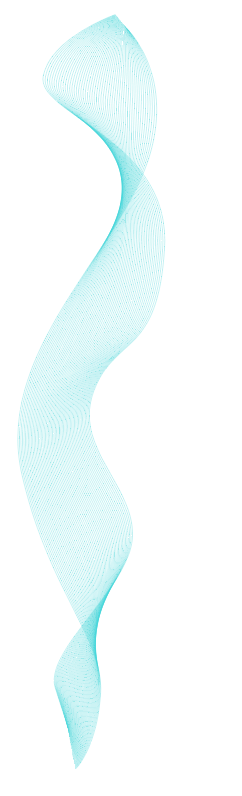
Step 1: Use the pen tool to create two wavy lines overlapping each other. Change the stroke weight to 0.05 or thinner. It looks more realistic when the lines are thinner.

Step 2: Select both lines, go to the overhead menu, and choose Object > Blend > Make.
As you can see, it doesn’t look very convincing, the distance between the paths is too much.
Step 3: Go to Object > Blend > Blend Options, change the Spacing to Specified Steps, and increase the number of steps.
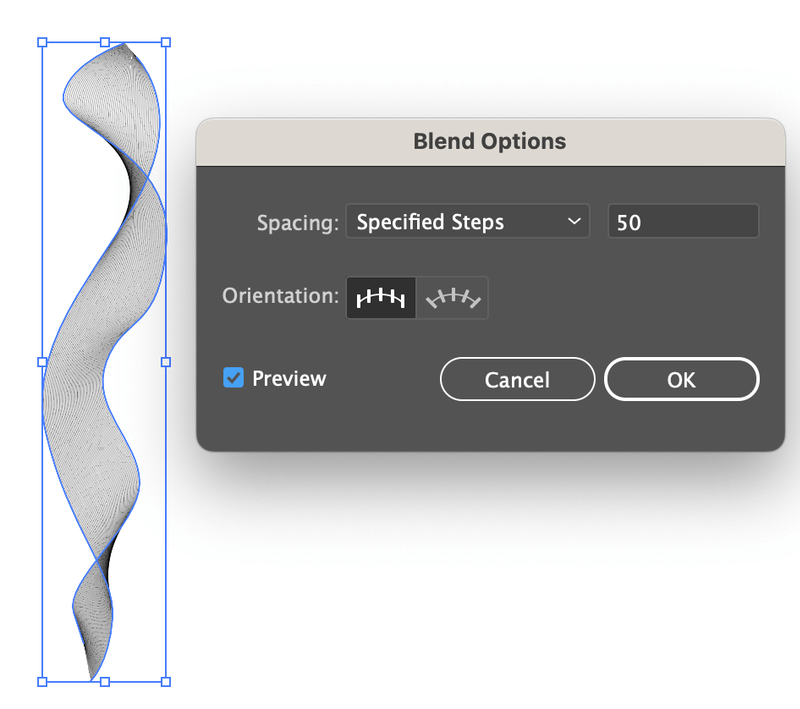
Check the Preview box to see how it looks as you adjust.
That’s it! It doesn’t look as realistic as the smoke effect made with a smoky brush, but you can adjust the opacity or blending mode to make it fit in your design.
Raster
This should be done in Photoshop, but considering not everyone uses Photoshop, I’ll show to how to make a smoke effect in Adobe Illustrator.
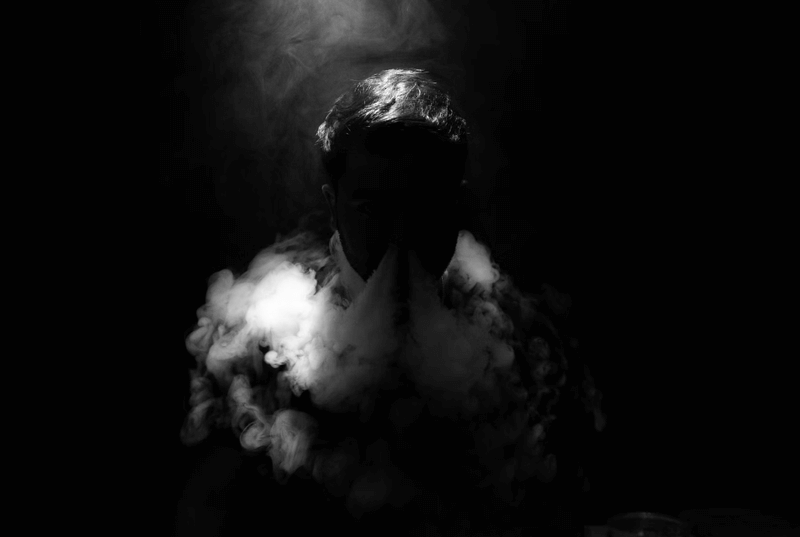
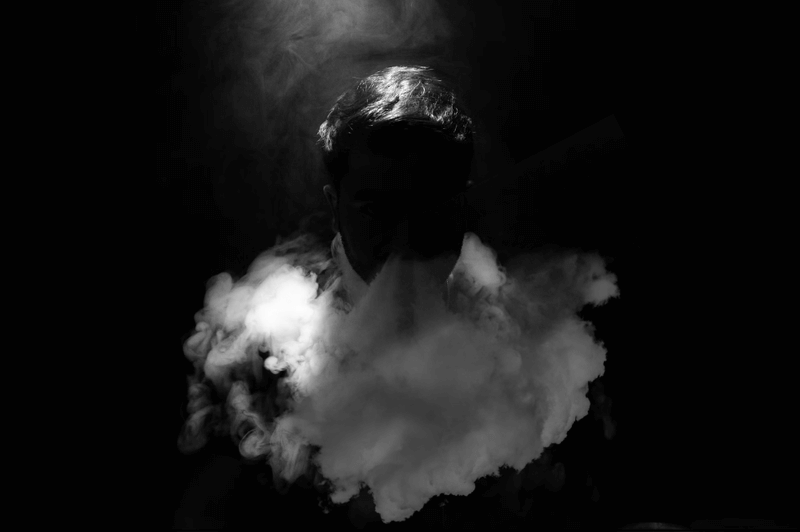
Let’s add more smoke to this image, for example.
Step 1: Find an image with smoke (or cloud even), and embed the image in Adobe Illustrator.

I’m going to use this cloud to add more smoke but first I’ll convert the image to grayscale.
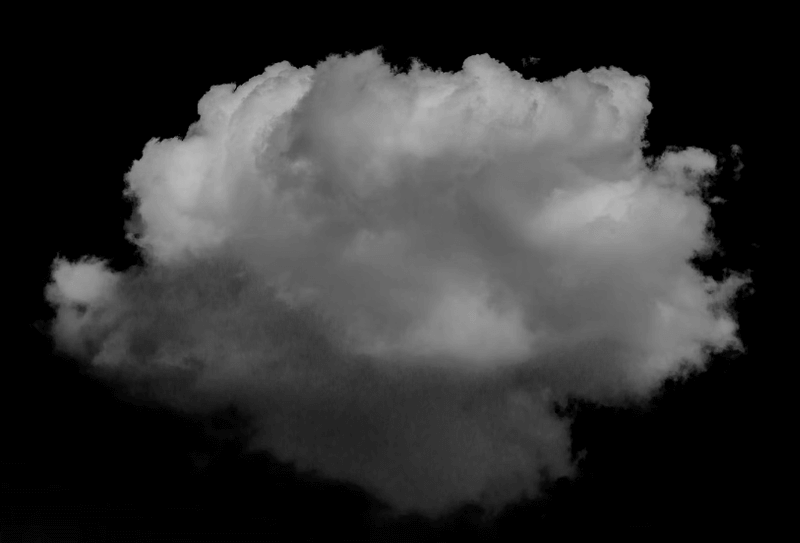
Tip: Try to find an image with a similar background color so that it can blend better. Otherwise, you might have to make a clipping mask to remove the background.
Step 2: Move and scale the smoke/cloud image to the original image where you want the smoke to appear. You can lower the opacity to see the position.
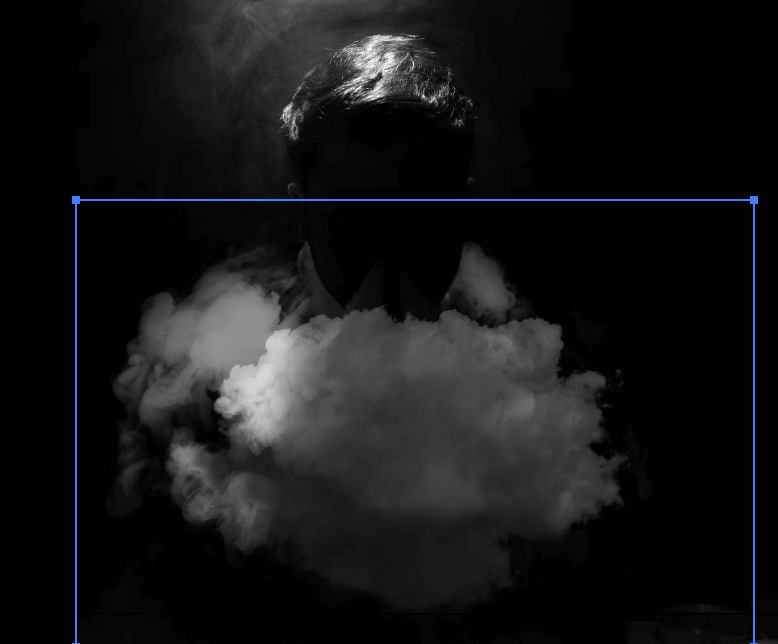
Starting to get the effect, right? The next step is to make it look more realistic.
Step 3: Select the smoke image and change the Blending Mode from the Appearance panel. Click Opacity, and you’ll be able to choose the blending mode.
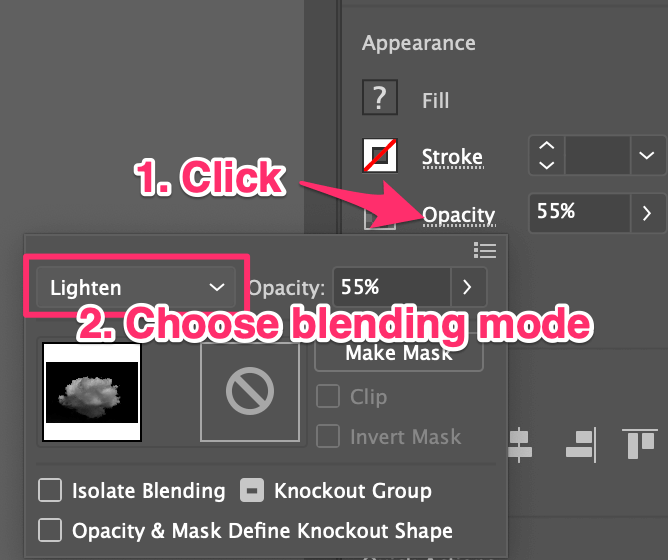
You can play with the opacity as well to get an ideal result.
Other Questions
Here’s more to making smoke in Adobe Illustrator.
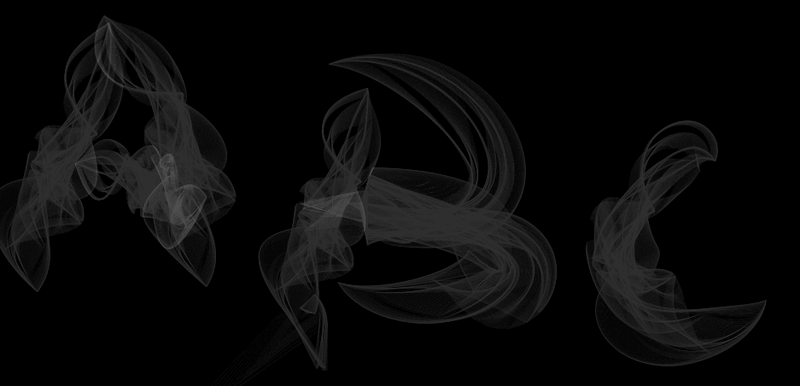
How to make smoke letters?
You can use a smoke brush to draw smoke letters. Adjust the brush size as you draw, I would use thinner strokes so that the letters can be more readable.
How do you make steamed coffee in Illustrator?
The easiest way to add some steam to a cup of coffee is by finding the perfect smoke image and blending it in. You can use the same method as making a raster smoke effect that I introduced above.
How to make cartoon smoke in Illustrator?
You can vectorize a raster cloud/smoke image to make it look cartoonish. Another option is to draw the smoke using the pen tool or brush tool.
Conclusion
Yes! It’s possible to make smoke effects in Adobe Illustrator, and the advantage is, that you can edit the vector smoke. The blend tool method is the easiest way to make it, but the result isn’t as realistic as the one created by Envelope Distort.
In the end, it depends on the project you’re creating. It’s good to have different types of smoke for different uses.