
You can save/export an Illustrator file in the SVG format for Cricut. Make sure that you have all the strokes combined and text outlined for the best result.
As a graphic designer working with branding since 2013, I’ve created so many branded products for school projects, clients, and even for myself. After experimenting with different formats of Adobe Illustrator, I figured saving the file in the right format was crucial for quality print work.
I tried to print with JPEG, PDF, PNG, etc. Well, I have to say that PDF is not bad, but when it comes to products, SVG is my top choice.
In this tutorial, you’ll learn how to work with SVG files in Adobe Illustrator to get your design ready for Cricut.
If you’re not familiar with SVG files, here’s a quick explanation.
What are SVG Files
SVG stands for Scalable Vector Graphics and SVG files are high-resolution vector-based graphics that you can edit and scale without losing their image quality. It’s mainly used for logos, icons, infographics, and illustrations.
SVG is a popular file format because it’s compatible with different software and it’s commonly used for Cricut, which is a smart machine that allows you to create personalized designs on products.
Now let’s take a look at how to create a personalized design and save it as SVG for Cricut in Adobe Illustrator.
Note: The Screenshots from this tutorial are taken from Adobe Illustrator CC Mac version. Windows or other versions can look different.
How to Convert Illustrator File to SVG in Adobe Illustrator
If you already have an image that you want to use for Cricut, you can convert a JPEG file into an SVG. Otherwise, you can create a new design from scratch in Adobe Illustrator and save it as an SVG for Cricut.
Creating a New SVG File in Adobe Illustrator
Honestly, anything you create in Adobe Illustrator can be saved as SVG because Adobe Illustrator itself is a vector-based program. So go ahead and create shapes or text that you want to print on your product.
For example, let’s say we want to make a logo in Adobe Illustrator and use Cricut to make branded products.
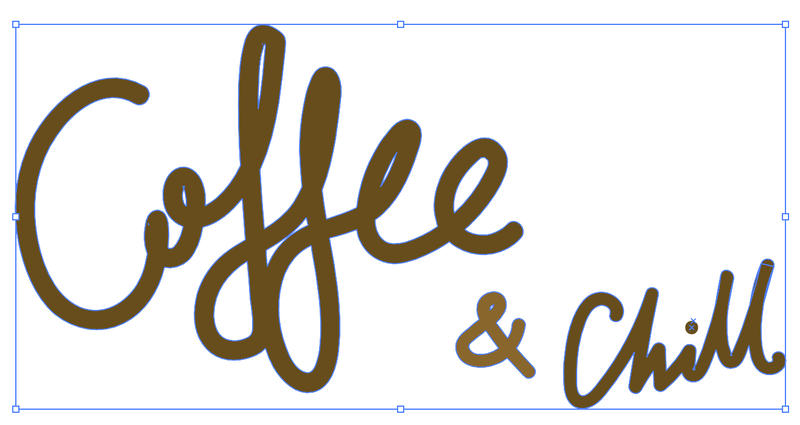
Step 1: Create a shape, draw, make a pattern, or simply add text depending on what you want to print. For example, I quickly used my Wacom tablet to draw/write these letters.
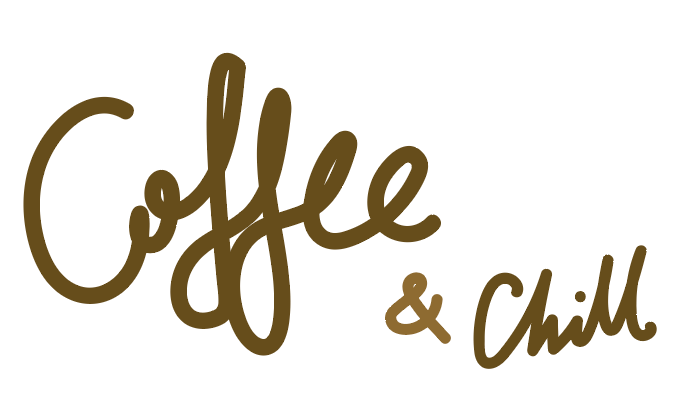
They are already vectors, especially, paths, so the next step is to convert them into shapes. If you used text, you should create a text outline using the keyboard shortcut Shift + Command + O. (Windows users change the Command key to Ctrl.)
Step 2: Select the path, go to the overhead menu, and choose Object > Path > Outline Stroke.
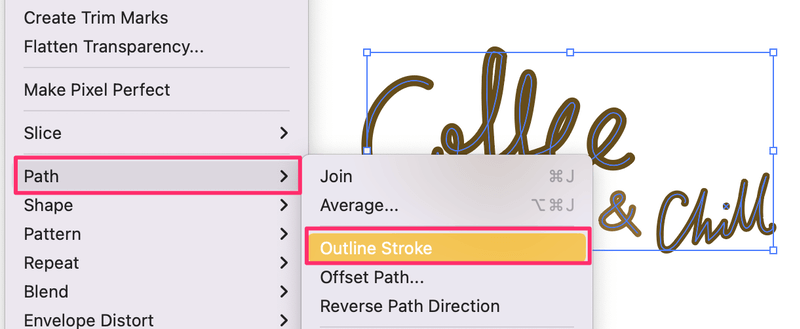
And you’ll see that the path became outlines but there are overlapping shapes in between the strokes.
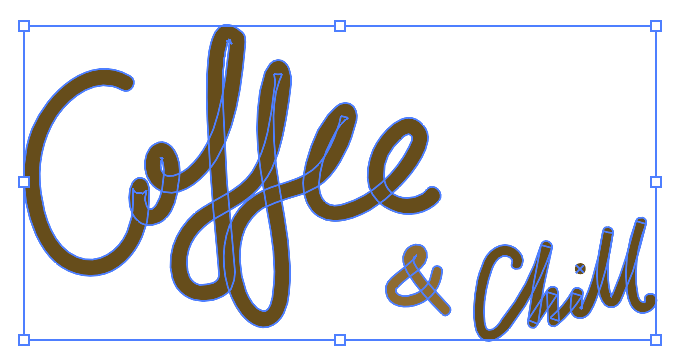
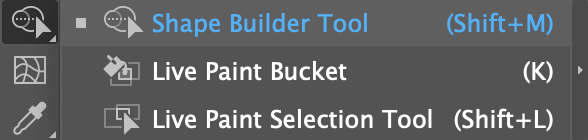
Step 3: Select the outlines and use the Shape Builder Tool (keyboard shortcut Shift + M) to combine shapes.
Simply draw through the highlighted shapes until all overlapping areas are gone.

In the end, the text should look like this, without overlapping outlines.
Step 4: Resize and finalize the artwork. The next step is to save your Adobe Illustrator file as an SVG.
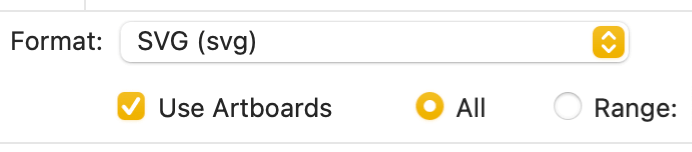
Step 5: Go to the overhead menu File > Save As or Export > Export As, and choose SVG (svg) as Format. Check the Use Artboards option.
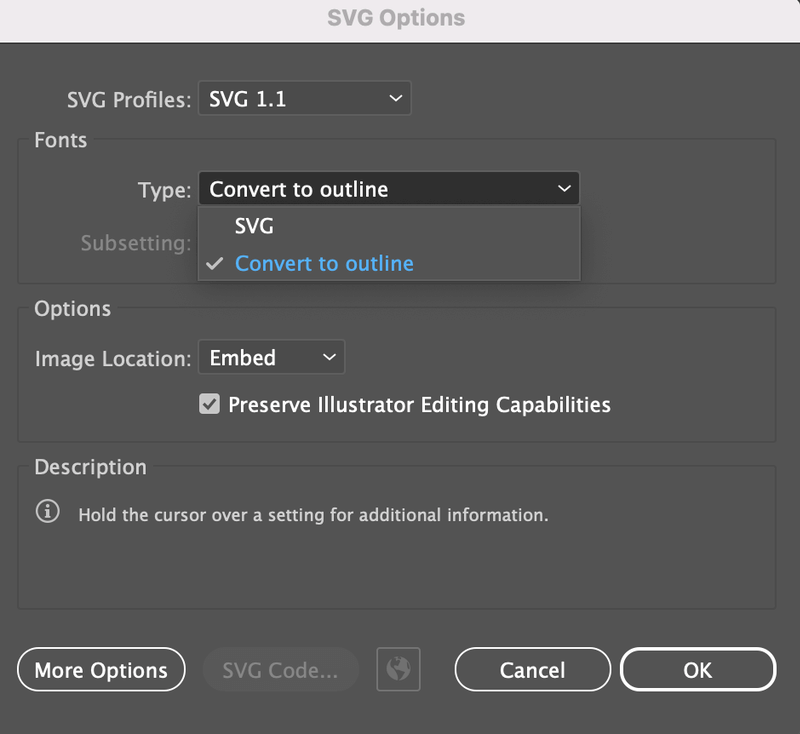
When you click Save, you will be asked to choose the SVG options. You can leave the SVG Profiles as the default SVG 1.1, and choose to change the Fonts Type to Convert to outline.
Click OK, and you can open your SVG file in Cricut.
Converting an Image into SVG in Adobe Illustrator
For example, you found a nice image online and want to print it on your product. In this case, you can convert the raster image into a vector file using Adobe Illustrator and you can use the Image Trace feature to easily vectorize an image.
However, it only works when the image isn’t too complex, otherwise, the traced result might not be ideal.
Here’s an example of converting an image into SVG:
Step 1: Place and embed the image in Adobe Illustrator. For example, I quickly created this image on Canva and saved it as a PNG.

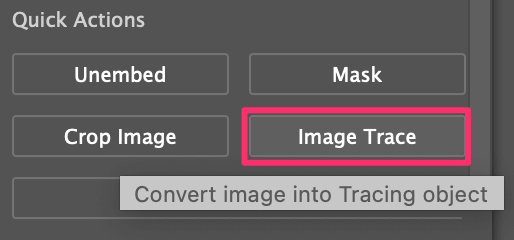
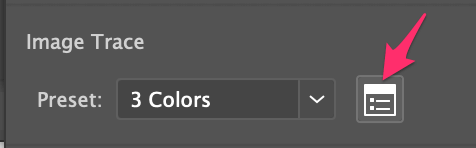
Step 2: Select the image and click Image Trace under Quick Actions on the Properties panel. You can choose a tracing result. Since my image only has two colors, I’m going to choose the 3 Colors option.
Your image is already vectorized, but there are a few more extra steps to finalize it for export.
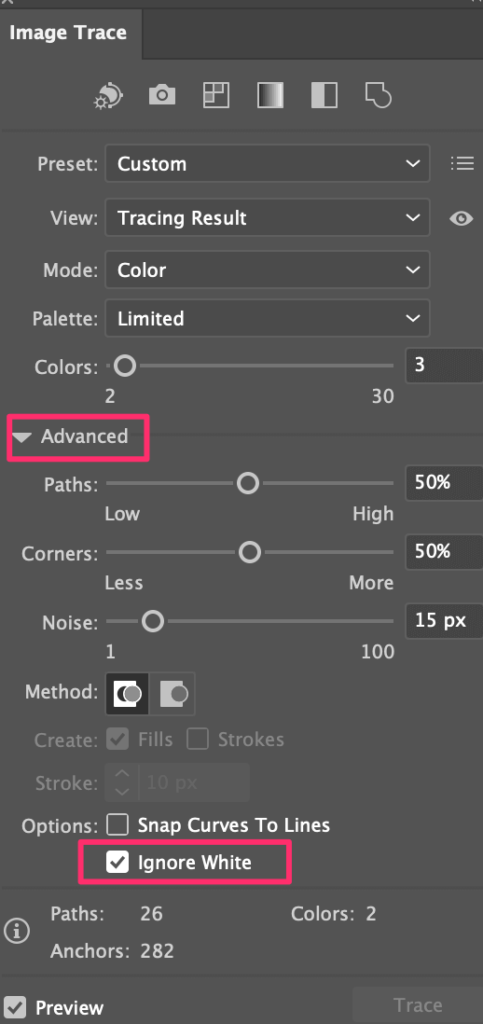
Step 3: Click on the icon next to Preset to open the Image Trace panel.
Expand the Advanced option and click on Ignore White. This will get rid of the white background of the image.
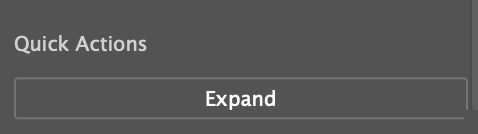
Step 4: Click Expand under Quick Actions on the Properties panel.
And if you want to edit the svg, you can ungroup it. For example, you can change its color.

Step 5: Go to the overhead menu File > Save As or File > Export > Export As and choose (SVG) svg as the file format.
That’s it! Now you can open the SVG file in Cricut to make personalized designs!
Conclusion
Whether you’re converting an image into a vector or creating something from scratch for Cricut, it’s important to save the file as SVG. Make sure that you outline the text and vectorize the image if the original file is a raster.
Hilarie Dayton
This is such a great tutorial- thank you so much! I’ve worked with illustrator for decades but just got a cricut and wasn’t sure how to create my own work.
June Escalada
Hi Hilarie,
Oh! Happy to help 🙂