Adding bleed marks to your artwork isn’t only the print shop’s responsibility, it’s yours as well. Can’t blame them for bad cutting because you forgot to add bleeds. Well, I’m talking about myself. We all learn from experience, right?
Once I sent an event flyer to print, 3000 copies, and when I got the artwork, I noticed that some letters near the edges were slightly cut off. When I went back to the Ai file, I realized that I forgot to add bleed marks in Illustrator.
Big lesson!
Ever since then, print = add bleed is the formula in my head whenever I got a project that needs to be printed.
In this tutorial, you will learn what are bleeds, why to use bleeds, and how to add them in Adobe Illustrator.
Let’s dive in!
What Are Bleeds & Why Should You Use Them?
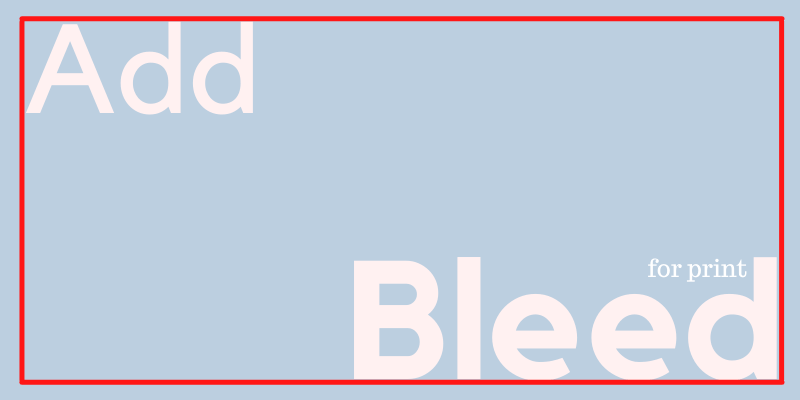
Let’s be imaginative. Bleed is the protector of your artboard edges. It’s most commonly used when you need to print a PDF version of your design.
As you can see, bleed is the red border around your artboard.

Even though your design is within the artboard, when you print it, part of the edges might still be cut off. Bleeds can prevent cutting off the actual artwork because they will be trimmed off instead of the artboard edges, so it protects your design.
2 Ways to Add Bleeds in Illustrator
Note: all screenshots from this tutorial are taken from Adobe Illustrator CC Mac version. Windows or other versions can look different. Windows users change the Command key to Ctrl.
You can set up bleeds when you create a new document or add them to an existing artwork. Ideally, if you already know it’s a print design, you should set it up when you create a new document. But if you really forgot, there’s a solution too.
Method 1: Adding bleeds to a new document
Step 1: Open Adobe Illustrator and create a new document. Go to the overhead menu and select File > New or use the keyboard shortcut Command + N.
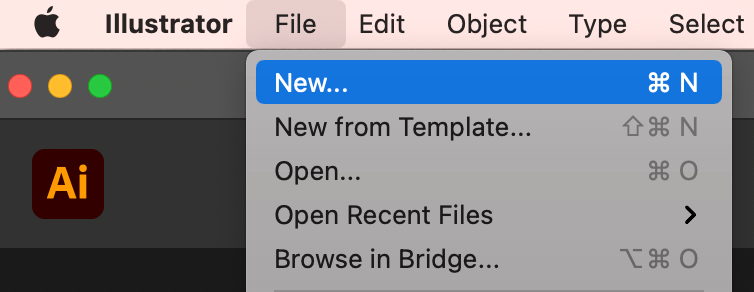
A document setting box should open.
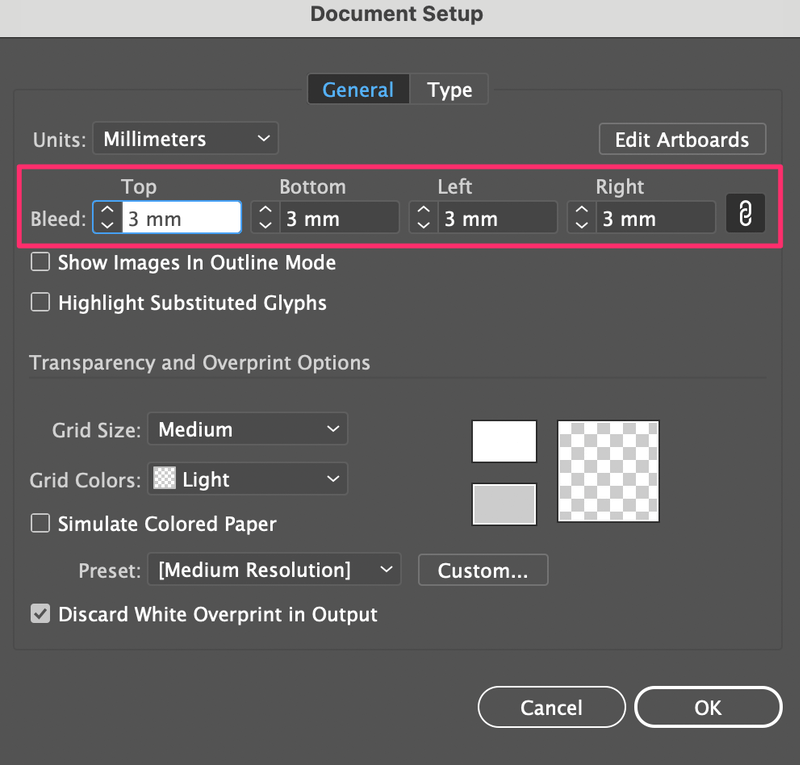
Step 2: Choose a document size, measurement unit (pt, px, in, mm, etc), and in the bleeds section input the bleed value. If your use inches, a commonly used bleed value is 0.125 inches but there isn’t a strict rule.
For example, personally, I prefer to use mm when I design for print, and I always set my bleed to 3mm.
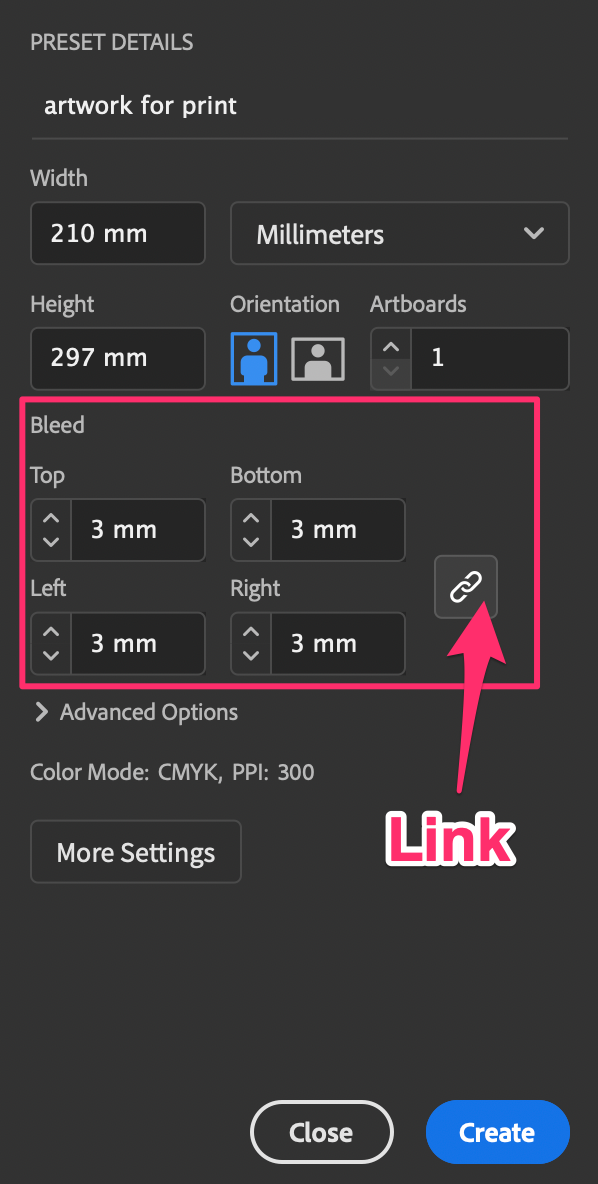
When the link button is activated, you only need to input one value and it’ll apply to all sides. If you don’t want the same bleeds for all sides, you can click to unlink and input the value individually.
Step 3: Click Create and your new document is created with bleeds!
If you want to change your mind about the bleed values after you create the document, you can still do it following the same method as adding bleeds to existing artwork.
Method 2: Adding bleeds to existing artwork
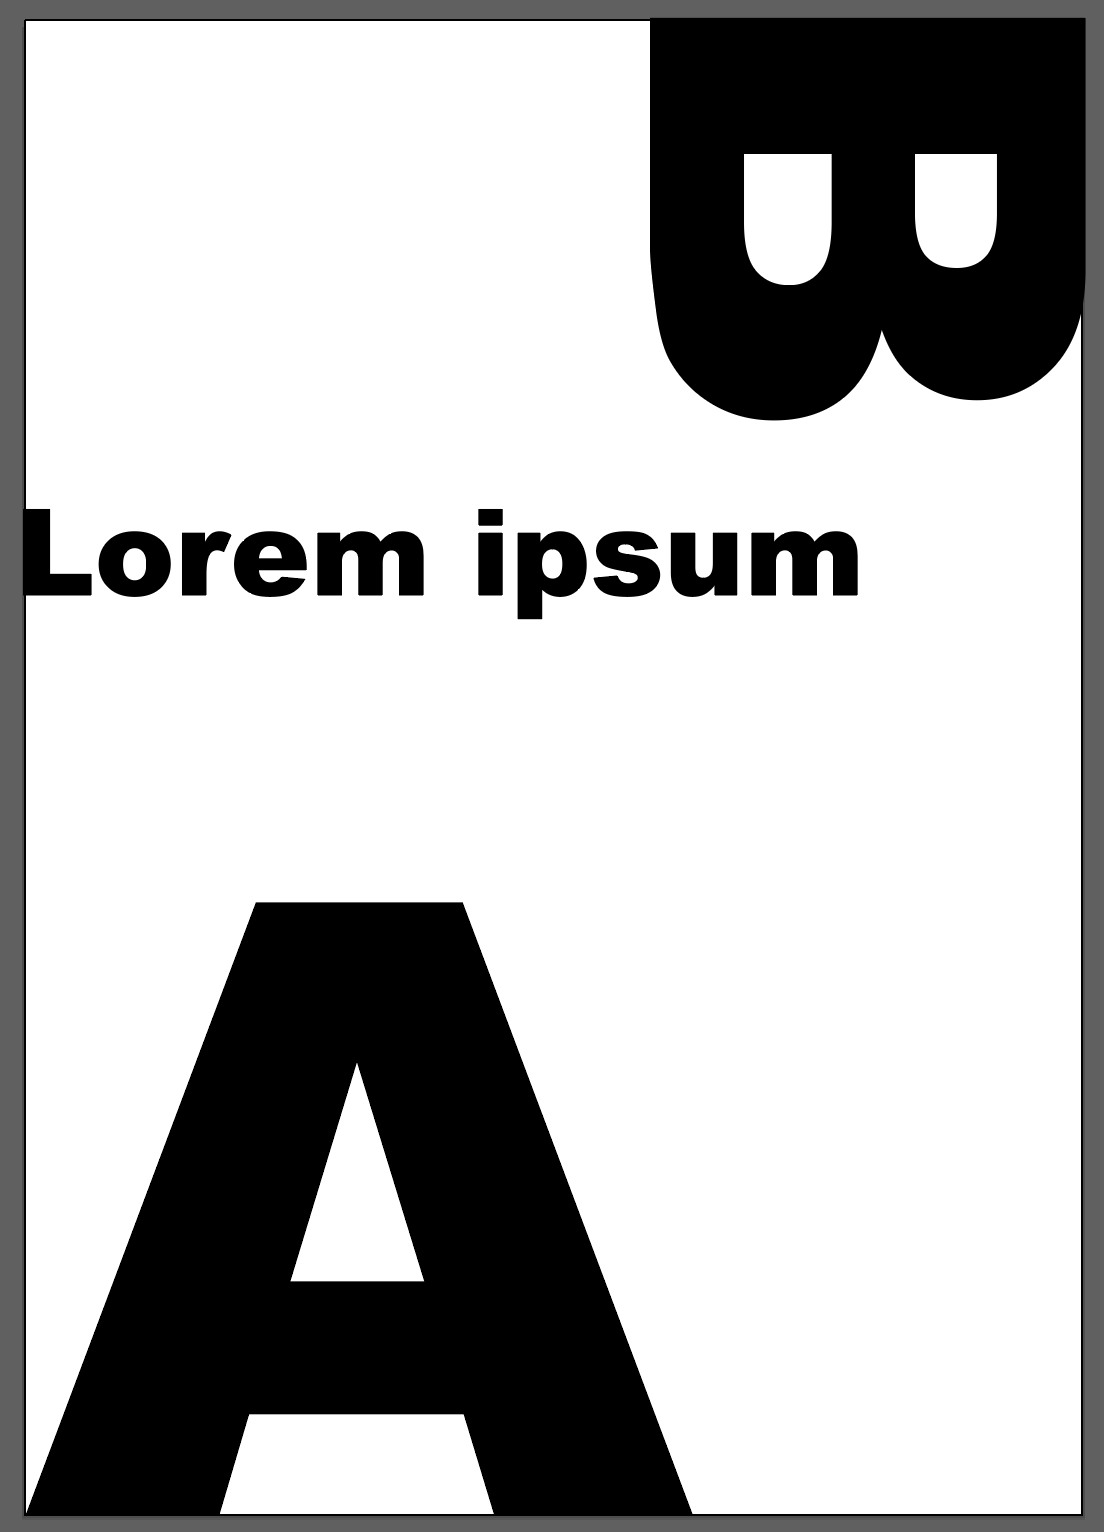
Finished your design and realized that you didn’t add bleeds? No big deal, you can still add them. For example, these letters are attaching the artboard edges and it would be a challenge to print or cut, so it’s a good idea to add bleeds.
Go to the overhead menu and select File > Document Setup. You’ll see a Document Setup window pop up and you can input bleed values.
Click OK and the bleeds will show around your artboard.

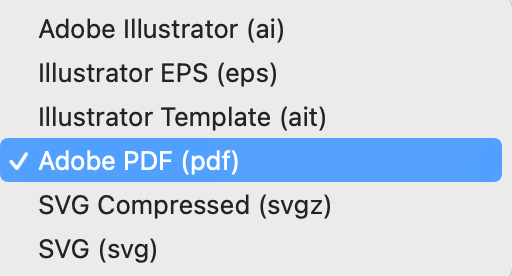
Saving As PDF with bleeds
Saving your file as a PDF with bleed marks is an important step before you send your design to print.
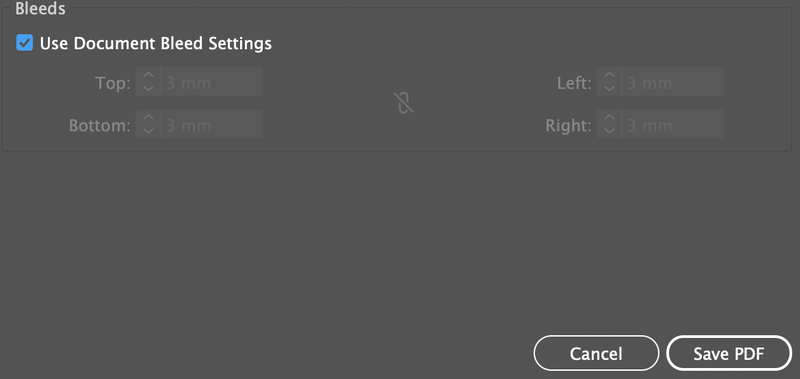
When this setting box pops up, go to Marks and Bleeds. Change the Adobe PDF Preset to [High Quality Print] and in the Bleeds section, check the Use Document Bleed Settings box.

When you check the Use Document Bleed Settings option, it will automatically fill in the bleed value you input when you created the document or added it from the Document setup.
Click Save PDF. When you open the PDF file, you’ll see that there’s space on the edges (remember the letters were touching the edges?).

Normally, I would add trim marks as well to make it easier for cutting.
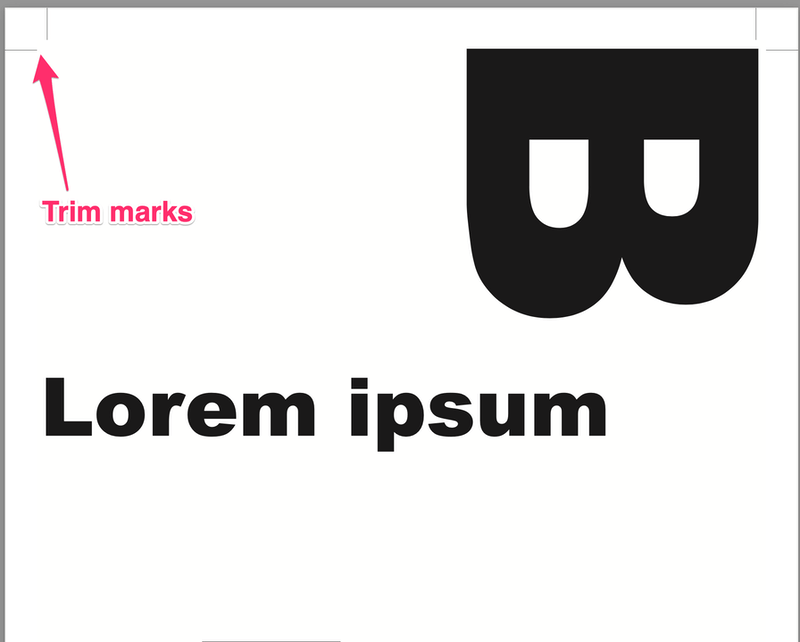
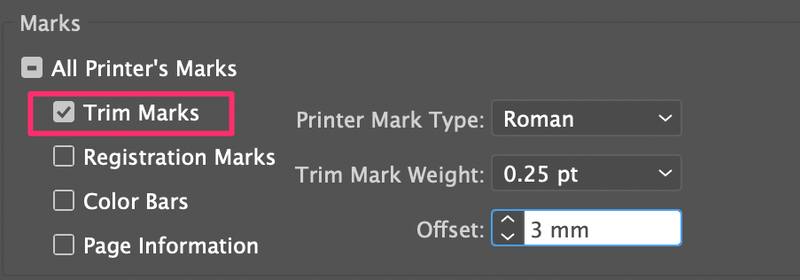
If you want to show the trim marks, you can check the Trim Marks option when you save the file as a pdf and leave the rest as it is.
Now your file is good to print.
Conclusion
If you’re designing for print, you should get into the habit of adding bleeds the moment you create the document so that you can start planning the artwork position from the very beginning.
Yes, you can also add it later from Document Setup or when you save the file, but you might have to resize or readjust your artwork, so why the trouble?
Tyre
Hi! Thank you for your time, and patience. Learning to do something like this, for me is a big step!
June Escalada
Happy to hear, Tyre.
Vicente
Thank you so much for this tutorial.
It’s refreshing that your tutorial is not full of ads and stuff.
thanks
Vicente
June Escalada
You’re welcome, Vicente.
Happy Learning!
Yamile
Im new on this but I loved the way you explain everything thank you for your help .
June Escalada
Welcome to the creative world, Yamile 😉
Jan
I think you are missing a huge part of the reason why you add bleeds. The purpose is so that when the paper is trimmed that you have enough artwork BLEEDING into the edges. In your example you really should extend the graphics or text into the bleed. You simply have just aligned it with the bleed which serves no purpose. Hope that helps!
Daniel
Exactly.
Angelique
This video was clear, user friendly in the tone, and a huge help with explaining the terms and process. Thank you!