
Having a large selection of fonts is essential for graphic designers because you’d probably want different fonts for different design projects. For example, you’re not going to use a tech-style font for a summer vibe design, right?
Even though Adobe Illustrator already has a lot of fonts to choose from, but it’s true that many of those are not very artistic. At least for me, I often have to look for additional fonts to use in my artwork.
In this article, you will learn two ways to add fonts in Adobe Illustrator. Both methods are super easy, and they can be done without using the Illustrator program itself.
Note: all screenshots from this tutorial are taken from the Mac operating system. Windows or other systems can look different.
Method 1: Adobe Fonts
If you want to use a font style from Adobe Fonts, you don’t even need to download it to use in Adobe Illustrator. All you need to do is to click the activate button.
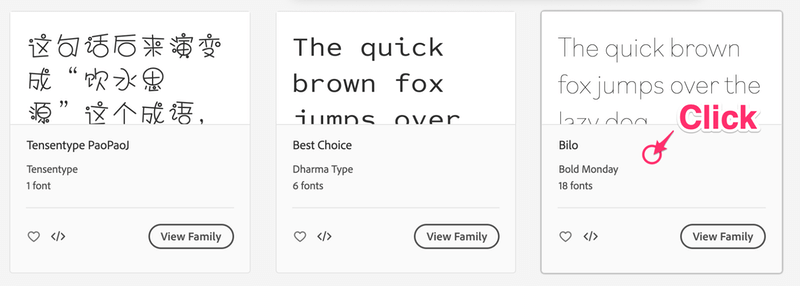
Step 1: Choose a font from Adobe Fonts. If you go to All fonts, you can search fonts by different tags and categories, and properties.

Click on the font you want to use and it’ll take you to the font page. For example, I clicked Bilo.
Step 2: Click Activate font and you will see a message letting you know you’ve successfully activated the font.
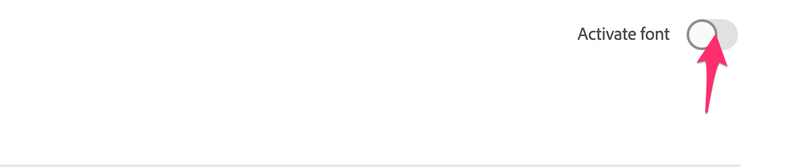
You can activate multiple fonts styles (bold, thin, medium, etc) from the same font family.
That’s it! Now you can use it directly from the Character panel.
Method 2: Download Fonts
When you download fonts from the web, usually they are in OTF or TTF format. You’ll have to install them on your computer in order to use them in Adobe Illustrator.
You can find all kinds of fonts on many websites but make sure to check the license info if you wish to use the font for commercial use.
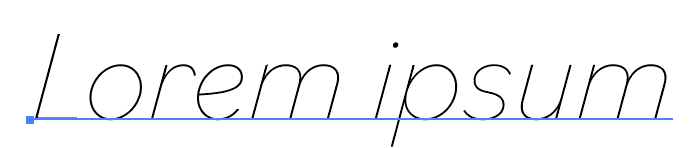
By the way, I just created some handmade cursive fonts and they are totally free for personal and commercial use 😉
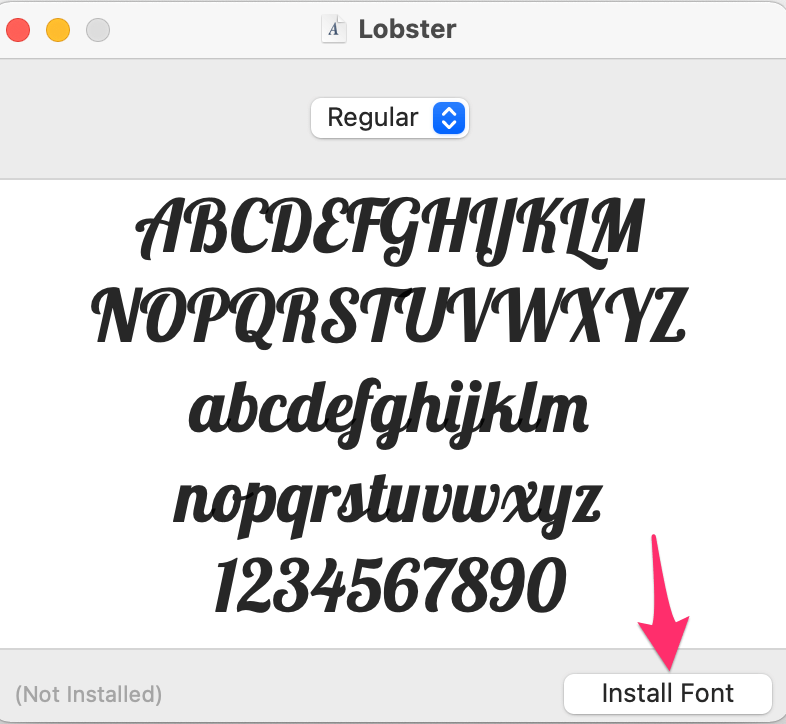
Step 1: Download the font. A zip file should be automatically saved in your Downloads folder.

Step 2: Double click to unzip the file and you should see a font format file (either .otf or .ttf). In this case, it’s a .ttf.
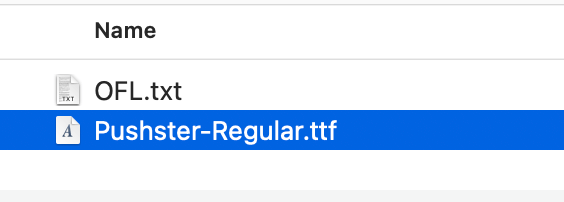
Step 3: Double click the .ttf file and click Install Font.
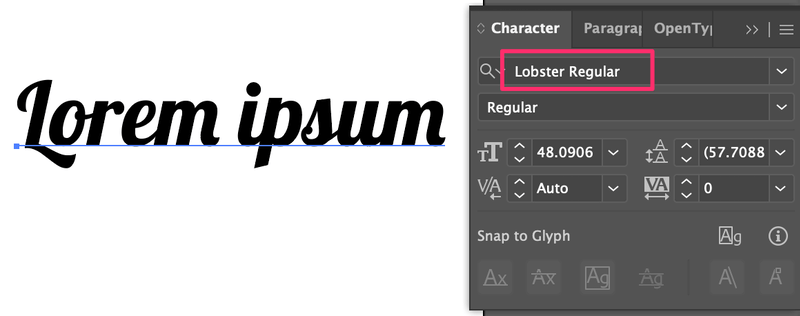
Now you should be able to use it. Add text to Adobe Illustrator and search for the font from the Character panel.
Conclusion
You can add a font to Adobe Illustrator without doing anything in the software itself because once you install the font to your computer, it’s automatically available for use in Adobe Illustrator.
If you want to use a font from Adobe Font, you don’t even need to download anything, simply activate the font and use it.
prithi
Thank you very ,, very simple and easy to understand .. my inhouse tech supprt (aka husband) is out and about and I was trying to figure this out on my own .. 🙂
June Escalada
You’re welcome, glad it helped!
Talib Hussain
I’ll tell you how to help me in future, I ve learnt some things about Illustrator and Adobe Ps.
Mattie
Thank you very much! Your instructions for download were successfully repeated and easy to accomplish.
June Escalada
Glad it helped, Mattie!