The Align tools in Adobe Illustrator are a set of useful tools that allow you to quickly adjust your artwork. Knowing how to align objects will help you keep your work precise and organized. And this can be done in less than two minutes.
My name is June, and I use the Align panel for my daily work all the time, especially when I work on posters and logos. When it comes to logo design, I always like to keep the graphic and text either center or left-aligned.
Aligning objects definitely makes the whole look clean and tidy. Instead of moving it manually and still can’t 100% precision. The Align panel can achieve the best result in just a couple of clicks.
Ready to learn the tricks? Let’s go!
How to Open Align Panel in Illustrator?
Note: Screenshots are taken from the Mac version of Adobe Illustrator CC, the Windows version might look different.
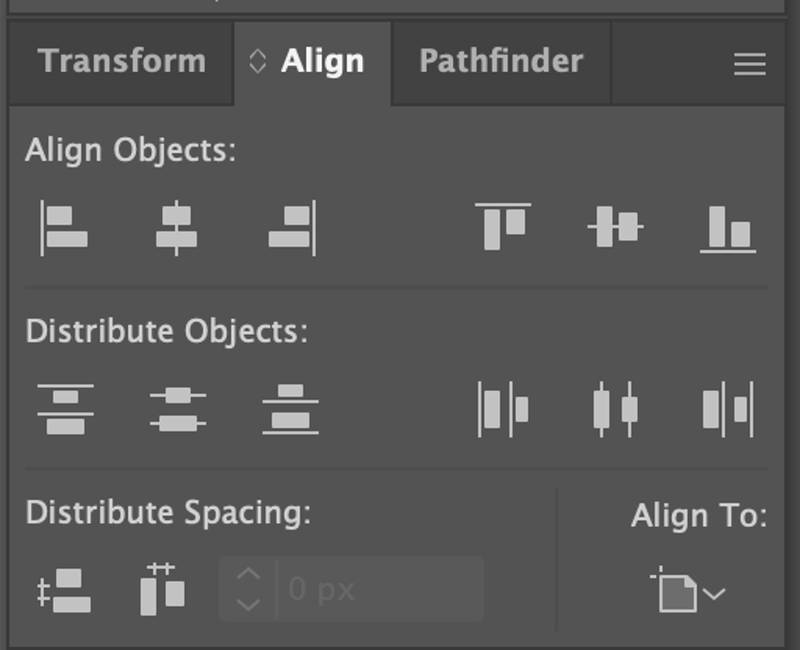
The Align panel should show on the right side of your Artboard.
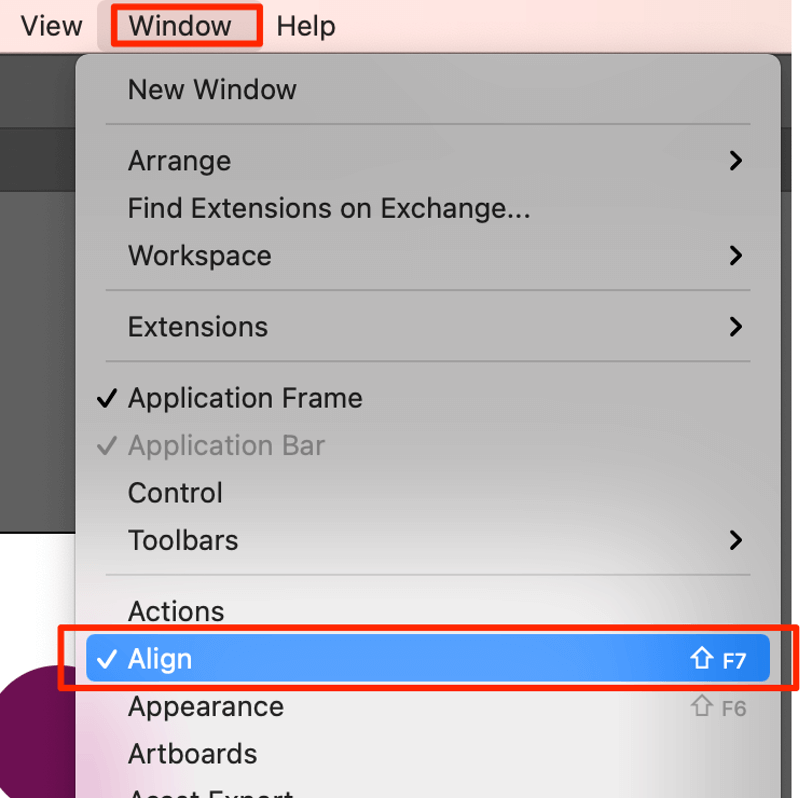
If not, you can set it up real quick from the overhead menu Window > Align.
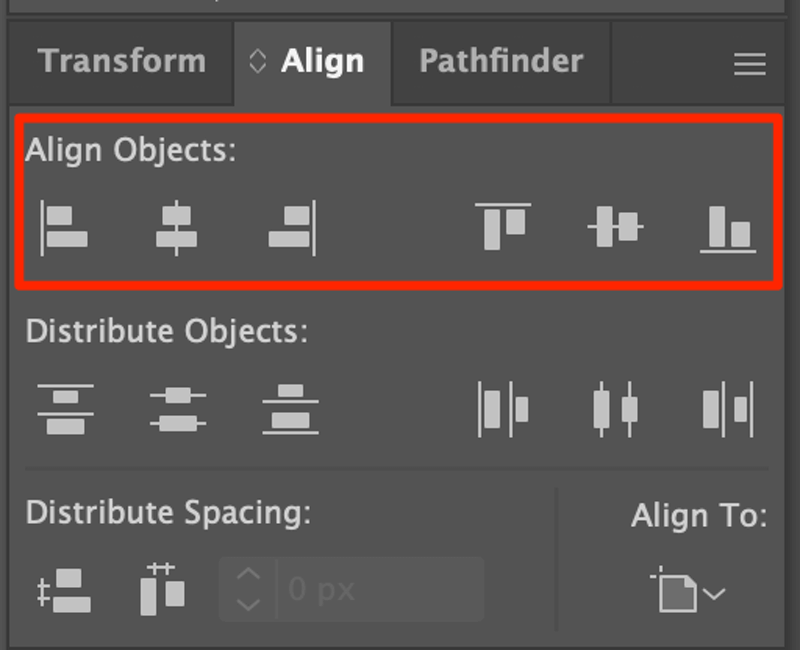
How to Align Objects in Illustrator?
You can align objects horizontally or vertically in Illustrator without moving one. And either way, you choose, you can either align to the top, center, or bottom. Besides that, You can also choose how you want to align them, to the general selection, a specific object, or to Artboard.
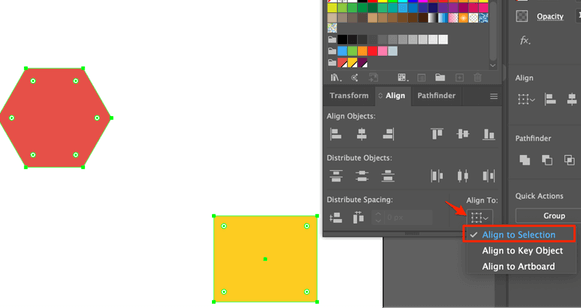
You can see the options from Align To.
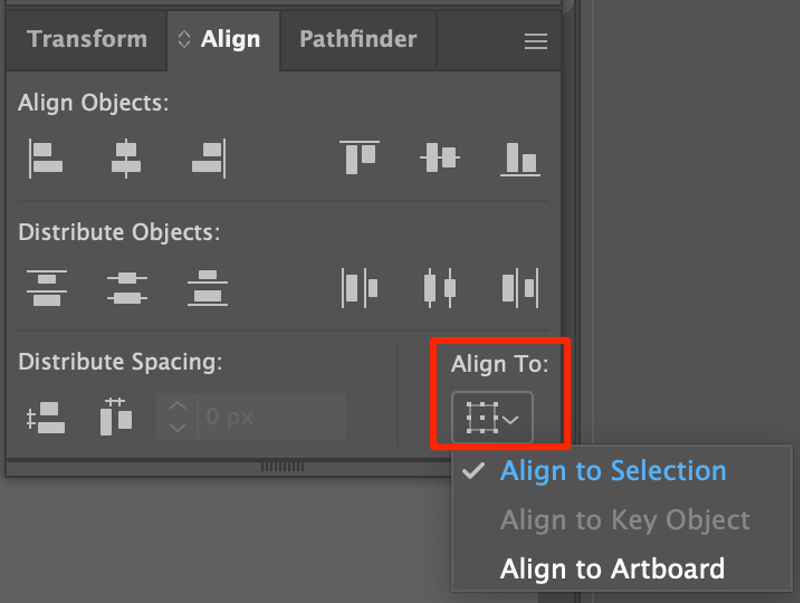
1. Align to Selection
Usually, this is the default align mode when you didn’t change the option setting. So, Illustrator automatically aligns the objects to the ones closest to the borders.
Step 1: Select the objects you wish to align. For example, here I select all.
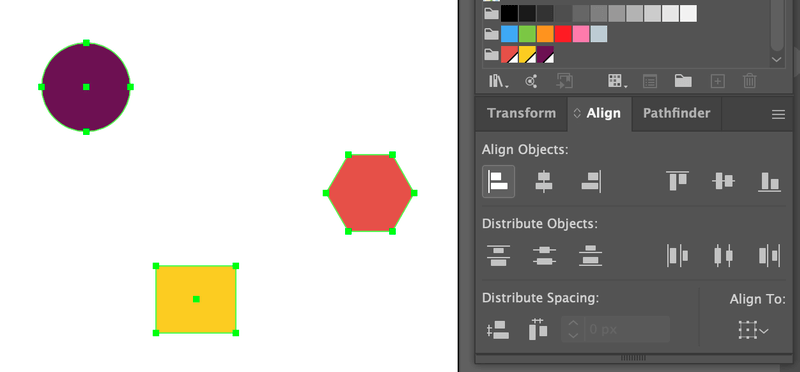
Step 2: Click Align To > Align to Selection.
Step 3: Choose an align option accordingly from Align Objects.
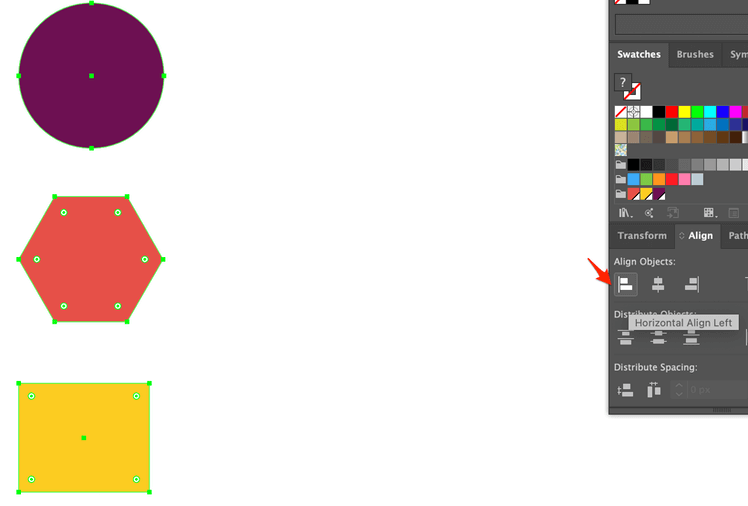
For example, I choose Horizontal Align Left. As you can see all objects are automatically aligned to the left with the circle because it’s the object closest to the left border.
2. Align to Key Object
You can choose one object with which you want the rest to align. Following the example above.
Select objects, and click Align To > Align to Key Object.
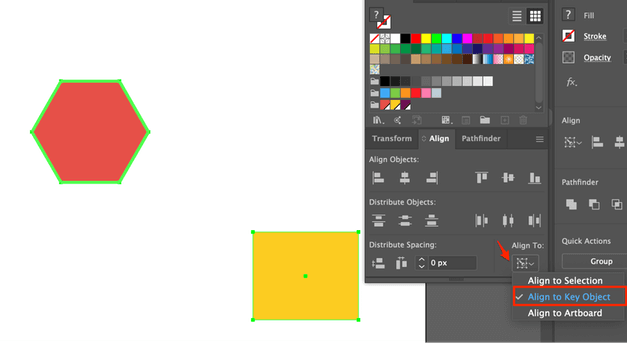
Then, select the object you want to align to. Here I selected the polygon in the middle as my Key Object. Then I chose Vertical Align Bottom.

See here all objects are aligned with the polygon in the middle of the Artboard instead of with the yellow rectangle at the bottom of the Artboard. Because the polygon is the Key Object, others will follow.
3. Align to Artboard
When you choose Align to Artboard, selected objects will align to the edge of the Artboard. For example, select objects, go to Align To > Align to Artboard > Horizontal Align Left.
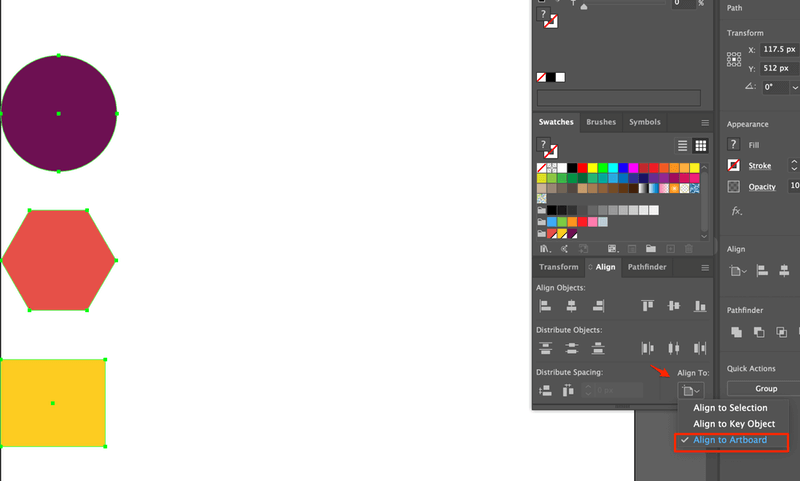
You see all objects are aligned at the edge of the Artboard.
When to Use the Align Tools?
Technically, you probably have to use it in most of your work. It’s extremely important to align your objects when you are creating layouts, text, and logos.
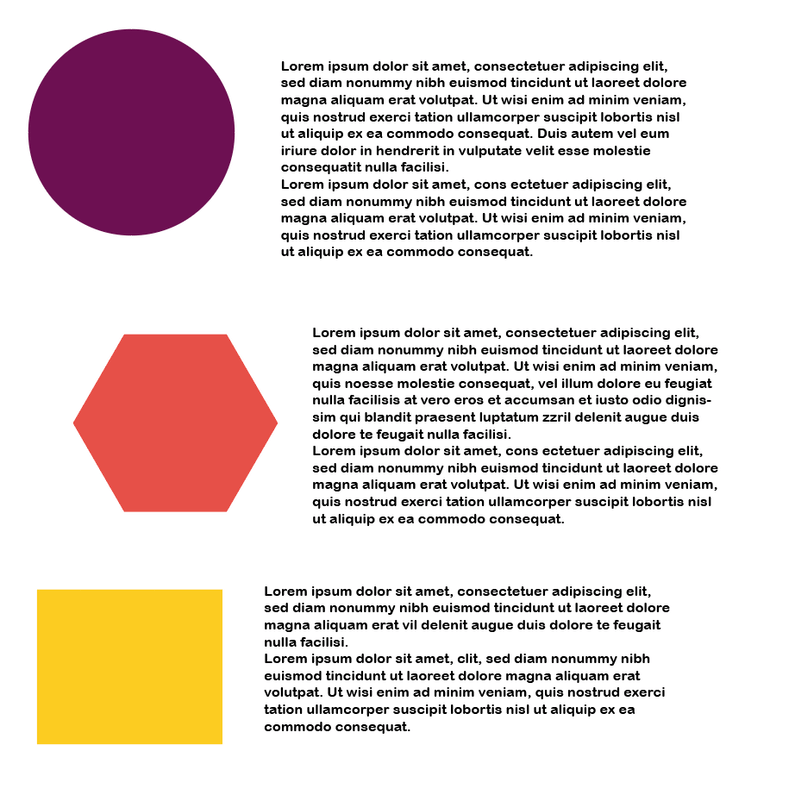
Let’s see an example of graphics and text on a brochure.
Before Align, the distance between the graphic and text doesn’t look 100% tidy, right?
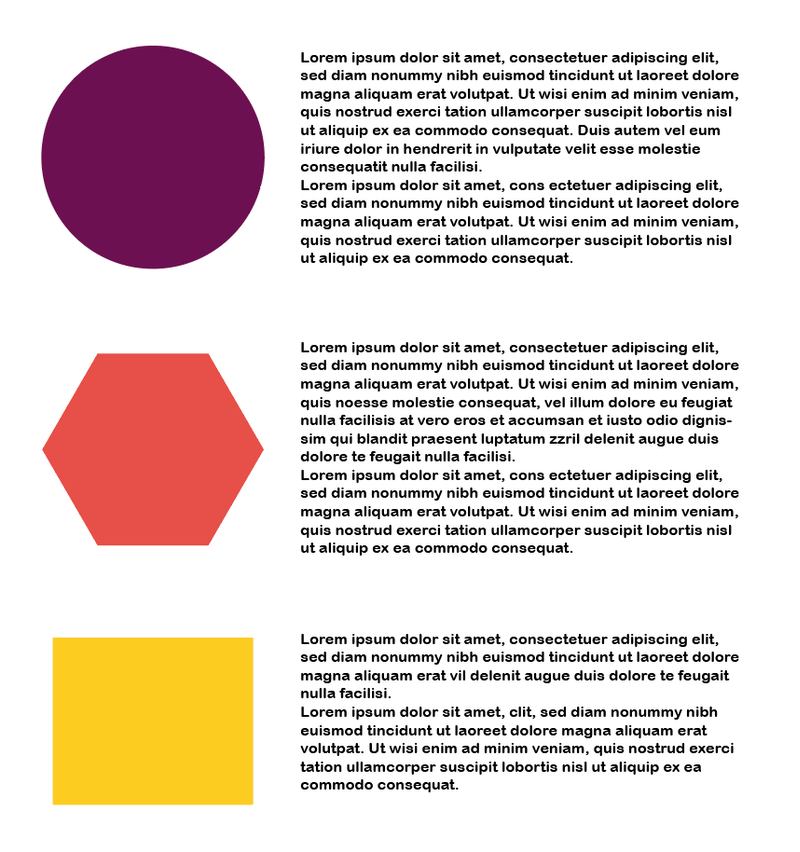
To make it look more professional, spend about two minutes selecting graphics and text and click Vertical Align Center. Repeat for the rest. Then, Select all text and choose Horizontal Align Left.
Final step, Select all graphics, click Horizontal Align Left and Horizontal Align Center.
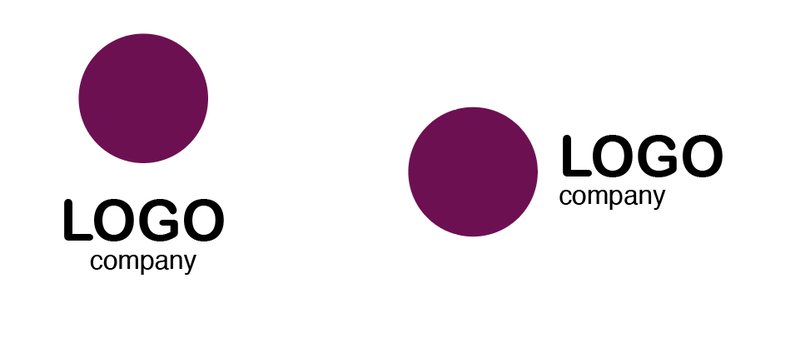
And now let’s look at a logo before Alignment.

These are the two most standard forms of company logos. Simply Select all, and click Horizontal Align Center for the left one. For the right one, first, align the text “LOGO” and “ company”, group them, and then Align it with the graphic.
That’s it! You can align objects without moving one. See the difference?
Other Questions You Might Have
Now that you have learned the basics, sometimes we can’t avoid other problems that might occur during your creation process. Below you can find the answers to some commonly asked questions by fellow designers.
Why Align tool doesn’t work?
You must select the objects when you align them. If not, the align options will show grey, which means it cannot work. Another reason is that your objects are grouped.
How do you align a grouped object in Illustrator?
You can align a grouped object but the objects in the same group will not change position within the group.
For example, if you align a grouped object to the left, the whole object will move to the left of the Artboard. If you wish to align a specific part of a grouped object to align to the left, you will have to ungroup them to align them first, and then group them together again.
How to align a logo in Illustrator?
As I briefly mentioned above, aligning a logo is extremely important because it really shows your professionalism. The two most standard forms of logos are really simple to do. Basically, it’s just select all and then choose Horizontal Align Center or Vertical Align Center.
That’s all for today!
Knowing how to align objects in Illustrator will be a great help to organize your artwork. It’s much easier than doing it manually when you have to move around the positions and distances of objects. It’s a simple and must-know tool for all graphic designers.
Stay organized 🙂