
I love Adobe Illustrator and I’ve been using it for more than ten years but speaking of the Eraser tool, I have to say that it’s not an easy tool for beginners.
It can get quite confusing especially when you can’t erase even when you already brushed on the image many times. And then you realize that’s not the right tool to erase an image.
Depending on what exactly you want to erase, part of an image, illustration, shape, or path, there are different tools for erasing objects in Adobe Illustrator.
The two popular tools for erasing are Eraser Tool and Scissors Tool, but they don’t always work on everything, sometimes you might have to make a clipping mask to erase.
In this tutorial, I’ll show you how to erase in Illustrator using different tools and when to use which.
Let’s dive in!
3 Ways to Erase in Adobe Illustrator
Note: the screenshots are taken from Adobe Illustrator CC Mac version. Windows or other versions can look different.
1. Eraser Tool
You can use the Eraser Tool to erase brush strokes, pencil paths, or vector shapes. Simply select the Eraser Tool (keyboard shortcut Shift + E) from the toolbar, and brush on the areas that you want to erase.

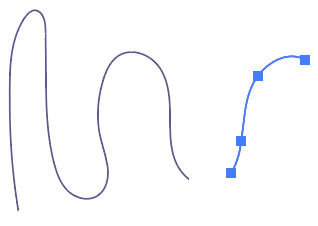
When you erase on path or shape, you’re dividing them into different parts. You’ll be able to move or edit the anchor points. As you can see, when I select the pencil path I used the eraser tool to break it, it shows its anchor points and I’m able to edit it.
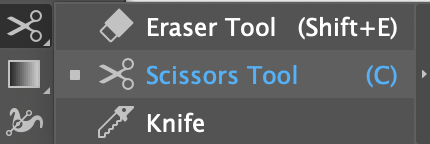
2. Scissors Tool
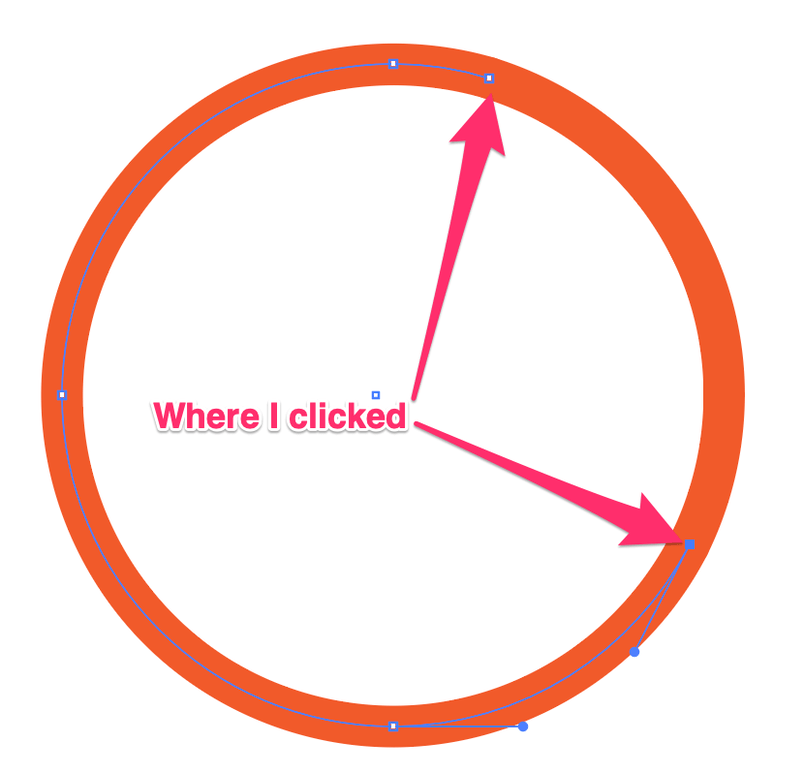
The Scissors Tool is great for cutting and dividing paths, but you can also use it to remove part of the path. For example, I want to erase part of the circle.

Step 1: Select the Scissors Tool (keyboard shortcut C) from the toolbar, usually, it’s in the same menu as the Eraser Tool.
Step 2: Click on the circle path to create the starting point and click again to create the ending point. The distance/area in between should be the part you want to erase.
Step 3: Use the Selection Tool (keyboard shortcut V) to select the path between the two anchor points.
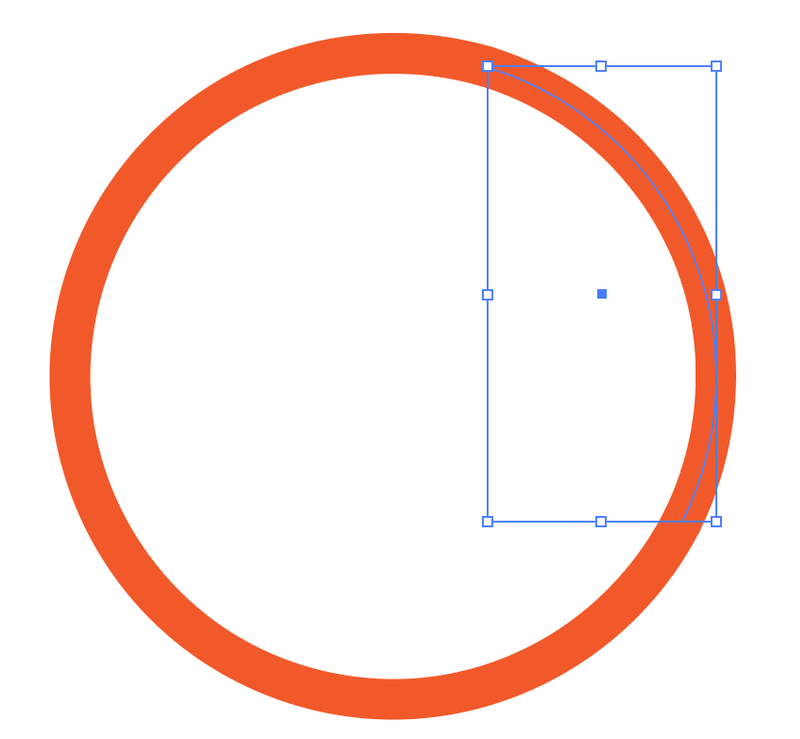
Hit the Delete key and you’ll erase part of the circle path.

3. Clipping Mask
If you need to erase part of an image, this is the right way to go because you can’t use the eraser tool on imported images.

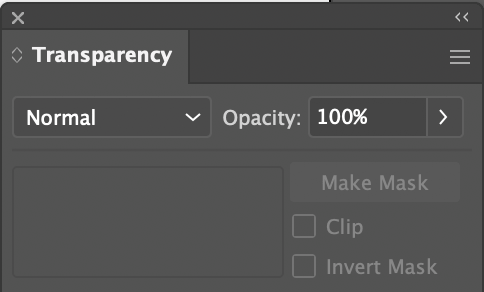
Before getting started, open the Transparency panel from the overhead menu Windows > Transparency.
Step 1: Select the Paintbrush Tool (keyboard shortcut B) and brush on the part of the image you want to erase. For example, the pink area is where I brushed. You can increase the brush size if you want to erase a large area.

Step 2: Select both the brush stroke and the image, then click Make Mask on the Transparency panel.
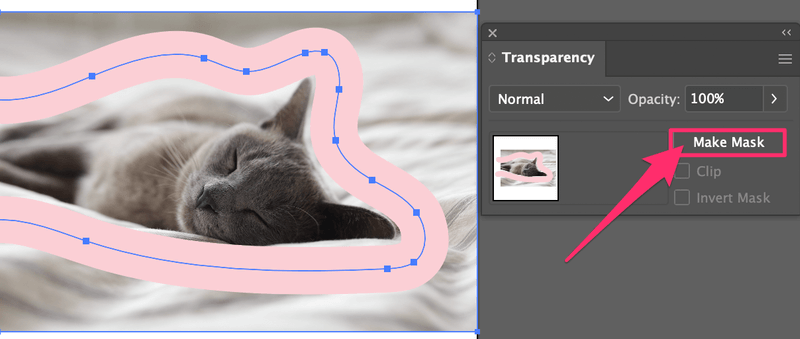
Note: If you have multiple brush strokes, you should group them before making the clipping mask.
You’ll see that the image disappeared, showing only the brush area.

Step 3: Click Invert Mask and uncheck Clip. You’ll see the image and the part you brushed on is erased.

That’s about it!
You should be able to erase anything you need using the three methods above. Remember the Eraser tool and Scissors Tool can only erase vectors. If you want to erase part of an image, you should use brushes to make a clipping mask.
Can’t Erase? What went wrong? If you can’t seem to figure out why, this article about 5 reasons why you can’t erase in Illustrator is for you.
nick
non of that erases though….it just modifies the lines how can you legitimately erase like in the old school paint programs from the 90s? is that just not possible in illistrator?
June Escalada
Yeah, I get your point, the Eraser tool in Illustrator is mostly for vectors.
Photoshop’s eraser works more like the “real life” eraser.