If you’re used to the brush tool in Photoshop, you might get a bit disappointed with the brushes in Illustrator because the brush tool in Adobe Illustrator is not as powerful and convenient as in Photoshop. There isn’t a size option when you select the brush, but it’s super easy to change the size.
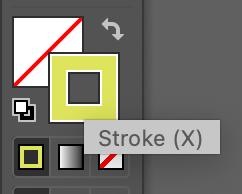
The key to changing brush size is to change the stroke size. You’ll notice that when you draw with the brush tool in Illustrator, it automatically selects the Stroke color instead of the Fill.
You can change brush size from the Properties panel, Brushes panel, or using keyboard shortcuts.
I’ll show you how!
3 Ways to Change Brush Size in Adobe Illustrator
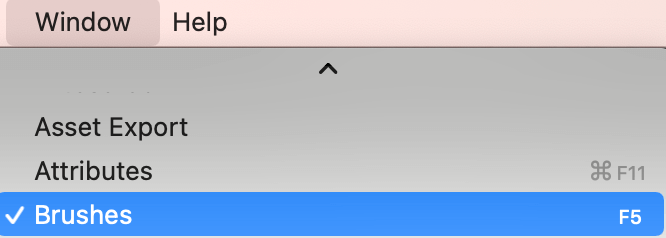
Before getting started, open the Brushes panel from the overhead menu Window > Brushes.
Note: all screenshots are taken from Adobe Illustrator CC Mac version. Windows or other versions can look different.
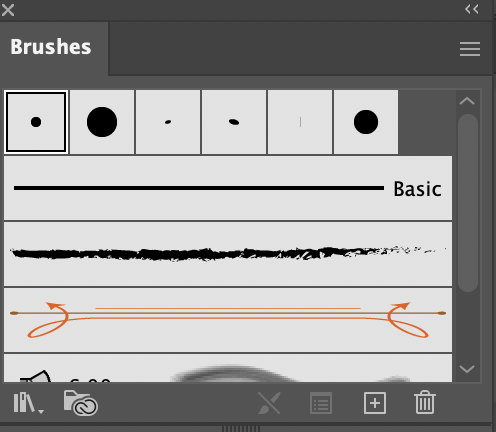
Found it? This is what it looks like. Now you can choose one of the methods below to change brush size.
Method 1: Brush Options
Step 1: Click on the hidden menu on the Brushes panel and choose Brush Options.
This brush setting dialog box will pop up.

Step 2: Move the sliders to change the brush size and you’re ready to go. If you change an existing brushstroke, you can click the preview box to see how it looks.
Note: If you already have some strokes on the artboard, when you change the size here, all stroke sizes will be changed. If you need to change the size of a specific stroke, check out method 2.
Method 2: Properties panel
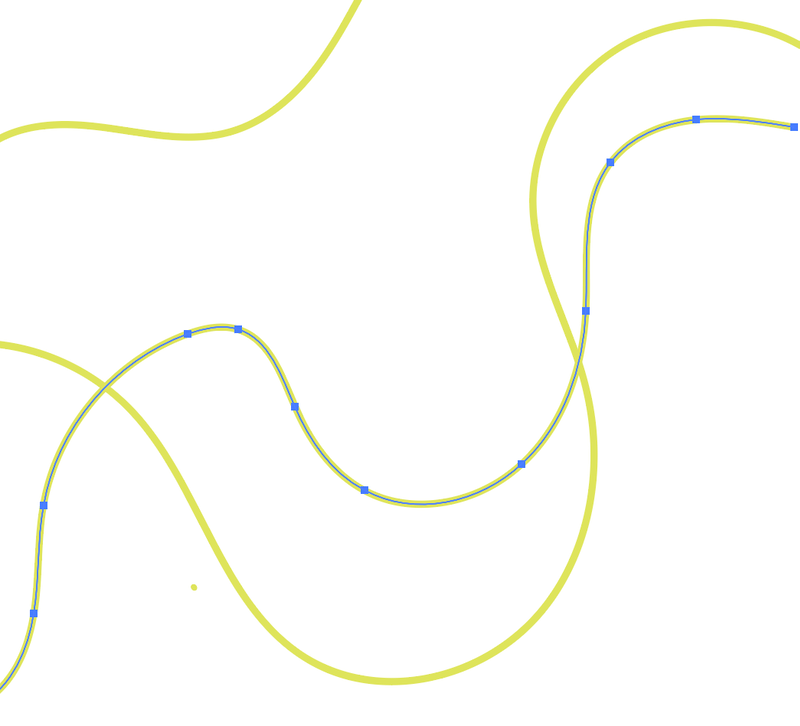
Step 1: Select the brush you want to change size. For example, I selected the stroke in the middle and I want to make it thinner.
Step 2: Go to the Properties panel > Appearance > Stroke, click or type in a value to change the size.
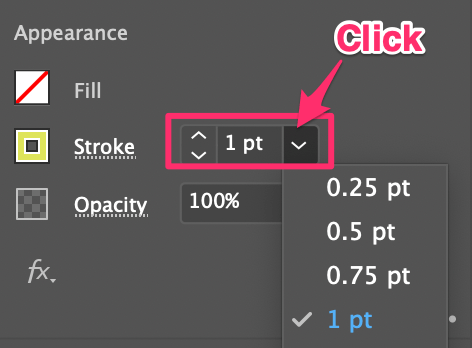
The default size is usually 1 pt, and there are some common options you can choose when you click on the arrow. I just changed mine to 2 pt.

Method 3: Keyboard Shortcuts
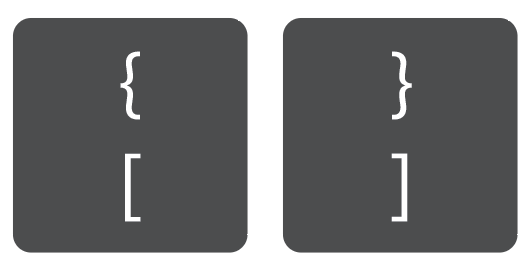
With the brush tool selected, you can use the keyboard shortcut (bracket keys) to change the brush size in Adobe Illustrator. Press the [ key to decrease and ] key to increase the size of the brush.
You’ll see a circle around the brush when you press either key, which shows the size of your brush. This method is convenient when you’re drawing with different sizes of brushes. You can also use it to make dots instead of using the ellipse tool 😉

FAQs
You might be also interested in the answers to the questions other designers asked.
Why is my Illustrator brush so big?
You might be selecting a default 5 pt brush, like the example I showed above. In this case, even though the stroke is set to 1pt, it still looks bigger than the basic brush.

Why can’t I change the brush size in Illustrator?
You might be changing the size in the wrong place. When you double-click on the brush tool, this window will pop up and there is an option to change the pixels.
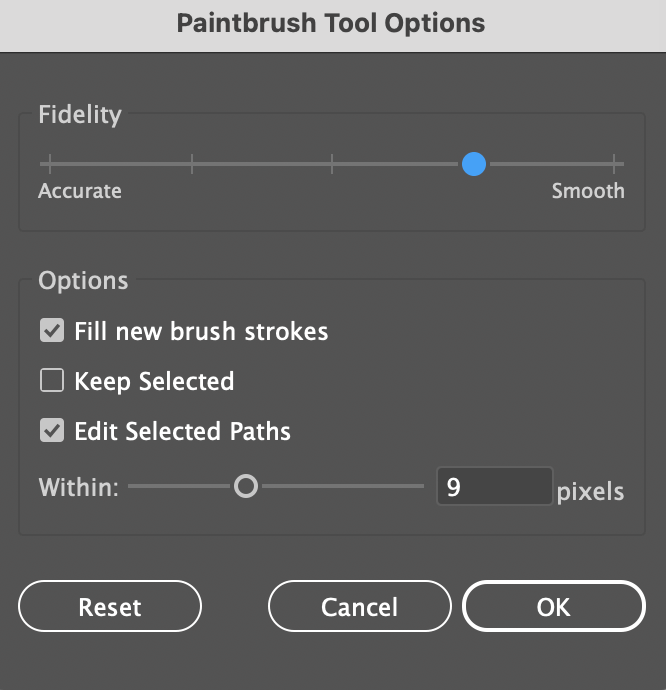
However, this is not applying to the brush size, so if you want to change the size, follow one of the methods I mentioned above.
How to change the eraser size in Illustrator?
You can use method 3 to change the eraser size by pressing the bracket keys. The same thing, press [ to decrease and ] to increase the size.
Conclusion
Changing brush size is changing stroke size. The best place to find it is the Properties panel. If you are drawing, the keyboard shortcuts should be most convenient because you don’t have to keep selecting the stroke and changing it one by one.
Mohamed Ali
When I press [ or ], the diameter increments are 3pts. Is there any way to make the increments to 1pt only?