
Typography is huge in graphic design, so it’s definitely important to ensure the readability of any text unless you purposely overlap text or create spacing between letters as part of the art.
Depending on the choice of font, sometimes certain words just don’t read well. Here’s a perfect example, is it “kerning” or “keming”? See, the letter “r” is so close to the letter “n”, it also becomes the letter “m”.
In this case, it would be nice to add a tiny bit of space between the two letters, right? And the process of adjusting space between two individual letters/characters is known as kerning.
In this tutorial, I’m going to show you three easy ways to add or reduce the spacing between letters/characters in Adobe Illustrator.
3 Ways to Adjust Kerning in Adobe Illustrator
Note: All screenshots from this tutorial are taken from Adobe Illustrator CC Mac version. Windows or other versions can look different. If you’re using keyboard shortcuts on Windows, change the Command key to the Ctrl key and the Option key to the Alt key.
Method 1: Via Character Panel
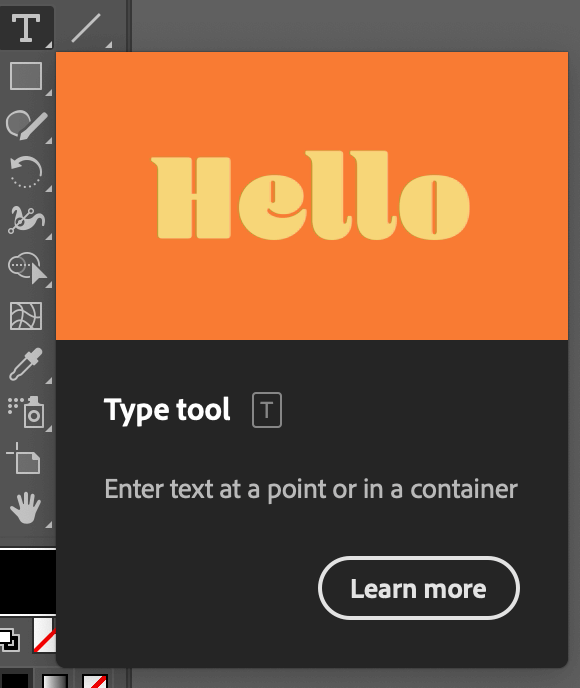
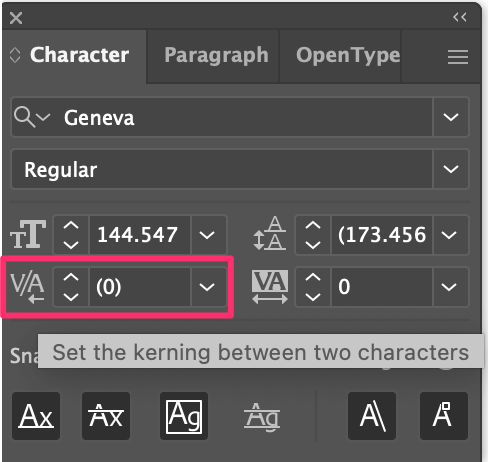
The kerning option is right under the font size on the Character panel. If you can’t find the Character panel, with the Type tool activated, the Character panel will appear on the Properties panel.
If you don’t see it there, you can open the Character panel from Window > Type > Character or use the keyboard shortcut Command + T.
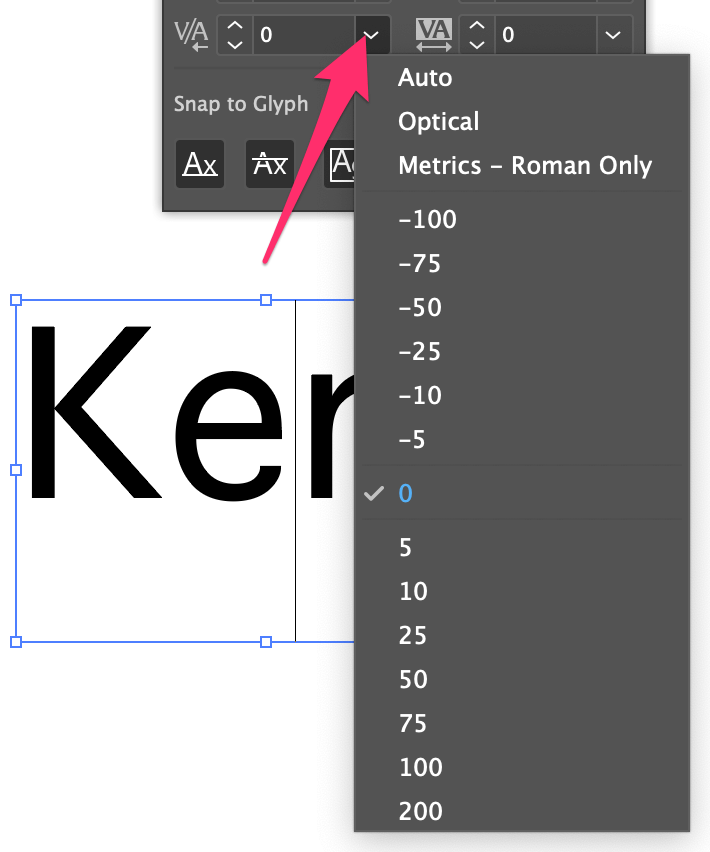
With the Type tool selected, simply click between two letters/characters, and there are different types of kerning you can choose from – Auto, Optical, Metrics, or doing it manually.
I usually do it manually, because it allows me to choose a value. The default kerning is 0, you can increase it by choosing a positive value, or decrease it by choosing a negative value.
The good point of using the Character panel is that you can keep track of the exact spacing and if you need to kern more text, you can use it as a reference.
Method 2: Using Keyboard Shortcuts
The kerning keyboard short is Option + left or right arrow key. When you kern, select the Type Tool and click between two letters that you want to adjust the spacing. For example, I want to bring the letter “e” closer to “K”, so I clicked in between.
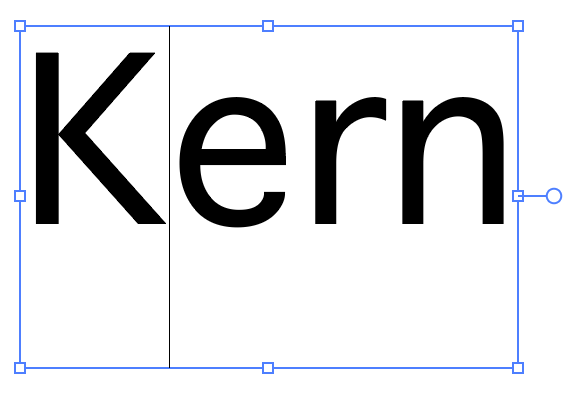
Hold down the Option key, and use the left and right arrow keys to adjust kerning. The left arrow reduces the space between letters, and the right arrow increases the space between letters. Here I held the Option key and left arrow to bring the letters closer together.

Tip: If you want to reset the kerning, you can use the keyboard shortcut Command + Option + Q to bring the characters back to their original position.
Using keyboard shortcuts is my preferred way to adjust space between letters because it’s quick, however, it’s hard to keep the spacing evenly unlike using the Character panel where you can input the exact value.
Method 3: Using Touch Type Tool
Honestly, I barely use this method for kerning, but it’s pretty helpful sometimes to create special text effects. Here’s how it works.
Step 1: Choose the Touch Type Tool from the toolbar. You can find the Touch Type Tool (keyboard shortcut Shift + T) in the same menu as the Type tool.
Step 2: Choose the letter that you want to adjust the kerning. For example, if you want to adjust the kerning between the letters “e” and “r”, you can select “r”.
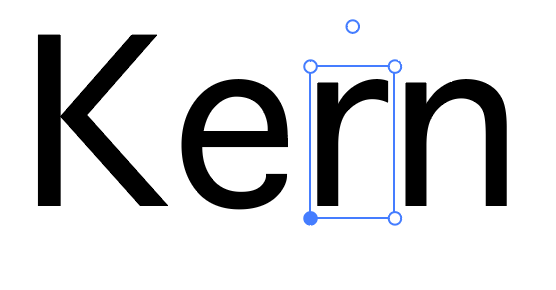
Step 3: Press the left or right arrow keys to adjust the spacing. Again, the left arrow reduces the spacing and the right arrow increases the spacing. If you prefer to do it manually, you can also hold the Shift key and drag it left or right.

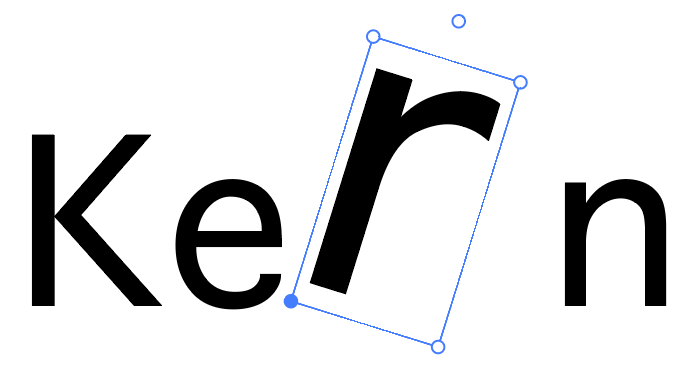
Tip: Besides using the Touch Type Tool to kern text, there are other cool things you can do with this tool. For example, you can scale or rotate the selected character by dragging the bounding box.
FAQs
Here are some other questions you might have about kerning in Adobe Illustrator.
What’s the difference between kerning and tracking?
Kerning and tracking are all processes to manipulate the spacing of the text. But they are not exactly the same. Tracking adjusts the spacing of the entire text (a group of letters), and kerning adjusts the space between two specific letters.
Why is kerning useful?
Kerning improves readability, especially when certain combinations of characters are hard to distinguish or when the font style is tricky. Sometimes bad kerning can lead to misunderstandings.
Why is kerning not working in Adobe Illustrator?
Kerning doesn’t work when Type Tool isn’t activated, and you should click between two characters in order to add a kerning value, otherwise, kern options may grey out.
Wrapping Up
Kerning is an easy process, but I get it some of you might be confused about the actual spacing – not sure how much spacing to add or can’t keep track.
In this case, start with the Character panel. If you’re not worrying about spacing them evenly, then using the keyboard shortcut should be the quickest way.