
Want to zoom in on the image and only show the focus point? Crop it!
Want to cut a specific shape or don’t want to keep any background? Make a clipping mask.
If you want to cut part of a vector shape, even better, you’ve got two more options.
There are different ways to cut out part of an image, but depending on whether your image is raster or vector, the methods can vary.
In this tutorial, I’m going to show you four methods to cut part of an image in Adobe Illustrator, and in most cases, all four methods work on vector images. If you want to cut a raster photo, stick with Methods 1 and 2.
Interested in how I quickly make a silhouette by cutting images? Follow me until the end.
Note: the screenshots in this tutorial are taken from Adobe Illustrator CC Mac version. Windows or other versions can look different.
Method 1: Crop Tool
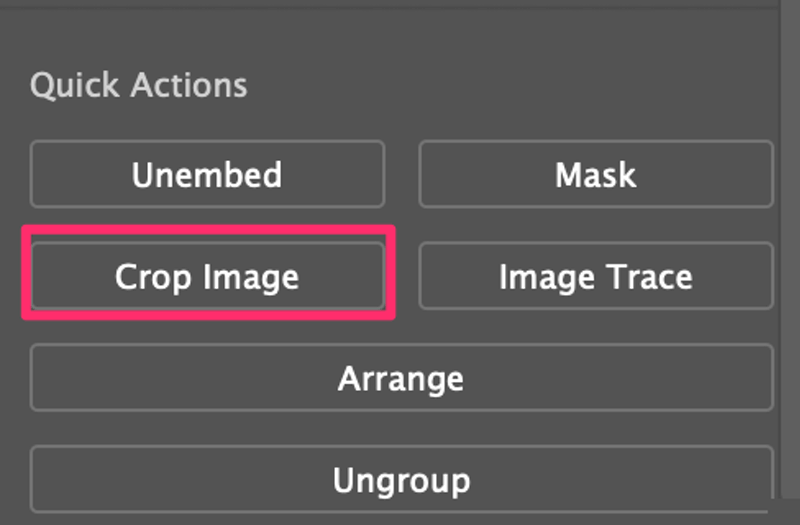
Step 1: Open the image in Adobe Illustrator and click on the image. When you click, you’ll see a Crop Image option in the Properties panel > Quick Action.
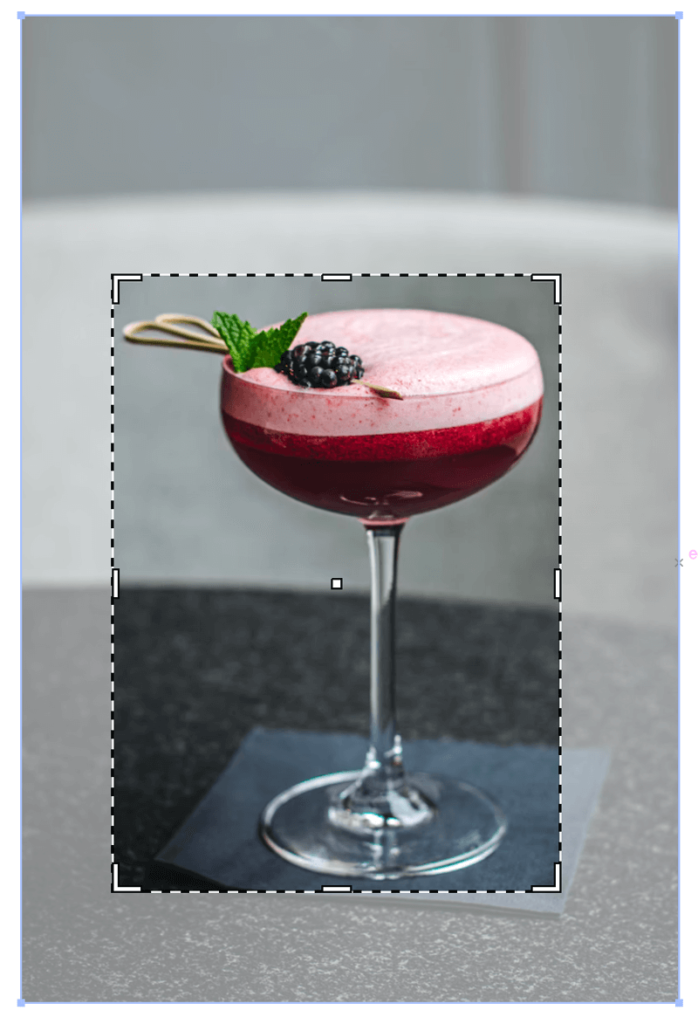
Step 2: Click Crop Image and you’ll see a crop frame on your image.

You can move to reposition or click on the crop frame border to resize the frame.
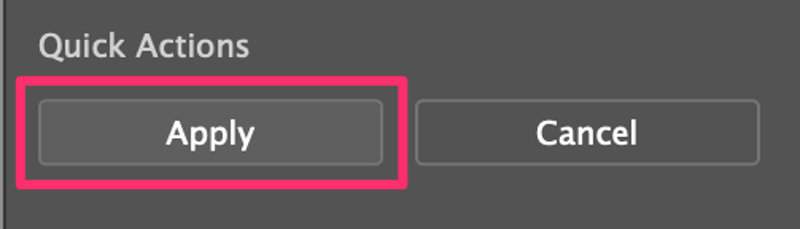
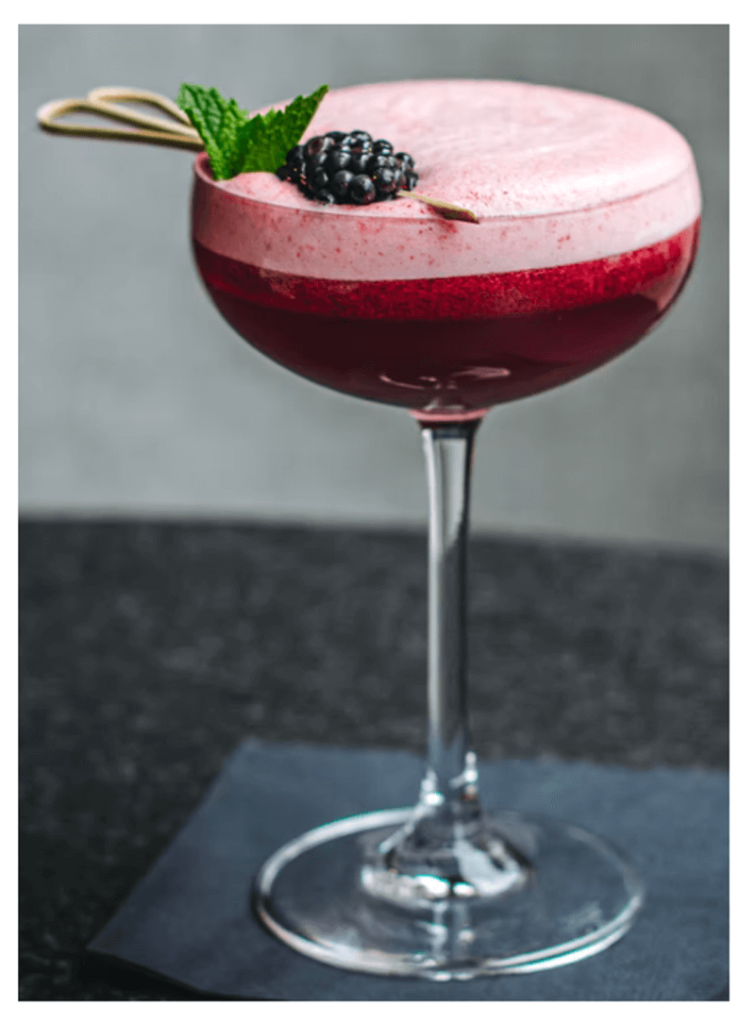
Step 3: Click Apply once you’re happy with the crop area and it’ll cut the image.
If you don’t want any background on the image, you can use the pen tool to cut out the part that you want to keep.
Method 2: Pen Tool
Step 1: Choose the Pen Tool (keyboard shortcut P) from the toolbar and change the Fill to None and add a Stroke color.
Tip: Choose a bright color for the stroke so that you can see, so that you can see the path you’re working on.
Step 2: Use the pen tool to draw the outline of the part of the image you want to keep. Don’t forget to close the pen tool path.
For example, we can cut out the cocktail glass from this photo, so we need to draw around this cocktail outline.

Step 3: Select both the pen tool path (cocktail outline) you just created and the photo.
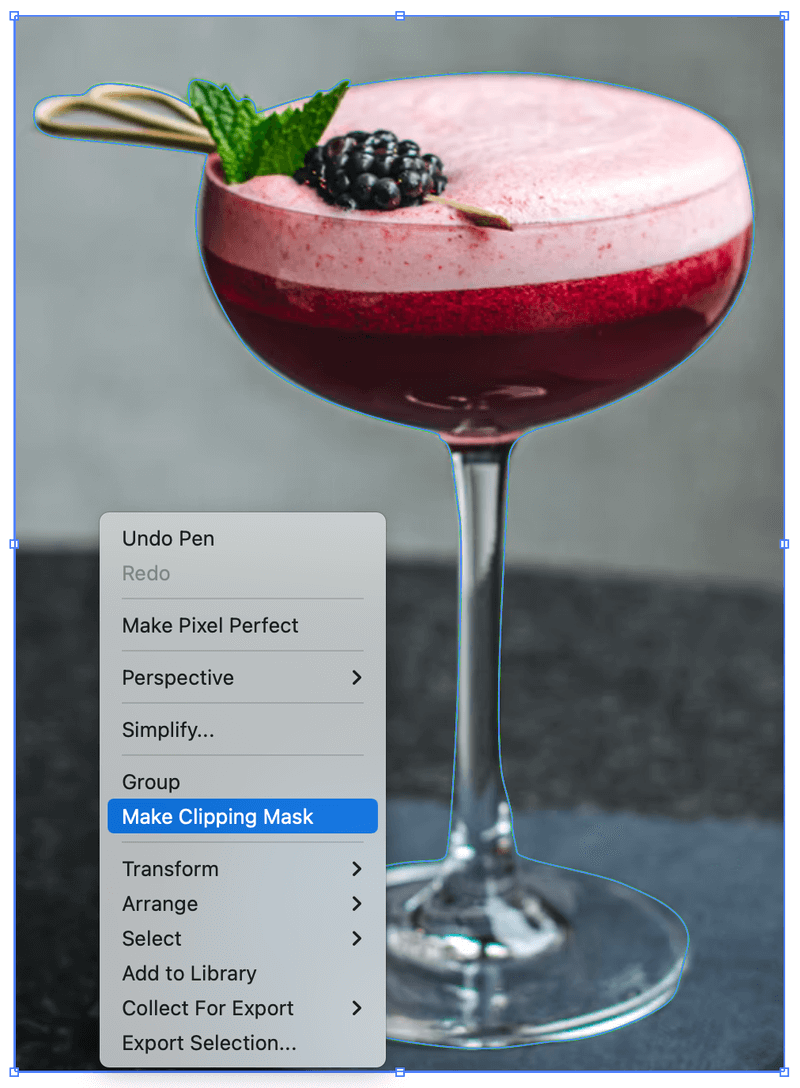
Right-click and select Make Clipping Mask, or you can use the keyboard shortcut Command/Ctrl + 7.

Now you can put this part of the image on other backgrounds or if you only wanted to cut out the shape to make a silhouette vector, you can skip Step 3 and change the Fill color.

If you want to cut a vector image, you can use the same methods above or you have other options such as Knife and Eraser Tool.
Method 3: Knife Tool
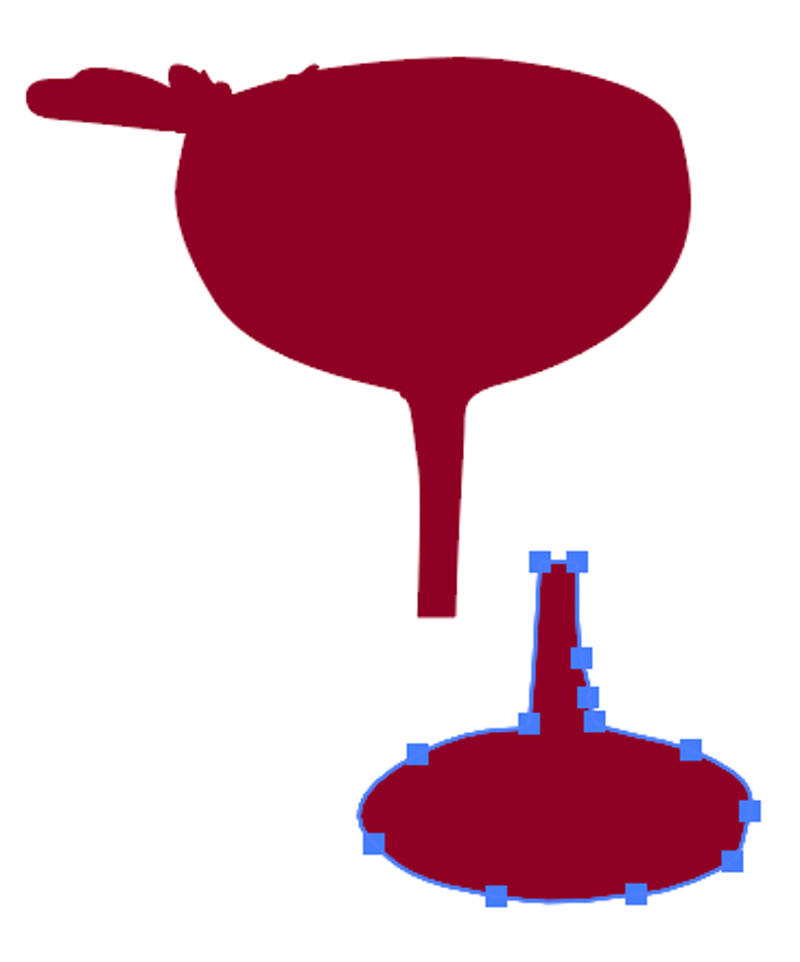
You can’t cut a raster image with a Knife, so this method only works on vector images. For example, you can cut part of the cocktail silhouette.
Step 1: Choose the Knife tool from the toolbar.

Step 2: Draw through the part you want to cut. For example, I drew across the glass holder part.
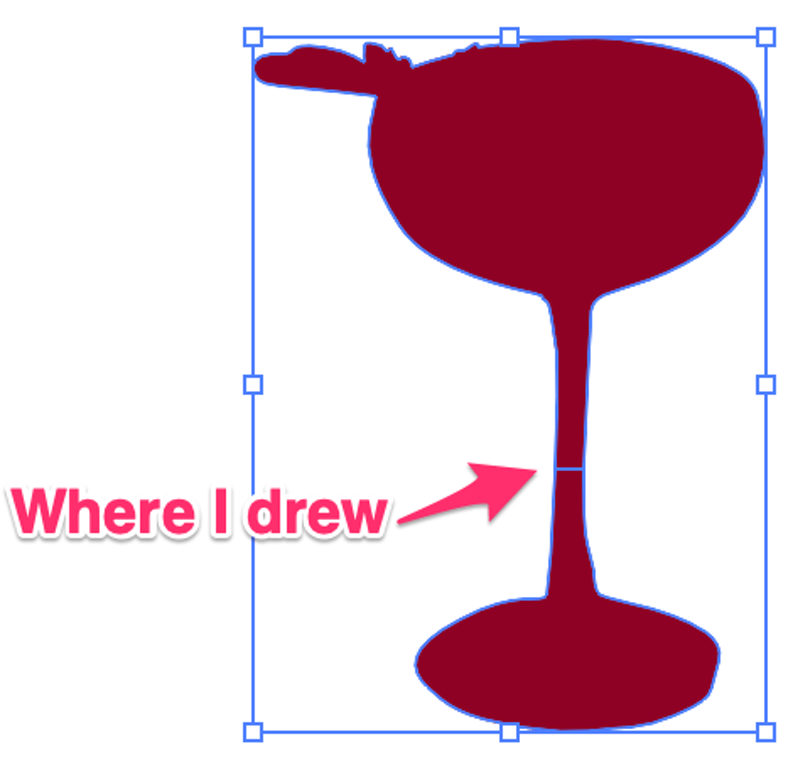
Now the image is cut into two parts. If you click on either part without the selection tool, you’ll see that they are separate.
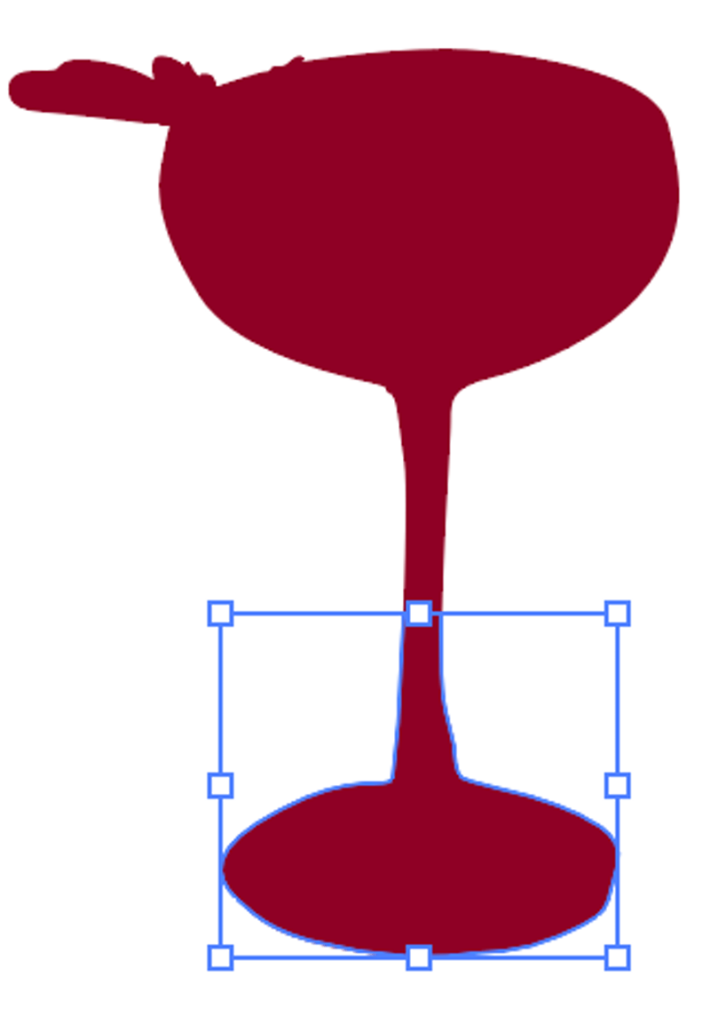
Step 3: Press the V key to switch to the Selection Tool. Click on either part of the vector image and now you can move or delete it.
If you want to cut something in between, draw more times to cut and use the selection tool to separate or delete the parts you don’t want to keep.


Method 4: Eraser Tool
Another tool for cutting/erasing part of an image is the Eraser Tool. You could use it to cut an image to separate the parts or you can cut part of the silhouette to add details.
How does that work? Exactly the same as paper-cutting art. You can cut out parts of the shape within the silhouette to add details.
Step 1: Select the Eraser Tool (keyboard shortcut Shift + E) from the toolbar.
Step 2: Draw the part of the image that you want to cut. Where you draw (erase) is what you cut. Easy to understand right?

Just erased/cut out some areas on the image to add some small details. It might look like a white stroke but the cut areas are simply gone (transparent). You can add a background color to test it.
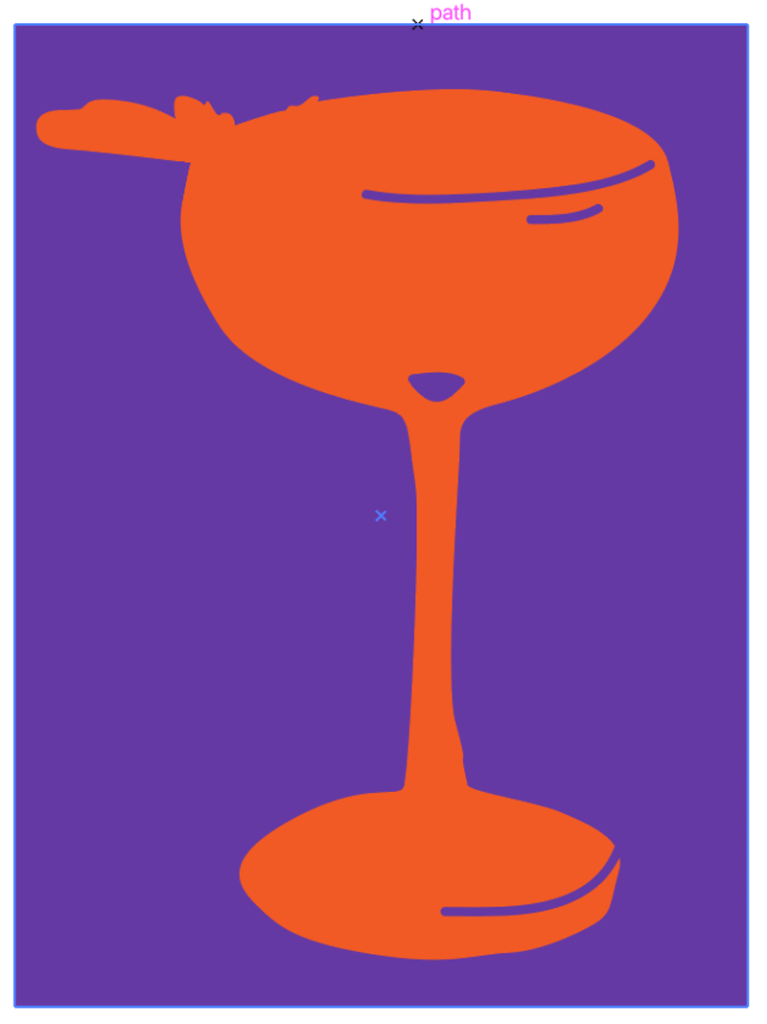
See? Extra bonus! You can make a vector by cutting part of an image.
Conclusion
The easiest way to cut part of an image is to crop the image, but if you want to cut the element outline and use the cut part on another background, the pen tool is the go-to.
You can always combine the methods and make something totally new like I did in this tutorial. I used all four cutting methods to turn a raster image into a vector.
Kevin
Thanks so much for this June.
I was struggling to find a solution for this issue till I came across your article.
Thanks again!!
June Escalada
You’re welcome, Kevin!
Mira
Thank you for this!
Quick question: how can you cut up a png image using the knife tool?
I want to cut of different pieces of one image to create a collage
June Escalada
Hi Mira, you must vectorize the png image first because you can only use the knife tool to edit vector images (which contain anchor points).
Here’s a tutorial on vectorizing images: https://illustratorhow.com/vectorize-image/
Hope it helps.
Mark Bordeaux
Hi!
I am unsure why I am having trouble with something as simple as cropping an image. 🙂 I am attempting to crop an .ai file with several graphics. Thus far, I am unable to find “Crop Image” under Properties and “Quick Actions.”
I found crop under Effect, Pathfinder, but when I select crop, a message appears, “This will apply another instance of this effect. To edit the current effect, double-click the name of the effect in the appearance panel.”
I simply want to copy part of the image to place in another image and I’m making it more difficult than it should be.
Thanks!
June Escalada
Hi Mark, have you selected the image? With an image selected, you should see the Crop Image option on the Properties panel.
Also, you need to select the images one by one to crop them.
George
Great article. However how does one subtract a shape from an image? It seems easier to subtract a shape from another vector shape, than subtracting a shape from a PNG or JPG image
June Escalada
Hi George. You can use a shape to cut out an image using the clipping mask.