If you haven’t had this problem when you try to print out some work and the font doesn’t show correctly, lucky you! But still, creating outlined fonts is essential when you send your artwork to print. It’s a simple process that will only take you less than a minute.
When I first started my graphic design journey about nine years ago, I had trouble printing my school projects a couple of times. It’s indeed quite annoying when you expect to see a poster with beautiful fonts and it comes out wrong.
I downloaded some fonts on the internet and used them on my design, but then later when I tried to print it out to show it to class, the font style went missing. Why? Because I didn’t outline the fonts.
Sounds important, right? Believe me, it is. In this article, you will understand why it’s important to convert text to outline, when you should outline fonts, and how to do it.
Want to save time and trouble? Keep reading.
When to Outline Fonts in Adobe Illustrator
ALWAYS convert your text to an outline when you print. Outlining font means converting text/font to object, so when you send your artwork to print, the font won’t be missing. Outlining fonts ensures the text on your printed work looks the same as the work you create in Illustrator.

So yes, remember to outline fonts before sending your artwork to print.
Some designers outline existing fonts to help create a new typeface. Because when the text is outlined, you are able to edit it as a vector object.
How to Outline Fonts in Illustrator (3 Ways)
Note: screenshots are taken from Illustrator CC on Mac, the Windows version might look slightly different.
There are three ways to outline fonts and as always, the fastest way is using keyboard shortcuts, but anyway, all methods will only take you less than 60 seconds. You can either use keyboard shortcuts, right-click, or the overhead menu to create a text outline.
Step 1: Select the font you want to outline.
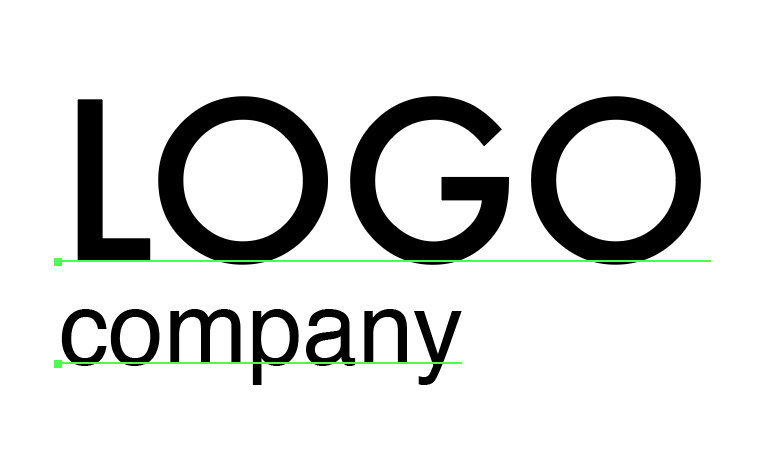
Step 2: Choose one of the following options:
1. Keyboard shortcuts Shift + Command + O.

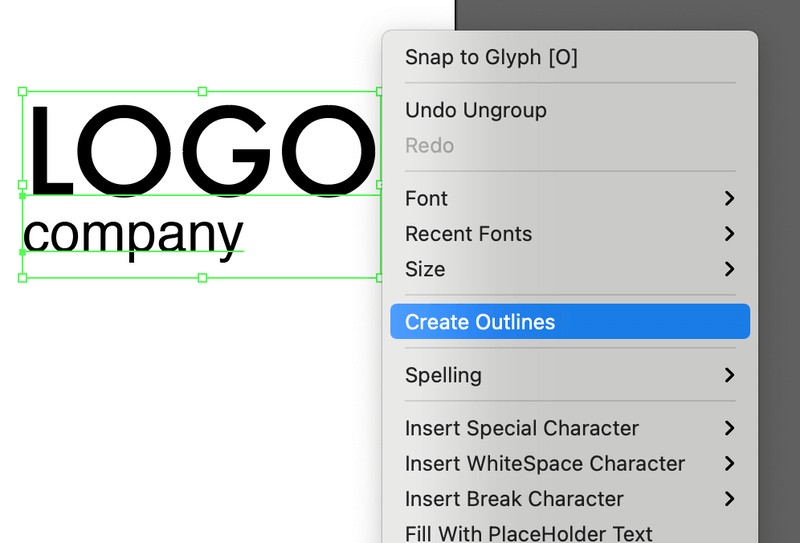
2. Right-Click > Create Outlines.
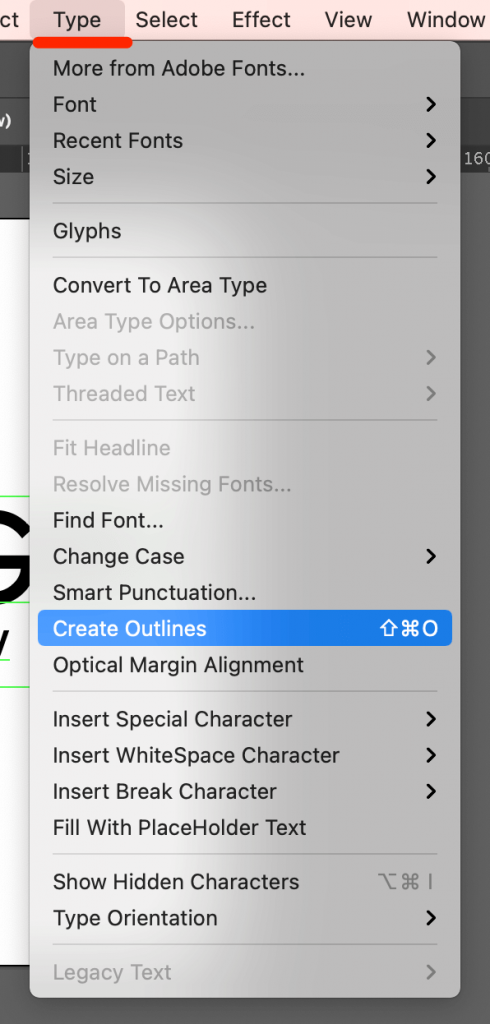
3. Overhead Menu Type > Create Outlines.
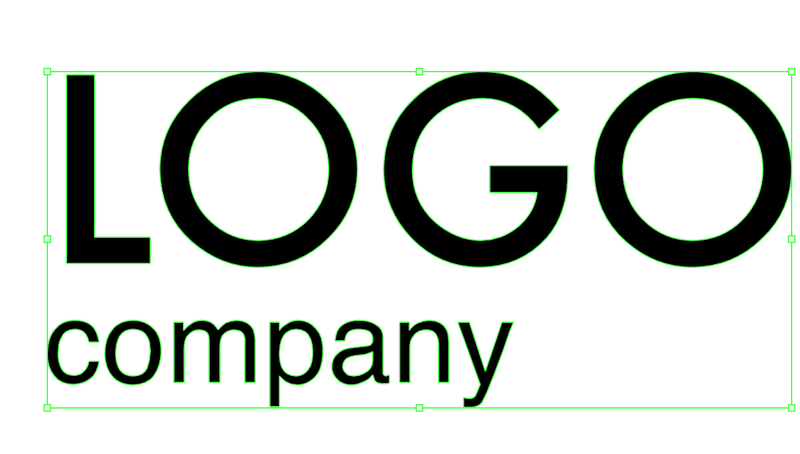
There you go! You have created a text outline. When you zoom in, you should be able to see the outlines around the text.
Note: The outlined font cannot be changed, so it’s always nice to save a copy of your file before creating an outline.
Although you can’t change the font style anymore, the outlined font is like an object that you can edit the shape. See the anchor points? You can move around the anchor points and design your own font.

What Else?
Here are some other doubts you might have about outlining fonts.
How do I fill an outline font in Illustrator?
An outline font is the same as an object, you can fill it with colors or an image background. If you want to fill it with a color, simply go to the color panel and pick a color that you like. Or, you can fill it with an image background by creating a clipping mask.
What does it mean to outline a font?
Outlining a font is like freezing the font in shape, so that it won’t change its shape appearance. It preserves the look of the font when you send your artwork to print.
Do I have to outline the text for printing?
It’s strongly suggested that you DO outline text/font for print. You definitely have to outline it if your font is purchased online because the printer’s computer most likely doesn’t have this font.
Note: Customized and non-default systems fonts cannot be found on different computers if they don’t have the fonts installed.
Final Words
Font is one of the most important elements of design. You want to see your design displayed in the way it should be instead of having missing fonts.
If you want to save yourself time and trouble, it’s a good idea to always outline fonts when you save your file as PDF and send it to print. Just remember to save a copy of your file before creating an outline just in case you need to edit it later.
Lesson learned? Cool.
Ana
This is great although i knew about it, im navigating this illustratorhow asap because is so good, thank you for the reminders, nad i am learning a lot.