
Trying to rotate text to align with objects so it follows the flow? I’m sure this has happened to you when you try to rotate but the text just shows in random order. This is what I’m talking about.
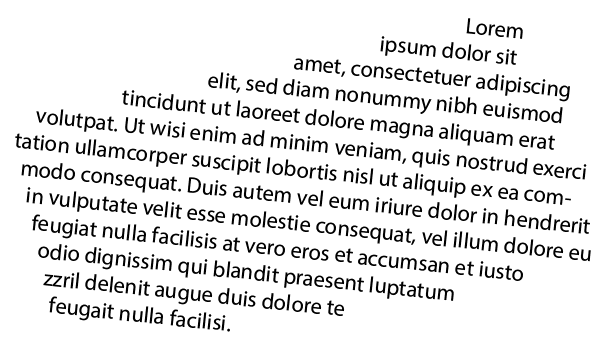
And why is that? Because you’re using the area type. You can solve the problem easily by converting the text type. If you don’t want to keep the area type, you can use the rotate tool.
In this tutorial, I’m going to show you three simple methods to rotate text and a solution to rotate area type using the rotate tool and bounding box.
3 Ways to Rotate Text in Adobe Illustrator
Before introducing the methods below, use the Type tool to add text to your document. You can use the rotate tool to rotate either point or area type. But if you want to use the bounding box method to rotate text, you should change the text type to point type.
Note: all screenshots are taken from Adobe Illustrator CC Mac version. Windows or other versions can look different.
1. Bounding Box
Step 1: Convert your text to point type. Go to the overhead menu and Select Type > Convert To Point Type. If your text is already added as point type, great, move on to the next step.

Step 2: When you hover over the text box on any of the anchors, you’ll see a small curve double-arrow icon on the text box, which means you can rotate the box.
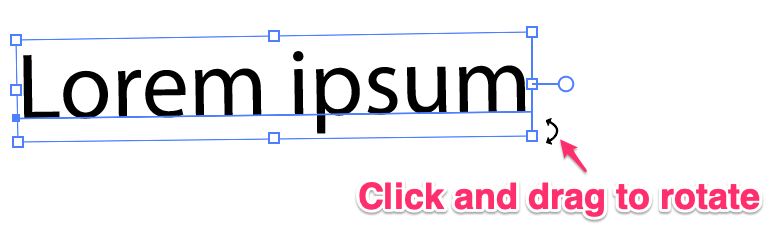
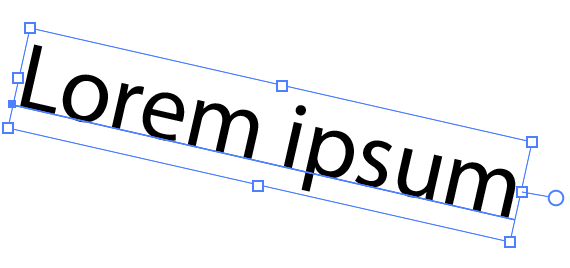
Click and drag to rotate the text box in any direction you want.

2. Transform > Rotate
Let’s see an example using the area type.
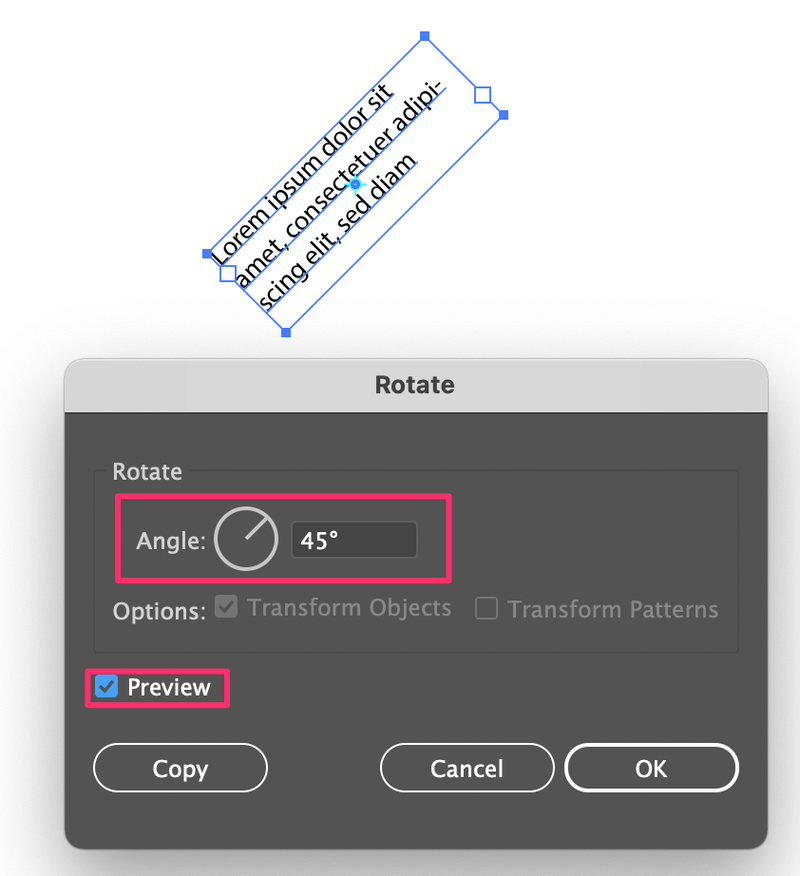
Step 1: Select the text, go to the overhead menu, and select Object > Transform > Rotate.

Step 2: A Rotate dialog box will pop up and you can type in the rotation angle. Check the Preview box so that you can see the result as you modify it. For example, I want to rotate the text 45 degrees, so in the Angle value box, I typed 45.
This method works best if you already know the angle you want to rotate.
Tip: If you double-click on the rotate tool from the toolbar, the Rotate dialog box will pop up as well.
3. Rotate Tool
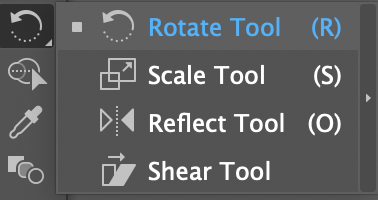
Step 1: Select the text and go to the toolbar to choose the Rotate Tool (keyboard shortcut R).
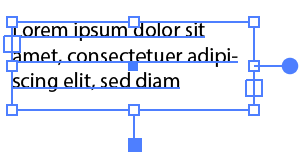
You’ll see an anchor point on the text, in my case, the anchor point is light blue and it’s located in the center of the text box.
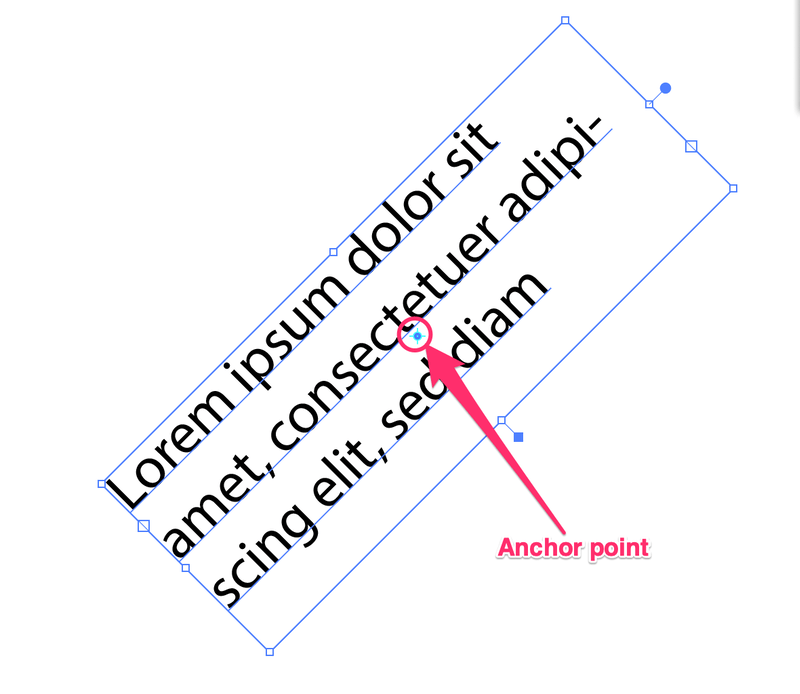
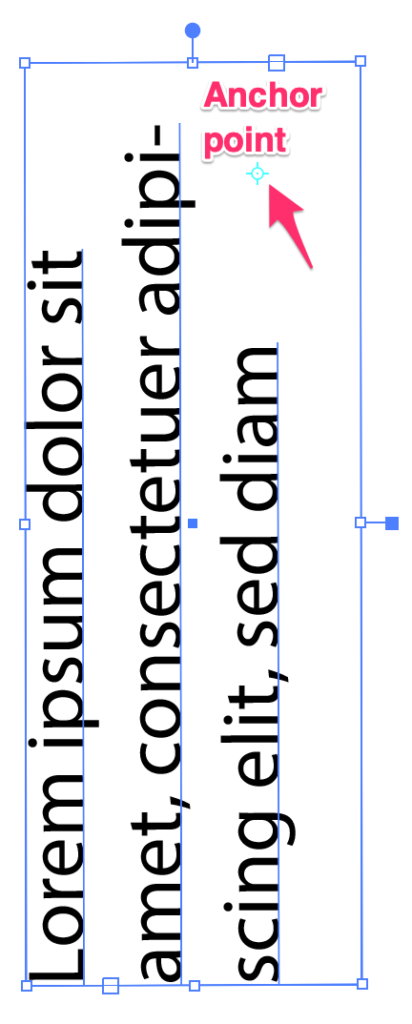
Step 2: Click and drag the text box to rotate around the anchor point. You can move the anchor point to anywhere you like and the text will rotate based on that anchor point.
That’s It!
It’s super easy to change the text orientation in Adobe Illustrator, any method you choose, it only takes you two quick steps. Rotating the bounding box is convenient when you want to rotate your text to align with other objects and the Rotate Tool works best when you already know what angle you’ll rotate.
Waqas
what if i want to rotate and single letter in a word or sentence?
June Escalada
Hi Waqas, you can outline the text, ungroup them, and select the letter you want to rotate 🙂
Uksus
What if I want to rotate my text without converting it to point type? I need to use text wrap after it’s rotated. and it’s not possible after converting it to point type.
June Escalada
You can use the wrap text when it’s point type as well.