
Adobe Illustrator has ready-to-use shape tools like Rectangle, Ellipse, Polygon, and Star tools, but you won’t find less common shapes like trapezoid or parallelogram.
Luckily, with Illustrator’s power vector tools, you can make a trapezoid from basic shapes like a rectangle or polygon. Additionally, you can also draw a trapezoid using the Pen Tool.
In this tutorial, you’ll learn three easy ways to make a trapezoid using different tools in Adobe Illustrator.
See which method you like best.
Note: All screenshots from this tutorial are taken from Adobe Illustrator CC Mac version. Windows or other versions can look different.
3 Ways to Make a Trapezoid in Adobe Illustrator
When you turn a rectangle into a trapezoid, you’ll use the Scale Tool to narrow the top two corners of the rectangle. If you choose to use the Polygon tool, you’ll delete the two bottom anchor points to make a trapezoid shape.
The Pen Tool allows you to draw a freehand trapezoid, but you can also make a perfect trapezoid using the transform tool.
I’ll explain the details of each method in the steps below.
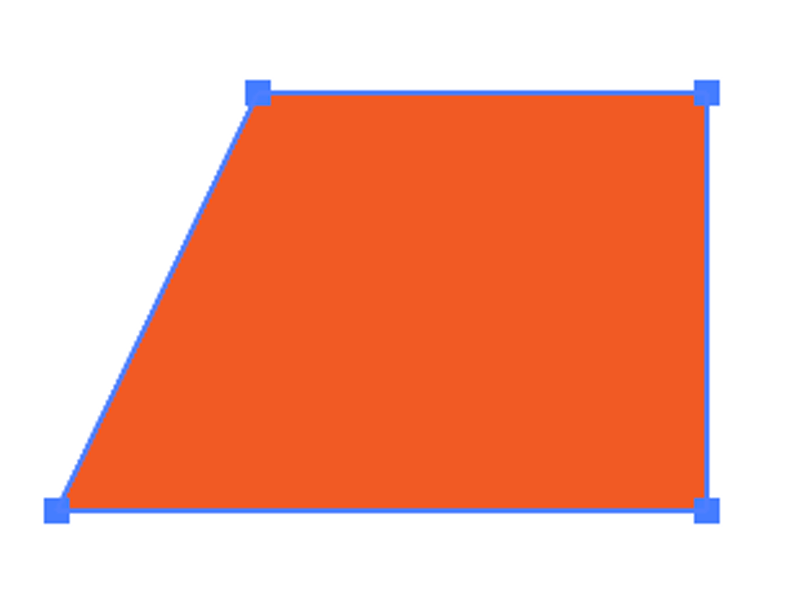
Method 1: Turn a rectangle into a trapezoid in Adobe Illustrator
Step 1: Choose the Rectangle Tool from the toolbar or use the keyboard shortcut M to activate the tool. Click and drag on the artboard to create a rectangle.

If you want to make a square, hold the Shift key as you drag.
Step 2: Choose the Direct Selection Tool (keyboard shortcut A) from the toolbar, click and drag over the top of the rectangle to select the two corner points. You’ll see two small circles when the points are selected.
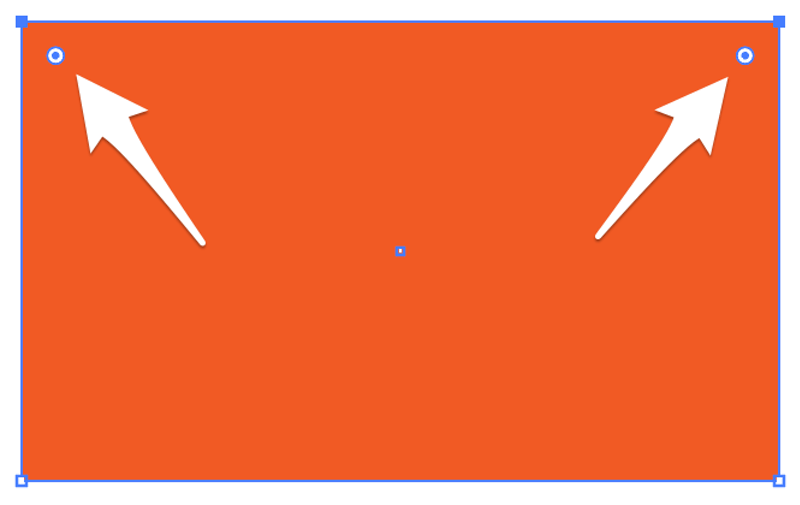
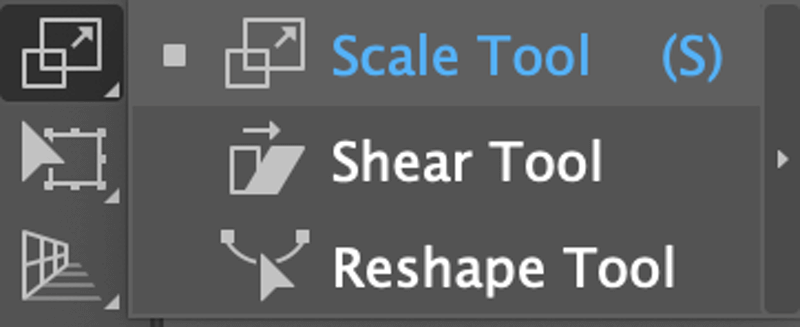
Step 3: Choose the Scale Tool (keyboard shortcut S) from the toolbar.
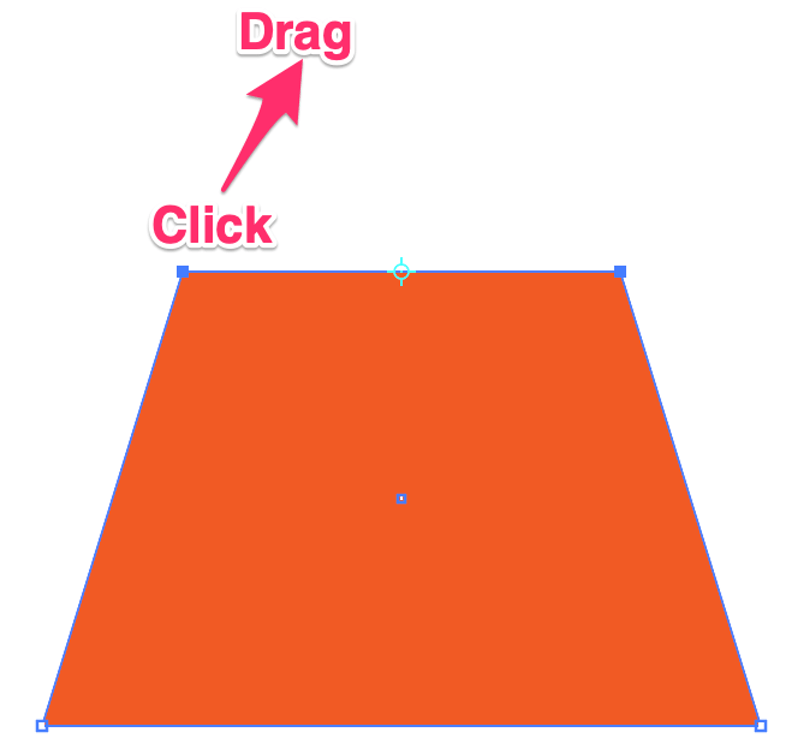
Click outside the rectangle and drag upward to scale only the selected (two) points. You’ll see a trapezoid shape.
That’s it! As simple as that.
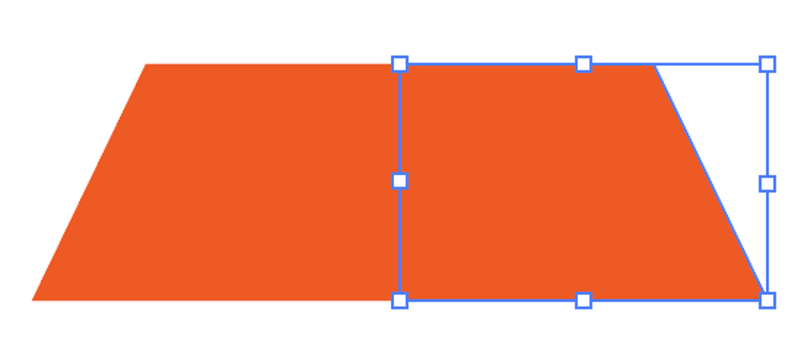
Method 2: Turn a polygon into a trapezoid in Adobe Illustrator
Step 1: Choose the Polygon Tool from the toolbar, hold the Shift key, click and drag to create a polygon like this.
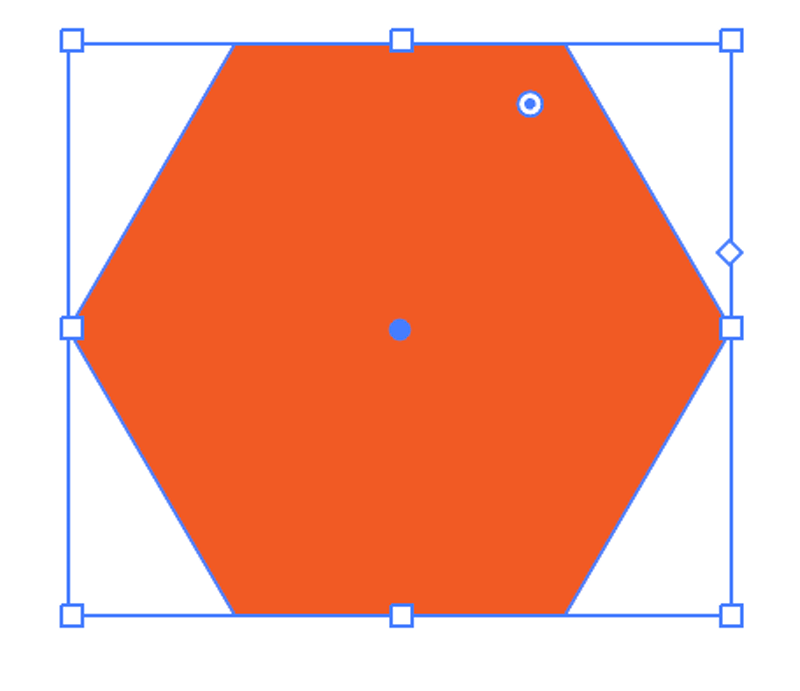
Step 2: Choose the Delete Anchor Point Tool (keyboard shortcut -) from the toolbar.
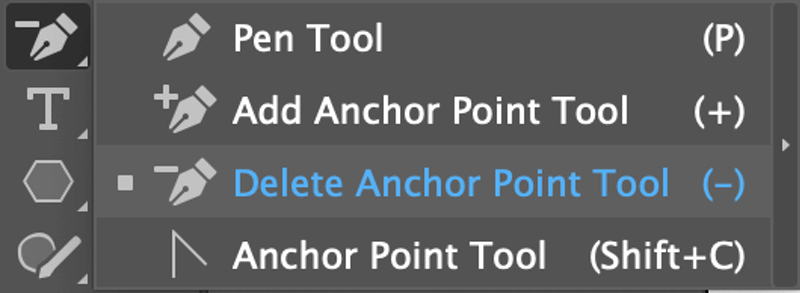
Hold the Shift key, and click on the two bottom corners of the polygon.
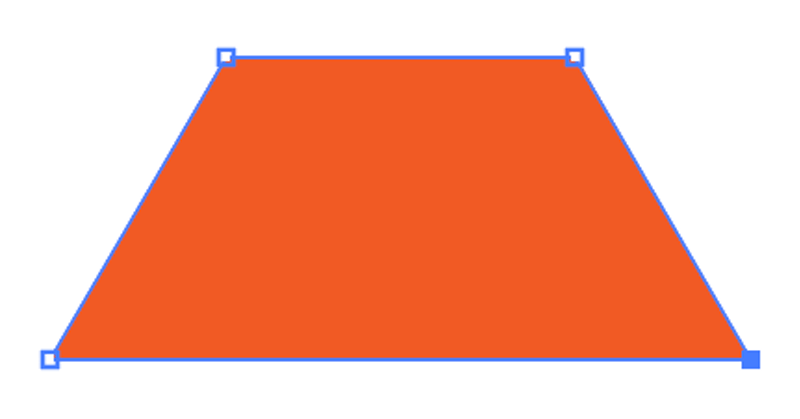
See? A perfect trapezoid.
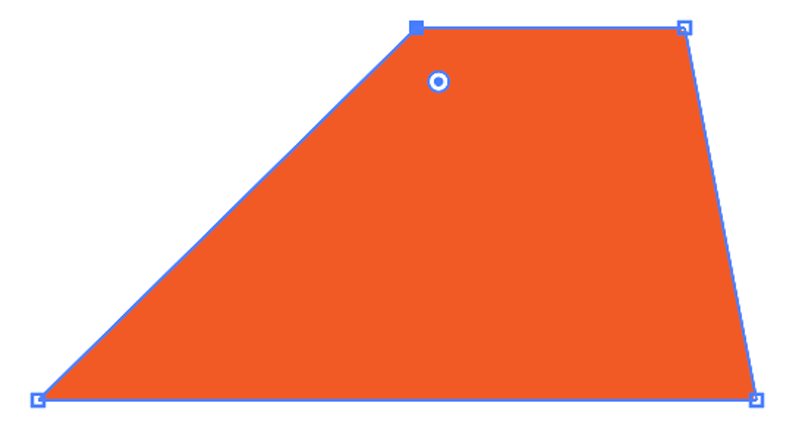
You can use the Direct Selection Tool to move around the anchor to make an irregular trapezoid.
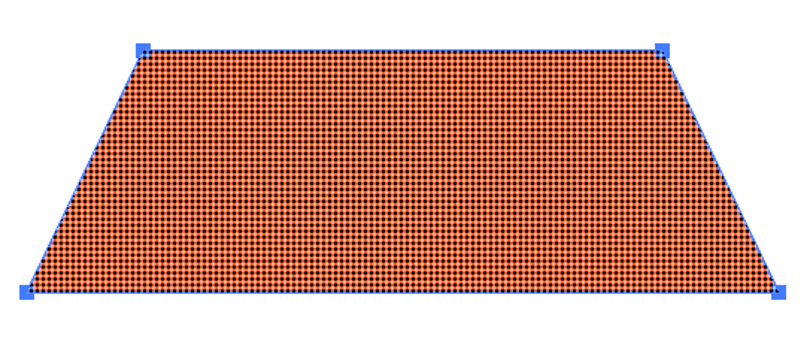
Method 3: Draw a trapezoid using the Pen Tool in Adobe Illustrator
If you choose to use the Pen Tool to draw, simply click on the artboard to create and connect anchor points. You’ll click five times and the last click should connect to the first click to close the path.
If you want to make a perfect trapezoid, follow these steps.
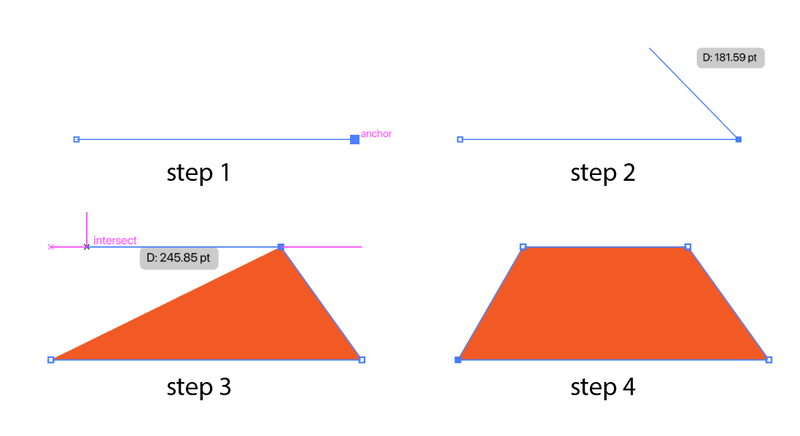
Step 1: Use the Pen Tool to draw a straight trapezoid.
Step 2: Copy and paste the shape in the same place. Hit Command + C (or Ctrl + C for Windows users) to copy and hit Command + F (or Ctrl + F for Windows users) to paste in place.
Step 3: With the top object selected, go to the Properties > Transform panel and click Flip Horizontally.
You’ll see two straight trapezoids overlapping.
Step 4: Select the top object, hold the Shift key, and move it horizontally until the center lines intersect.
Step 5: Select both shapes and use the Shape Builder Tool (keyboard shortcut Shift + M) to combine the two shapes.
Final Thoughts
The quickest way to make a perfect trapezoid is by deleting the anchor points of a polygon. The Rectangle Tool method is easy as well but sometimes you might not know until which point you should scale. The Pen Tool method is good for making irregular shapes.
Randy
Thanks ! Great article !