Pen tool makes magic! You can convert an object to something completely new, create awesome graphics, and so much more.
I’ve been using Adobe Illustrator for over ten years now, and the Pen Tool has always been really helpful. and I use the pen tool to trace image/object outlines, create logos, make clipping masks, and design or edit vector graphics.
I have to admit that as easy as it sounds, it takes time to be good at it. I started to practice the pen tool tracing outlines, and I remember at first, it really took me a long time to trace. The hardest part is to use the Pen Tool to draw smooth lines.
Don’t get scared. With time, I’ve learned the tricks, and in this article, I’ll share them with you! This is the Pen Tool tutorial that’ll help you master graphic design in no time.
Let’s get started.
How to Use the Pen Tool in Adobe Illustrator
Note: Screenshots are taken from the Illustrator CC Mac version. The Windows or other versions might look slightly different.
The Pen Tool is all about anchor points. Any lines or shapes you create, you are connecting anchor points together. You can draw straight lines or curve lines, and you can add or delete anchor points to make any shapes you like.
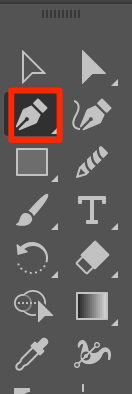
Select the Pen Tool from the toolbar (or use the keyboard shortcut P), and start creating!
Creating straight lines
It’s super easy to create straight lines using the Pen Tool. Start creating by clicking on the artboard and releasing to make the first anchor point, which is also known as the original anchor point.
Step 1: Select the Pen Tool from the toolbar.
Step 2: Click and release on your artboard to create the first anchor point.
Step 3: Click and release to create another anchor point. Hold the Shift key when you click to create perfectly straight lines.

Step 4: Keep clicking and releasing to create paths until you get what you want.
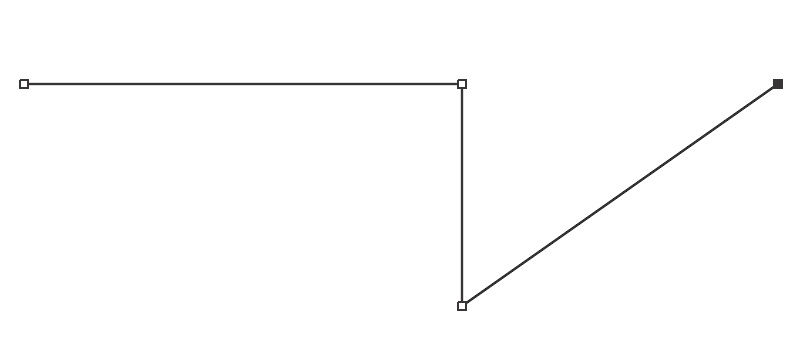
Step 5: If you are creating a shape, you’ll have to close the path by connecting the last anchor point to the original one. When you close the path, the ending point is filled black as you can see from the top left corner.
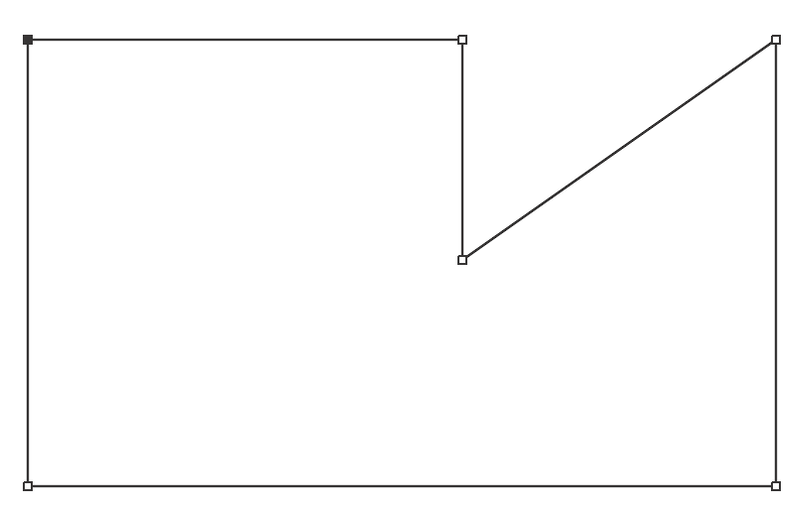
If you don’t want to close the path, hit Esc or the Return key on your keyboard and the path will form. The last anchor point you create is the ending point of your path.
Drawing curve lines
Drawing curve lines can be more complicated but is really useful for making a clipping mask, shapes, creating a silhouette, and basically any graphic design.
Get started by creating the first anchor point. When you curve the path, instead of just clicking and releasing, you’ll have to click, drag to create a direction handle, and release to create a curve.

You can click on the handle and move around to adjust the curve. The more/further you drag, the bigger the curve is. But you can always edit the curve using the Anchor Point Tool.
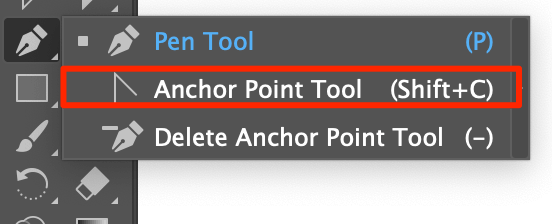
With the path and the tool selected, click and drag on the anchor point to edit the curve, and release when you are satisfied with the curve.
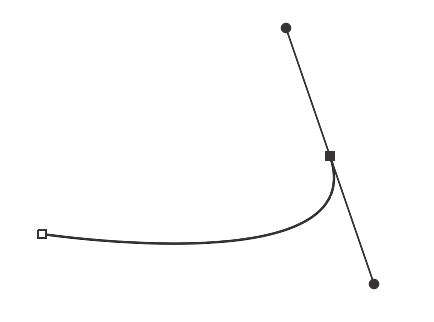
You can use the Anchor Point Tool to edit on either a straight on curve path. For example, I’d like to curve a straight line.
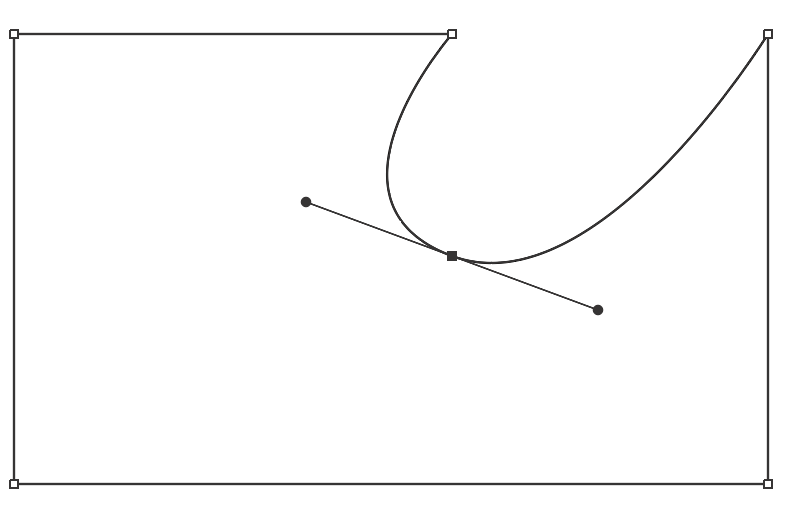
Tips: When two anchor points are too close to each other, the curve might look sharp. It’s easier to get a nice curve when your anchor points are further from each other 😉
Adding/Deleting anchor points
Click on the path where you want to add an anchor point, and you will see a small plus sign next to the pen, which means you are adding an anchor point.
Step 1: Select your path.
Step 2: Select the Pen Tool.
Step 3: Click on the path to add new anchor points.
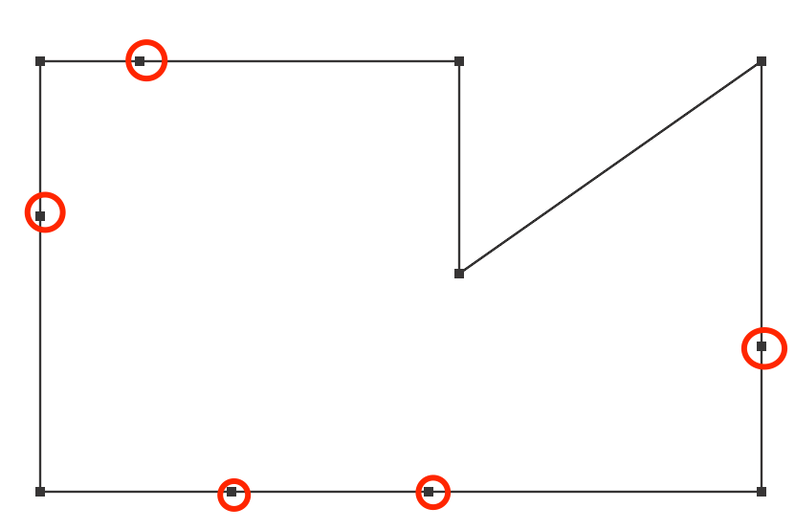
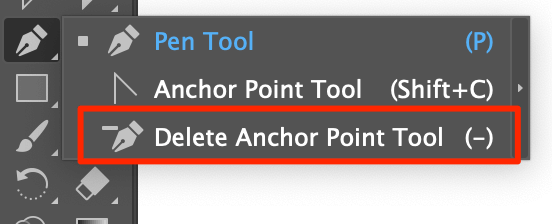
To delete an anchor point, you need to have the pen tool selected, hover on the existing anchor point, and the pen tool will automatically change to Delete Anchor Point Tool (you’ll see a little minus sign next to the pen tool), and just click on the anchor points that you want to delete.
I’ve just deleted a couple of anchor points from the shape above.
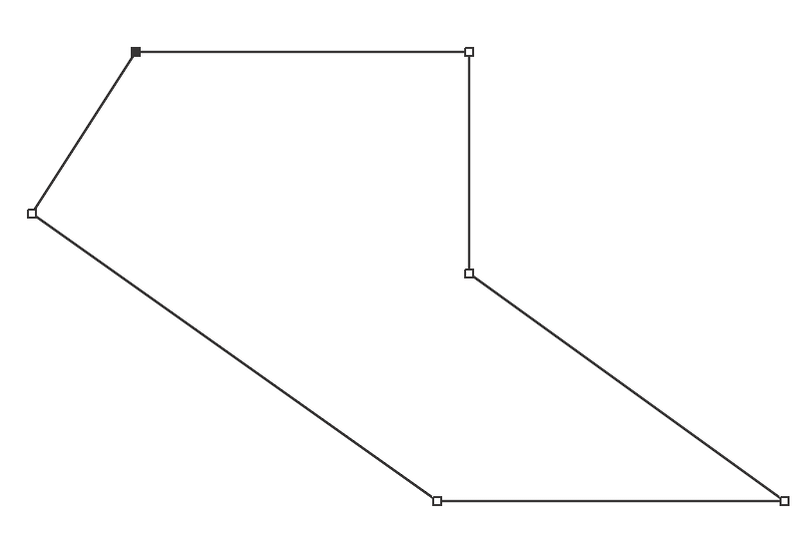
Another way is to select the Delete Anchor Point Tool option in the toolbar.
What Else?
Still have questions? See more questions that other designers want to figure out about using the pen tool.
Why is my pen tool filling in Illustrator?
When you use the pen tool to draw, you’re actually creating strokes. But usually, your color fill is automatically turned on.
Set the stroke and fill before drawing. Set the stroke to any weight you want, choose a color for the stroke, and set the fill to none.
How to join lines/paths using the pen tool in Illustrator?
Closed the path by accident? You can continue working on it by clicking on the last anchor point (with the pen tool selected).
If you want to join the two paths/lines together, click on the last anchor point of one of the paths and click on the anchor point where you want your path to connect.
Another way is to move two paths together where the anchor points intersect, and use the direct selection tool to join paths.
How can I separate a path in Illustrator?
There are so many tools you can use to cut or ease the line to create a separate path in Adobe Illustrator. If it’s just simply line/path, try the Scissors tool.
Click on path from one point to another where you’ll want to cut, select the path, and you should be able to separate and move the paths.
Conclusion
My number one advice on mastering the pen tool is PRACTICE! With the help of the tutorial and tips above plus your dedication to practice, you’ll be able to create masterpieces with the pen tool in no time.
Good luck!
ritusharma
Pen tool is my favorite vector tool. It is just amazing. Thanks for the post.
sanjeev arthurr
I like Work with Pen Tool …… Thanks❤🌹 for your Guidance about using Pen Tool …….
June Escalada
You’re welcome!
zahid
wonderful
zahid
how can i install adobe illustrator free.plz guide me .