Nope, the answer is NOT the Rotate tool this time. I know you’re probably thinking that rotating an artboard is the same thing as rotating text or objects.
Sounds confusing? Not sure what are you referring to? Here’s a quick clarification.
If you want to rotate the artwork on an artboard, you should rotate the objects (artwork) instead of rotating the artboard itself.
On the other hand, if you want to view your artboard from a different perspective or change the artboard orientation, then yes, you’re going to rotate the artboard.
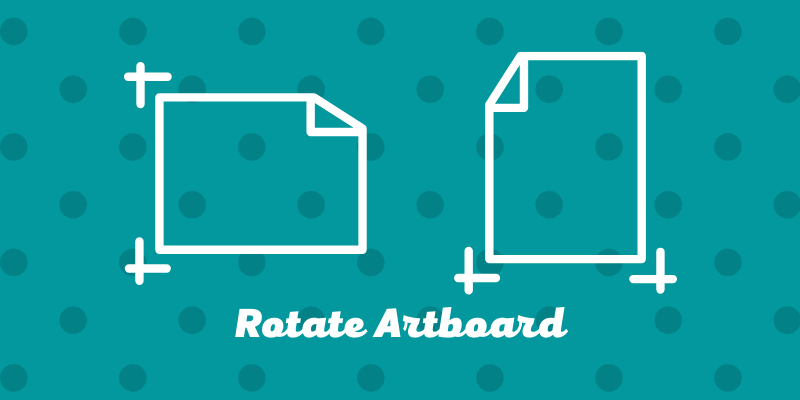
In this article, you’ll learn two easy ways to rotate an artboard in Adobe Illustrator. You can use the Rotate View Tool to see and edit your artwork from different angles, and the Artboard Tool allows you to rotate the orientation of your artboard.
Note: all screenshots from this tutorial are taken from Adobe Illustrator CC Mac version. Windows or other versions can look different. Windows users change the Command key to Ctrl.
Method 1: Rotate View Tool
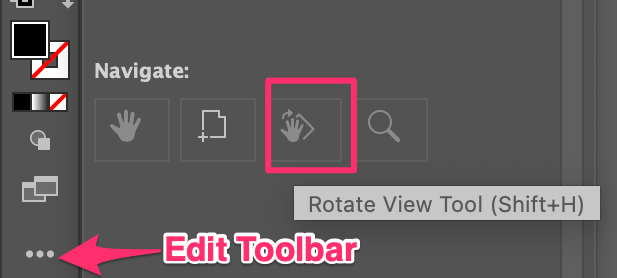
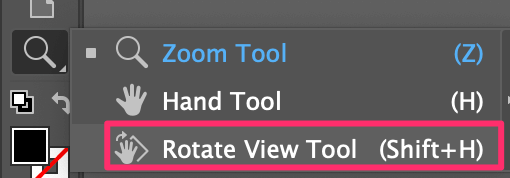
You probably won’t see the Rotate View Tool on the toolbar, but you can activate it quickly by using the keyboard shortcut Command + H or you can find it from the Edit Toolbar menu.
Follow the steps below and see how it works.
Step 1: Click the Edit Toolbar menu at the bottom of the toolbar (under Color & Stroke) and find the Rotate View Tool.
You can drag the tool to the toolbar under any menu you like for future use.
Step 2: Click on the artboard and drag to rotate the artboard. For example, I dragged to the right side, at 15 degrees angle.
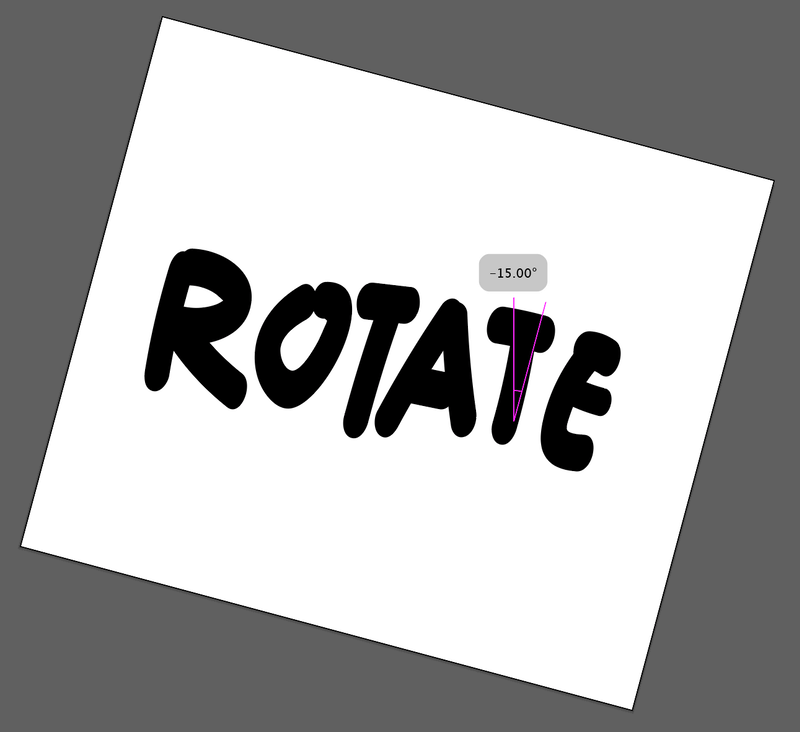
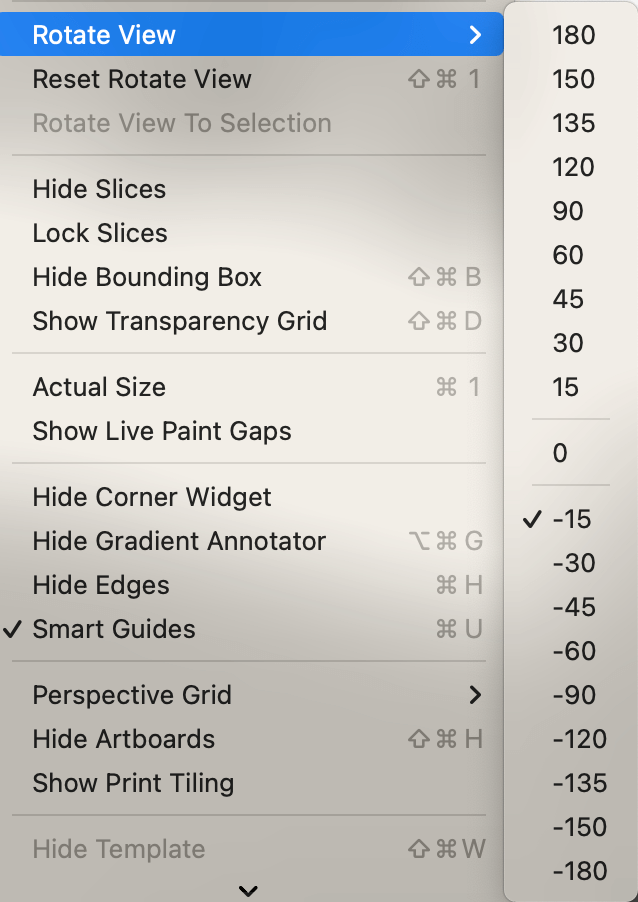
You can also choose a rotate angle from the overhead menu View > Rotate View.
Quick Tips: If you want to save a specific view angle for future reference, you can go to View > New View, name the viewing angle and click OK to save it.
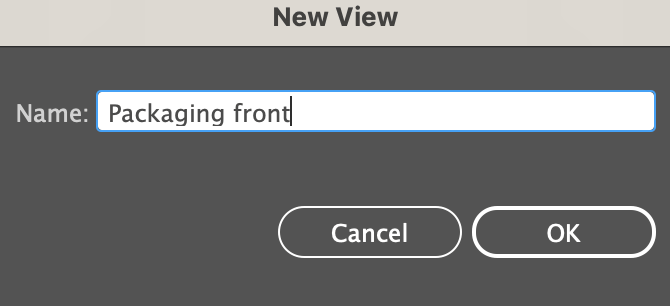
This is useful for packaging design when you need to edit artwork or text from a specific side. You can also use the rotate angle view when you draw, it allows you to rotate and draw on different areas freely.
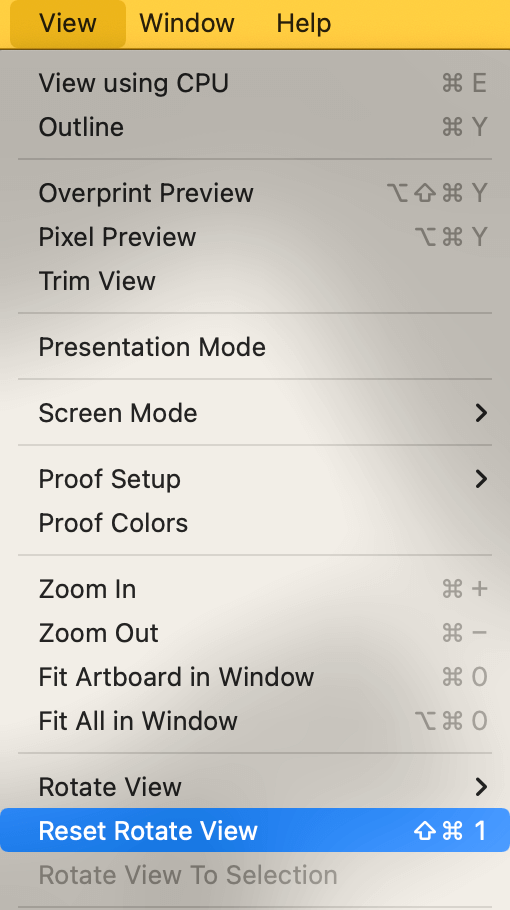
Whenever you want to go back to view the artboard in the original mode, simply click View > Reset Rotate View (Shift + Command + 1).
Note: When you save the file or export the image, the artboard orientation will not change as it will remain the orientation you set up when you create the document.
Method 2: Artboard Tool
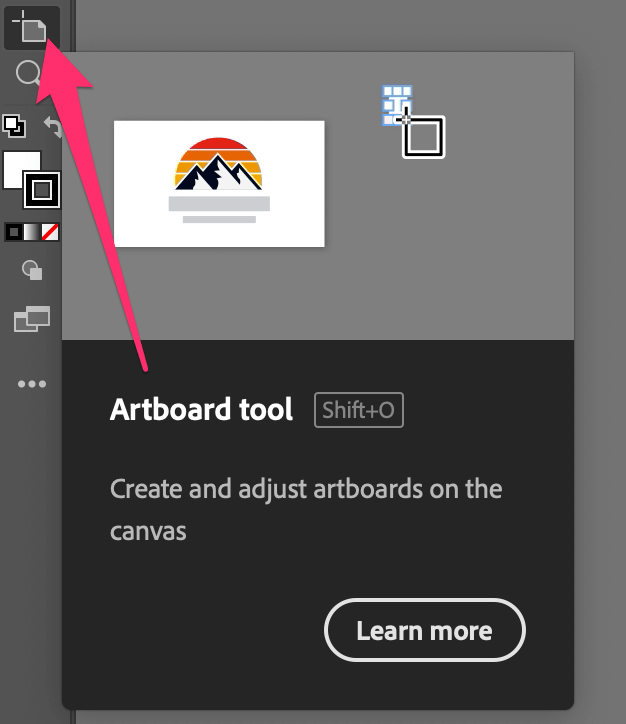
When you create an Adobe Illustrator document you can choose the artboard orientation. There are only two options: portrait or landscape. If you change your mind later, you can still rotate the canvas/artboard using the Artboard Tool (Shift + O).
Step 1: Choose the Artboard Tool from the toolbar.
You can see that your artboard will be automatically selected.
Step 2: Go to the Properties panel and you’ll see the Artboard panel where you can rotate the artboard orientation in the preset section. Here’s where you can change the artboard from portrait to landscape.
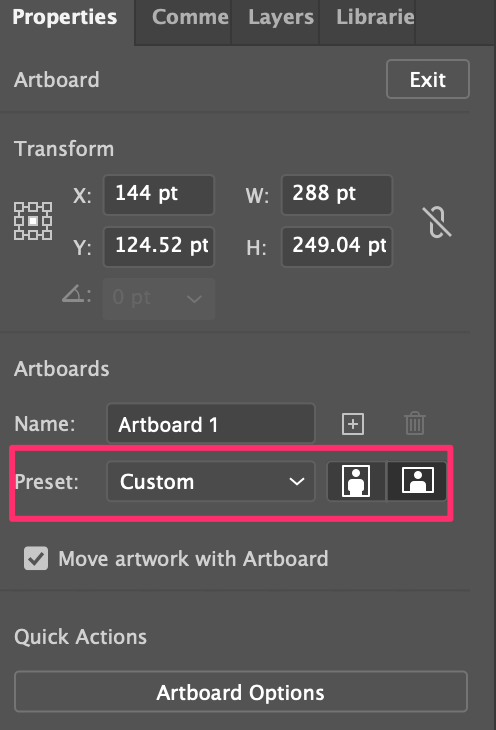
Step 3: Click the orientation you want to rotate.
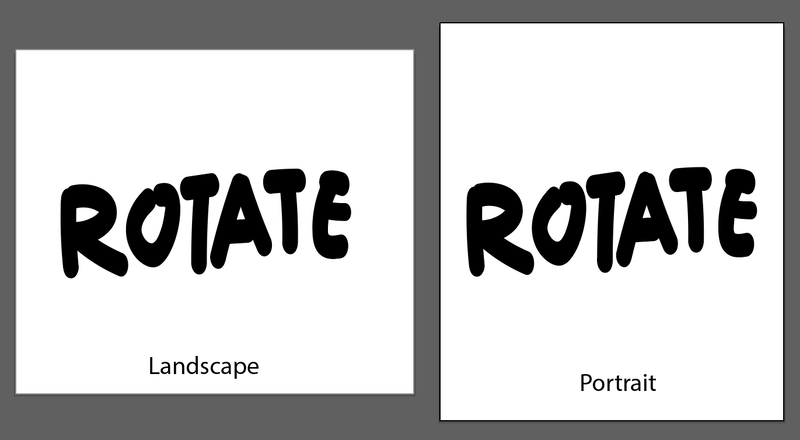
As you can see that the artboard itself rotates, but the artwork doesn’t rotate the orientation with the artboard. So if you want to rotate objects on the artboard, you’ll need to select the objects and rotate them.
Final Words
You can use both methods above to rotate canvas/artboard in Adobe Illustrator but the uses are different. Method 1, the Rotate View Tool is perfect for viewing your artwork from different angles, but it doesn’t change the orientation of your artboard when you save or export your file.
If you create a document and realize you want a different orientation, you can use Method 2 to change the orientation.