
The Warp Tool in Illustrator is used to distort the shape of a vector object. You can use the keyword shortcut Shift + R to select the tool, then click and drag to twist, distort, and warp your artwork.
Adobe Illustrator is one of my favorite tools for creating vector art because I can use its vector editing tools to convert any shape into something totally different. For example, the Warp Tool is quite interesting.
In this article, I will show you how to use the Warp Tool to twist, distort, and warp vector artwork in Adobe Illustrator.
Let’s jump in!
Key Takeaways
- The Warp tool can be used on vector or raster artwork within Illustrator, as long as it is embedded.
- You cannot use the Warp Tool on live text, so you must outline the text first if you want to warp the text.
- The keyboard shortcut for the Warp Tool is Shift + R.
How to Use the Warp Tool in Adobe Illustrator
The Warp Tool works on both vector and raster images. When you use the Warp Tool on a raster image, make sure that the image is embedded in Adobe Illustrator.
Now follow the steps below to use the Warp Tool.
The screenshots from this tutorial are taken from Adobe Illustrator CC Windows version. Mac or other versions can look different.
Step 1: Create a shape or embed an image that you want to try the warp tool on. If you want to warp multiple shapes, make sure to group the objects first.
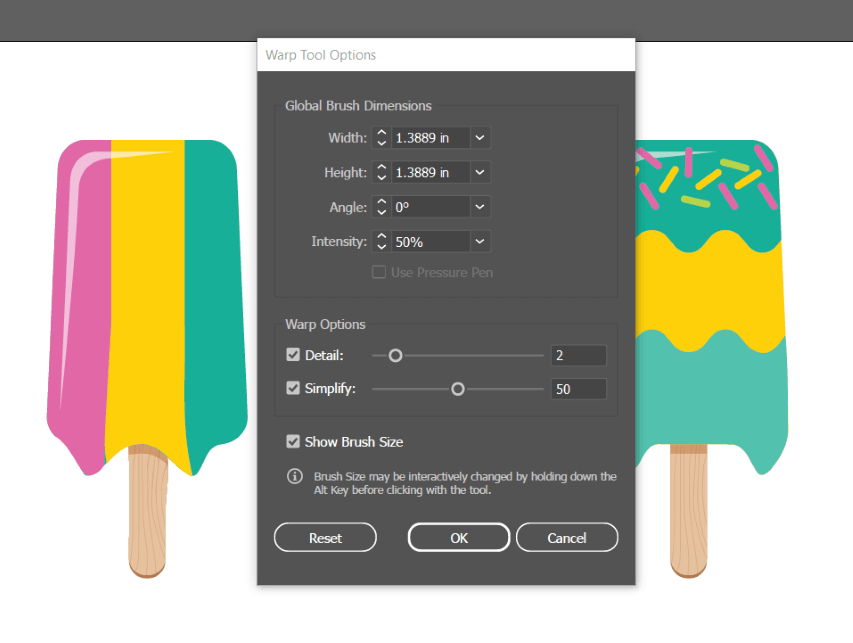
For example, I will be trying to work with these popsicle images.

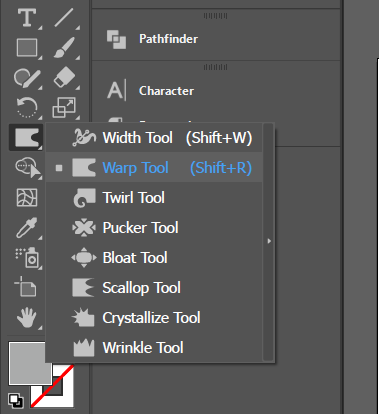
Step 2: To access the Warp tool from the toolbar or use the keyboard shortcut Shift + R to activate the tool.
Now that you have the Warp Tool selected, you can begin to warp. I am going to try and add a melting effect to my popsicles.
Step 3: Click on the area you want to warp/distort and drag to a direct, the shape will warp to the direction you drag to.

Continue to click and drag to reform the shape until you are happy with the result.

You can also double-click on the warp tool on the flyout menu to adjust the settings of the warp that you want.
That’s it! Pretty cool effect. Now you can also use the Warp Tool to distort text.
How to Use Warp Text in Adobe Illustrator
As I mentioned earlier, you can’t use the Warp Tool to edit live text, so you need to create a text outline before warping text.
All you need to do is select the text you want to distort, use the keyboard shortcut Command/Ctrl + Shift + O to outline the text, and then use the Warp Tool to distort the text following the same steps above.

Final Thoughts
The Warp Tool is a fun tool that allows you to freely distort, twist, and warp objects and images in Adobe Illustrator. Remember, if you want to use it on text, make sure to create a text outline first.
Have you tried the Warp Tool in Illustrator? What did you create with it and was it for fun or work? Let me know in the comments below.