When I was working for an event & expo company, I had to do a lot of both digital and print design, therefore, I had to switch between color modes quite often, especially RGB and CMYK.
Luckily, Adobe Illustrator has made it pretty easy and you can change color mode in different settings. Whether you want to change the color mode to CMYK print your artwork, or want to input the hex code you already have for the color, you’ll find the way.
In this article, I’d like to share with you three common methods to change color mode in Adobe Illustrator, including the document color mode, object color mode, and color panel color mode.
Sounds good? Follow along.
Table of Contents
3 Ways to Change Color Mode in Adobe Illustrator
You can change the document color mode to CMYK/RGB and you have several options if you want to change the color panel color mode or the object color mode.
Note: all screenshots are taken from Adobe Illustrator CC Mac version. Windows or other versions can look different.
Method 1: Change Document Color Mode
There are only two options for the document color mode, CMYK and RGB. You can quickly change it from the overhead menu File > Document Color Mode, and select the option you need.

Tip: If you need to print your artwork, it’s highly recommended to change the document color mode to CMYK.
Method 2: Change Color panel Color Mode
When you open the Color panel, if your document is in CMYK color mode, you’ll see something like this.
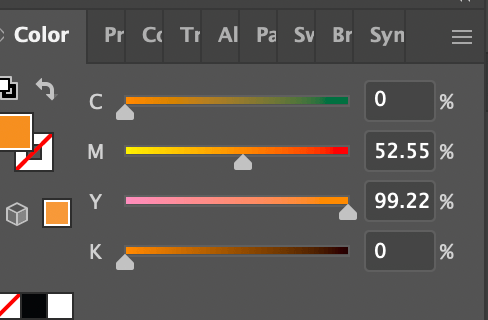
It’s true that sometimes it’s hard to keep track of the percentage of CMYK value. Most likely when we work digitally, we often get a color code, something like F78F1F, which you can find in the RGB color mode.
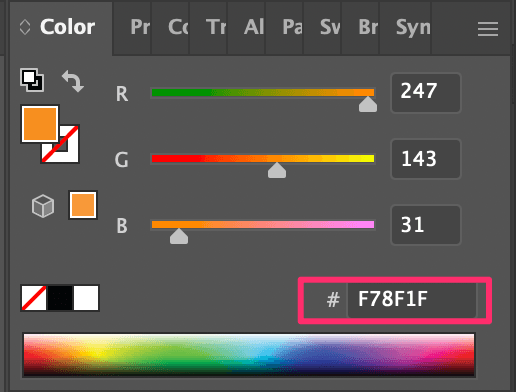
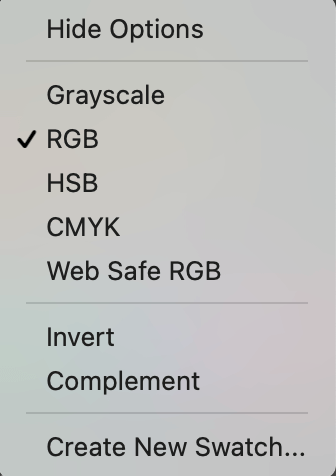
Besides these two color modes, you can find other options like HSB, Grayscale, etc. Click on the hidden menu in the right top-right corner of the Color panel and choose a color mode.
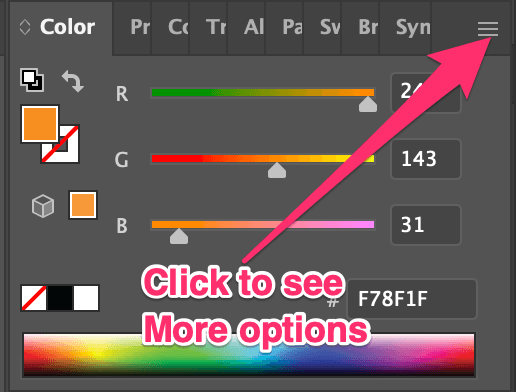
These are the options you can choose from after you click on the hidden menu.
For example, the Grayscale Color panel looks like this.
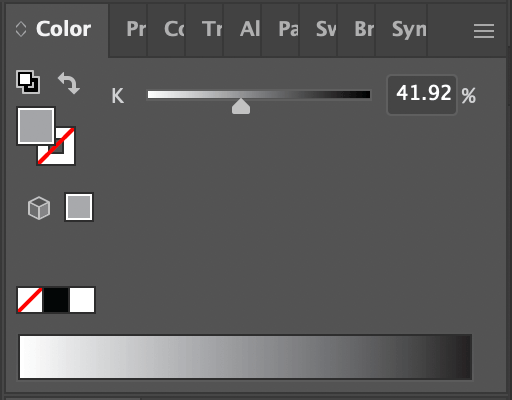
This is one of the methods to change an object’s color to grayscale or black and white.
Method 3: Change Object Color Mode
As I briefly mentioned above, you can change the color mode from the Color panel. Simply select the object, go to the Color panel, and change the color mode.
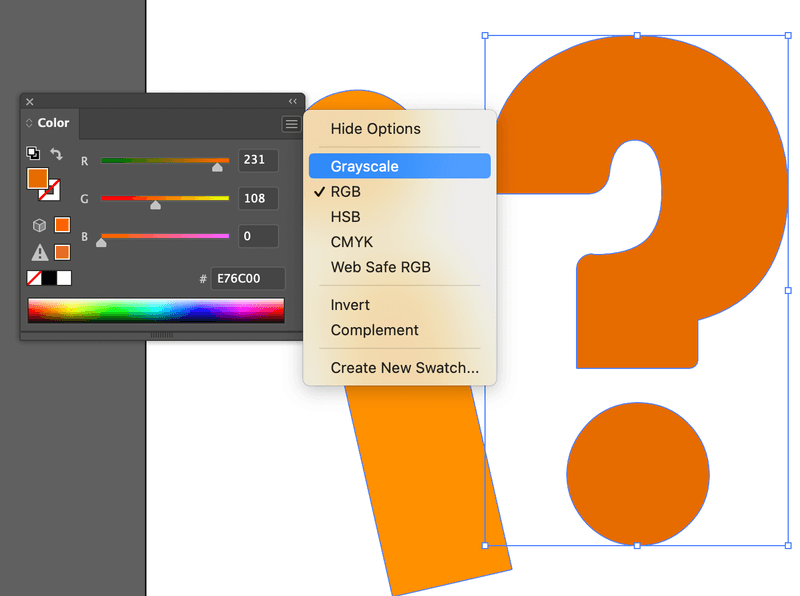
For example, I want to change the question mark to grayscale. Now they are in RGB. One way to do it is from the Color panel following the method above.

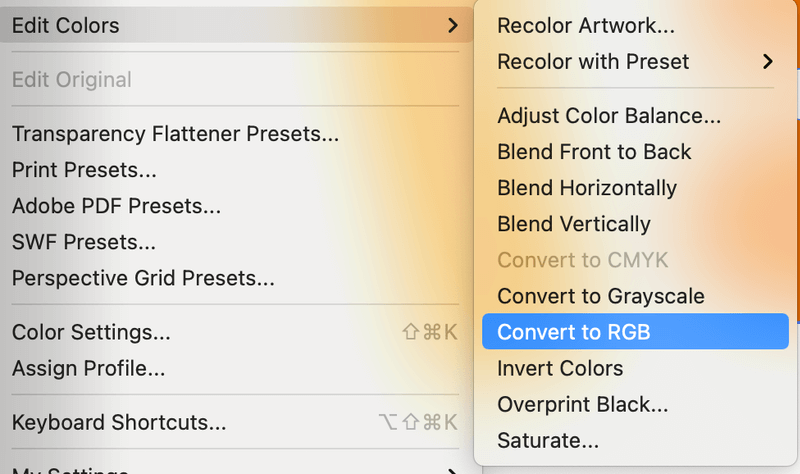
Another way to do it is from the overhead menu Edit > Edit Colors and you can choose a color mode.
FAQs
You might also be interested in some of the questions below that other designers have.
How to set up document color mode in Illustrator?
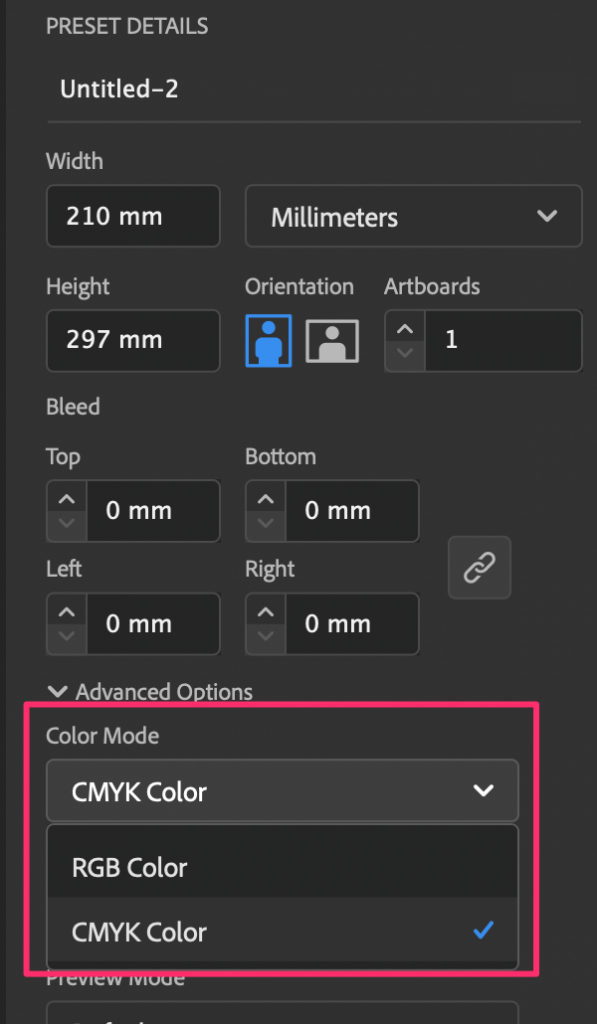
When you create a new document in Adobe Illustrator, you’ll see the color mode options. You can choose either RGB Color or CMYK Color.
How to get the RGB value of an image in CMYK color mode?
First of all, change the color mode from CMYK to RGB. If you have an image that isn’t vector and you want to know the RGB value of one specific color of that image, you can use the Eyedropper Tool to sample the color and it should show in the Color panel where you see the #.
Do I have to change the color mode to CMYK for print?
Generally, you should change the color mode to CMYK for print, but it’s not a strict rule. CMYK is introduced as the dominant color mode for printing because CMYK is generated by ink and printers use ink.
Some people use RGB color mode for print as well because the CMYK version can’t express their colors as preciously. The problem is some of the RGB colors might not be recognized on the printer or it’ll come out too bright.
Wrapping Up
RGB, CMYK, or Grayscale? Actually, you might need to change the color mode to all different options working on different projects in Illustrator. Whether you’re changing the document color mode or simply want to find out the color hex code, you’ll find your way following the quick guide above.
Keep in mind that 99% of the time, CMYK Color is the best option for printing and RGB Color is designed for the web.
About June Escalada