Text, being one of the most important elements of graphic design, can be manipulated in so many ways. Many times when you see a (good) crazy text-based design, you might think that it’s so complex to make.
I was just as confused as you when I first started learning Illustrator. Well, today I have good news for you! If you use the right tool and find the trick, you can make an awesome text effect even without the pen tool! Not teaching you to be lazy, just want to boost your confidence 😉
In this tutorial, you’ll learn how to make text follow a path and how to edit text on a path in Adobe Illustrator. There’s one essential tool you’ll need, which is the Type on a Path Tool.
Haven’t seen it? You’ll meet this awesome tool today!
Note: all screenshots are taken from Adobe Illustrator CC Mac version. Windows or other versions can look different.
Type on a Path Tool
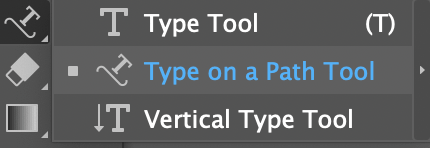
If you didn’t know already, Adobe Illustrator actually has a Type on a Path Tool that you can find in the same menu as the regular Type Tool.
It works as it sounds, type on a path. The basic idea is to use this tool instead of the Type Tool to make the text follow the path you create. So the first thing you need to do is to create a path. Let’s begin with an example of wrapping text around a circle.
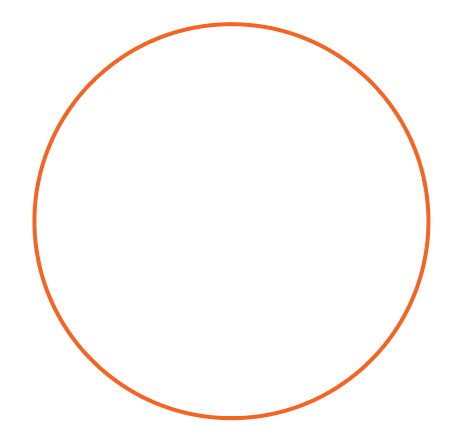
Step 1: Select the Ellipse Tool (keyboard shortcut L) from the toolbar. Hold the Shift key to make a perfect circle.
Step 2: Select the Type on a Path Tool. You’ll notice that as you hover over the circle, it’ll be highlighted with the layer color.
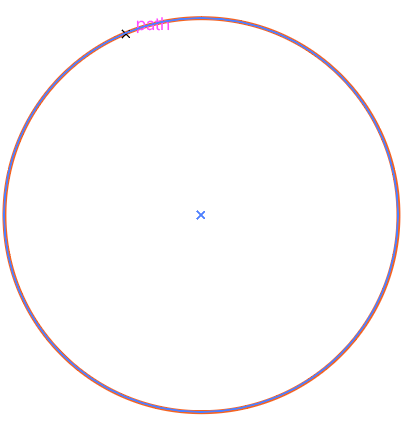
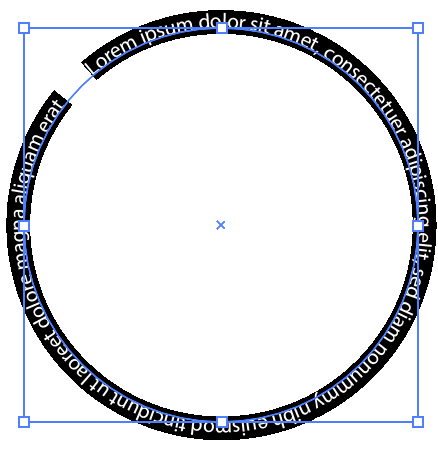
Click on the circle path where you want the text to begin. When you click, you’ll see Lorem Ipsum around the circle and the path stroke disappeared.
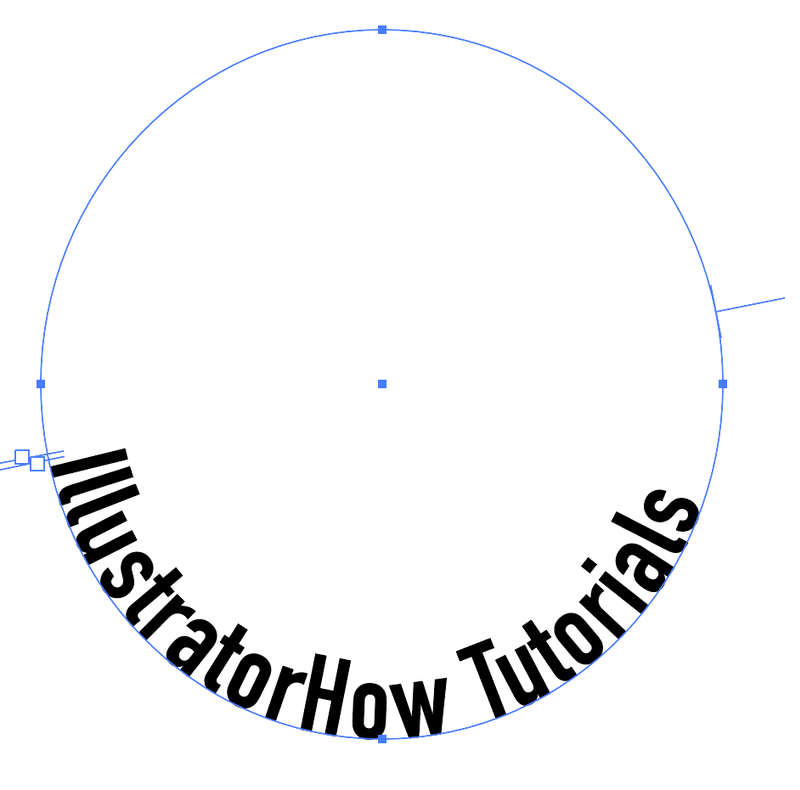
Step 3: Replace the Lorem Ipsum with your own text. For example, I’m going to write IllustratorHow Tutorials. You can adjust the font style and size now or later. I prefer to do it from the beginning so I get a better idea of the spacing.

As you can see the text is following a path but is not in the center. You can adjust the starting point by moving the bracket until you reach the position you’re happy with.

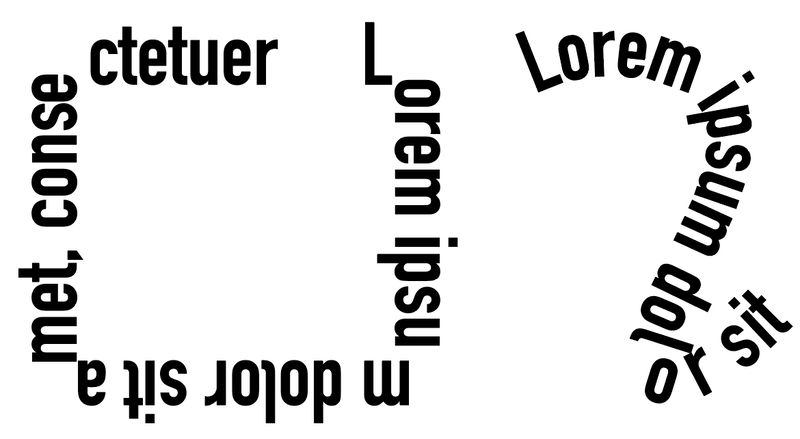
There you go! You can use the same method to make text follow any other shape path. For example, if you want to make text follow a rectangle path, create a rectangle, and type on it, if you want to make curve text, you can use the pen tool.
So what else can you do to improve the text on a path? Besides changing the font style and color, there are a few effects you can apply to text from the Type on a Path Options.
Type on a Path Options
When you have text at the bottom of the path, you might want to flip them for easy reading. Maybe you want the text to follow the inner circle path instead of staying on top. Sometimes you just want to apply a cool effect to text to make it pop.
Well, here is where you make it happen. You can flip, reposition text, change spacing, and add effects to text on a path from Type on a Path Options. I’ll show you a few tricks with the text on a circle example.
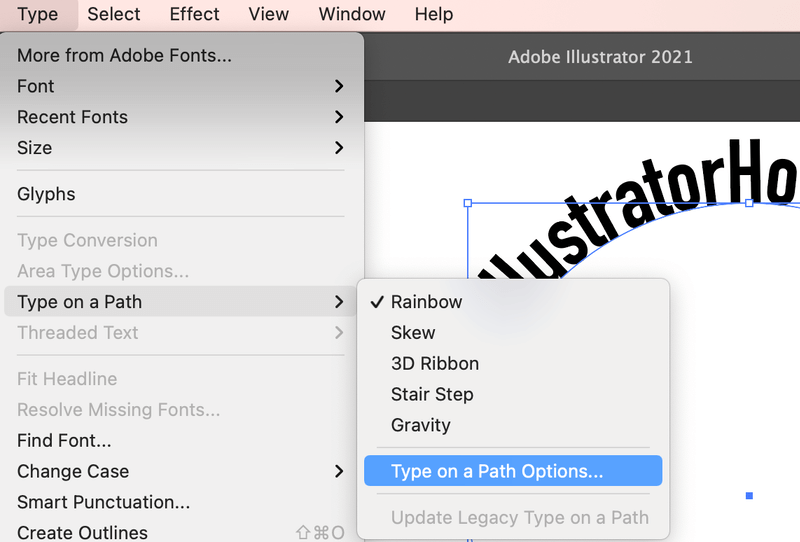
Select the text and go to the overhead menu Type > Type on a Path > Type on a Path Options.
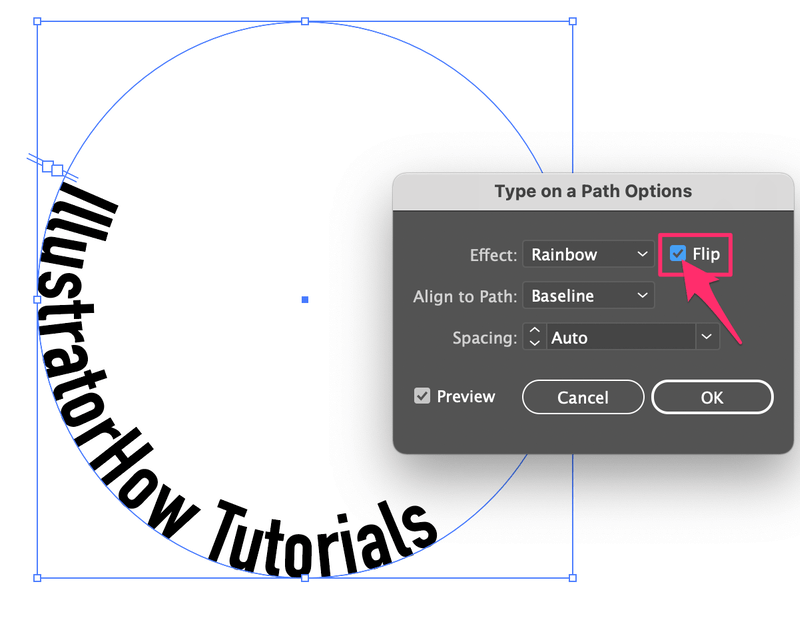
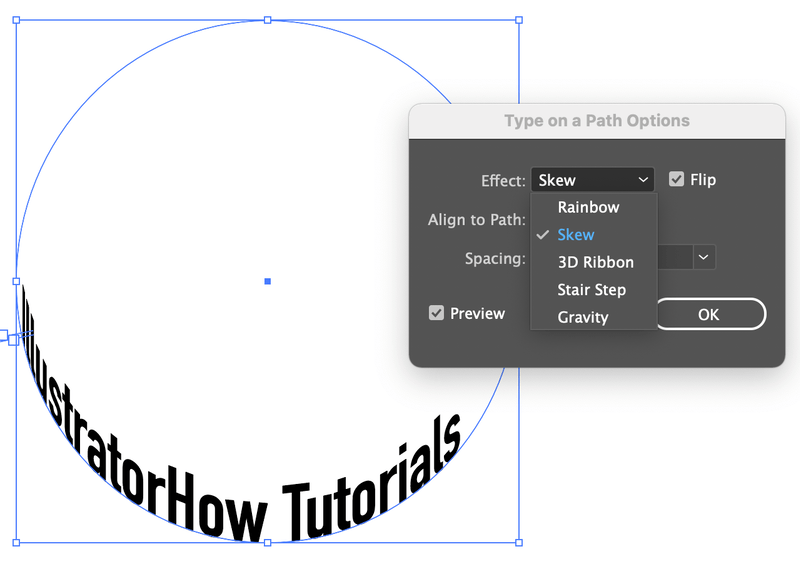
You’ll see this dialog box. If you want to flip text, you can check Flip and click OK. Check the Preview box so that you can see the result as you adjust.
If for some reason the position change, you can just move the bracket to bring it to the preferred position.
Now how about adding some effect to the text? The default effect is Rainbow but I just changed mine to Skew and this is what it’d look like.
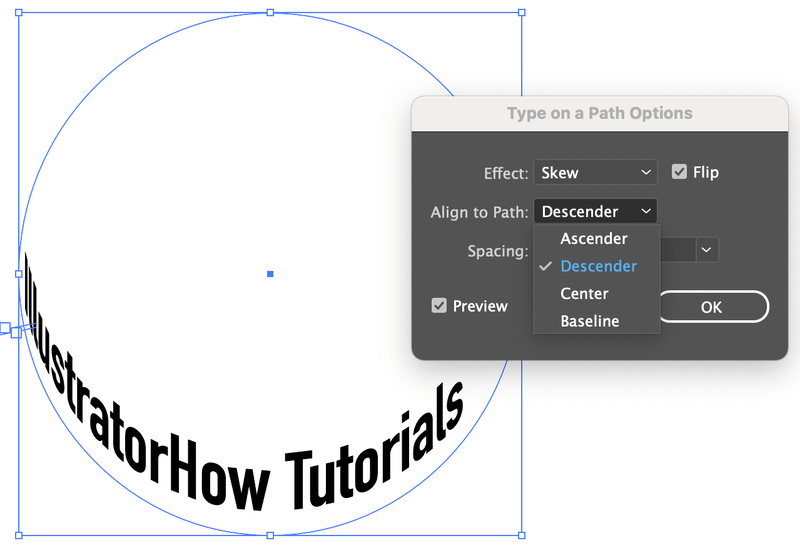
Align to Path controls the distance of the text to the path. The default setting is Baseline, which is the path. Ascender brings the text to the outer circle (path), and Descender brings it to the inner circle (path). If you choose Center, the text will be in the center of the path.
The last thing on the options menu is Spacing. You can adjust the distance between letters here, if you like how it looks then you’re all set.
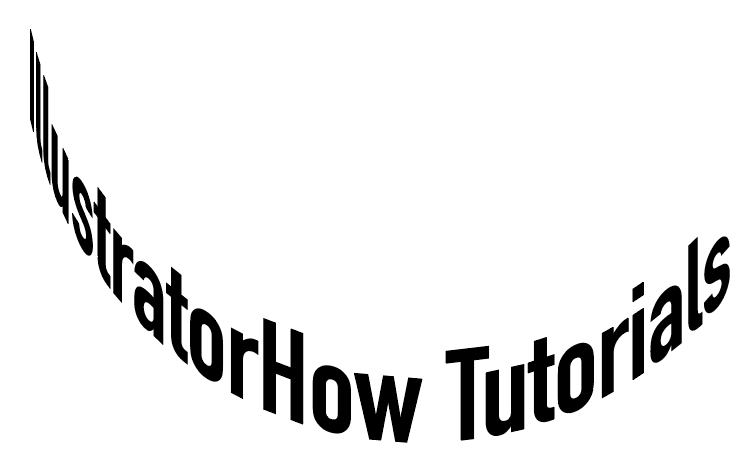
See, doesn’t look bad, right? And I didn’t need to use the pen tool as I “promised” earlier 😉
Wrapping Up
There are so many things you can do to make your text awesome. Whether you want to curve text to make it look wavy or need to make text follow a round shape logo, the Type on a Path Tool is your go-to.
Arockya
Thank you fir the tutorial and it’s much appreciated. Please do let know your other tutorial so that I can follow you on YouTube. Thank you and wishing you a very blessed New Year.
June Escalada
Hey there! Happy to hear that you like my tutorials 🙂 We don’t have a YouTube channel yet, but I’ll certainly let you know when we have one.
Wish you a happy New Year as well!