What does it mean to rasterize? Basically, it’s converting a vector graphic/object, text, or layer, into a bitmap image made of pixels. Raster images are usually in JPEG or PNG formats, and they are good for pixel-based editing software like Photoshop.
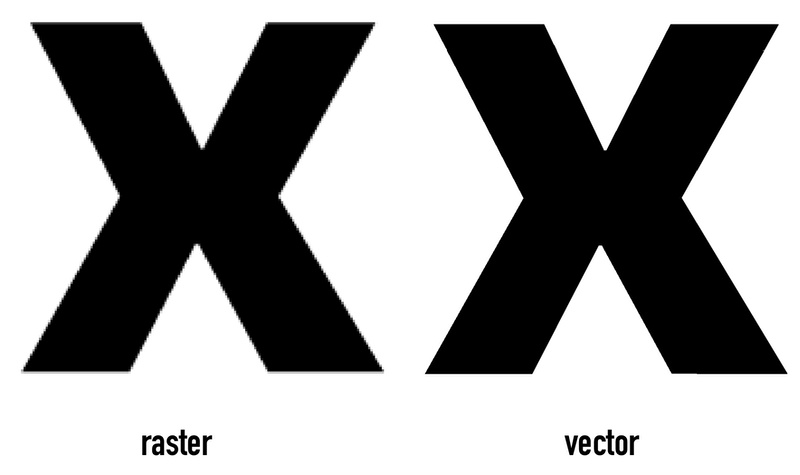
For example, when you create a logo from scratch in Adobe Illustrator, it’s a vector because you can edit the anchor points, and scale it freely without losing its quality. But when you scale a raster image, it can be pixelated.
You can tell an image is made of pixels by zooming in because it will show the pixels, but a vector image doesn’t lose its quality.
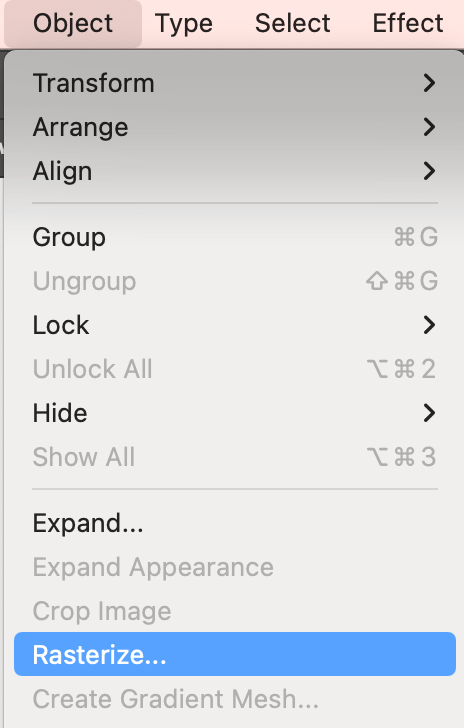
In Adobe Illustrator, rasterizing text works the same as rasterizing objects so you’ll find the Rasterize option from the Object menu. The reason why I’m mentioning this is that if you use Photoshop, you’ll find a Rasterize Type Layer from the Type menu.
Now that you see the difference between raster and vector images, I’m going to show you how to easily rasterize text in Adobe Illustrator. Follow the steps below!
Note: all screenshots are taken from the Adobe Illustrator Mac version. Windows and other versions can look different.
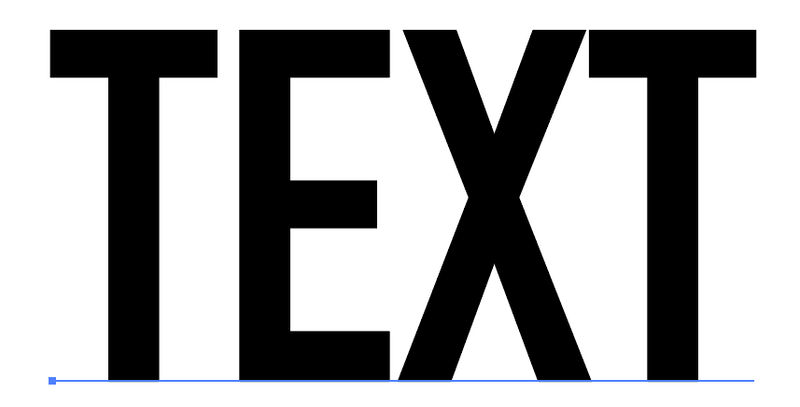
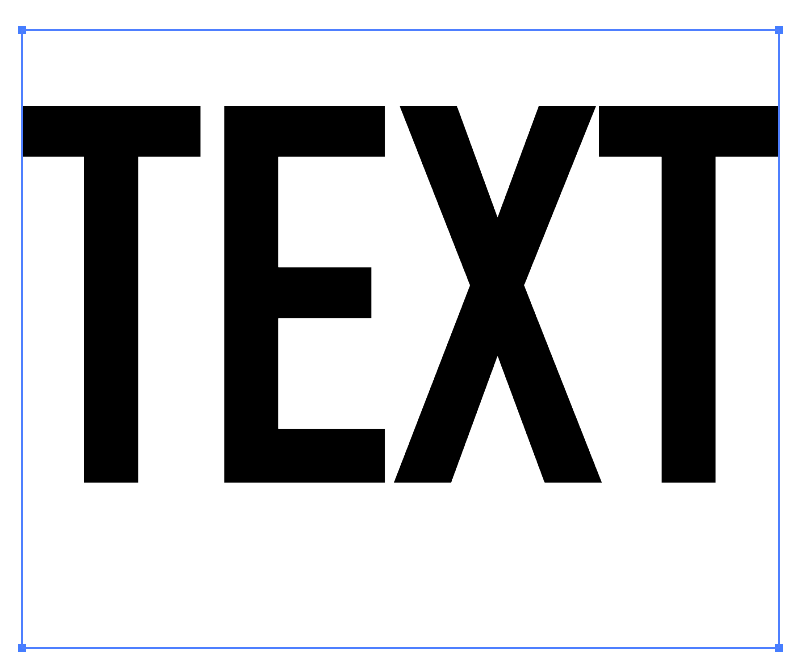
Step 1: Select the Type Tool (keyboard shortcut T) from the toolbar and add text to your Illustrator document.
Step 2: Select the text, go to the overhead menu, and select Object > Rasterize.
A window will appear with some rasterize options. You can choose the color mode, resolution, background, and Anti-aliasing options.
Step 3: Choose Type-Optimized (Hinted) as the Anti-aliasing option because you’re rasterizing text. For other options, it’s up to you.
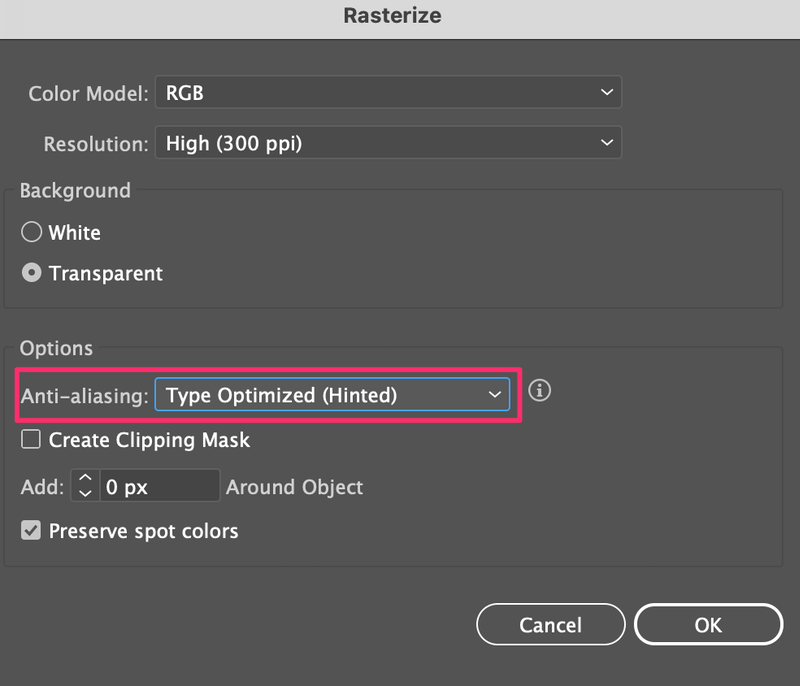
For example, if you’re printing the image, it’s a good idea to use CMYK mode. I always choose the highest resolution because raster images lose quality when scaling.
Tip: The best resolution for printing is 300 PPI and if you’re viewing on screen, 72 PPI works perfectly.
If you want to use this raster text image on a design, saving it with a transparent background will be better because it can fit in other color artworks.
Step 4: Click OK once you choose the options and the text will be rasterized.
Note: You can’t edit rasterized text because basically, it becomes a pixel (raster) image.
Now you can save it as a png for future use if you want 🙂
Conclusion
Text is considered an object in Adobe Illustrator, so when you rasterize it, you’ll find the option from the Object menu instead of the Type menu. Make sure to make a copy of the vector text because once the text is rasterized, you cannot edit it.