Select the Shaper tool, and start drawing. You are able to use simple gestures to create crisp shapes because of the tool. The tool also allows you to combine, delete, or merge shapes that you have drawn as well.
My name is April, and I’ve been working in the graphic design field for 13+ years now. I have been using Adobe Illustrator since the beginning of that and while I have my favorite tools to help create vector art, Adobe is always innovating and coming up with ways to do more in Illustrator.
This post will show you how to use the Shaper Tool in Adobe Illustrator. The Shaper tool can be used to simply draw crisp shapes from gesture drawings or to modify the shapes as well.
Let’s get to it.
Table of Contents
Key Takeaways
- The Shaper tool creates a live shape and is fully editable.
- By hand-drawing simple shapes, the shaper tool will convert them into a similar crisp shape (polygons, rectangles, or circles)
- There are rules to help you use the Shaper tool to make changes to live shapes in a simple gesture that normally would take several steps.
- The keyboard shortcut for the Shaper Tool is Shift + N.
How to Draw Shapes with the Shaper Tool in Adobe Illustrator
Note: The screenshots from this tutorial are taken from Adobe Illustrator CC Windows version. Other versions can look different.
Step 1: Select the Shaper tool off the menu or use the keyboard shortcut Shift + N.
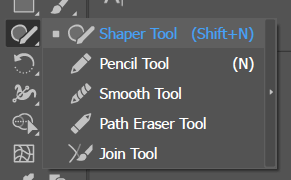
Step 2: Use your mouse (if using a desktop or laptop computer) to draw a shape using simple gestures.
Here is an example of a circle.
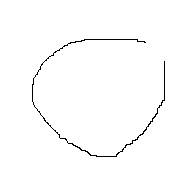
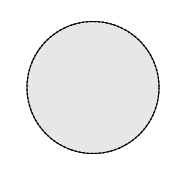
Even from the crude drawing, Illustrator reshaped my drawing to be a crisp circle. Now let’s try a square:
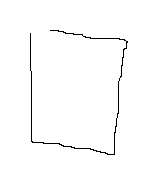

And now a rectangle example:
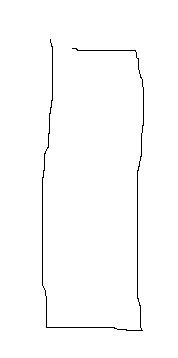
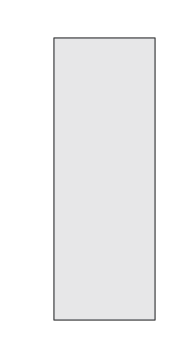
And now for a polygon:
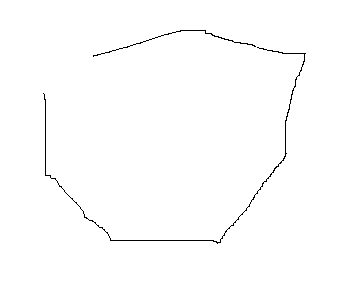
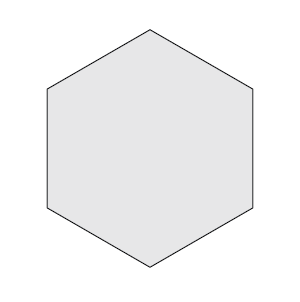
How to Modify Shapes with the Shaper Tool in Adobe Illustrator
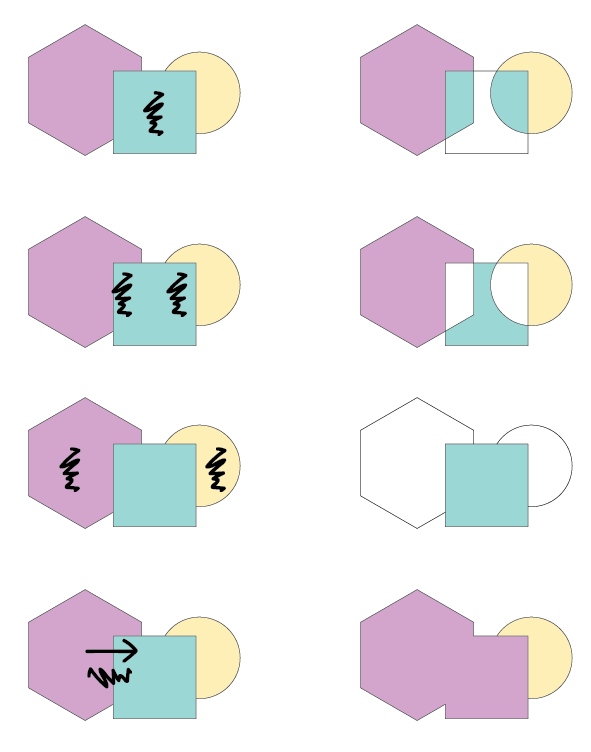
Use these rules as you start modifying shapes with your shaper tool:
- If the scribble is within one shape, the area is punched out.
- If the scribble is across intersecting areas of two or more shapes, the intersecting areas are punched out.
- If the scribble originates from the shape in the front:
- From a non-overlapping area to an overlapping area, the shape in the front is punched out.
- From an overlapping area to a non-overlapping area, the shapes are merged, with the color of the merged area being that of the scribble origin point.
- If the scribble originates from the shape in the back:
- From a non-overlapping area to an overlapping area, the shapes are merged, with the color of the merged area being that of the scribble origin point.
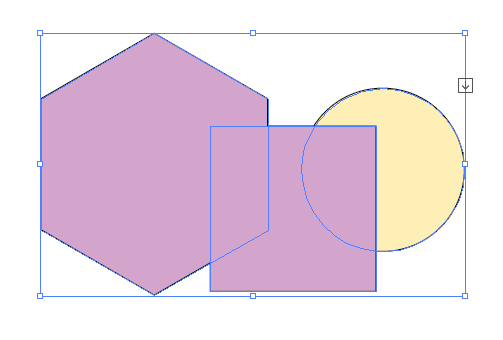
Selecting Shapes within a Shaper Group
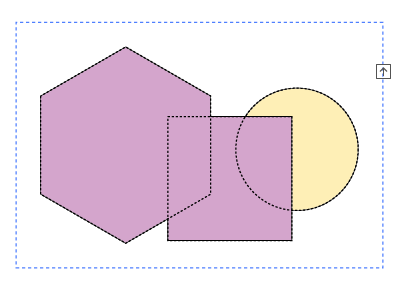
All shapes in a Shaper Group stay editable, even after portions of shapes may have been punched out or merged. When you have the Shaper Tool still selected, click on a shaper group and an arrow will appear. Click on that arrow to modify the shapes in the group.
This is called face selection mode where you can modify the group.
Final Thoughts
The Shaper Tool is a great way to quickly draw shapes and modify them. I think this tool would especially help when using a touch device or iPad.
Once you learn the rules and gestures needed to quickly combine shapes from your drawing, you can quickly create custom shapes for your designs.
Have you tried the Shaper Tool in Illustrator? What did you create with it and was it for fun or work? Let me know in the comments below.
About April Ahlders
L Tennant
Once you create a shaper group, how do you ungroup a shaper group? So far I have not found that answer anywhere. Even the Adobe Illustrator online manual doesn’t mention it. I have a student who accidentally created a shaper group. I haven’t found any good reasons to use the shaper tool so I don’t even teach use of it on desktop version.
June Escalada
Honestly, I haven’t tried that either, but I’m going to look into that!