
There are multiple ways to smooth lines or draw a smooth line in Illustrator, depending on what you’re doing. Yes, using the Smooth Tool is definitely a way to do it, but there are other alternatives to get rid of jagged lines in Adobe Illustrator.
For example, if you want to create a smooth curve line, you can use the Curve Tool. Sometimes adjusting brush roundness is an option too. And if you want to smooth lines created by the pen tool, brushes, or pencil, you can use the Direct Selection Tool and the Smooth Tool.
I guess the last scenario is what you’re searching for, right?
In this tutorial, I’m going to show you how to smooth curves using the Direction Selection Tool and Smooth Tool with a practical example.
Note: the screenshots from this tutorial are taken from Adobe Illustrator CC Mac version. Windows or other versions can look different.
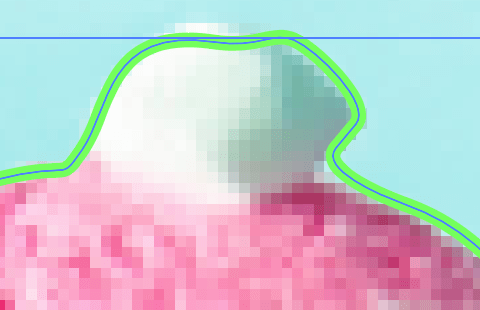
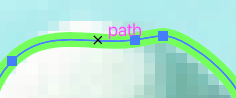
I used the pen tool to trace this image. The green line is the pen tool path.

If you zoom in, you’ll see that some edges are not smooth, and the line looks somewhat jagged.

I’ll show you how to smooth the line using the Direct Selection Tool and the Smooth Tool.
Using the Direct Selection Tool
The Direct Selection allows you to edit anchor points and adjust corner roundness, so if you’re trying to smooth a line corner, this is the easiest way to do it.
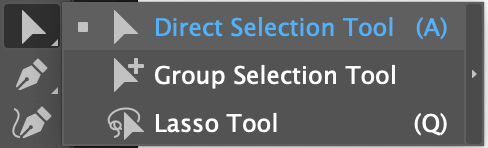
Step 1: Choose the Direct Selection Tool (keyboard shortcut A) from the toolbar.
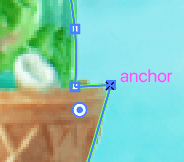
Step 2: Click on the pen tool path (the green line) and you’ll see the anchor points on the path.

Click on the anchor on the area of the line where you want to make it smooth. For example, I clicked on the corner of the cone and you’ll see a small circle next to the corner.
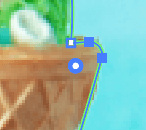
Click on the circle and drag it out to where the anchor point is. Now you’ll see that the corner is rounded and the line smooth.
You can use the same method to smooth out other parts of the line. However, sometimes you just don’t get the result that you want, then you should probably check out the Smooth Tool.
Using Smooth Tool
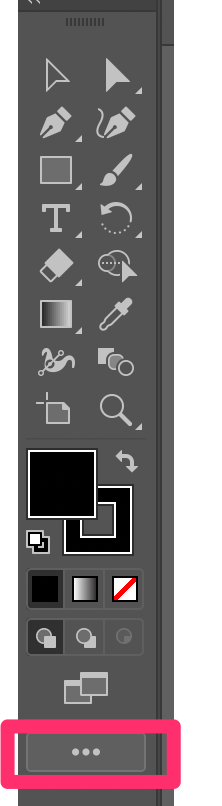
Haven’t heard of the Smooth Tool? A lot of you might not know where to find the smooth tool because it’s not on the default toolbar. You can quickly set it up from the Edit Toolbar menu at the bottom of the toolbar.
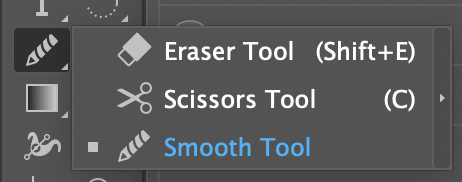
Step 1: Find the Smooth Tool and drag it to anywhere you want in the toolbar. For example, I have it together with the Eraser Tool and Scissors Tool.
Step 2: Select the line and choose the Smooth Tool and draw over the line where you want to smooth.
You’ll see the anchor points changing as you draw over.

You can draw over the same spot multiple times until you get the smooth result that you want.

No more rough lines!
Final Thoughts
Both Direction Selection Tool and Smooth Tool are good for smoothing lines and they are easy to use.
I would say that you can get more “accurate” results using the Smooth Tool but it might take you a few more steps to draw until you get the result that you want. However, if you’re looking to smoothing a line corner, the Direct Selection Tool is the go-to.
Mari
Excellent explanation. Direct and gets to the crux of the topic quickly. Thank you!
June Escalada
You’re welcome, Mari!