The Smooth tool is not showing in the default toolbar, especially in the earlier versions of Adobe Illustrator. It’s one of the new tools that I recently discovered too because I’ve never seen it on the toolbar or from the overhead menus.
The smooth tool is like a lifesaver for someone like me who just can’t get the perfect lines when using a pencil tool or pen tool to draw.
There are so many things I love about Adobe Illustrator, especially when I find the perfect tool to make my imperfect work perfect. In this case, I’m talking about smoothing a rough line. If you’re struggling a lot with drawing smooth lines, you should definitely learn more about this tool.
In this article, I’m going to show you where to find the Smooth Tool and how to use it in Adobe Illustrator.
So where is it?
Find Smooth Tool in Illustrator: Quick Set-Up
I was just as confused as you, having no clue where to find the Smooth tool. All good, now you will know where it is and how to set it up in your toolbar.
Step 1: Click the Edit Toolbar at the bottom of the tool panel.

Step 2: Under Draw, you can find the Smooth tool.
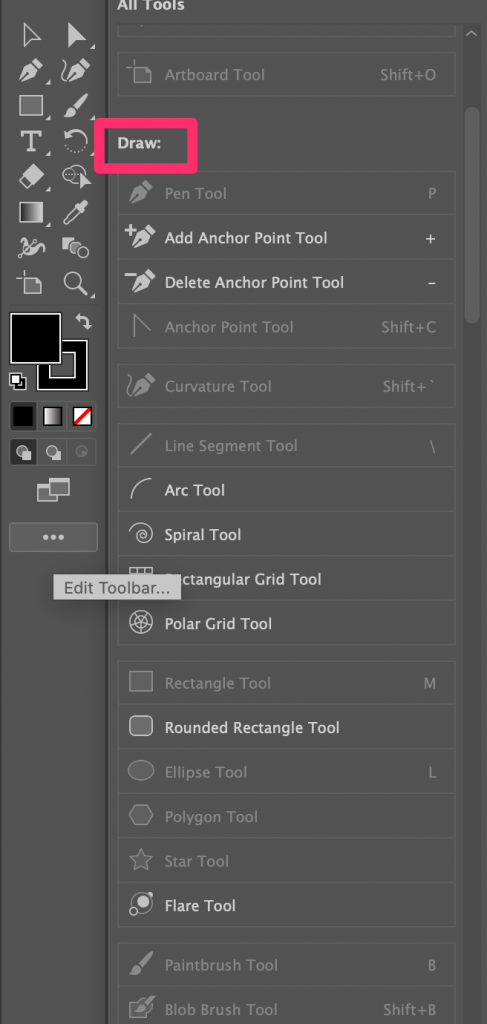
The Smooth tool looks like this:
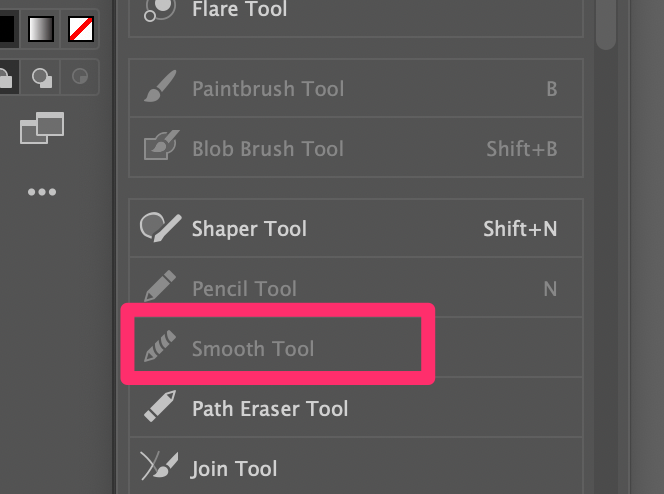
Step 3: Click and drag it to anywhere you want in the toolbar. For example, I have it together with Eraser Tool and Scissors Tool.
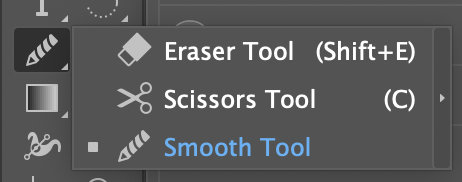
There you go! Quick and easy. Now you have a Smooth tool in your toolbar.
How to Use the Smooth Tool in Illustrator (Quick Guide)
Now that you have the smooth tool ready, how does it work? I got you too.
Step 1: Select the Pen tool or Pencil tool to create anything you want. In this case, I’m using the pencil tool to write my signature. As you can see, the edges are pretty rough, right?
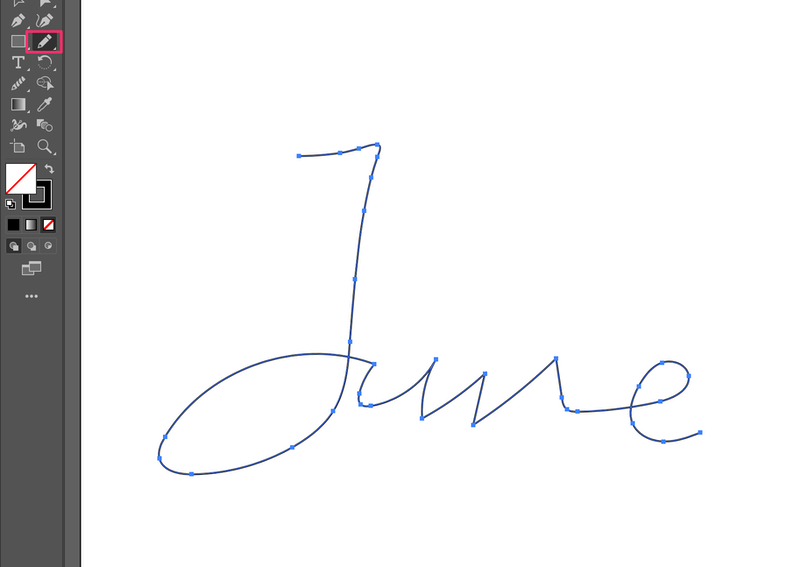
Step 2: Switch to the Smooth Tool. Remember you must see the anchor points on the lines in order to use the smooth tool.
Step 3: Zoom in on the part that you are working on.

You can see clearly its rough edges
Step 4: Click and draw to draw over the rough edges you want to smoothen, remember to hold your mouse while drawing.

See? It has already been smoothed quite a lot. Keep going.

You may repeat multiple times until you get the smooth result you want. Be patient.
Note: For best results, zoom in as much as you can when you click and draw.
Conclusion
The Smooth Tool is shown on the toolbar if you haven’t used it previously, so you’ll need to find it from the Edit Toolbar menu. You can use the Smooth Tool to make Pen Tool or Pencil paths/lines smoother by dragging over the paths while holding your mouse.
Have fun drawing!
About June Escalada
Smita
Nice Info Thanks
Virginia Rinkel
Your very helpful. Thank you.
Virginia Rinkel
I was working in illustrator and saved my finished 6×4″ aimple black outline view of a hanging cherry, and all or a sudden a perspective grid came on and now I can’t see where my art piece went – it all looks blank? Help?
June Escalada
Hi Virginia,
That sounds rare. Usually, the artwork still shows with the perspective grid on. Do you have a screenshot of it?
Joshua
I really appreciate your helping me out on this. I recently decided to learn the basics in designing to help my ward in his home works and got stucked trying to smoothen my work. Thanks a bunch
June Escalada
You’re welcome, Joshua!
Luis
Excelente!. Gracias
June Escalada
De nada, Luis!
JTanibata
Thanks for sharing this. Now I know 🙂
June Escalada
You’re welcome 🙂
Faperski
Hotdamn !
I didnt know this feature existed !
Now I cringed myself at how many sharp edges that I manually smoothen using the pen tool ! D: