No, there isn’t a bullet point option in the Characters panel. I know, that’s the first place you’d check because I did exactly the same.
Many people might find it inconvenient not to have the bullets ready to use, but actually, you can add them using the keyboard shortcut just as quickly as you would in a Word document. Personally, I like how I can add random shapes as bullets.
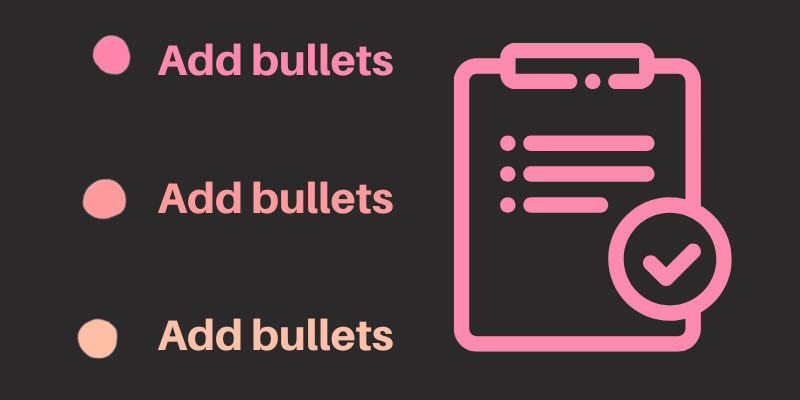
There are different ways to add bullets including the keyboard shortcut, Glyphs tool, and shape tools. You can add classic bullet points or fancy bullets to your list in just a couple of steps.
In this tutorial, I’ll go over three methods to add bullet points in Adobe Illustrator.
Let’s dive in.
Note: all screenshots from this tutorial are taken from Adobe Illustrator CC Mac version. Windows or other versions can look different. Windows users change the Option key to Alt.
Method 1: Keyboard Shortcut
The easiest way to add bullets to text is no doubt using the keyboard shortcut Option + 8. However, the shortcut only works when the Type tool is active. If you simply select the text using the Selection tool and use the keyboard shortcut, you wouldn’t be able to add bullets.
So how does it work?
Step 1: Use the Type tool to add text, if you already have the text ready, simply copy and paste it into the artboard.
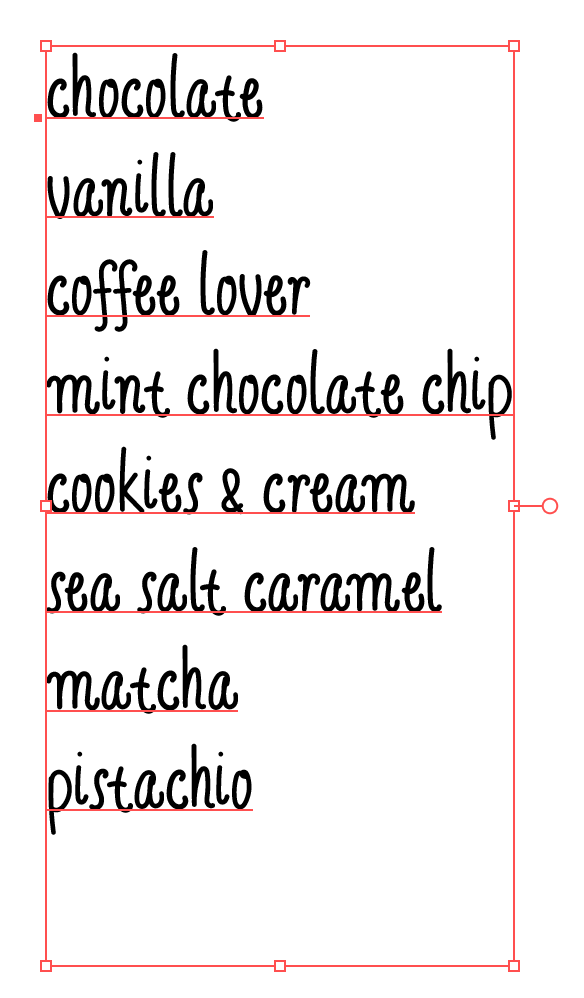
For example, let’s add bullets to this list of ice cream flavors.
Step 2: With the Type Tool active, click in front of the text and press Option + 8 to add a bullet point.

Repeat the same step for the rest.

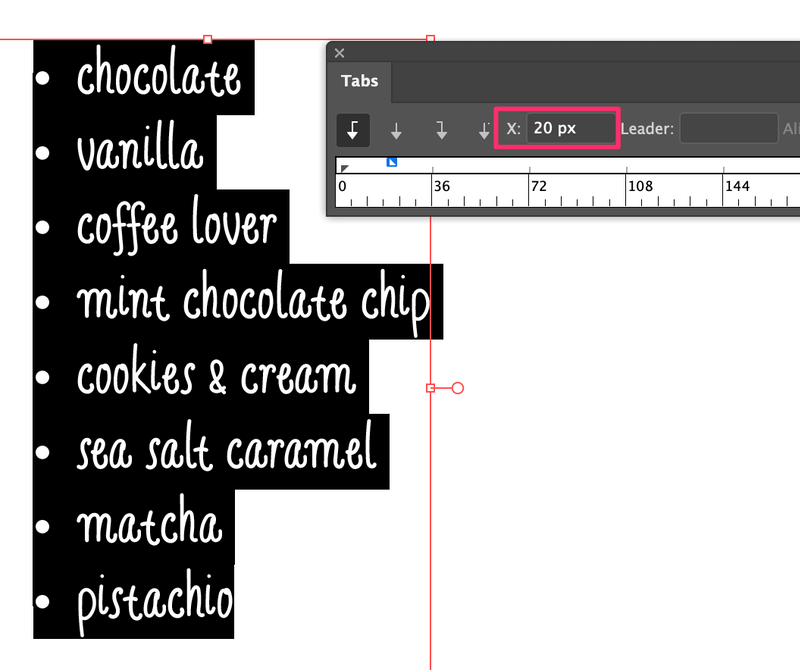
As you can see, there isn’t much space between the text and the bullet, you can hit the Tab key to add some space.

You can adjust the space between the bullet and text from the Tabs panel.
How to adjust the bullet point
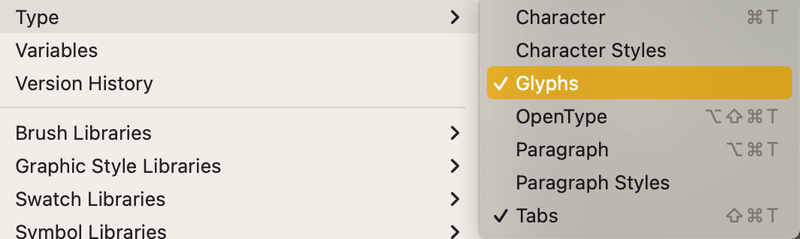
Step 1: Open the Tabs panel from the overhead menu Window > Type > Tabs.
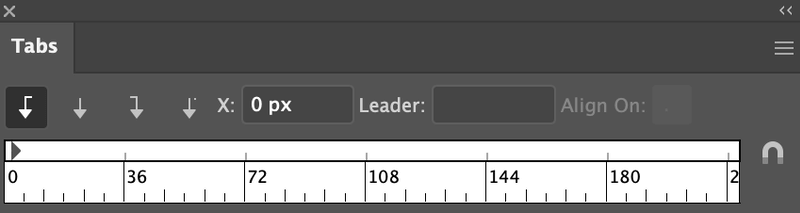
Step 2: Select the bullet points and text. Change the X value to around 20 px. I think it’s a pretty good distance.
Method 2: Glyphs Tool
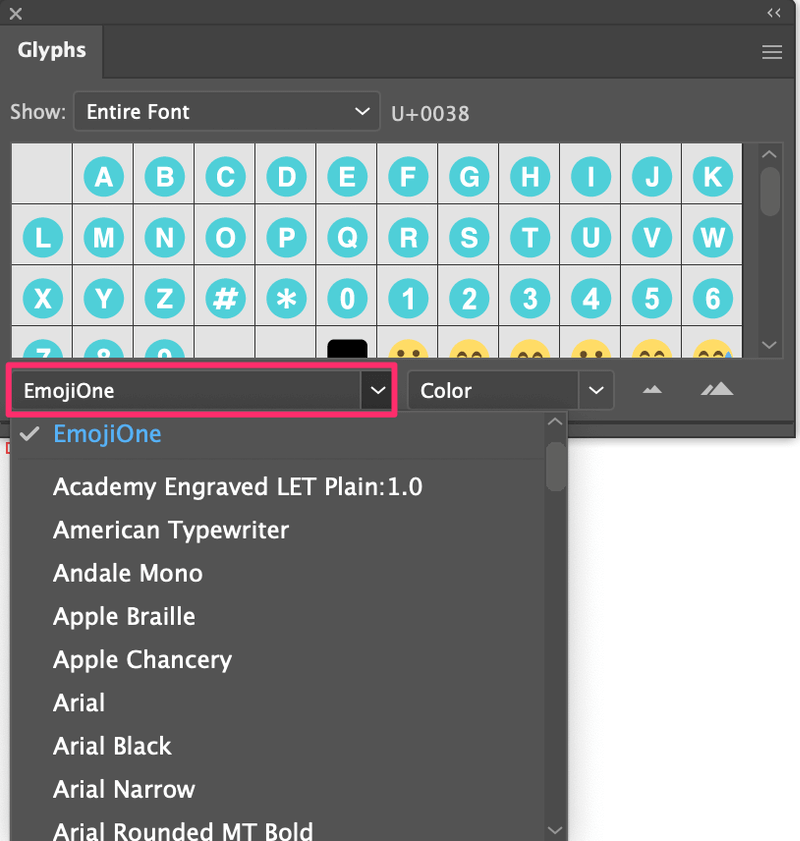
If you don’t want a classic dot as a bullet, you can also choose other symbols or numbers from the Glyphs panel. I’ll show you how to add numbers to a list in Adobe Illustrator as an example.
Step 1: Add text to the artboard. I’ll use the same text from Method 1.
Step 2: Open the Glyphs panel from the overhead menu Window > Type > Glyphs.
Step 3: Select the Type tool from the toolbar and click in front of the text where you want to add a bullet. Some letters, symbols, and numbers will appear on the Glyphs panel. You can change the font. For example, I changed it to emoji.
Step 4: Double-click on the glyph you want to add as a bullet and it’ll show in front of the text. For example, I clicked 1.
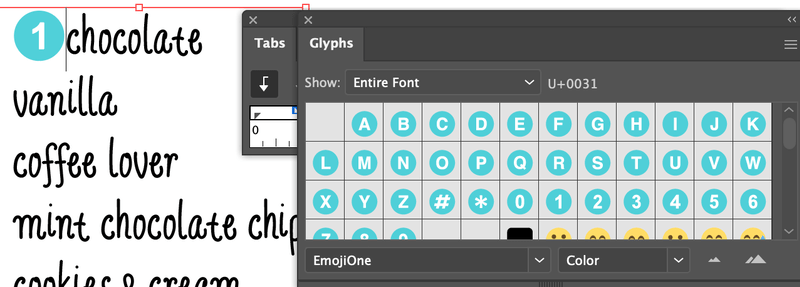
Repeat the same step to add bullets to the rest of the list.

You can also add space using the Tab key.
Method 3: Create Bullets From Scratch
You can add any shape as a bullet. All you need to do is create a shape or choose a shape, and place it in front of the text on a list.
Step 1: Create a shape or even a vector icon. Obviously, you can create a circle using the Ellipse Tool too, but let’s try something else. For example, you add the icons of the flavor in front of the text.
Step 2: Place the shape in front of the text.
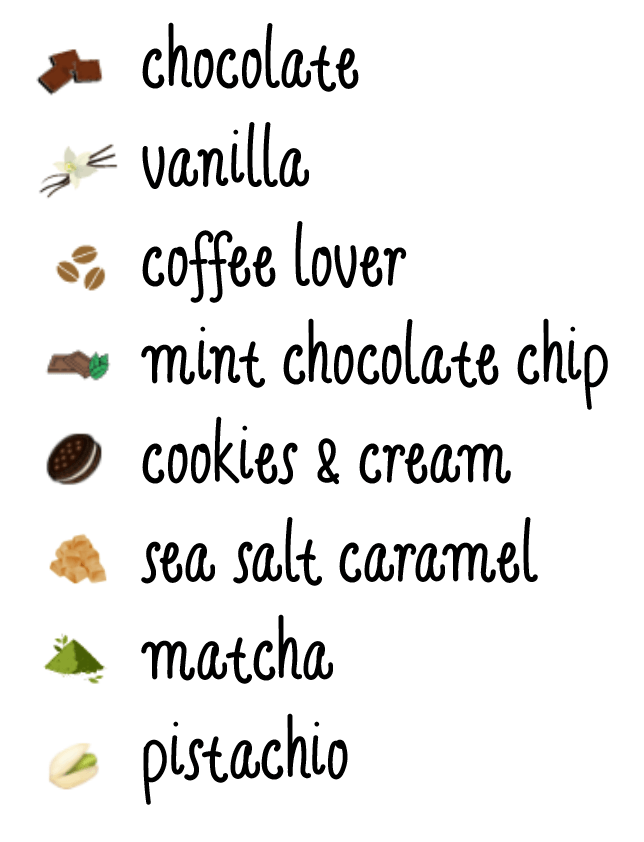
You can use the align tool to align the shape and text. It’s a good idea to vertically align the bullets as well.
Conclusion
I would say Methods 1 and 2 are “standard” methods. Method 1 is the best way for adding classic bullets to a list, while you can use Method 2 to add either number or symbol bullets.
However, I always like to do something different, so Method 3 is just a bonus idea I wanted to share with you. Whenever you feel like making a fancy list, feel free to follow.