
Adding a texture can bring your artwork to the next level. I’m not just talking about a background image with some texture. Sure, that’s one thing you can do, but in Adobe Illustrator, you can add vector textures from the Swatches panel too.
In this tutorial, I’ll show you three different ways to add texture to your object in Adobe Illustrator.
Note: the screenshots from this tutorial are taken from Adobe Illustrator CC Mac version. Windows or other versions can look different.
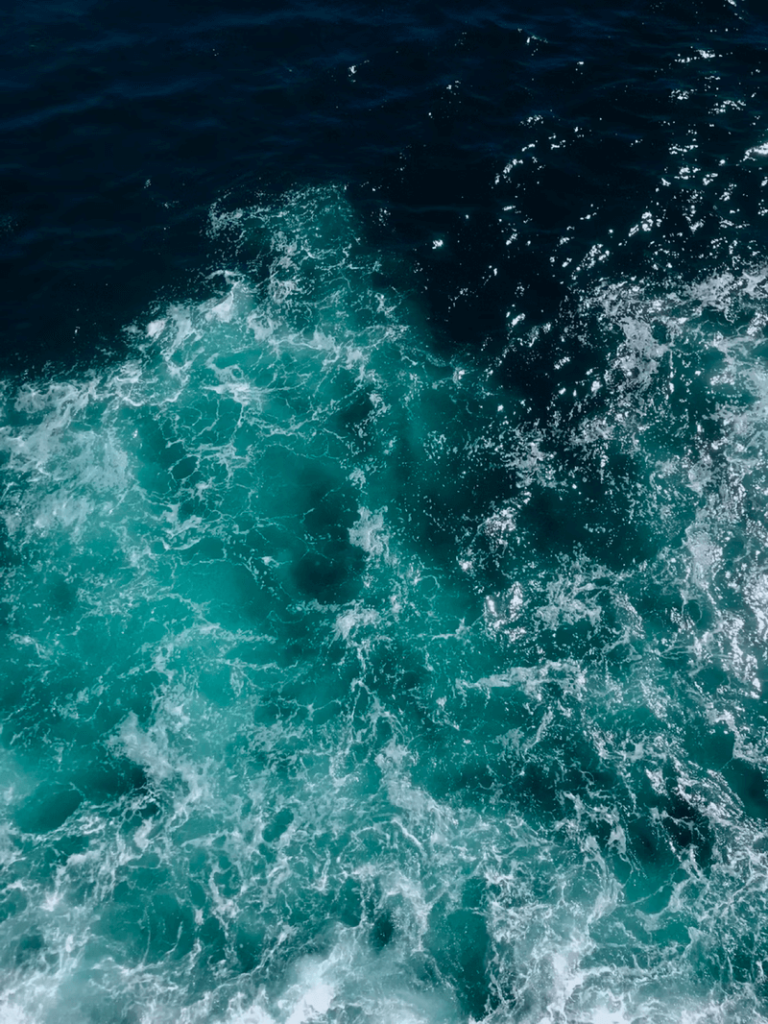
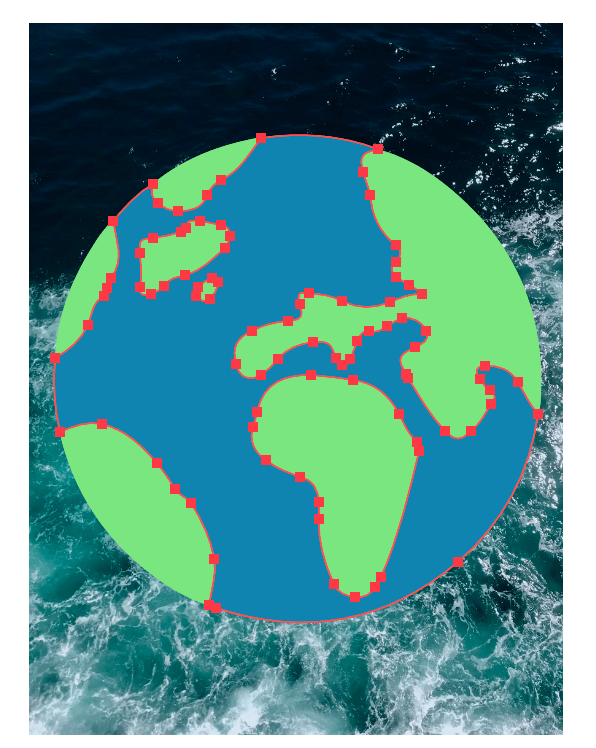
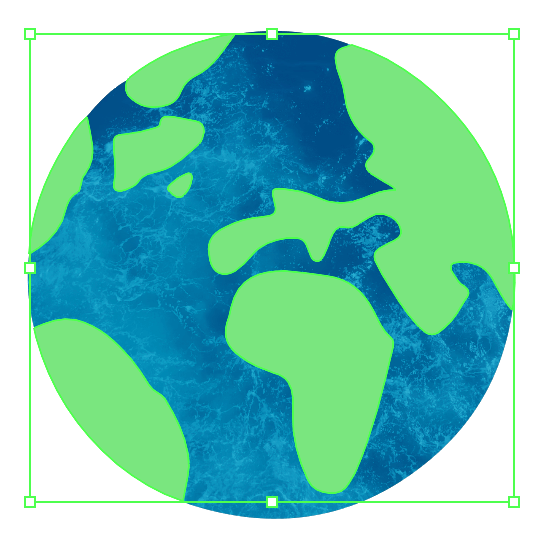
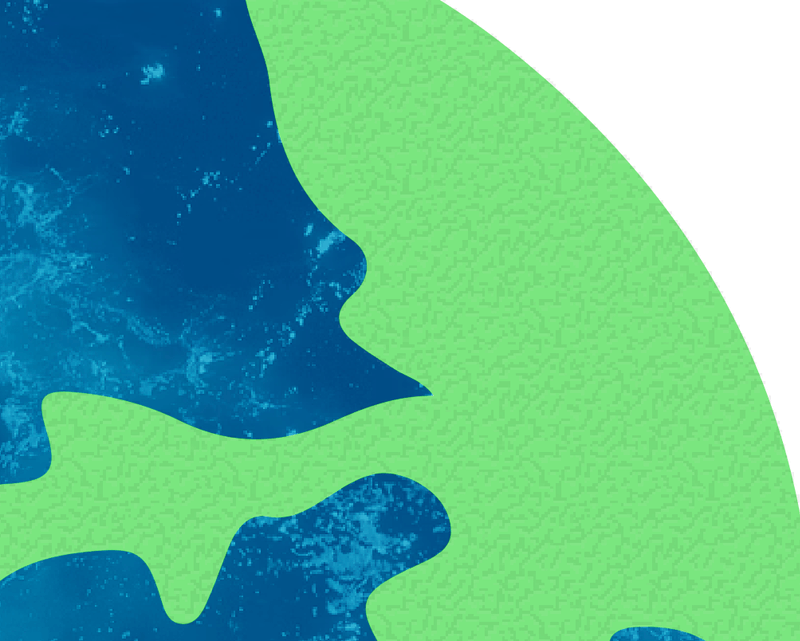
I’m going to use the same image throughout the tutorial so that you can see the different results created in different ways.

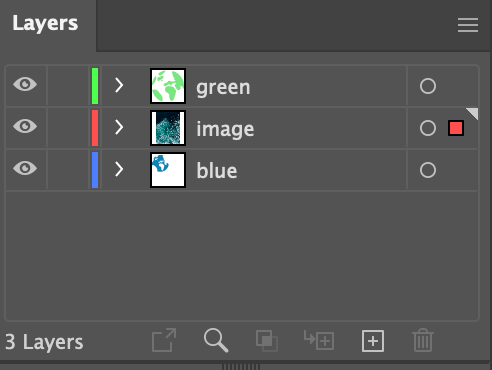
This is a vector, so the part can be separated. It would also be a good idea to separate colors into different layers if you don’t want to add texture to the whole image.
A quick tip: You might need to do the Paste in Place action a couple of times during the process, you can use the keyboard shortcut Command (or Ctrl for Windows) + Shift + V to paste in place.
Method 1: Texture Overlay
It’s the easiest method for adding texture to a background image because all you need to do is place an image and change its blending mode.
Step 1: Create a new layer, place and embed a texture image on the new layer.
For example, I’m going to blend in this texture image to add some texture to the blue area.
Step 2: Arrange the image above the blue color and underneath the green color. If you’ve separated color earlier, simply drag the green layer above the image layer on the Layers panel.
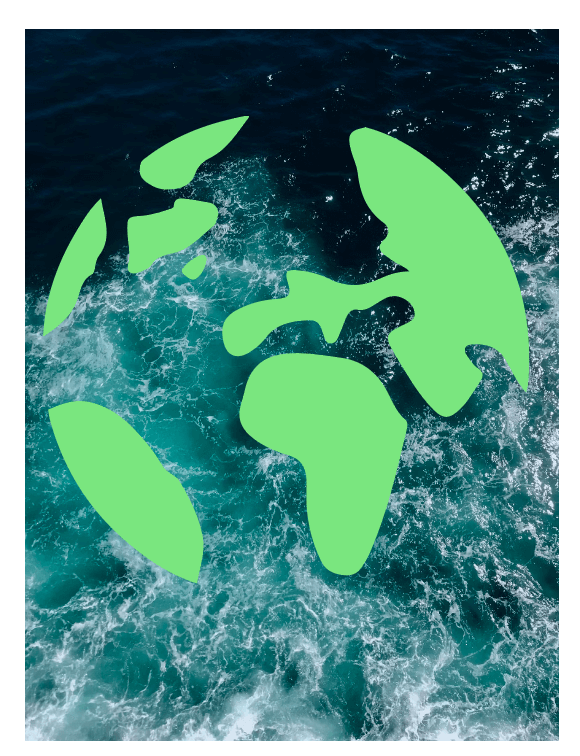
It should look like this.
Step 3: Select the image layer, go to the Properties > Appearance panel, click Opacity, and choose a blending mode.
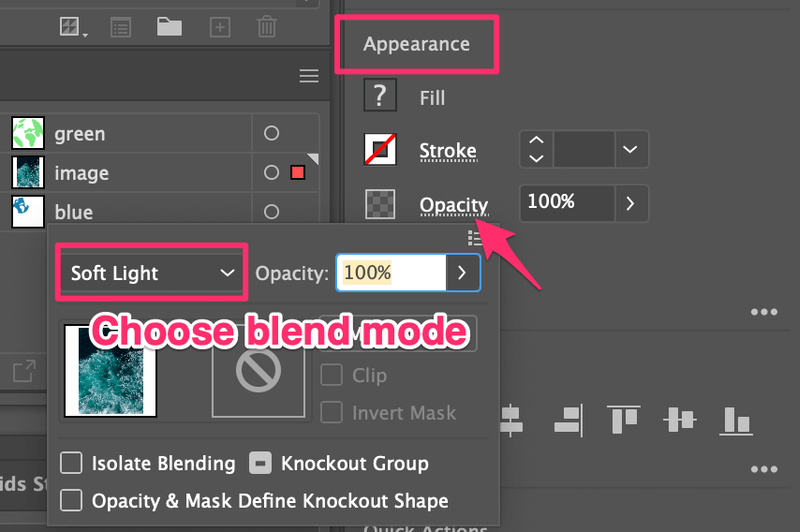
You can try out a few to see which one you like best. I think Soft Light looks good here.

Step 4: Copy the blue layer and paste it onto the image layer. The blue must be on top of the image.
Select both the image and blue color, and hit the keyboard shortcut Command + 7 to make a clipping mask.

Step 4 is optional if you’re applying the texture to the whole image.
Method 2: Adding Effects
This is the easiest way to add texture to objects because there are some preset texture effects (from Photoshop Effects) that you can use in Adobe Illustrator.
Since we’ve already added texture to the water (blue area), now let’s use the preset effects to add texture to the green part.
Step 1: Select the object you want to add a texture to. In this case, I’ll select everything on the green layer by clicking on the target circle.

Step 2: Go to the overhead menu Effect > Texture and choose one of the textures from the option. There are six textures you can choose from.
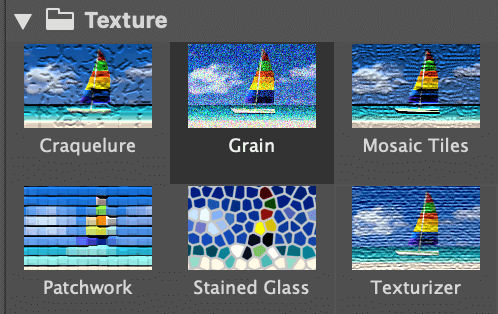
For example, I selected Mosaic Tiles, and it looks like this.
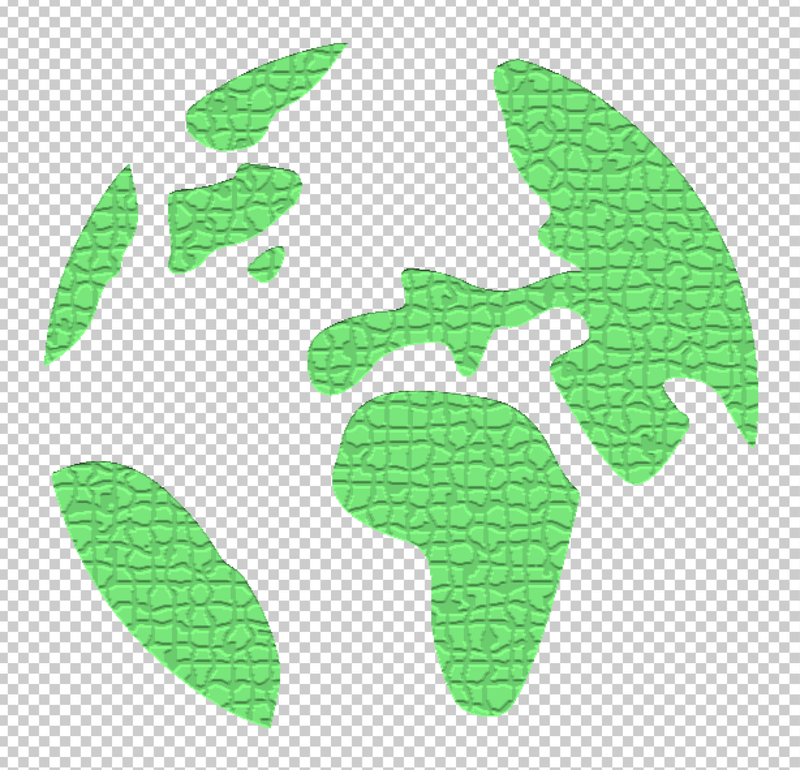
I know, it’s not very natural, so the next step is to adjust the texture.
Step 3: Adjust the texture settings. There isn’t a strict standard on the value of each setting, so basically, you’ll just move the sliders until you get a satisfying result.
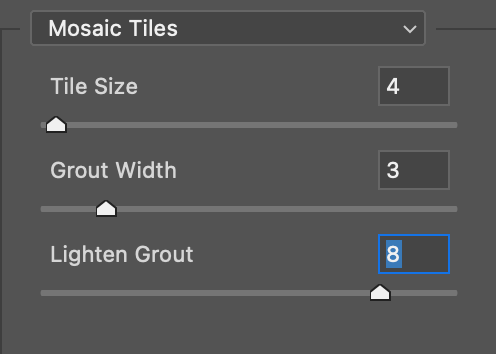
I think it looks fine for now.

You can also lower the opacity to blend the texture better.

Method 3: Texture Swatches
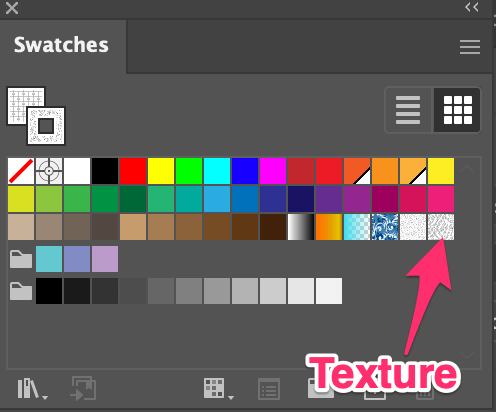
You can find some vector texture swatches from the Swatches panel.
Step 1: Open the Swatches panel from the overhead menu Window > Swatches.
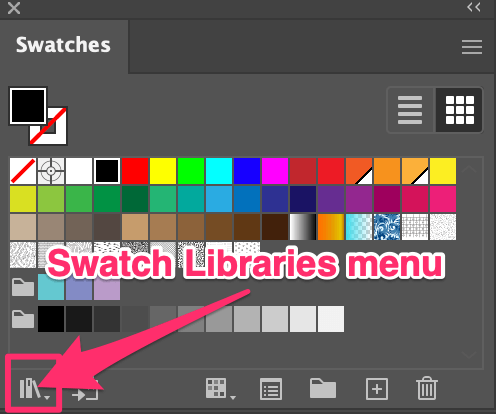
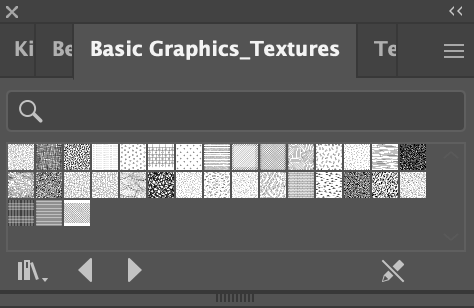
Step 2: Click Swatch Libraries menu > Patterns > Basic Graphics > Basic Graphics_Textures.

It’ll open up a separate texture swatch panel.
Step 3: Select the object you want to add texture to and choose a texture from the texture swatch.
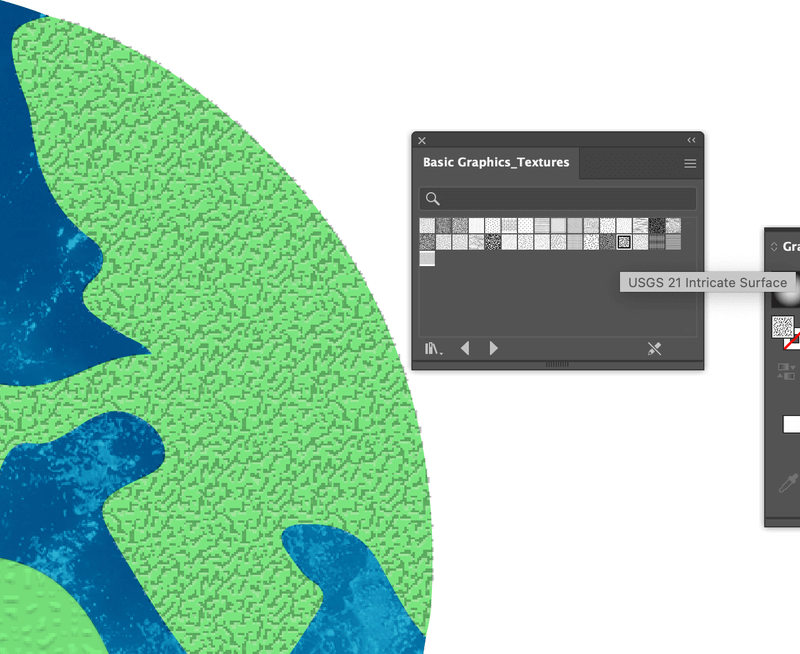
The texture you chose will show on the Swatches panel.
You can choose a blending mode or lower the opacity to blend the texture better.
Tip: You can edit these textures because they are vector patterns. Double click the texture you chose on the Swatches panel and you’ll be able to change its size, color, etc.

So, which effect do you like better?

Wrapping Up
You can easily add a texture to your design using any of the methods above. I would say method 1 is more complicated but you can get your desired texture by choosing the right image. Methods 2 and 3 require a bit of customization, meaning, adjusting the settings.
Honestly, I always mix the methods and I’m pretty happy with the results. Hope this tutorial helps you add textures to your design too!