When you are designing layouts or simply adjusting the navigation bar, you want to make sure that the spacing between each section is even. Can’t tell the exact distance by clicking and dragging? Don’t worry, you can use some tools and guides from Adobe Illustrator.
You’ve probably tried to align the objects already, good starting point! But remember, aligning doesn’t change the space distance, it only changes the position. You’re almost there, just have to find other options within the Align panel.
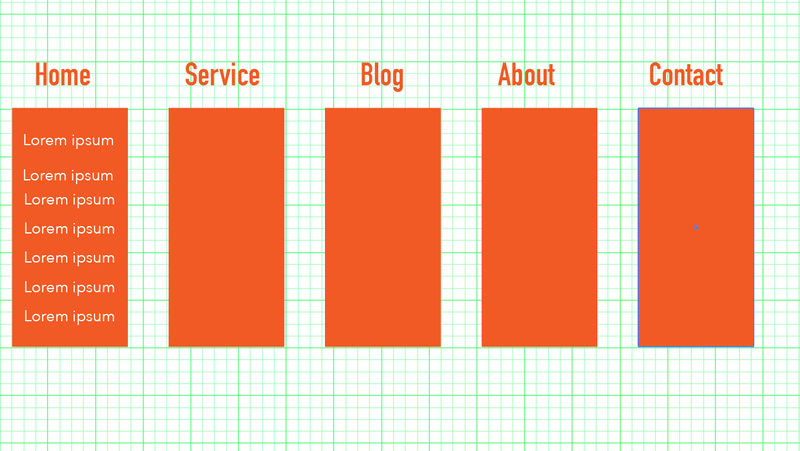
In this tutorial, you will learn three ways to evenly space objects in Adobe Illustrator. I’m going to show you how to create a layout like this using the three methods so that you can make the best of object alignment and distribution in Adobe Illustrator.
Note: the screenshots from this tutorial are taken from Adobe Illustrator CC Mac version. Windows or other versions can look different.
Method 1: Align Panel
You can align and space objects evenly in a couple of clicks using the Align panel. If you want an exact distance between objects, there’s one essential step you can’t miss – choose a key object as a reference. Before getting into that, let’s start adding objects to the document.
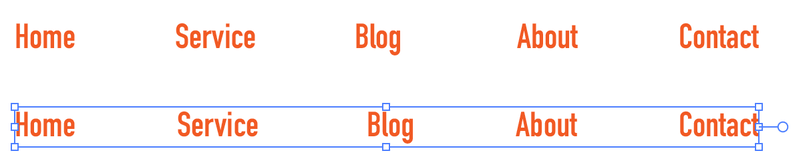
Step 1: Use the Type Tool (keyboard shortcut T) to add text to the document. You can try to space and align them by eye with the help of the smart guide.

Not bad! The distance looks pretty even, but let’s be professional and make sure that they are actually spaced evenly.
Step 2: Select all texts, the Align panel should show under Properties. If you can’t find it, you can open the panel from the overhead menu Window > Align.
Click More Options (the three dots) to expand the panel.
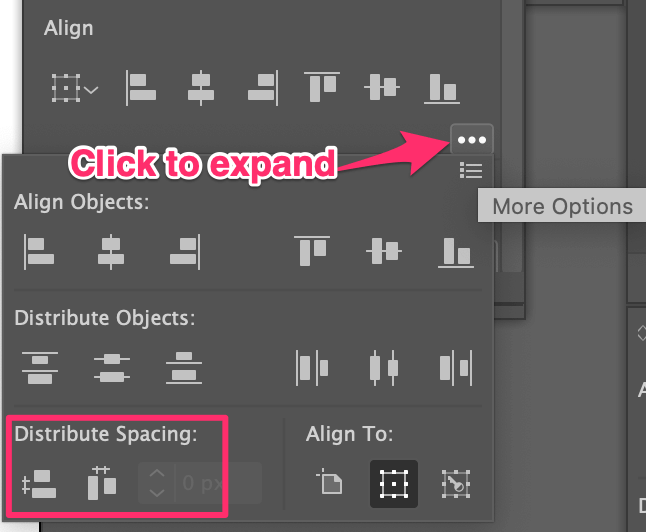
You will see two Distribute Spacing options at the bottom of the panel.
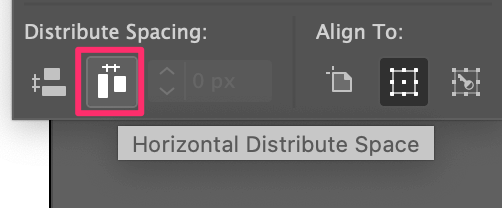
Step 3: Select Horizontal Distribute Space.
I’ve duplicated the text to show the difference. The texts within the bounding box are evenly spaced.
Quick tip: if you already have an exact distance value in mind, you can also input the distance, but first of all, you need to choose a key object.
For example, assuming you choose About as the key object.
Choose Align to Key Object on the Align panel.
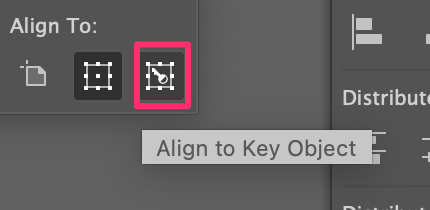
You will see one of the objects (text) is highlighted. You can change the key object by clicking on the object you want to set as the key object. So now click on About.

Input the space you want between the objects, let’s say 50px, and click Horizontal Distribute Space.
Remember these 3 buttons 😉
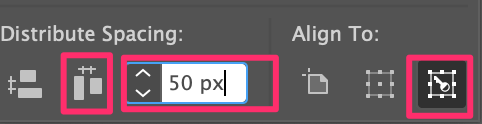
Now the distance between objects is 50px.

Now the navigation bar is created, let’s move on to the submenu.
Method 2: Repeat Step
This method works only when you’re spacing identical objects. If the object is not the same, try other methods. We’re going to create the same submenu backgrounds (rectangles), so we can use this method.
Step 1: Use the Rectangle Tool (keyboard shortcut M) to draw a rectangle. You can align it with the text above.
Note: when you align objects vertically, you might change the spacing horizontally.

Step 2: Hold the Option (Alt for Windows Users) and Shift keys, click and drag the rectangle to the right under the second text.
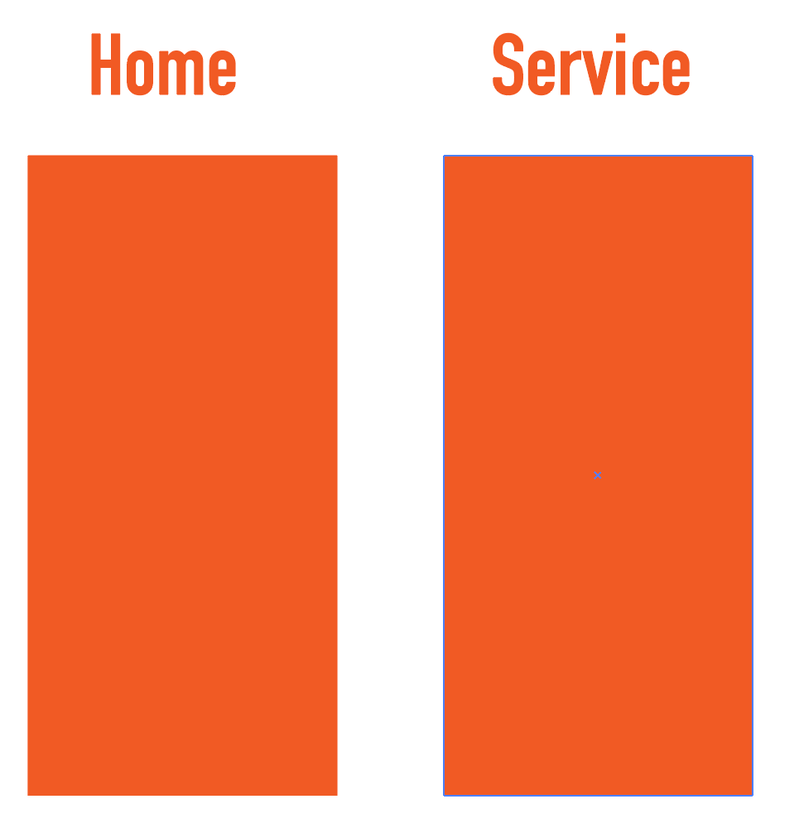
Step 3: Repeat the last (duplicate) step using the step and repeat the keyboard shortcut Command + D (Ctrl + D for Windows users). You can use the shortcut multiple times until you get a rectangle background for each category.

Quick and easy! This method works best when you want to create an evenly-spaced pattern with the same shape.
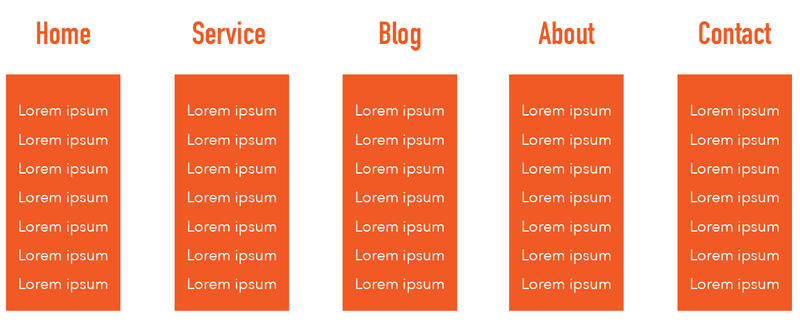
Anyway, let’s add the submenu items. I’ll use Lorem Ipsum text as an example and show you how to do it using the grid as a guide.
Method 3: Use Grid
If you don’t have a lot of objects to align, you can space objects evenly following the grids and guides. Actually, if your Smart Guide is activated, when you drag the objects it will show the distance between objects but let’s use grids just to make sure.
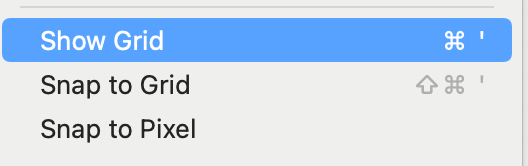
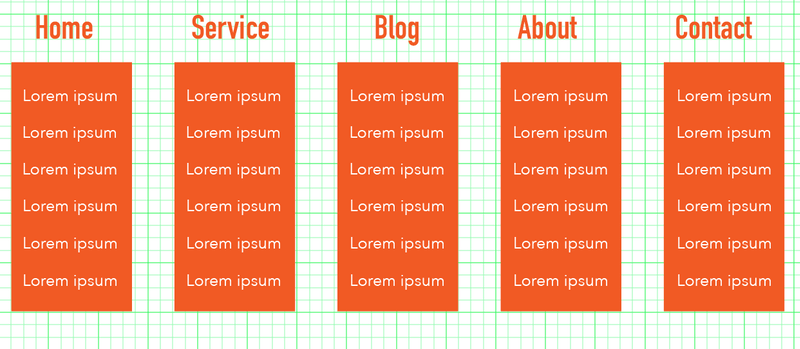
Step 1: After adding text to your document, go to the overhead menu and select View > Show Grid to show the grid.
You should see grids in your document but you don’t see the grids on top of the rectangles. Lower the opacity of the rectangle.
Zoom in before going to the next step.
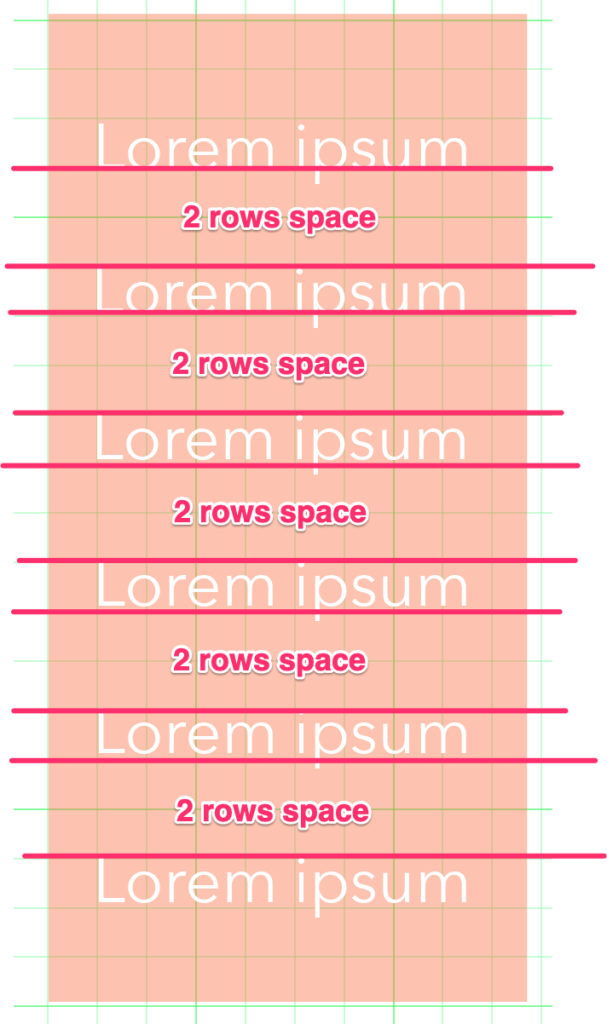
Step 2: Decide the distance you want between the text. For example, if you want the space to be two rows of the grid. Move the text two rows from the text above.
Once you finish positioning all the text, bring the opacity of the rectangle back to 100%.
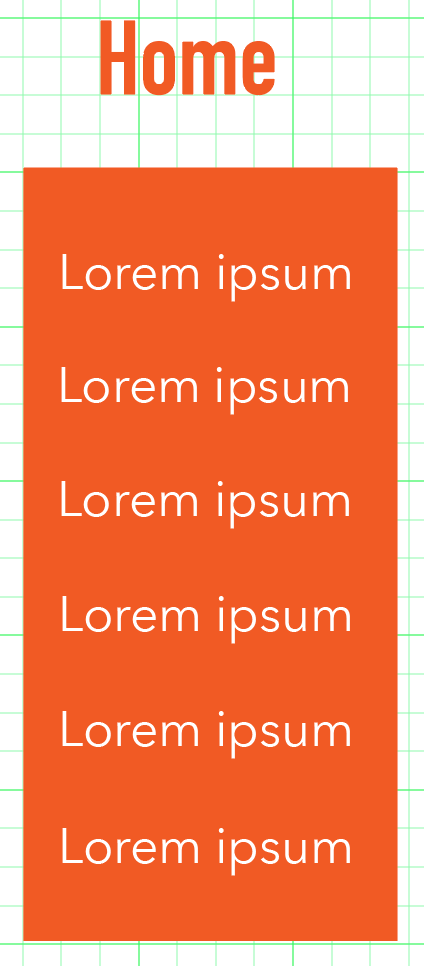
Looks good? You can select all texts and duplicate them (try using Method 2) in the next category column. You can change the text content later, here we are only creating the layout.
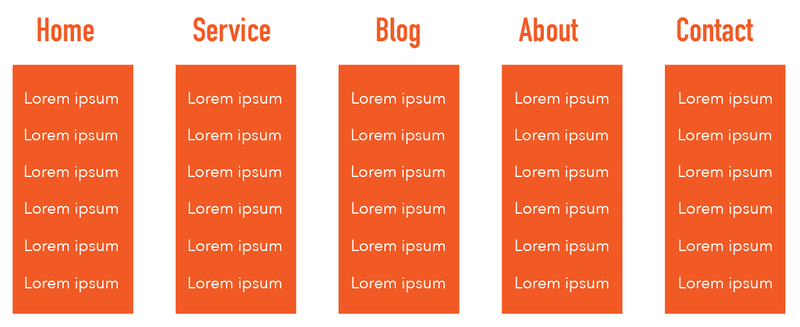
You can turn off the grid now to see how it looks.
You can always double-check to make sure they are aligned correctly and spaced evenly going back to the Align panel.
FAQs
How do you space something evenly around a circle in Illustrator?
An easy way to space something evenly around a circle is using the Radial repeat feature. Simply select the object, go to the overhead menu Object > Repeat > Radial and that’s it.
How do you evenly distribute anchor points in Illustrator?
You can get even space between anchor points using the same method in this tutorial. The only difference is that you’ll be selecting the anchor points instead of the shapes or text. When you select the anchor points using the Direct Selection Tool, the Distribute Object option will change to Distribute Anchor Point.
How to evenly space text in Illustrator?
You don’t need to use the Align panel to evenly space text in Illustrator. You can quickly adjust the text spacing on the Character panel by adjusting the kerning, leading, and tracking.
Conclusion
You can use any methods above to evenly space objects and depending on what you’re trying to make, some methods might be more convenient than others.
Just a quick review. When you already have the objects ready, the Align panel method should be the quickest way. If you’re trying to create evenly spaced identical objects, the step repeat method works pretty well.
As for the grid, it’s always a good habit to use them but it’s true that when there are multiple objects, moving them one by one can be a hustle.