
Adding texture to a logo, text, or background gives a vintage/retro touch to your design and it’s always on the trend (in some industries). Distressing basically means adding texture, so the key to making an awesome distressed effect is to have a nice texture image.
Well, you can create your own texture, but it can be time-consuming. So we’re not going to do that. If you really can’t find an ideal image, you can use Image Trace to modify an existing image.
In this tutorial, you’ll learn three ways to distress objects and text in Adobe Illustrator.
3 Ways to Create Distressed Graphics in Adobe Illustrator
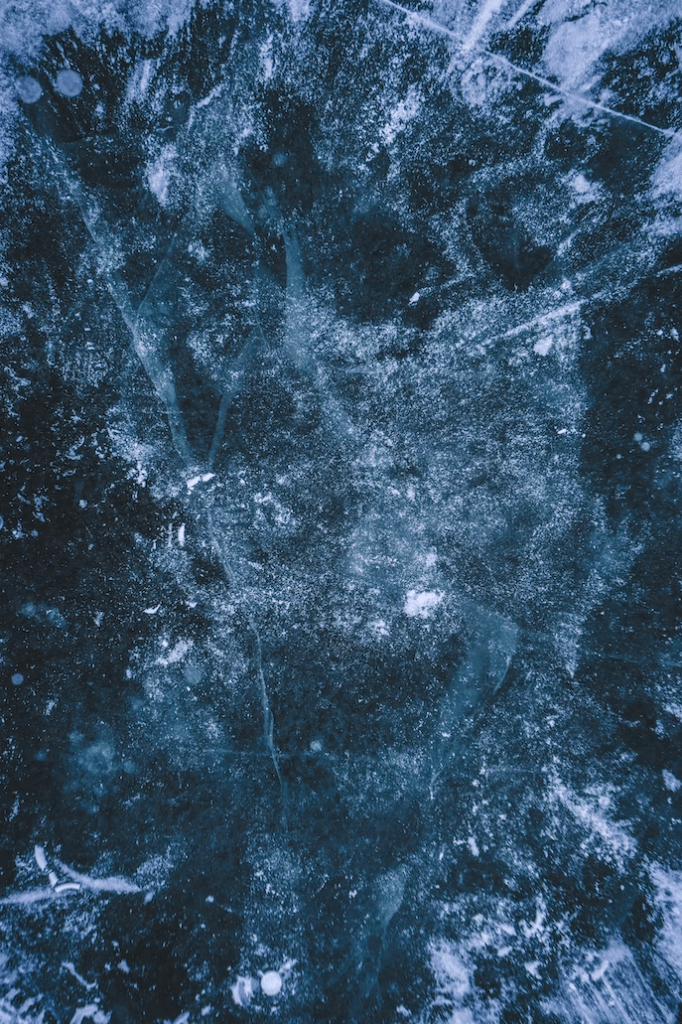
I’m going to show you the methods on the same image so that you can see the differences using different methods. For example, let’s distress this image to give it a vintage/retro look.

Note: The screenshots are taken from Adobe Illustrator CC Mac version. Windows or other versions can look different.
Method 1: Use the Transparency panel
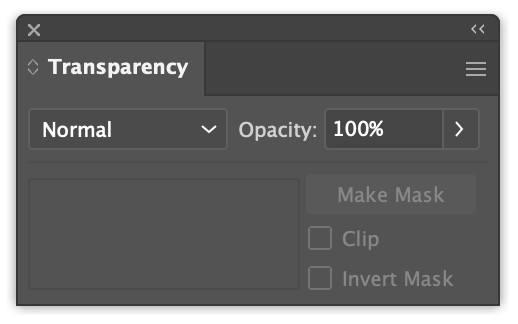
Step 1: Open the Transparency Panel from the overhead menu Window > Transparency.
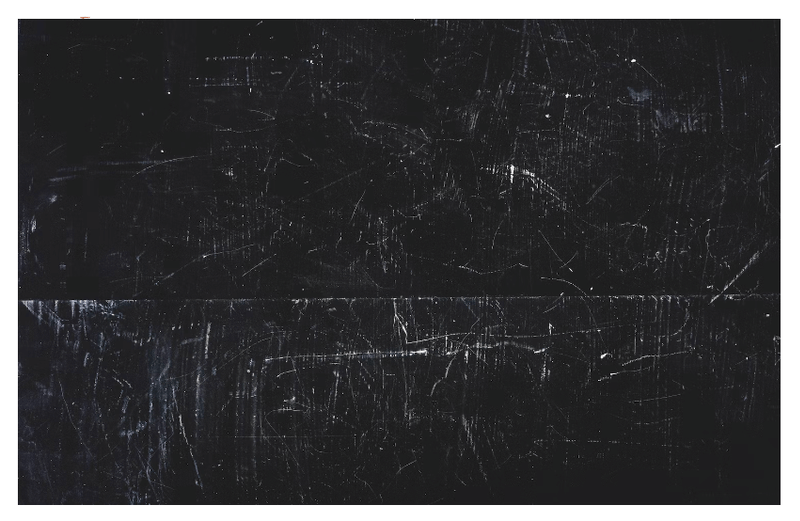
Step 2: Place the texture image in the same document as the object you want to distress. It’s important to choose a texture that fits your design, for example, if you’re going to apply a lighter effect, choose an image with lighter “scratches”.

On the other hand, if you want to apply a heavier effect, you can use an image with more “scratches”.
Tip: If you’re not sure where to find texture images, Canva or Unsplash has some pretty nice options.
If you can find a black and white image that’d be great because you’ll need to use it to make a mask. If not, follow the next step to make the image black and white.
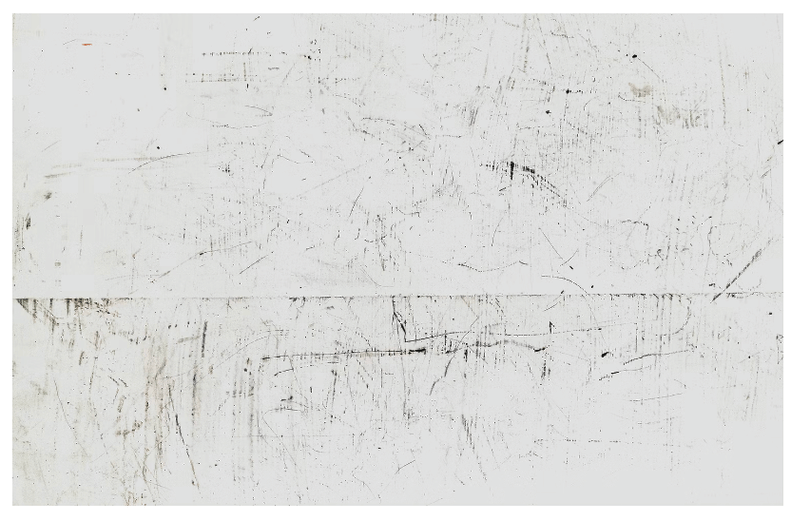
Step 3: Make the image black and white. Ideally, Photoshop would be the best tool to do this, but you can also quickly do it in Adobe Illustrator by converting the image to grayscale.
Select the image and go to the overhead menu Edit > Edit Colors > Convert to Grayscale.
The black area will be the distress effect shown on the object, so if your black area is too much, you can invert the colors from Edit > Edit Colors > Invert Colors. Otherwise, the “scratches” will not show on the object.
Step 4: Select the image and use the keyboard shortcut Command + C (or Ctrl + C for Windows users) to copy the image.
Step 5: Select the object you want to distress and click Make Mask on the Transparency panel.
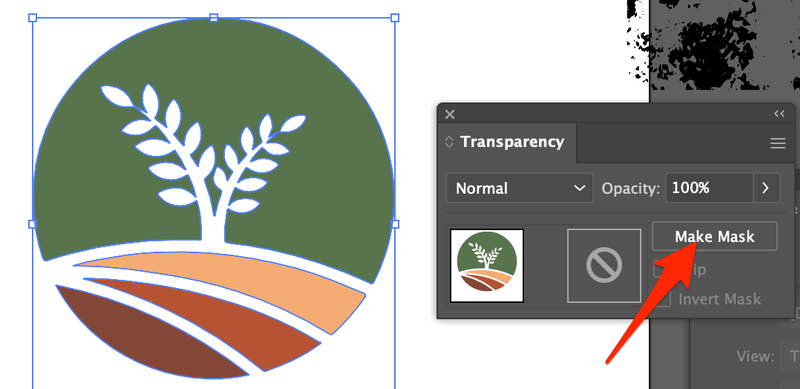
You’ll notice that the object disappears temporarily, but that’s okay.
Step 6: Click on the mask (black square) and hit Command + V (Ctrl + V for Windows users) to paste the texture image.
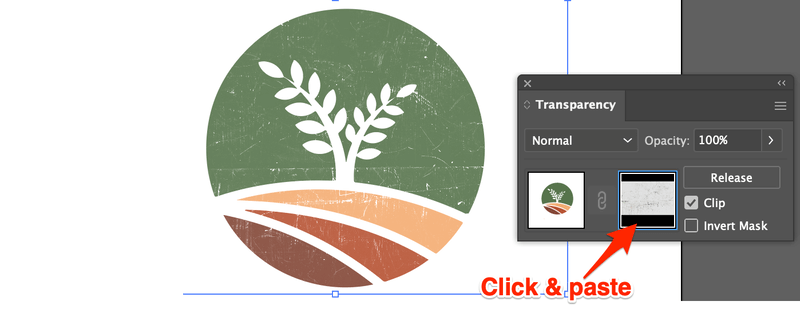
That’s it! You’ll see your graphic has a distressed effect.
If you don’t like how the texture looks from the original image, you can modify it by adding effects or using Image Trace. I would go for Image Trace because you have more flexibility to edit the image and you can directly place it on top of the graphic.
Method 2: Image Trace
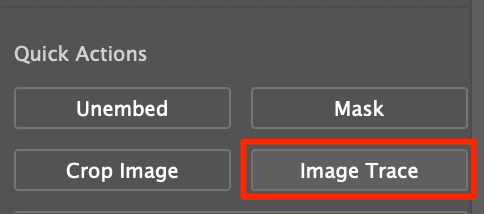
Step 1: Select the texture image and go to Properties panel > Quick Action > Image Trace.
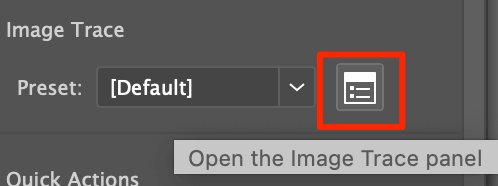
You can choose the default preset and click on the Image Trace panel icon to open the Image Trace panel.
Step 2: Make sure it’s in Black and White mode and adjust the Threshold value accordingly. Move the slider left to show fewer details and move right to show more. You can adjust its paths and noise settings.

Once you’re happy with the texture, check Ignore White.
Step 3: Now place this traced image on top of your graphic and change its color to the background color. For example, my background color is white, so it’ll change the image color to white.

You can rotate it or leave it as it is. If you want to remove some “scratches”, you can use the Eraser tool to remove them. But you’ll need to expand the traced image first.
Then select the expanded image and use the Eraser tool to remove unwanted areas.

Now, what about you want to add realistic distress to your graphic? You can simply make a clipping mask.
Method 3: Make a clipping mask
Step 1: Place the texture image underneath the object.
Step 2: Select both the image and object and use the keyboard shortcut Command + 7 to make a clipping mask.

As you can see, it directly applies the image to the shape, and you won’t be able to edit much. I put it at last because it’s an imperfect solution. But if that’s what you need, go for it. Some people use this method to apply texture background to text.
But can you add adjustable texture to text like to graphics?
The answer is yes!
How to Distress Text/Font in Adobe Illustrator
Adding a distressed effect to text is basically the same as adding it to an object. You can follow methods 1 or 2 above to distress text, but your text must be outlined.
Simply select the text you’re going to distress and create a text outline using the keyboard shortcut Shift + Command + O (Shift + Ctrl + O for Windows users).

Tip: It’s highly recommended to use thicker font for better results.
And then use Method 1 or 2 above to apply the distress effect.

Conclusion
You can use any of the three methods I introduced in this article to distress text or objects in Adobe Illustrator. The Transparency panel allows you to create a more natural look of the effect, while Image Trace gives you the flexibility to edit the texture. The clipping mask method is quick and easy but the key is to find the perfect image as the background.
Derek
I don’t normally leave comments on articles and blogs and stuff, but I have been trying to learn how to create the distressed look for two weeks by watching videos, downloading resources, and reading articles. Nothing ever works for me. But I just have to show my appreciation for your help because I was finally able to do it!!! Thank you!!!
June Escalada
Hey Derek, I’m glad that my tutorial helped 🙂
Don’t hesitate to contact me if you run into more problems while using Illustrator.