There’s an Image Trace option in Illustrator that allows you to turn hand drawings and raster images into vector images.
Have you ever traced handwriting or drawings using pen and paper? The idea is the same when you trace in Adobe Illustrator. Another way to trace an image is to use drawing tools and shape tools to trace the outline of a raster image.
Many designers, including myself, create logos using this method. Trace the outline, edit the vector, and add a personal touch to make their work unique.
In this tutorial, you’ll learn two ways to trace an image in Adobe Illustrator.
Get your image ready and let’s get started.
Note: the screenshots from this tutorial are taken from Adobe Illustrator CC Mac version. Windows or other versions can look different.
Method 1: Image Trace
I’m going to use this image to show you how to trace an image using Image Trace. It only takes two steps if you’re happy with the preset tracing effect! You can use the Image Trace feature to trace a photo image or logo.

Step 1: Open your image in Adobe Illustrator. When you click the image to select it, you’ll see the Image Trace option on the Quick Actions panel under Properties.
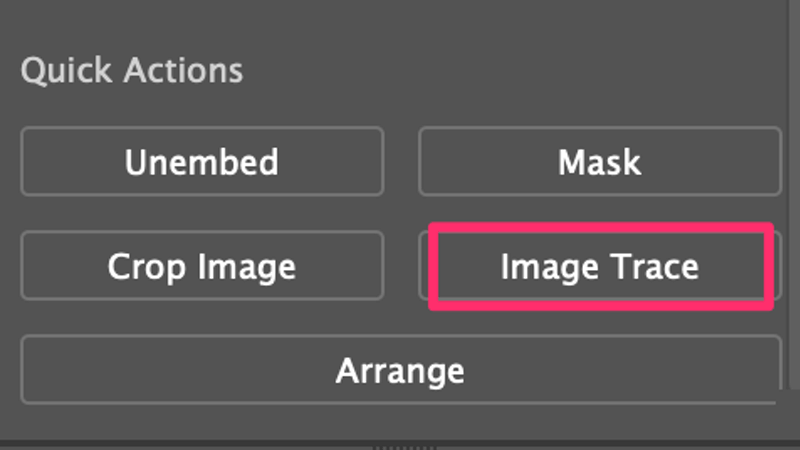
Step 2: Click Image Trace and you’ll see the tracing options.
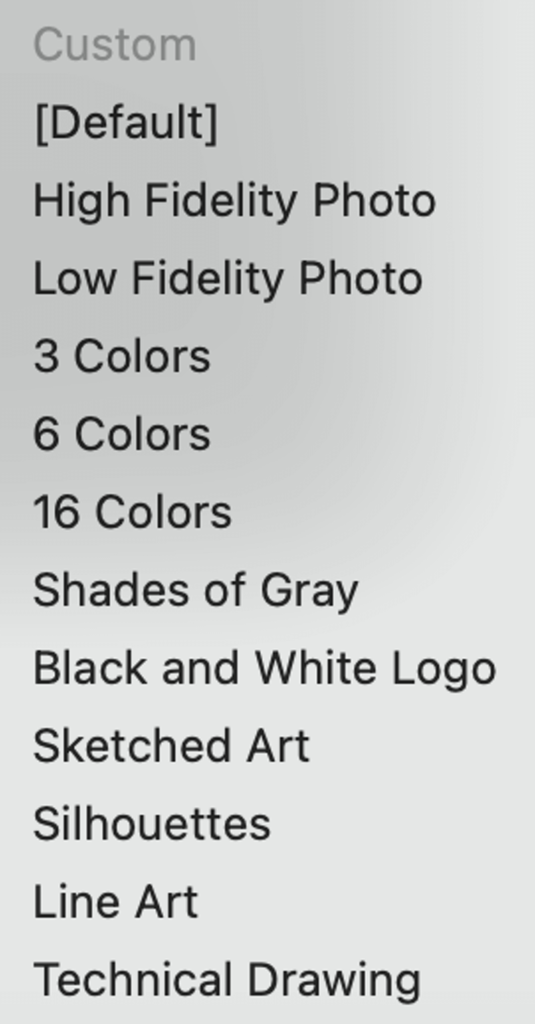
Here’s an overview of the Image Trace preset options and you can see what effect each option applies. Choose the effect that you like.
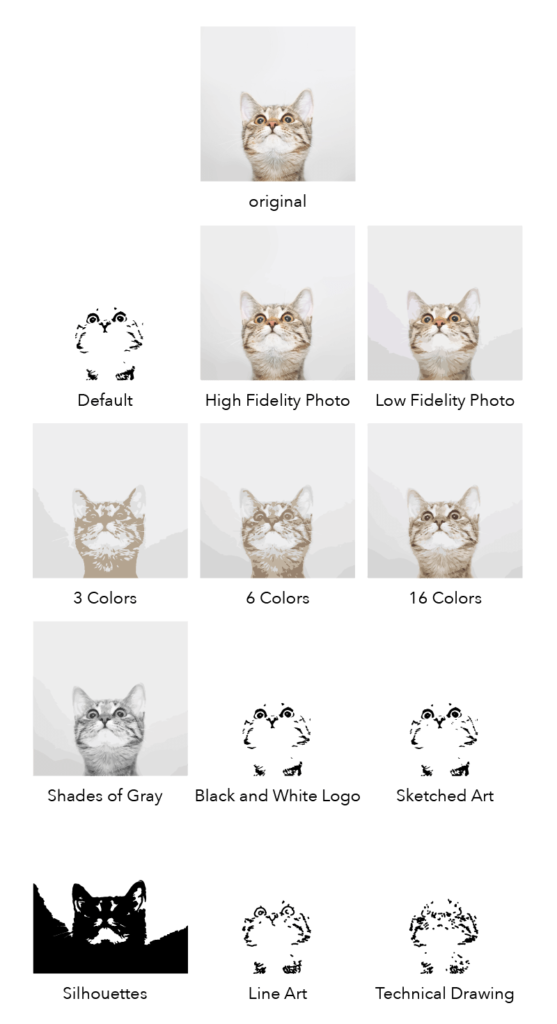
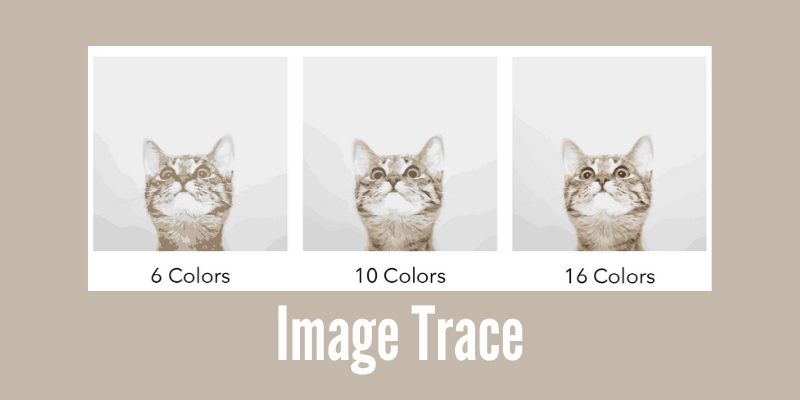
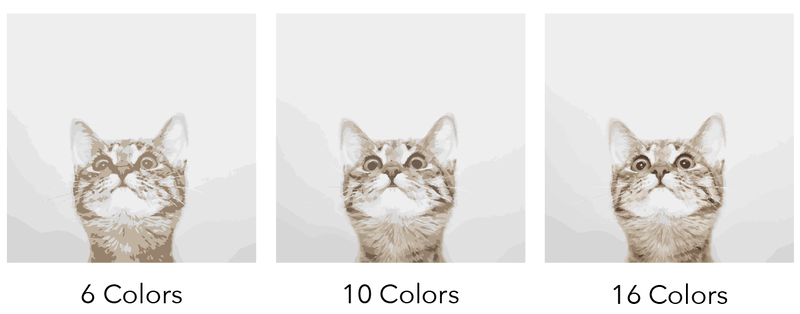
As you can see, High Fidelity Photo will vectorize the image and it almost looks like the original photo. Low Fidelity Photo is still pretty realistic and makes the photo look like a painting. From 3 Colors to 16 Colors, the more colors you choose, the more details it shows.
Shades of Gray turns the image into a grayscale. The rest of the options turn the image into black and white in different ways. For example, If you’re tracing a logo, usually you would choose black and white as the color mode.
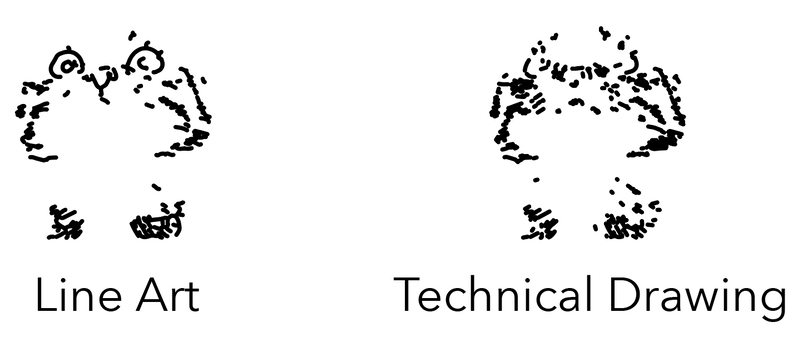
Personally, I barely used the Line Art or Technical Drawing options because it’s hard to get the right point.
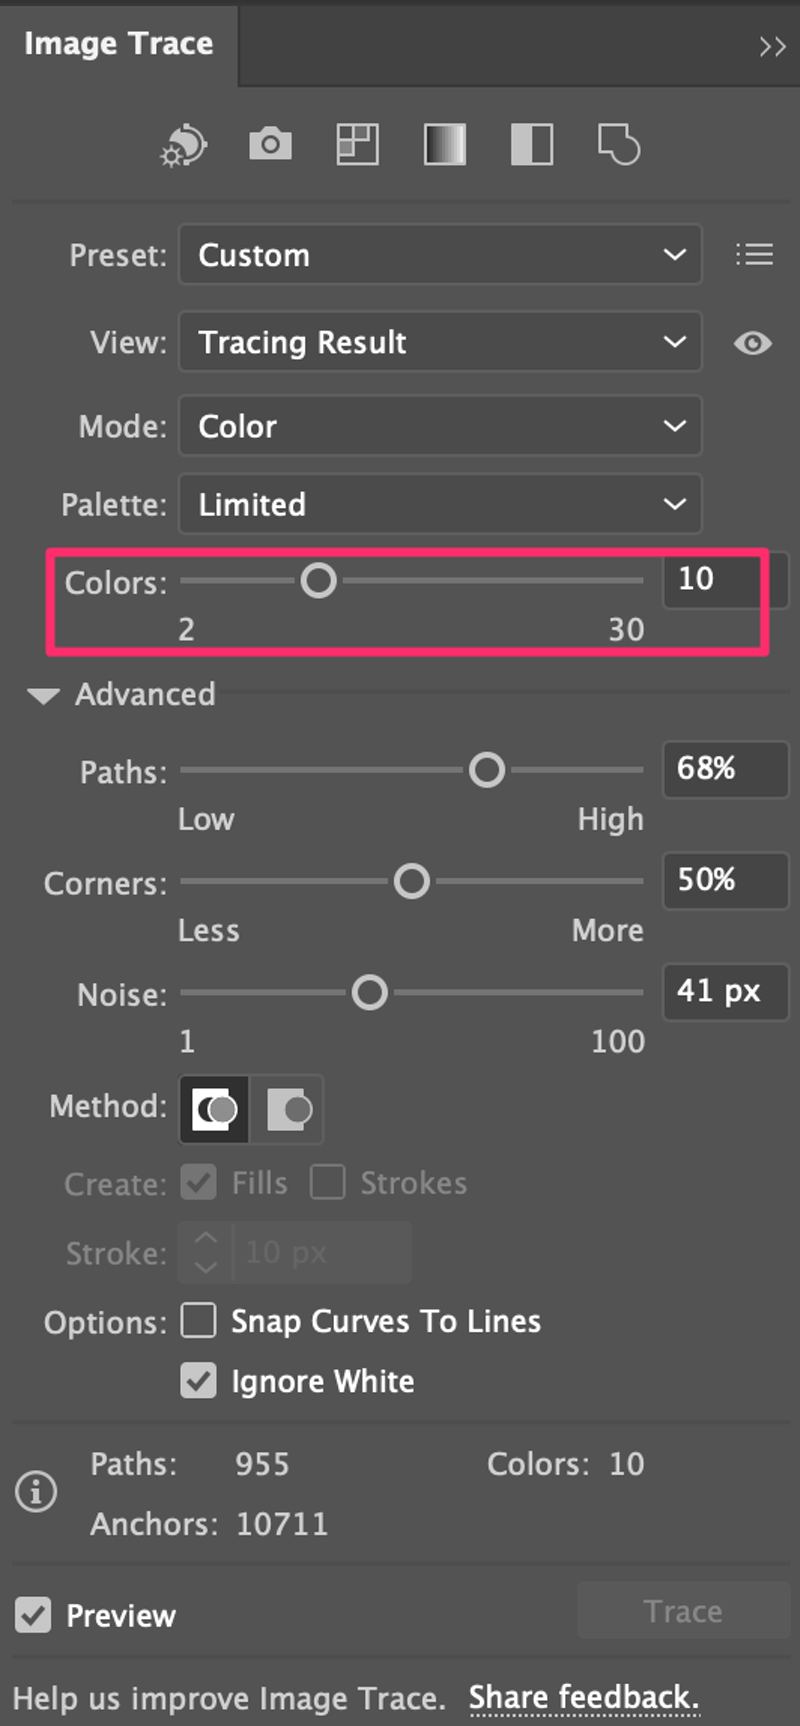
Besides these preset options, you can also customize the tracing effect by changing the settings on the Image Trace panel. You can open the panel from the overhead menu Window > Image Trace.
For example, if you want to get a tracing effect between 6 Colors and 16 Colors, you can move the color slider to the right to increase the amount of color up to 30.
This is what it looks like with 10 Colors.
Let’s see another example of adjusting the Black and White Logo result. If you want to show more dark areas, increase the Threshold.

The preset threshold of the Black and White Logo tracing result is 128. You can see that the image doesn’t have too many details. I moved the slider to the right and this is what it looks like when the threshold is 180.

Now if you want to edit the image, you can Expand and Ungroup it to make changes.

When you click Expand, you’ll see the outline of the tracing result.
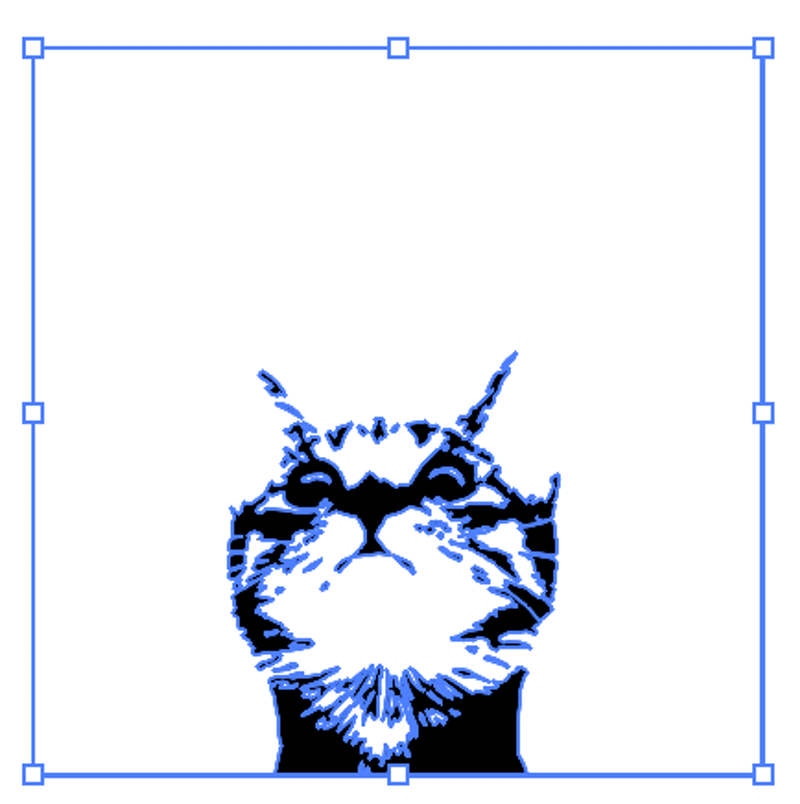
After you ungroup the image, you can select individual paths and make changes.

Too much detail? Only want to trace the outline of an image but the Line Art option doesn’t work? Check out method 2.
Method 2: Tracing Outline of an Image
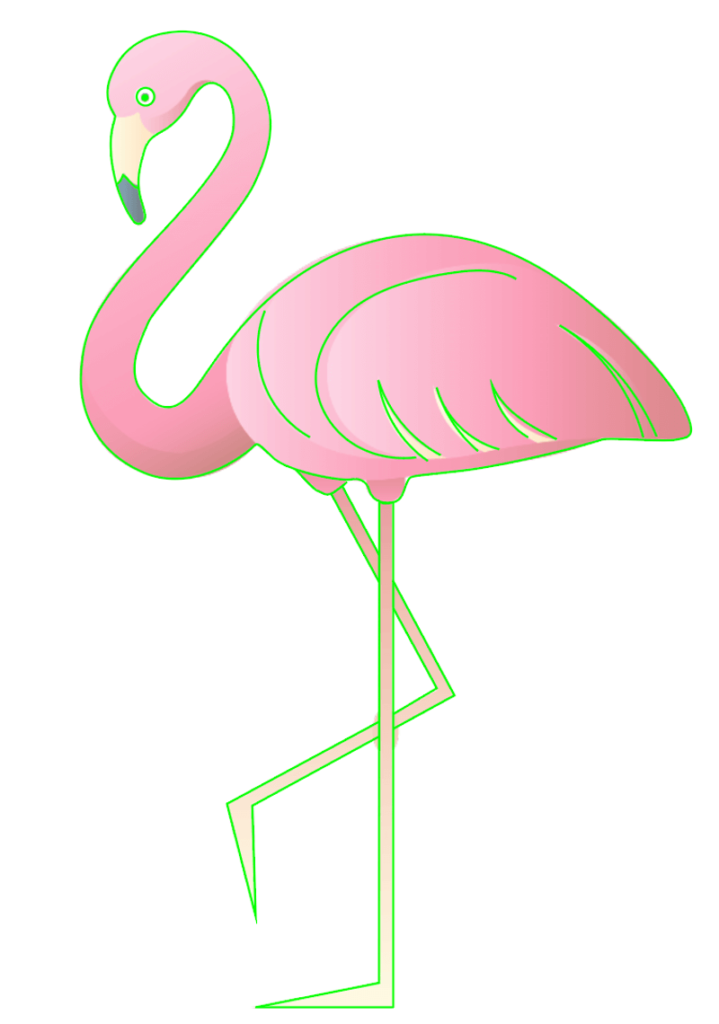
You can use the pen tool, pencil, brushes, or any shape tools to trace the outline of an image. For example, this Flamingo image is already a simple graphic, we can trace it to simplify it even more.

Step 1: Place and embed the image in Adobe Illustrator.
Step 2: Lower the opacity to around 60% and lock the image. This step is make your tracing process easier. Lowering the opacity helps you see the tracing path, and locking the image avoids moving the image by accident while tracing.

Step 3 (Optional): Create a new layer for tracing. I do recommend tracing on a new layer because if you need to edit the tracing outlines altogether, the changes wouldn’t affect the image layer.
Step 4: Use the Pen Tool (keyboard shortcut P) to trace the outline. If you want to add colors to the path, you should close the path by connecting the first and last anchor points of a path.

Step 5: Use the shape tool, pencil tool, or paintbrush to work on some details of the outline. For example, the eyes can be traced using the Ellipse Tool to draw circles, and for the body part, we can use a paintbrush to add details.
Delete the background layer and fix the details if needed. You can edit the traced image and make it your own style.

FAQs
Here are a couple more questions related to image tracing in Adobe Illustrator.
How to trace an image without the white background in Illustrator?
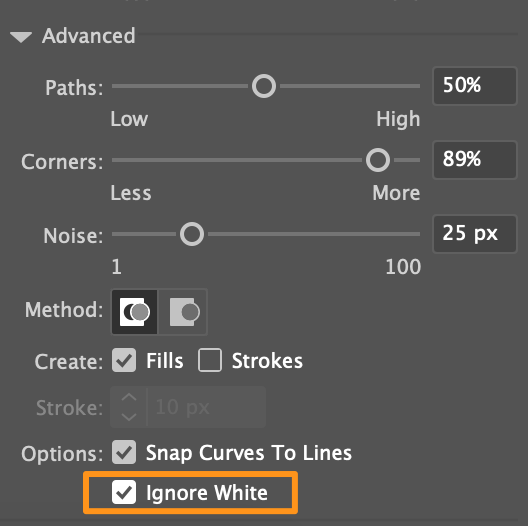
When you trace an image from Quick Actions, it comes with a white background, which you can normally expand the image, ungroup, select and delete the white background. Or you can get rid of the white background from the Image Trace panel by clicking Ignore White from the Advanced settings.
How do I turn an image into line art in Illustrator?
You can convert a photo into a line drawing using Image Trace, but the result might not be 100% satisfying. Depending on the style of line art, you can use Image Trace to get the basic outline, and then use other drawing tools to touch up the details.
How do I turn a drawing into a vector in Illustrator?
You can take a picture or scan your hand drawing and open it in Adobe Illustrator. Use the Pen Tool or other drawing tools to trace the outline and then color the drawing if needed.
Conclusion
The easiest way to trace an image is using the Image Trace feature because the tracing result is preset and you can always adjust the result from the Image Trace panel.
If you want to make big changes to the original image, you can use Method 2. It’s a good way to start designing your own vectors and even logos.
vapor
Thank you ma’am. You saved Adobe a chargeback/refund for a full year of Creative Cloud with this post.
June Escalada
Glad to hear 🙂
Tushar Jangam
Thank you very much ..nice and essential info about illustrator learning …i am reading your articles…and it seems very clear and simple to me …i have been learning this software for four months…thank u june..
June Escalada
That’s awesome, Tushar.
Rowan Hill
Hi,
THANK YOU so much for your detailed yet easy to understand articles!
Question: for tracing an image in Method 2 (dimming the original image and tracing it in a second layer), do you prefer the pencil tool or a brush (I’m after a looser more ‘hand-drawn’ look than the pen tool can offer…). I also like to then use the Live Paint Bucket to colour it, so I need to be able to go back easily and fix ‘gaps’ that are too big.
Thoughts?
CHEERS & THANKS!
June Escalada
Hey Rowan,
I personally prefer the brush tool because there are more brush types to choose from.
Ralph M.
Just discovered your website! I am loving all these tutorials. They are so helpful as great reminders and for tools that I will definitely need in my current job. Love using Illustrator!
June Escalada
Hey Ralph, thanks for your kind words and enjoy exploring Illustrator, it’s so much fun!
Carol
Thank you so much for ‘filling in the blanks’ that other courses have left out!
June Escalada
You’re welcome, Carol.
Dick Schubert
Your instructions helped me fill out the blanks in my knowledge of the tracing tool. Thanks
June Escalada
That’s awesome!