There are many ways you can draw lines in Illustrator, straight lines, curve lines, and even spirals. Illustrator already has a couple of ready-to-use drawing tools that create lines in seconds, and you can always use the powerful pen tool to draw any lines you want.
Knowing how to draw lines or draw shapes in Adobe Illustrator is the first step to learning how to draw digitally.
In this tutorial, you’ll learn how to draw different types of lines in Adobe Illustrator using four vector drawing tools and when to use which.
4 Ways to Draw Lines in Adobe Illustrator
The Line Segment Tool in Illustrator is good for drawing straight lines, but if you want to draw curved lines, you’ll need to use the Pen Tool or pencil for freehand lines. The spiral tool makes it so much easier if you’re drawing a spiral line/shape.
Note: all screenshots are taken from Adobe Illustrator CC Mac version. Windows or other versions can look different.
Line Segment Tool
To begin with, let me show you how to use the Line Tool in Adobe Illustrator.
The basic idea is, click on the artboard to choose a starting point and drag the line to an ending point.
If you need to draw a straight line, the easiest way is to use the Line Segment Tool (keyboard shortcut \).
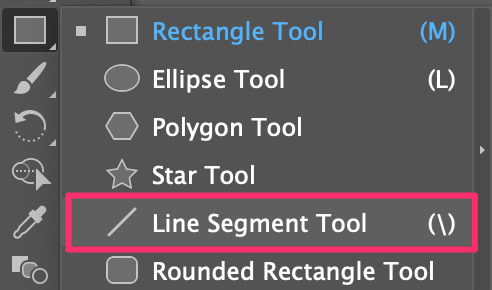
Simply select the tool from the toolbar, hold the Shift key, click and drag on the Artboard to create a straight line.


Pen Tool
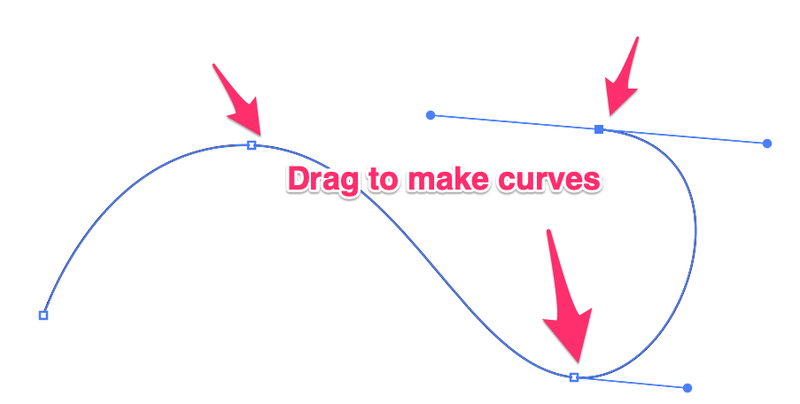
When you create lines using the Pen tool, you’re connecting anchor points. You draw straight lines or curve lines. The first step is to decide on a starting point and click on the artboard to create the first anchor point.
Then if you want to draw straight lines, simply click on the direction where you want to follow.
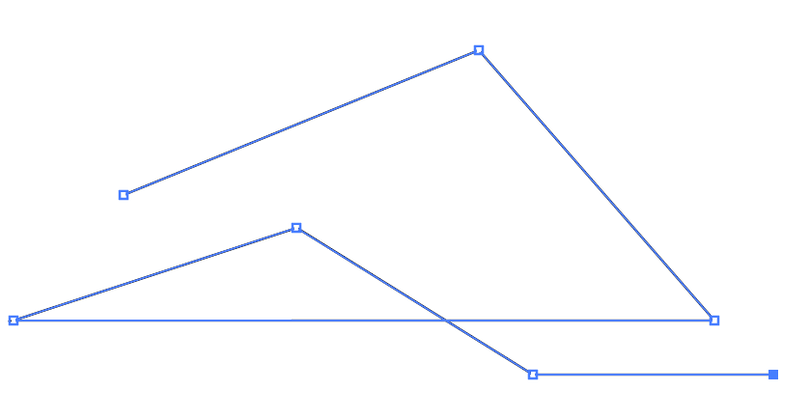
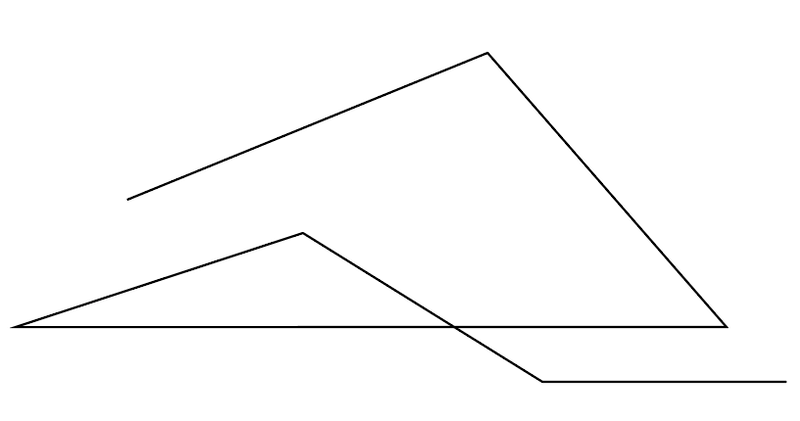
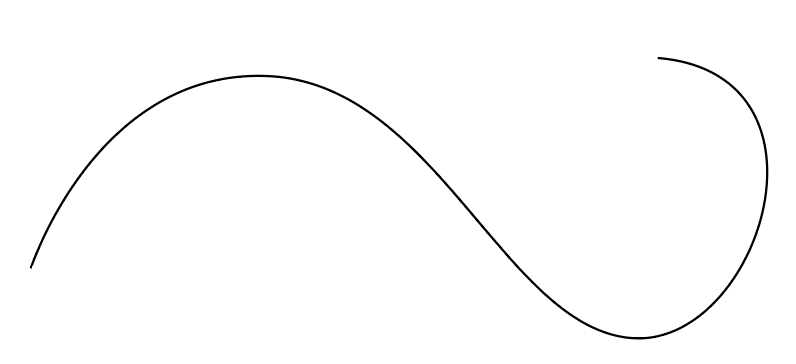
If you want to draw curve lines, you need to drag when you click on the next anchor point.
I do have a detailed pen tool tutorial explaining how it works if you’re not familiar with the pen tool. Read: How to Use the Pen Tool.
Spiral Tool
You might think that drawing spiral lines must be pretty difficult, but did you know that there’s actually a Spiral Tool? I’ll show you where it is.
It’s not showing on the basic toolbar, but you can always find it from the Edit Toolbar option.
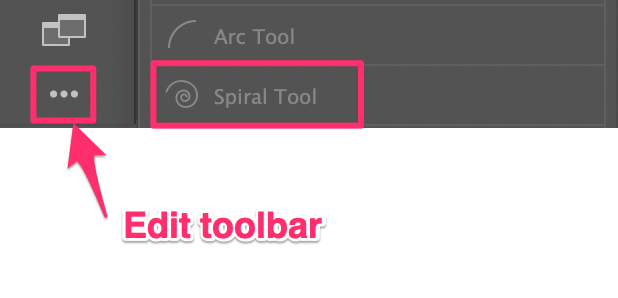
Click on the Edit Toolbar menu, find the Spiral Tool, and drag it to the toolbar (anywhere you want). I put mine together with the Arc tool.

Now you can select the Spiral Tool, click, and drag on the artboard to make a spiral.
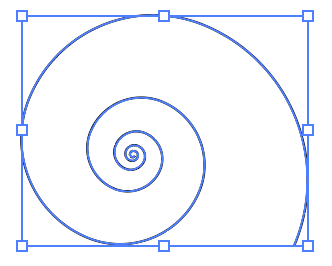
You can change how it looks by clicking on the artboard with the tool selected and adjusting the settings in this dialog box.
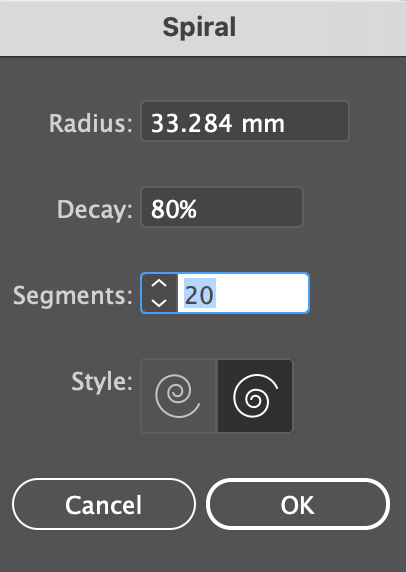
Radius determines the distance from the center to the furthest point in the spiral. Decay specifies how much each wind of the spiral decreases relative to the previous wind. You can set the number of Segments the spiral has. Each full wind has four segments. Style allows you to choose the direction of the spiral, clockwise or counterclockwise.
It can take some time to explore at the beginning because it’s hard to figure out what values to put, but you’ll get there.
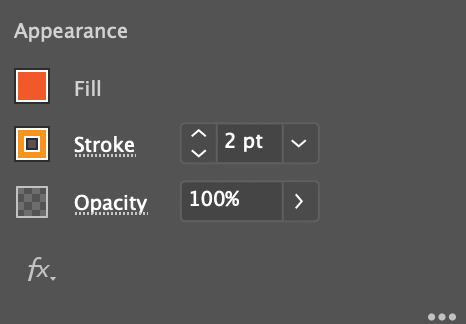
If you want to adjust the line thickness, fill, or stroke color, you can change it from the Properties panel > Appearance.

Pencil Tool
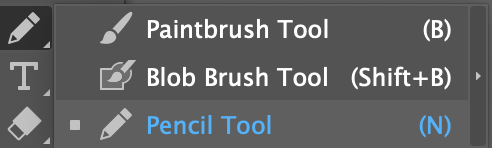
The Pencil Tool is perfect for drawing freehand lines, even better if you have a drawing tablet. You can use it to create freehand illustrations.
Select the Pencil Tool (keyboard shortcut N) from the toolbar and start drawing just as you would using pen and paper.

Final Words
Now that you’ve got the basic idea of drawing lines, just get some practice to make good use of the tools. The magic of Illustrator is, there’s always a tool that can make things easier.
Line segment tool for straight lines, pen tool for making shapes, pencil tool for creating a freehand drawing, etc. You name it.
Beygi
Very excellent
Sirazuddin
Nice
Gopaul Padayachi
Good tutorial. Very enlightening. I’m brand new to Illustrator and I want to make my own patterns to do scroll work. Thanks for your help.
June Escalada
That’s cool! Creating patterns is super fun.
Jean-Paul
The lines I draw with the Line Segment Tool are gray. How to get them black ?
Thanks for your help.
June Escalada
Hey Jean-Paul,
Have you checked the color mode of your document? It might be in Grayscale?
If not, you can change the line color from the Swatches panel.
Brian Wade
Hi June,
I am new to AI, and come from/with an ACAD approach…
I am used to snapping accurately to points – end points,
midpoints of lines, center points and quad points (0, 90,
180, 270 of circles) – when I am constructing objects.
So, how to I draw a line from an anchor point on a path or
from the midpoint of an existing line? To put it another,
way, how do I snap/start a line exactly at the corner of
a square? Or from the center of a circle?
How do I “align’ a polar grid exactly in the center of a
previous drawn circle?
Thank you,
Brian
June Escalada
Hi Brian,
The easiest way to have the exact distance is by turning on the guides. And if you want to align anything, with the object selected, you will see the align options on the Properties panel (right hand side of the workspace).
Hope this help.