What kind of swirls are you trying to make? A candy swirl? Or simply some line art? You can use different tools to create swirls in Adobe Illustrator. Depending on which tool you use, the outcome can be totally different.
The Spiral Tool is a handy tool that you can use for creating swirls. Basically, it works the same way as drawing a line. And if you’re looking for making swirled candy, you’d want to try out the Polar Grid Tool.
I’ll show you a couple of examples explaining how the tools work.
Note: all screenshots from this tutorial are taken from Adobe Illustrator CC Mac version. Windows or other versions can look different.
Spiral Tool
Don’t know where the Spiral Tool is? If you’re using the Advanced toolbar, it should be in the same menu as the Line Segment Tool (keyboard shortcut \).
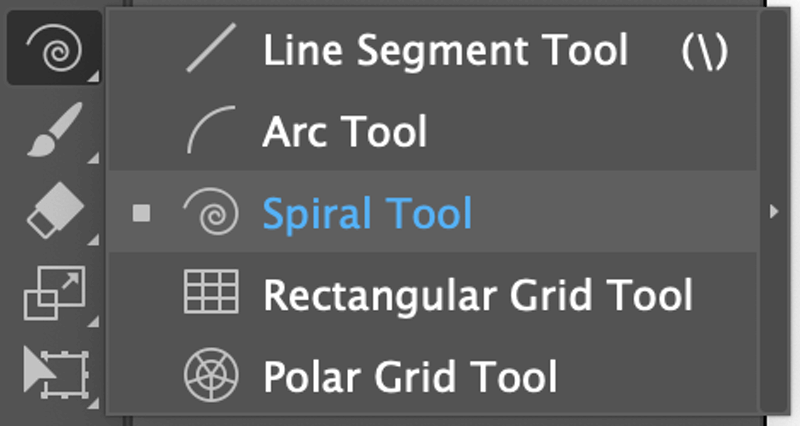
Step 1: Select the Spiral Tool from the toolbar.
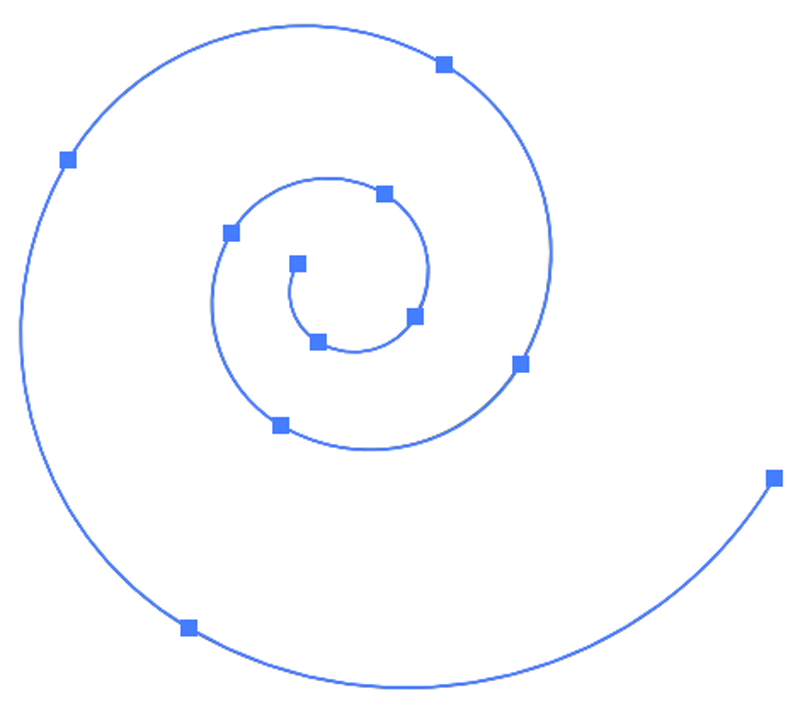
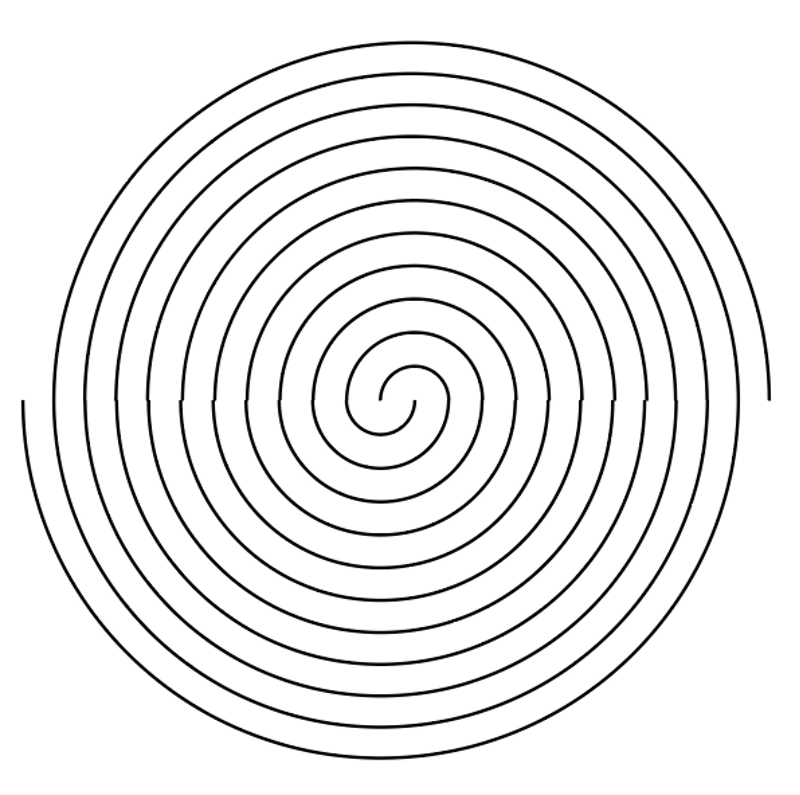
Step 2: Click and drag on the artboard to draw a swirl/spiral. This is what a default spiral looks like.
You can also select the Spiral Tool and click on the artboard to manually change the spiral settings. You’ll see Radius, Decay, Segment, and Style from the settings.
Radius determines the distance from the center to the furthest point in the spiral. Decay specifies how much each spiral wind decreases relative to the previous wind.
You can set the number of Segments the spiral has. Each full wind has four segments. Style allows you to choose the direction of the spiral, clockwise or counterclockwise.

Here’s a trick. If you don’t know exactly what you’re looking for, you can hit the up arrow and down arrow keys on your keyboard as you draw the spiral to adjust the segments.
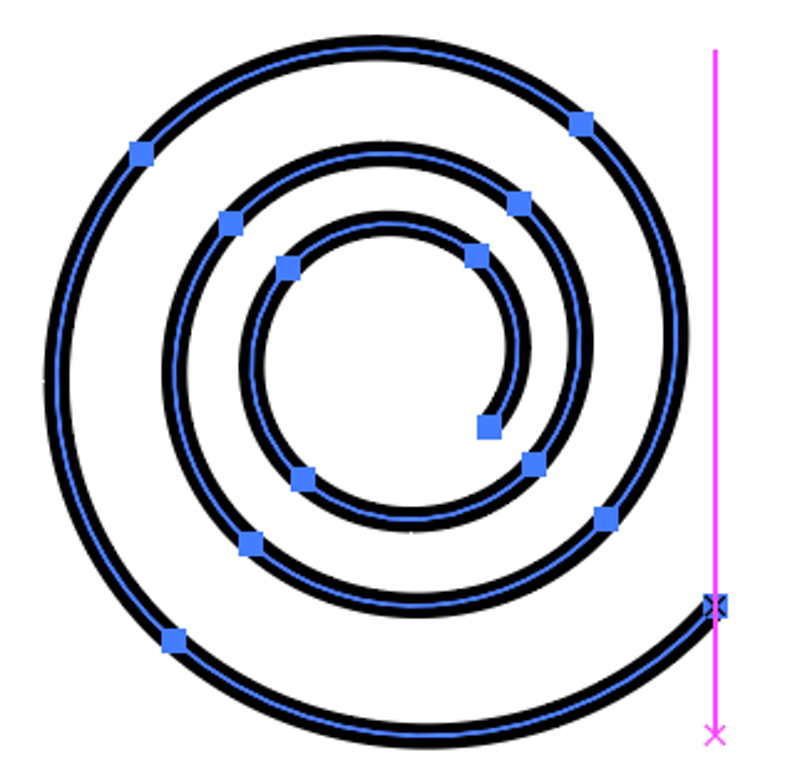
Step 3: Style it. You can change the stroke style, stroke color, or fill color of the swirl. You can also change the color or stroke weight on the Properties > Appearance panel. I usually like to add a brushstroke to the swirl to make it look more stylish.

If you want to add a brushstroke, open the Brushes panel from the overhead menu Window > Brushes, then select the spiral, and choose a brush.
Pretty simple. Want to make a fancier swirl? Keep reading.
Polar Grid Tool
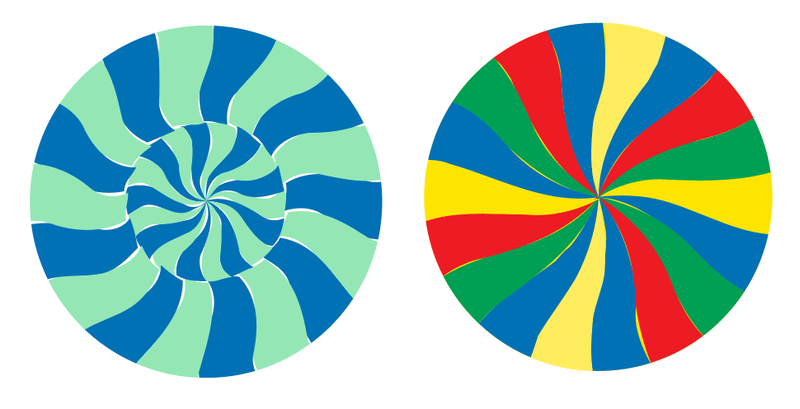
Want to make a swirl lollipop? This is a great tool.
A lot of you might not be familiar with this tool. Honestly, me neither. It’s not a tool that we would use daily, so it’s totally understandable if you don’t know where it is.
The Polar Grid Tool is actually right underneath the Line Segment Tool and Spiral Tool.
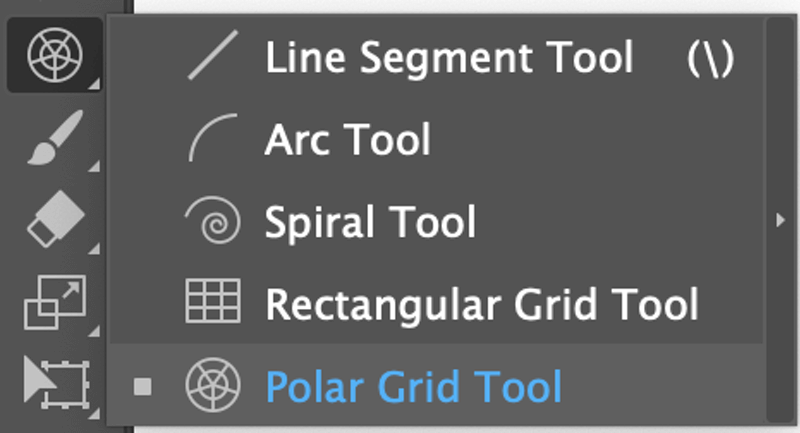
Step 1: Select the Polar Grid Tool from the toolbar.
Step 2: Click on the artboard, and the Polar Grid Tool setting window will pop up. You can choose the size and number of dividers.
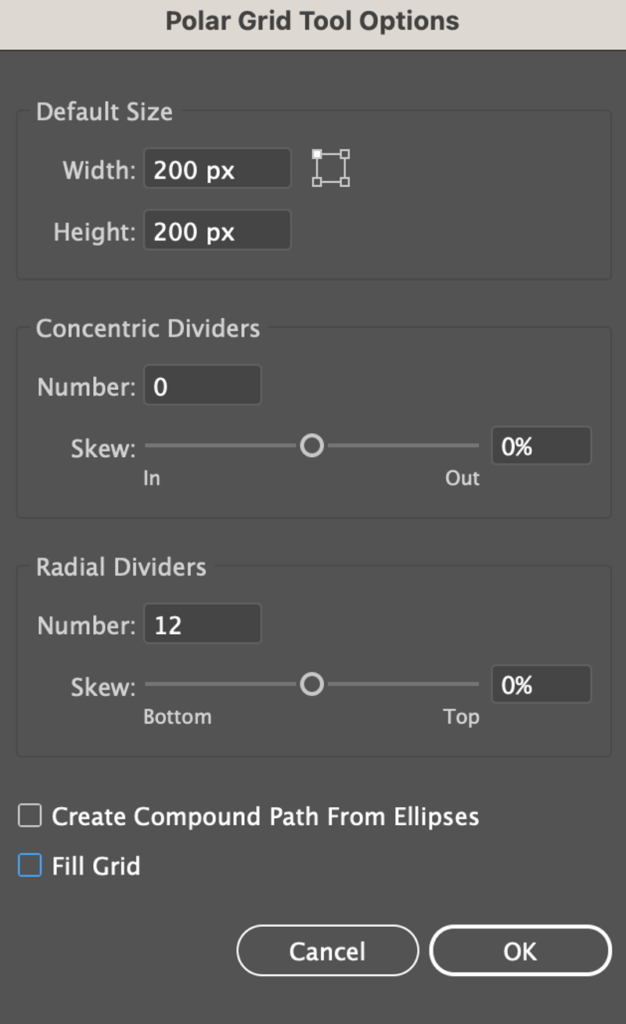
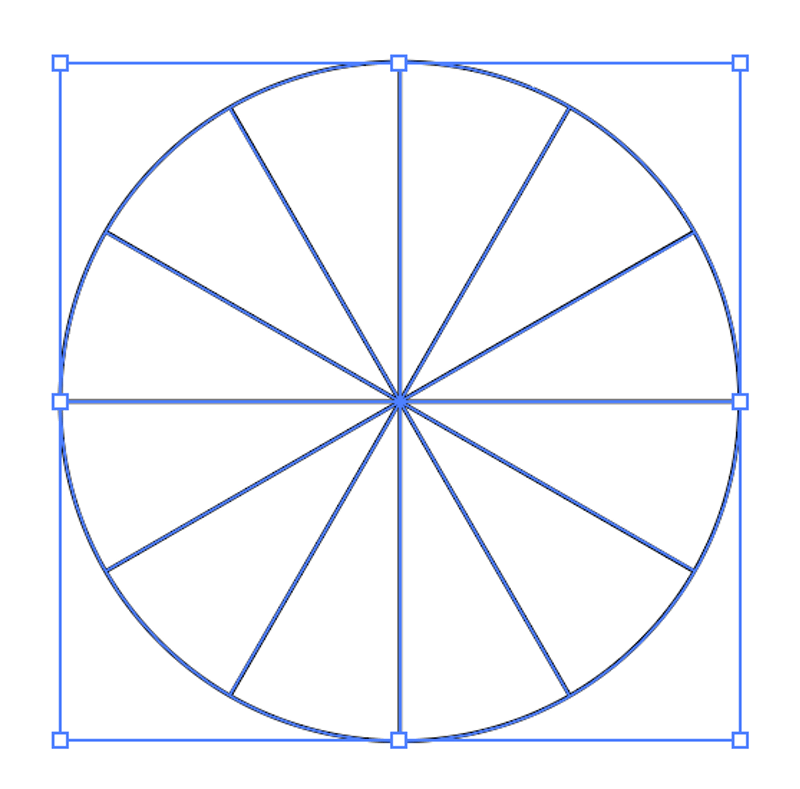
For example, I’ve set both Concentric Dividers to 0 and Radial Dividers to 12. Feel free to set Concentric Dividers if you want to make a fancier swirl lollipop. I wouldn’t worry too much about the size (unless you have a standard to follow) because you can scale it later.
Step 3: Change the stroke color to fill.

Step 4: Choose two of your favorite colors from the swatches panel for filling the lollipop. This step is to get the colors ready for the Live Paint Bucket (keyboard shortcut K).
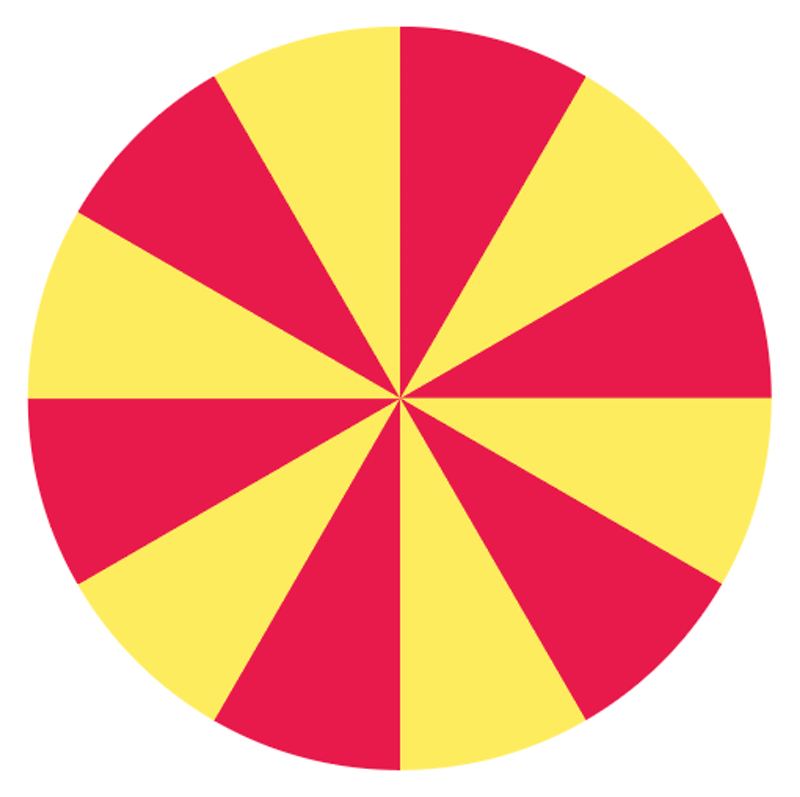
Step 5: Choose the Live Paint Bucket from the toolbar, choose your favorite color from the Swatches panel, and fill the grids.
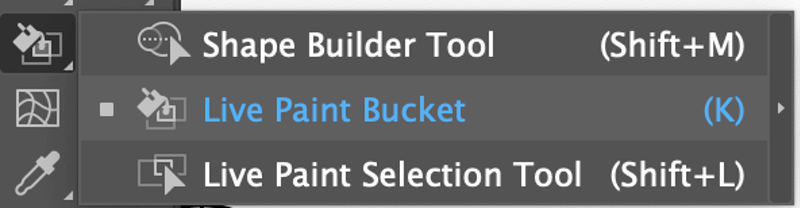
That’s right, you need to use the Live Paint Bucket because technically, you’re filling the 12 grids created by the Radial Dividers, if you click to select a color directly from the Swatches, it’ll color the whole shape instead of the individual grids.
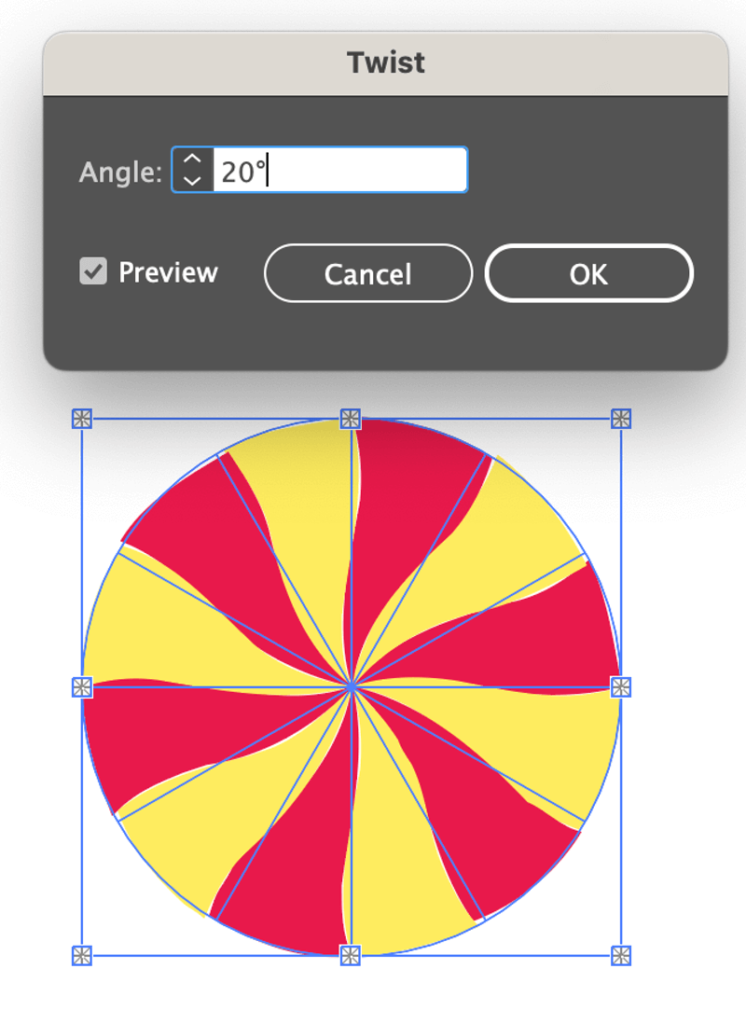
Step 6: Select the shape, and go to the overhead menu Effect > Transform & Distort > Twist. Around 20 degrees angle is pretty good. You can check the Preview box to see how it looks as you adjust.
As you can see the edges are not 100% smooth, but we can fix that by creating a clipping mask.
Step 7: Use the Ellipses Tool to create a circle, slightly smaller than the swirl and place it on top of the swirl.
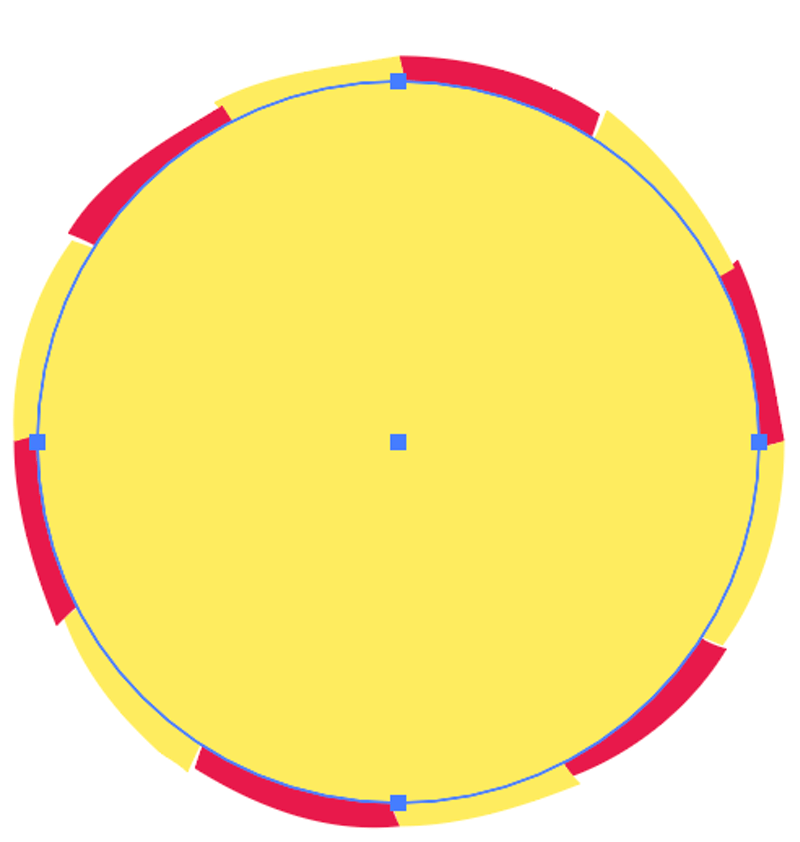
Select both and use the keyboard shortcut Command + 7 to create a clipping mask.
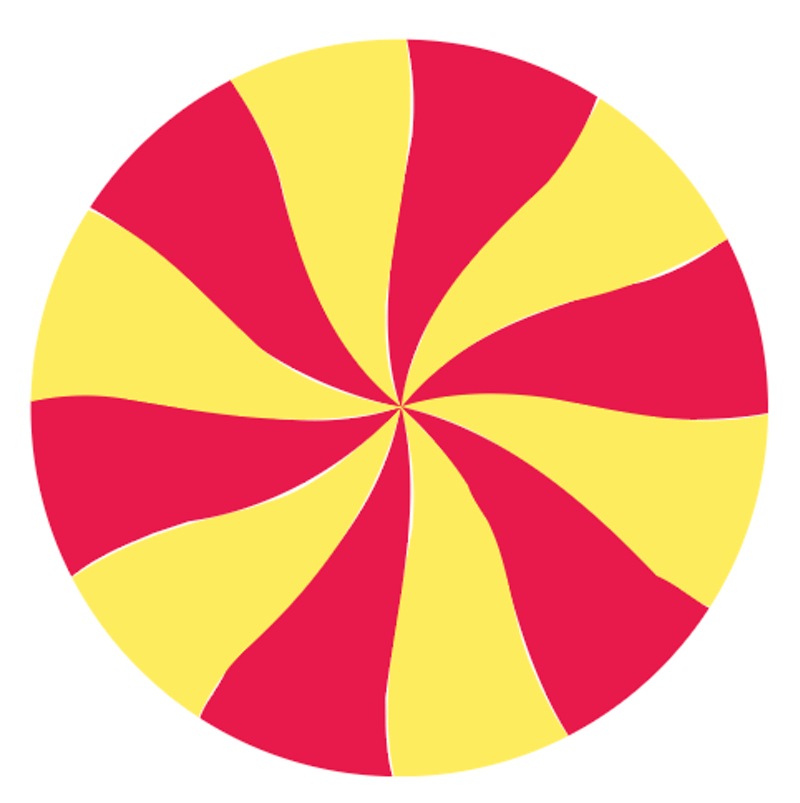
There’s a lot you can do, adding dividers, mixing up colors, etc. Have fun.
FAQs
Here are some more questions related to creating swirls in Adobe Illustrator.
How to make a swirl background in Illustrator?
You can use the clipping mask to make a swirl background. Scale the swirl you created with the Polar Grid Tool, slightly larger than the artboard. Create a rectangle on top of the swirl, the same size as your artboard. Select both and make a clipping mask.
How do you make a spiral tight in Illustrator?
You can increase the segments to make a spiral tighter if you are using the Spiral Tool. Keep pressing the up arrow as you click and draw the spiral.
Another way is to use the Polar Grid Tool, set the Radial Dividers to 0, cut the top part of the circles, paste them in place, and make a spiral shape. This method might take you some time to match up the lines.
How to make a 3D Swirl in Illustrator?
You can add a gradient to a swirl to make it look 3D. For example, you can add a radius gradient to this swirl lollipop, set the blend mode to Multiply, and adjust the opacity.

How to draw swirls in Illustrator?
Are you referring to this type of swirl drawing?
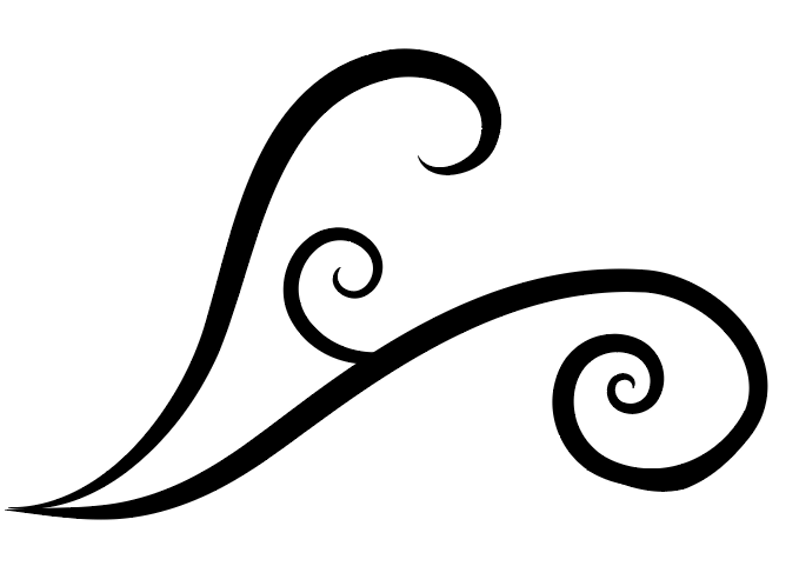
Part of it can be done using the spiral tool, but for the most part, it’s created by the Brush Tool and Width Tool.
Conclusion
There are two ready-to-use tools for making swirls in Adobe Illustrator – the Spiral Tool and Polar Grid Tool. Depending on the effect you want to create, choose the tool accordingly. You can always mix the tools to create something awesome too.
Amanda Moorhouse
June, thank you for sharing this information, I truly appreciate it. Can you tell me please, is it possible to create words along the same line as the swirl?
June Escalada
Hey Amanda, absolutely! You can use the Type on a Path tool.
Tash
Hi there, just wondered if you knew how to rotate the swirl whilst keeping the middles of each segment from disjoining? If that makes sense?
June Escalada
Hey Tash, not sure if I understood your question?