
Live Paint Bucket is a convenient way to color your artwork if your artwork isn’t a sketch. Meaning, Live Paint Bucket only works on closed paths or when there are small gaps between your paths.
If you’re a Photoshop user, you’d find it so easy to use this tool because the live paint bucket in Adobe Illustrator is basically the same as the paint bucket tool in Photoshop, which you use for filling color.
However, in Adobe Illustrator, there’s an important step that you have to take before using the Live Paint Bucket – you have to make your path or shapes into live paint groups. How? I’ll explain.
In this tutorial, you’ll learn how to use Live Paint Bucket and what to do when the Live Paint Bucket is not working.
Let’s get started!
Note: all screenshots from this tutorial are taken from Adobe Illustrator CC Mac version. Windows or other versions can look different.
The Live Paint Bucket tool only works on live paint groups (objects), and live paint groups can only be paths, including shapes that are created from paths (pen tool paths, strokes, etc).
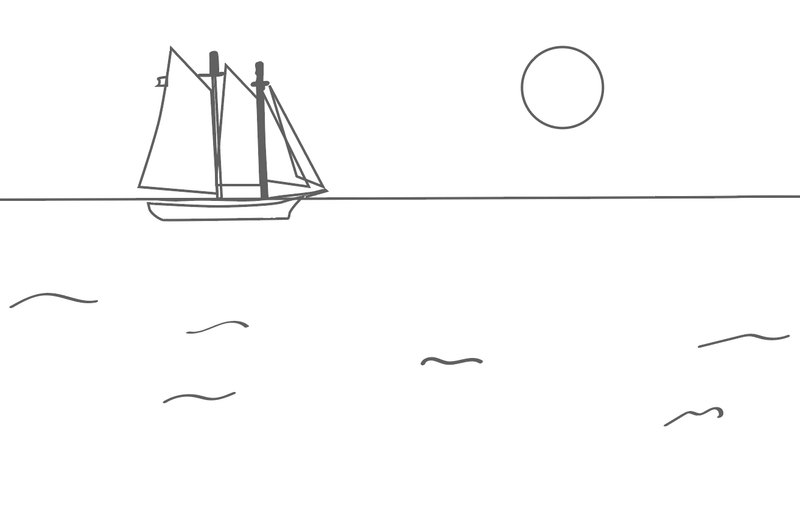
For example, I’ve created this simple drawing using the pen tool and paintbrush. Now I’ll show you how to use Live Paint Bucket to color it.
Step 1: Select all (or the part that you want to color with the live paint bucket tool), go to the overhead menu Object > Live Paint > Make.
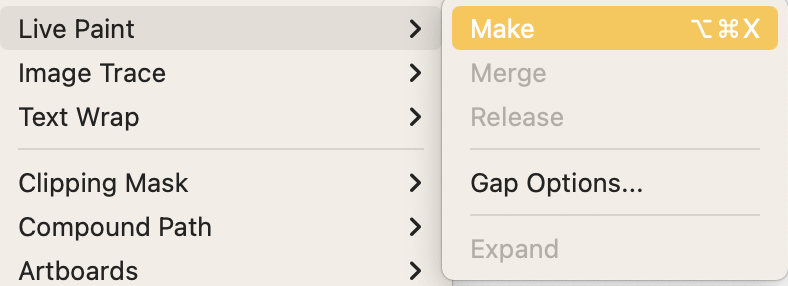
By the way, this is the important step I was talking about earlier. Without this step, your live paint bucket wouldn’t work.
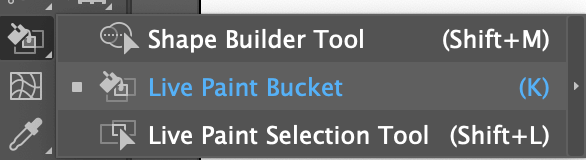
Step 2: Select the Live Paint Bucket tool on the toolbar or activate it using the K key on your keyboard.
Step 3: Choose a color from the Swatches panel. For example, I’m going to use this palette I created.
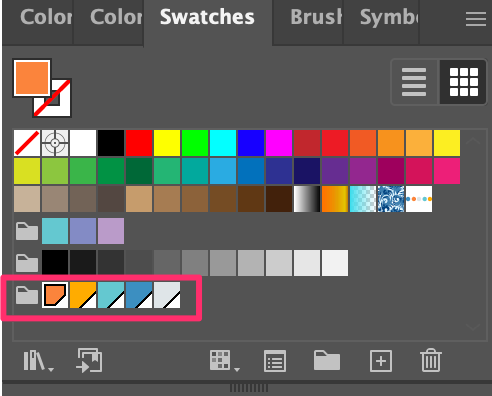
I do recommend making a color palette because you can hit the left and right arrow keys on your keyboard to switch between colors as you paint.
Step 4: Start painting! Simply click on the objects you want to fill with color. You’ll see three colors. The color in the middle is the color you’re using currently, you can hit the left arrow to choose the color on the left (orange) and hit the right arrow to choose blue.
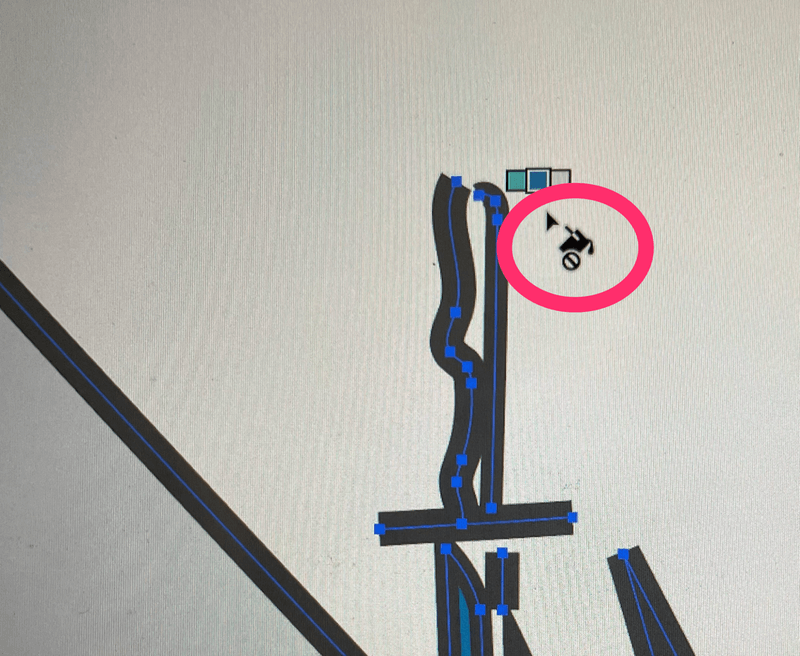
You’ll notice some areas where you can’t fill colors, and the live paint bucket will show a “prohibit sign” like this. That’s because the path is not closed.
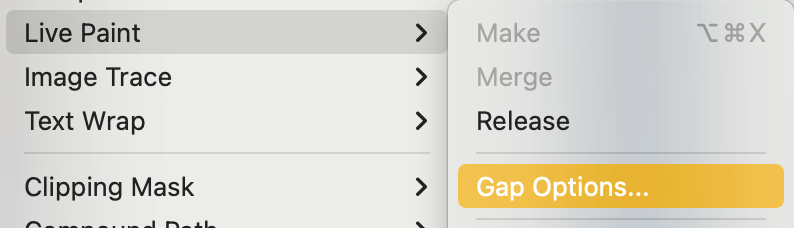
You can go to Object > Live Paint > Gap Options to see where the gaps are and fix them.
You can turn on the Gap Detection to see where the gaps are, and you can choose to stop the paint at small, medium, large, or custom gaps. Each option you choose, it’ll show you the number of gaps you have.
For example, if you choose Small Gaps, it shows exactly where I hovered earlier.

Click OK, and you should be able to use the Live Paint Bucket on it now.
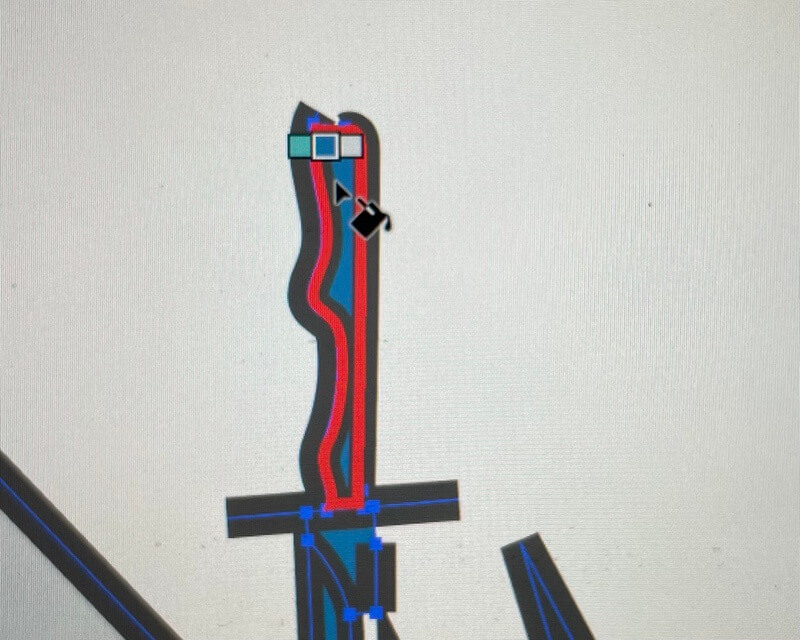
So this is the quick fix when you can’t use the live paint bucket tool when they are gaps between the paths.
Once you finish your artwork, you can remove the stroke color or move objects within the Live Paint group by double-clicking on the object you want to move. For example, I’ve moved the sun closer to the boat and added a background color to it.

You might not always get exactly the same result as your drawing because it’s hard to fill all the gaps and details using the Live Paint Bucket. However, for coloring closed-path areas, this tool is awesome.
Conclusion
The Live Paint Bucket tool is a great tool for coloring closed-path artwork. The most important thing is to make sure that you make the paths as Live Paint groups. When you run into problems using it on areas with gaps, you can fix it from the Gap Options.
Another great job this tool can do is create pixel art on grids. You’d be drawing freely on the grids, but the idea is the same – filling grids with colors. The only difference is you won’t have to convert paths to Live Paint groups.
JUlie
Thank you for this tutorial! I’m an advanced Illustrator user, a design professional and I didn’t know about it! Sounds like a time-saver and a good way to try out different color schemes on the fly for a vector project.
June Escalada
You’re welcome, Julie!
Haha, you’re not the only one. I’ve been using Illustrator since 2012 and I’m still finding out new things every once in a while as I use it.