
When you create a pattern or download some pattern swatches, it’s hard to get the perfect size and proportion for every project. Or sometimes you simply want to modify the pattern a bit to fit in your design.
Remember when I wanted to use the first pattern I made as my artwork background but the pattern proportion just didn’t fit well. I was struggling to make the pattern smaller and took a while to figure out the ways to resize patterns in Illustrator.
How exactly do you want to scale your pattern? Depending on what you’re trying to scale, the methods are different.
There are two possibilities. You can either resize part of a pattern from the Pattern Options or you can resize a pattern fill using the Scale Tool.
Not sure what I’m talking about? No worries! I’ll go over both options in this tutorial.
Let’s dive in!
Note: the screenshots from this tutorial are taken from Adobe Illustrator CC Mac version. Windows or other versions can look different.
How to Scale Part of a Pattern in Adobe Illustrator
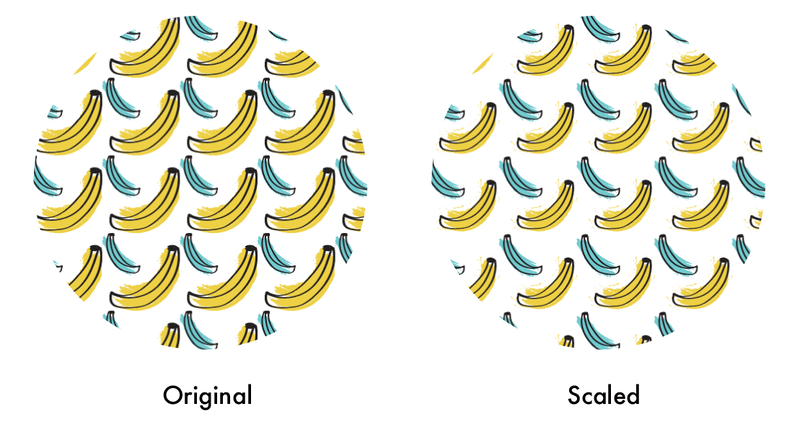
If you want to modify a pattern or scale an object within the pattern, this is the method to use. For example, I created this pattern for another project, but now I want to scale one of the bananas for another object to differentiate.

Follow the steps below to see how it works!
Step 1: Go to the Swatches panel and find the pattern. In my case, I have it together with other fruit patterns I created in an individual panel tab.
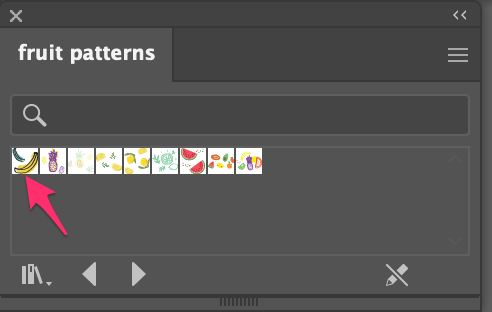
You should see the Swatches panel on the right-hand side working panels, if not, you can quickly open the Swatches panel from the overhead menu Window > Swatches.
Step 2: Double-click on the pattern and it’ll open the Pattern Options dialog box. If it doesn’t open when you double-click on the pattern, you can also go to the overhead menu Object > Pattern > Edit Pattern.
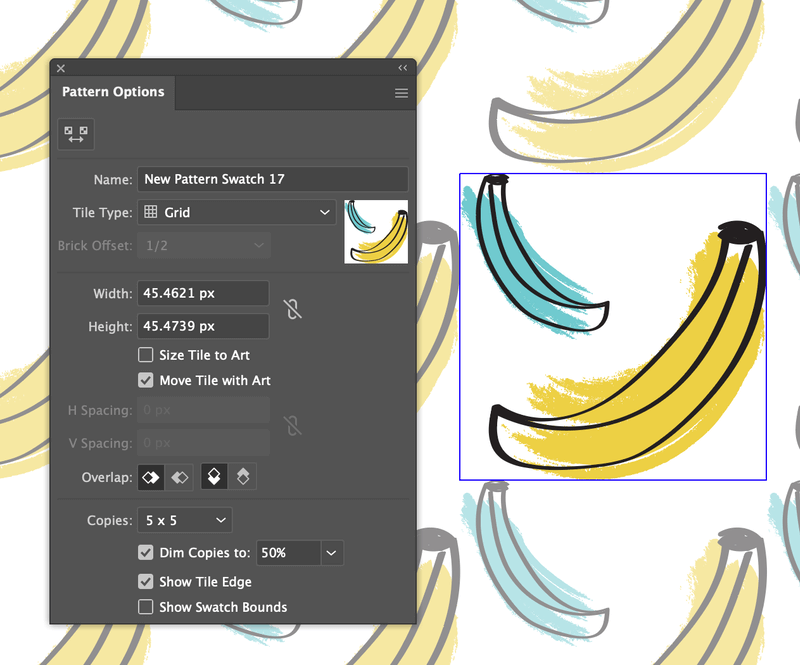
You can edit the pattern within the tile box.
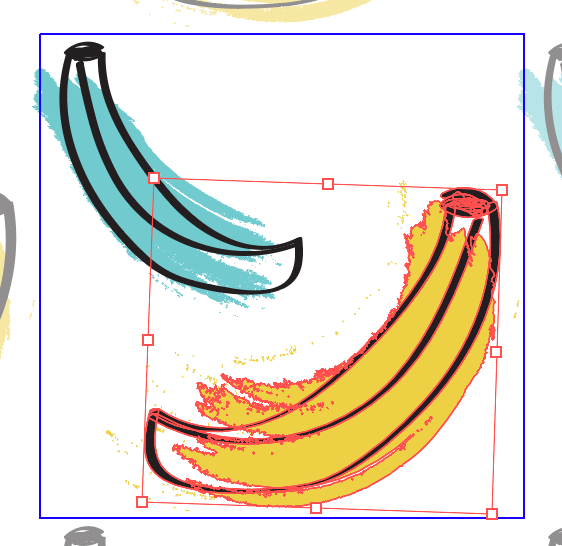
Step 3: Select the part you want to resize and drag the bounding box of the object to make it bigger or smaller. For example, I selected the yellow banana, made it smaller, and slightly rotated it.
Step 4: Click Done on the top when you finish modifying the pattern.
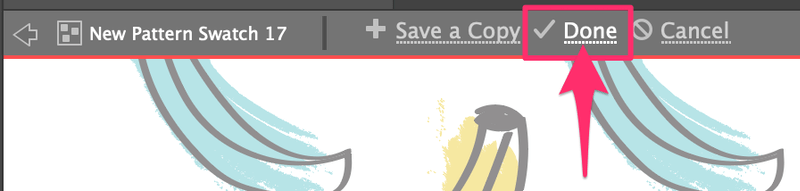
This is how you edit and scale a pattern in Adobe Illustrator.
If you want to change the size of a pattern fill, keep reading.
How to Scale Pattern Within a Shape in Adobe Illustrator
Sometimes the pattern looks too big or too small within a shape and using the method above by directly scaling the elements of the pattern wouldn’t work. If you try to scale the shape itself, the pattern proportion stays the same, so doesn’t work either!
The solution is to use the Scale Tool to transform the pattern within a shape.
Let me show you how to make the pattern fill look bigger or smaller.
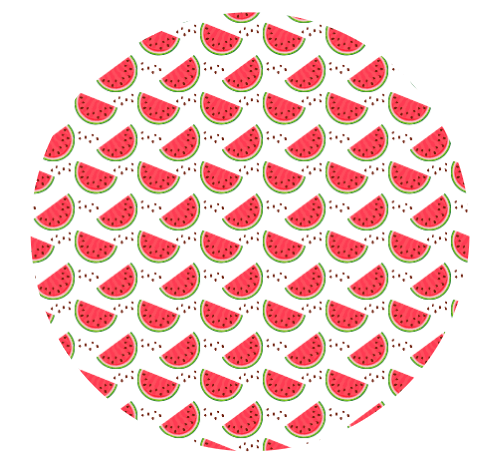
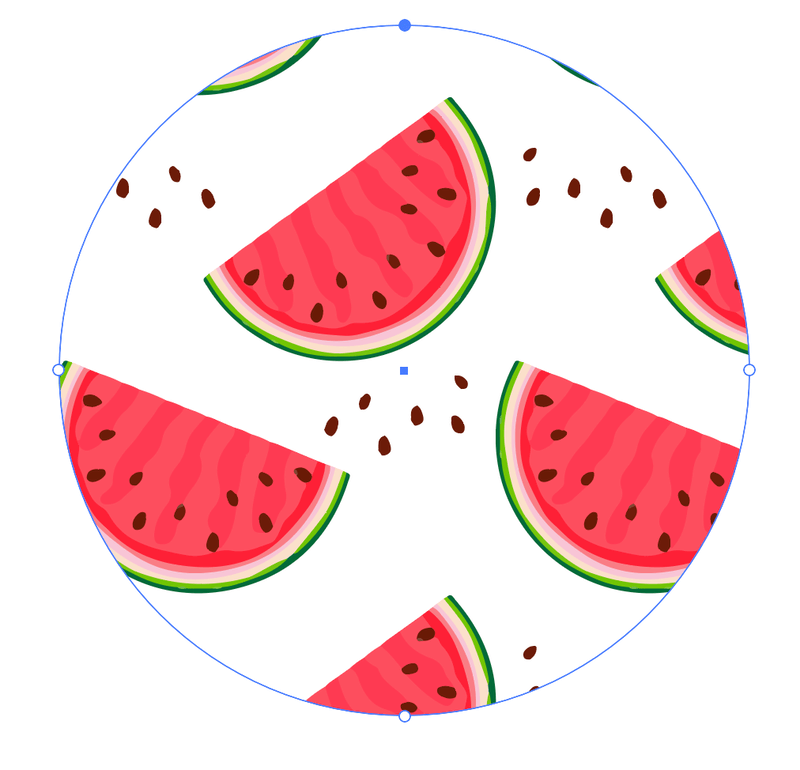
Step 1: Select the shape filled with the pattern that you want to resize. For example, I want to “zoom in” on the watermelon pattern, so I’ll select the circle filled with the watermelon pattern.
Step 2: Double click on the Scale Tool on the toolbar.
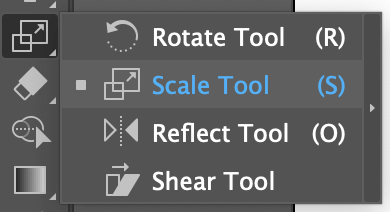
And you’ll see a Scale dialog box where you can adjust the settings.
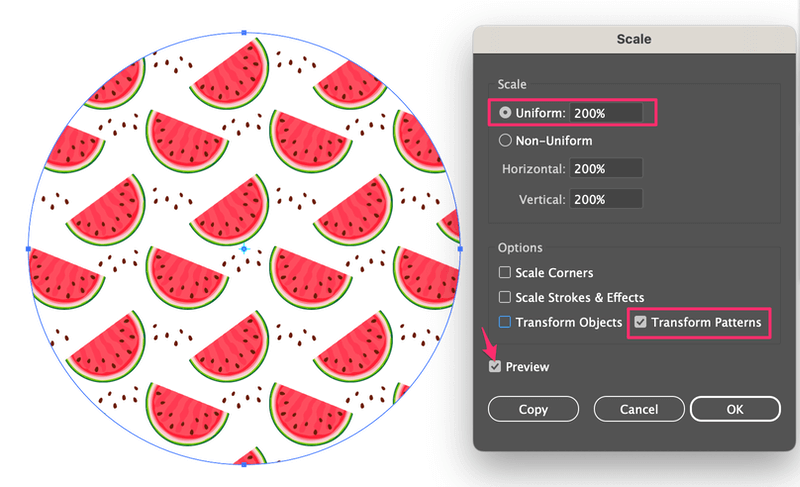
Step 3: Change the percentage of the Uniform option and check the Transform Pattern option only.
The original Uniform value should be 100%. If you want to “zoom in” the pattern, increase the percentage, and vice versa, and decrease the percentage to “zoom out”. For example, I put 200% in the Uniform option, and the pattern shows larger.
You can check the Preview box to see the resizing process.
Click OK when you’re happy with the result and that’s it!
Alternatively, you can also use the keyboard shortcut to scale a pattern in Adobe Illustrator.
Keyboard shortcut for scaling pattern in Adobe Illustrator
With the Scale Tool selected, you can use the Tilde (~) key to scale a pattern within a shape.
Simply choose the Scale Tool, hold down the ~ key, and click & drag on the pattern to scale it. Drag in to make the pattern smaller, and drag out to make it bigger.
Tip: Hold the Shift key together with the ~ key to scale the pattern proportionally.
For example, I enlarged the pattern by dragging it outward.
Wrapping Up
I showed you three ways to scale a pattern in Adobe Illustrator. There isn’t one best way, because it all depends on what you’re trying to scale and each method works differently.
If you want to edit a pattern to resize part of it, use Pattern Options. If you want to resize a pattern fill or change the proportion, you can use the Scale tool or keyboard shortcut. The Scale Tool gives you more precise results and the keyboard shortcut gives you more flexibility.
Your choice!
Angela
Great info very clear and helpful, thanks a lot for posting this!!!
June Escalada
You’re welcome Angela! Glad it helps!
Lloyd
Thanks a lot for this tip, great solution!
NATALIE
Hi Angela, thanks for your tutorial. I have my pattern but how do I tell what size it will print out onto fabric? I want to make some cushions but I have no idea how to tell what size the repeat pattern will print out as. Would love you advice.
Thank you
Natalie
June Escalada
Hi Natalie,
The pattern should print out proportionally, but the exact size you should discuss with the print factory.