Creating vectors from scratch used to be my least favorite thing to do. I would download ready-to-use vectors just to skip the trouble. But ever since I started using the Pathfinder and Shape Builder Tool a while ago, I never had to look for stock vectors again because it’s so easy to create my own.
Looking for a cloud vector or drawing? You’re in the right place!
Whether you want to make a vector or hand-drawn style cloud, you’ll find the solution. You might be thinking about using the pen tool when we talk about making vectors, but for making clouds, you don’t have to! There’s an easier way. Basically, you only need to make circles.
What’s the trick?
The Shape Builder Tool will do the job! I’m going to show you how in this tutorial. For those of you who want to draw a cloud to match your freehand style design, I have something for you as well.
Keep reading.
Table of Contents
How to Make Clouds in Adobe Illustrator (2 Styles)
You can use the Shape Builder Tool and Pathfinder tools to make a vector cloud, but if you want to make freehand drawing-style clouds, either the brush tool or pencil tool would work.
Note: all screenshots are taken from Adobe Illustrator CC Mac version. Windows or other versions can look different.
Vector Cloud
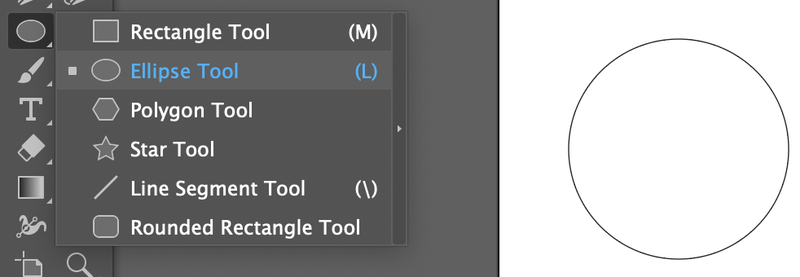
Step 1: Select the Ellipse Tool (keyboard shortcut L) from the toolbar and hold the Shift key to draw a circle.
Step 2: Make several copies of the circle. You can copy and paste or hold the Option key and drag it to duplicate.
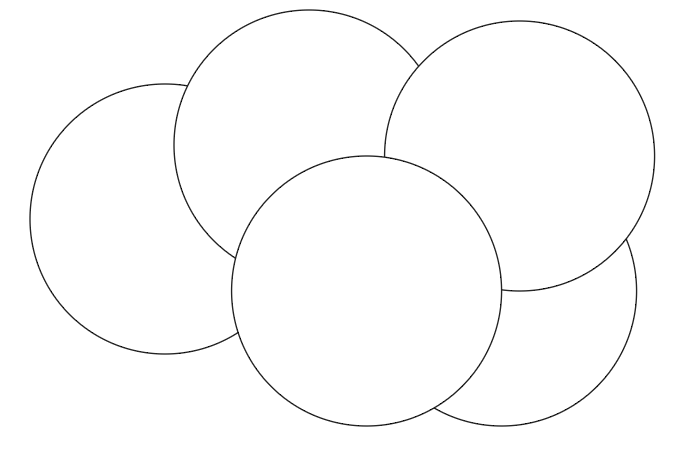
Step 3: Resize and reposition the circles to make the cloud shape you want. Hold the Shift key while you resize to keep the proportion.
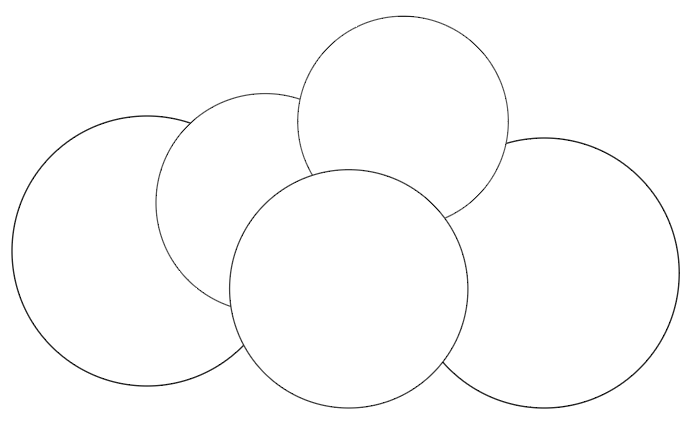
Step 4: Select all the circles and choose the Shape Builder Tool (keyboard shortcut Shift + M) from the toolbar.
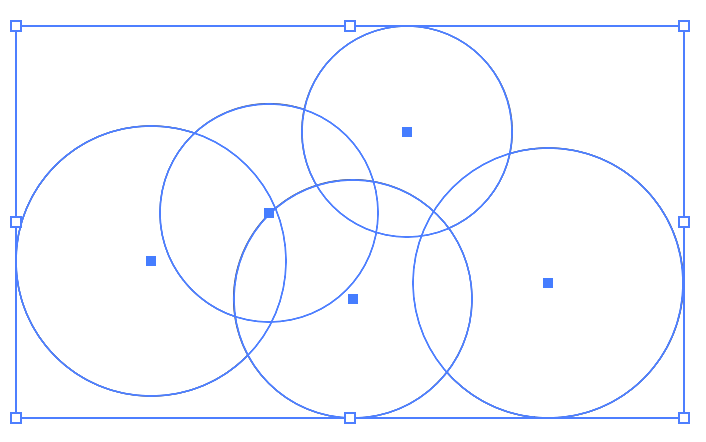

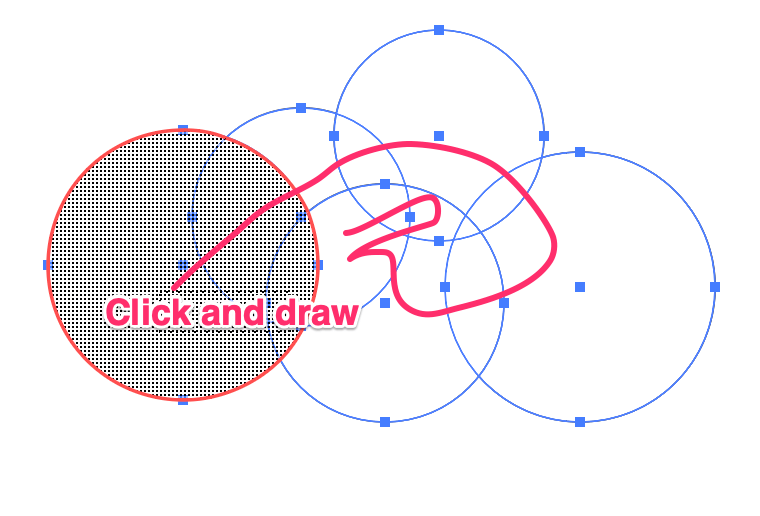
Click and drag across the circles to combine them into one shape. Make sure you don’t leave any empty areas in the middle. You must click through all the circles.
You should now see a cloud shape.
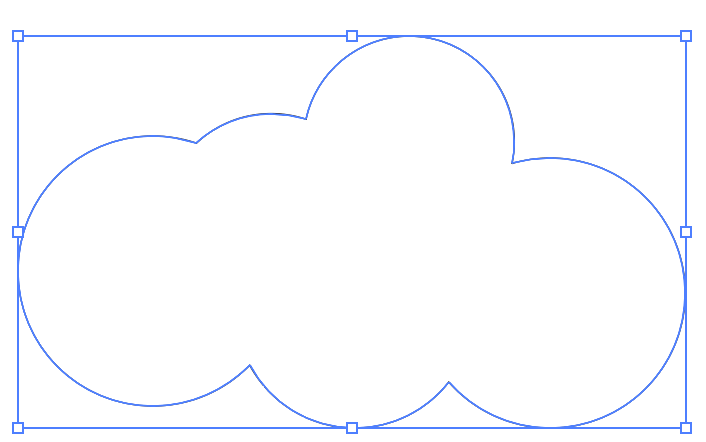
If you’re not familiar with the Shape Builder Tool, I do have a video explaining how it works.
You can fill it with color or add a sky background to see how it looks.

This is a basic and easy version. If you want to make a more realistic cloud, keep reading and follow the additional steps below.
Step 5: Duplicate the cloud twice. One on top of the original shape, and another one separate from the other two.
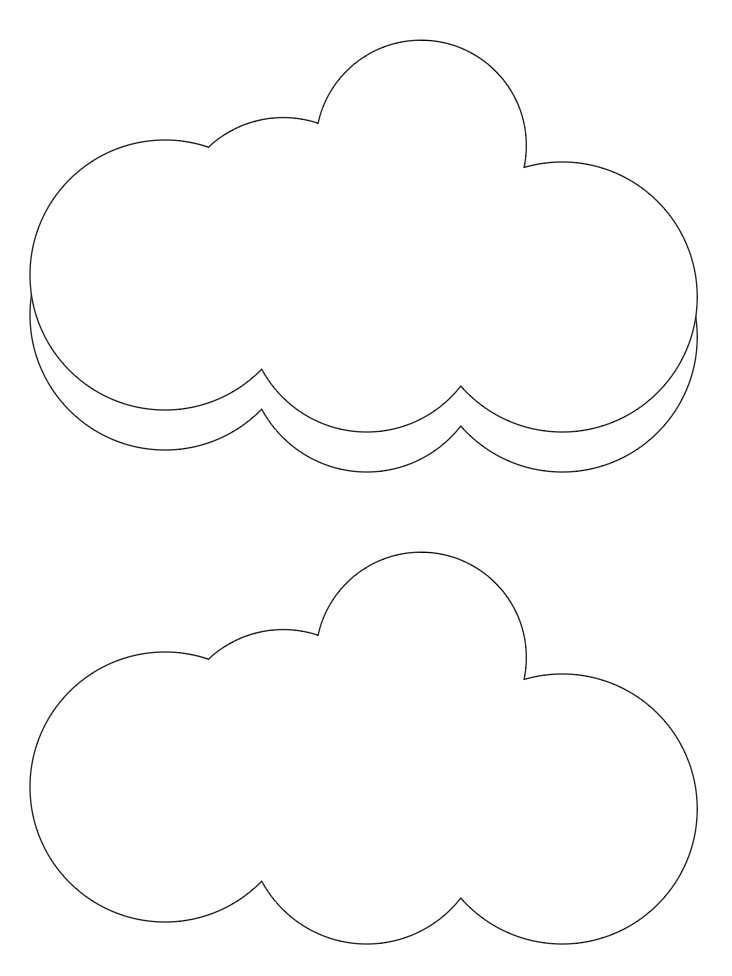
Step 6: Open the Pathfinder panel from the overhead menu Window > Pathfinder.
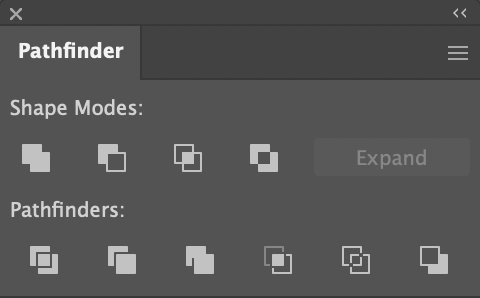
Step 7: Select both clouds overlaying each other.
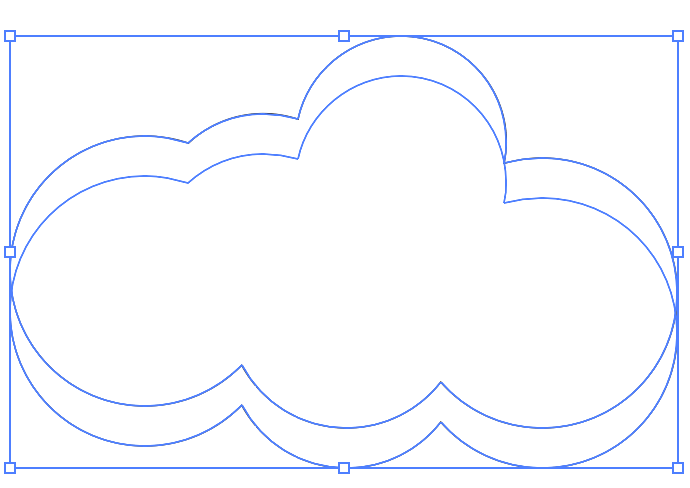
Click on the Minus Front option on the Pathfinder panel.

You’ll get this shape.
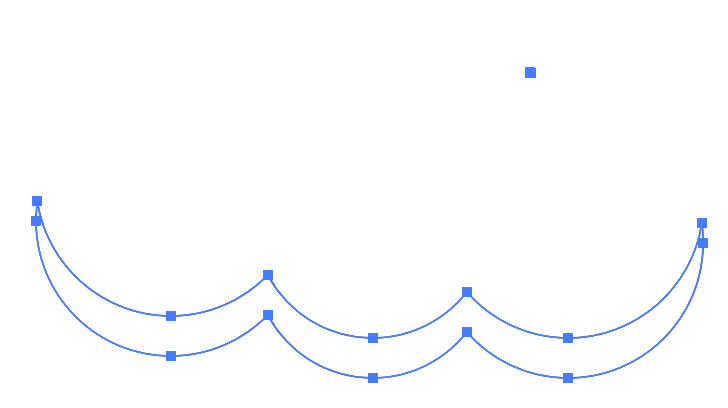
Step 8: Move it underneath the other cloud.
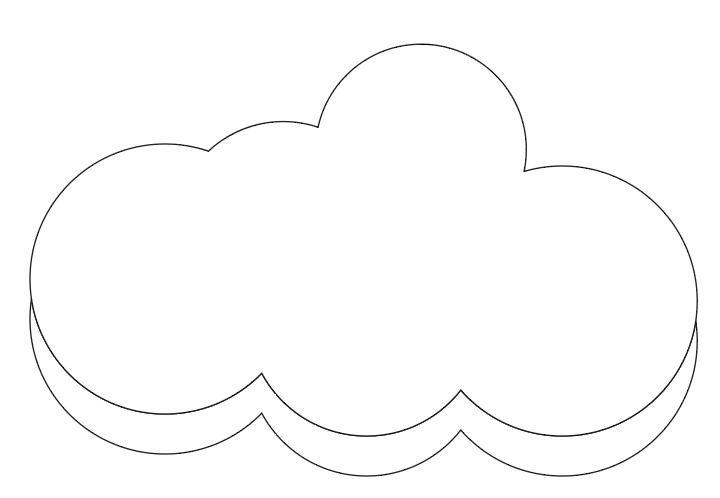
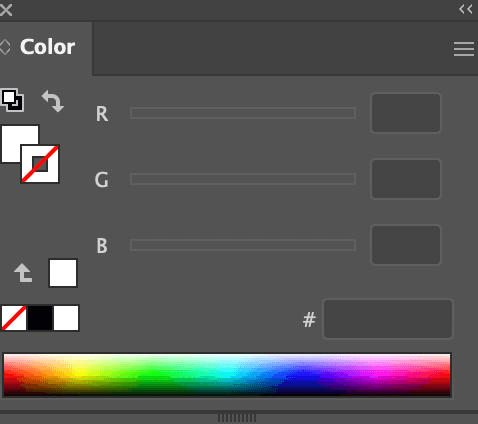
Step 9: Hide the stroke color of the cloud if you don’t want the cloud outline.
If you want to see the obvious result, you can add a sky background, you can leave the full shape cloud in white, and slightly adjust the bottom part.

Like the shadow color? Feel free to use the same. It’s #E8E6E6.
Tip: If you want to make more complex clouds, simply duplicate more circles in Step 2.
Freehand Cloud
Step 1: Select the Paintbrush Tool (keyboard shortcut B) or Pencil Tool (keyboard shortcut N) from the toolbar.

Step 2: Draw on the artboard as you would on paper. For example, I used the Paintbrush Tool to draw this cloud.
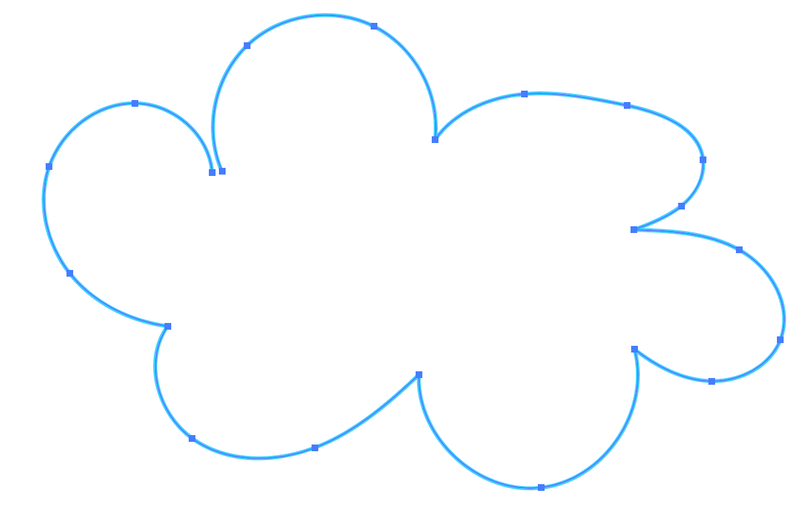
You don’t have to connect the whole shape all at once. The path you draw can be edited later. As you can see, this is an open path.
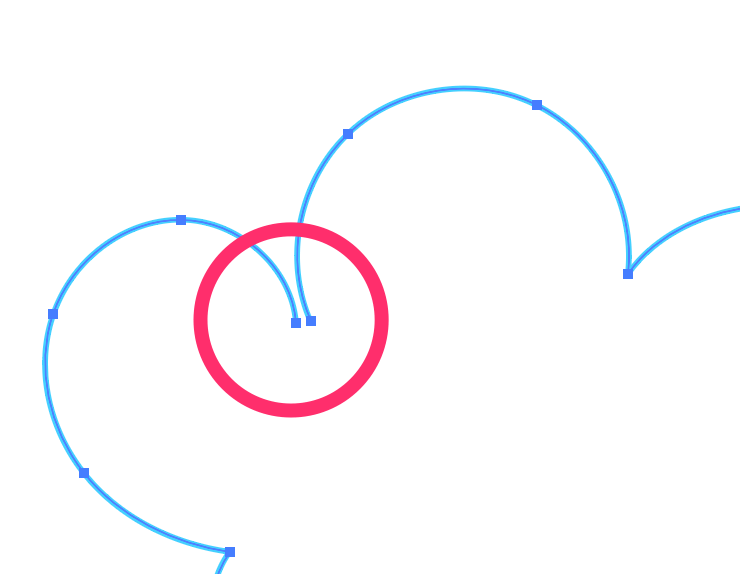
If you wish to close the path or edit the shape of part of the path, you can use the Direct Selection Tool (A) to make the edits. Or simply hit Command + J to join the paths.


That’s it! You can also fill it with color, change the stroke style, etc. Have fun!

Conclusion
When you make a vector-style cloud, an important thing to remember is that you must select all the parts that’ll make the final shape and click through them with the Shape Builder Tool.
Hand-drawn cloud is pretty easy to make with a paintbrush or pencil, and you can always use the Direct Selection Tool to edit it later.
About June Escalada
ColoringPagesWK
Wow, what an incredibly detailed and helpful tutorial! I’ve always been fascinated by the art of creating realistic clouds, and your step-by-step guide truly hit the mark. The tips and techniques you mentioned were easy to follow, and the end result was nothing short of mesmerizing. It’s apparent that you really know your stuff when it comes to using Illustrator for cloud illustrations. Thank you for sharing your expertise! Martin Williamson.
June Escalada
Hi Martin,
Thanks for your kind words!
dessin facile de chat
Tristian
Wow, what a fantastic tutorial on creating clouds! The step-by-step instructions provided on your website are incredibly clear and easy to follow. I’ve always struggled with making realistic-looking clouds in my illustrations, but your tips and tricks have truly made a difference. The techniques you shared for adding depth, shading, and highlights have taken my cloud designs to a whole new level. Thanks a million for sharing your expertise! Keep up the fantastic work.
Best regards,
Tristian