
Bevel and Emboss, sounds familiar. That’s right, it used to be one of the most popular Photoshop effects. While Photoshop discontinues its 3D features, Adobe Illustrator simplified its 3D tool and I’m definitely loving it because I can easily add 3D effects such as bevel and emboss to any shape or text.
The Appearance panel can do a lot of magic too, I think it’s slightly more complicated to use this method than directly using the 3D tool but you can have much more control over the bevel effect using the Appearance panel method.
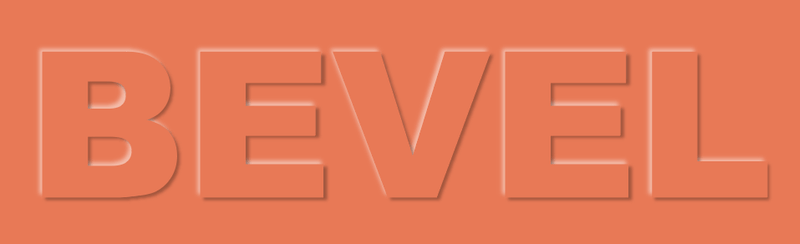
In this tutorial, I’m going to show you how to use the Appearance panel and 3D tool to create a bevel text effect in Adobe Illustrator.
Note: You can use the same methods to bevel objects.
Table of Contents
2 Ways to Bevel and Emboss in Adobe Illustrator
You can use Illustrator’s 3D effect to quickly create 3D text with bevel and emboss. Alternatively, you can play with the fill layers using the Appearance panel to add a bevel and emboss to the text.
Obviously using the 3D effect is an easier option, but doing bevel from the Appearance panel gives you more options to edit the settings.
Note: All screenshots from this tutorial are taken from Adobe Illustrator CC Mac version. Window or other versions can look different.
Method 1: Appearance Panel
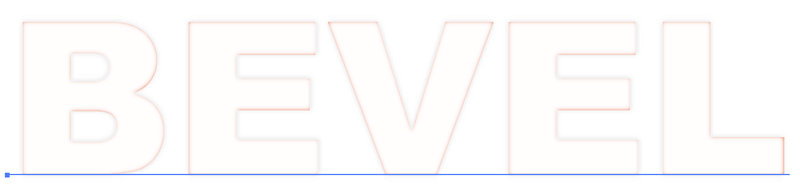
Step 1: Use the Type Tool (keyboard shortcut T) to add text to your artboard and choose a font. If you want a more obvious bevel effect, choose a bolder font.
Step 2: Open the Appearance panel from the overhead menu Window > Appearance.
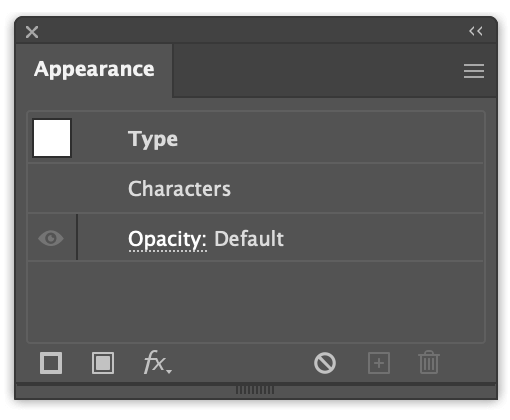
Step 3: Click Add New Fill on the bottom left of the Appearance panel and you’ll see your text changes its fill color to the default color – black.

This fill layer will be the highlight color, so you can choose a lighter color, such as light grey.
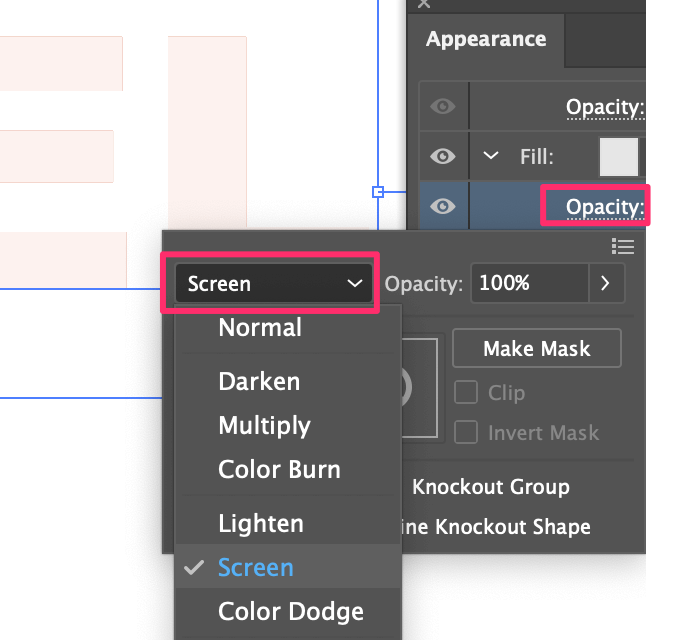
Click on the Opacity option and change the blending mode to Screen.
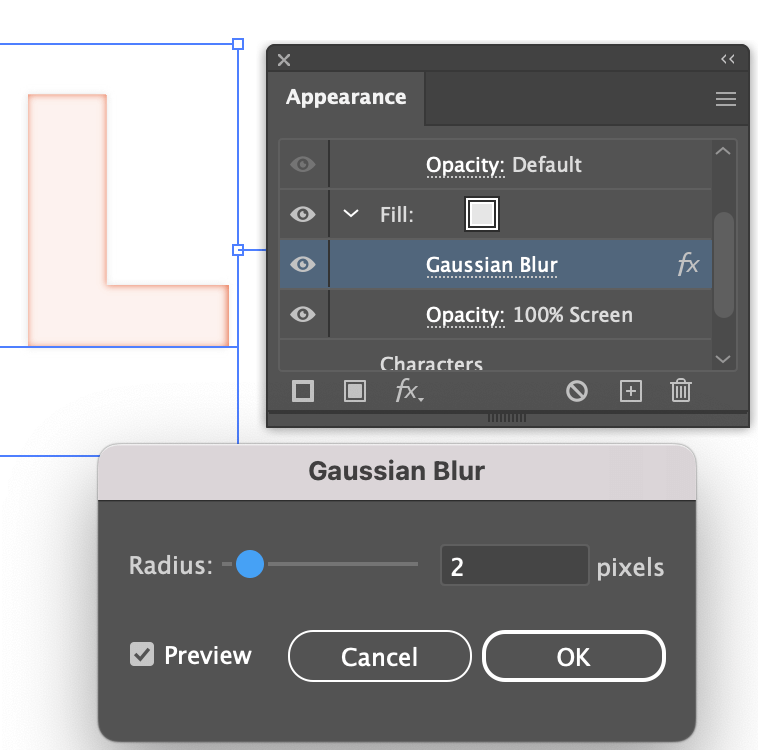
Step 3: Select the Fill, go to the overhead menu Effect > Blur > Gaussian Blur, and set the Radius to around 2 to 3 pixels.
Step 4: Select the Fill layer and click Duplicate Selected Item.

You will see that the text gets lighter. This is going to be the shadow layer.
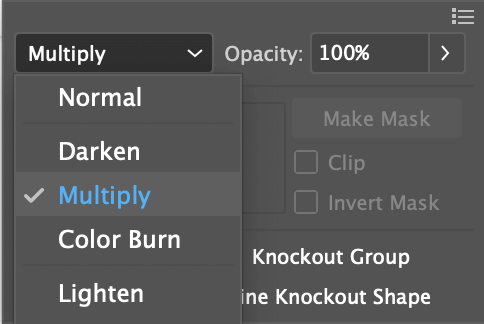
Now change the fill color of the duplicated layer to a darker grey, and change the blending mode to Multiply.
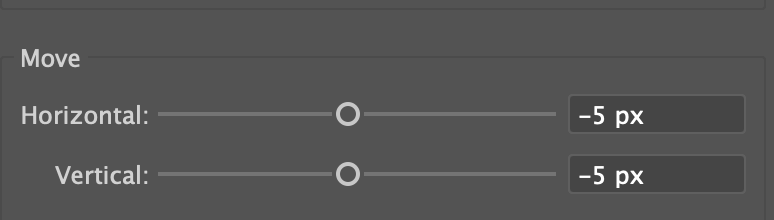
Step 5: Select this fill layer, go to the overhead menu Effect > Distort & Transform > Transform to change the horizontal and vertical move value. Check the Preview box to see changes as you adjust. I’d say 2 to 5 px is a good range.

Now you can see the shadow.
Step 6: Select the first Fill layer (the highlight fill), go to Effect > Distort & Transform > Transform, and change both move values to negative.
For example, If you put 5 px for shadow, here you can put -5 px for the highlight.
Step 7: Select the top fill layer (Shadow layer), click Add New Fill and change the fill color to your background color. In this case, it’s white.
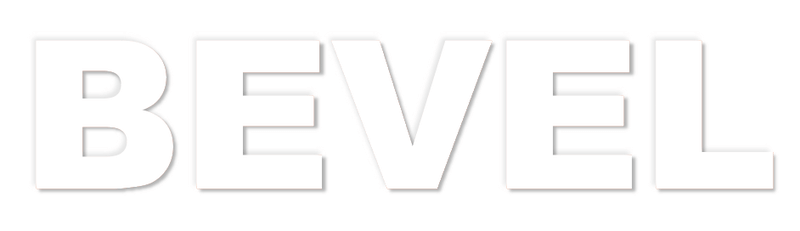
You can also add a background color to see how it looks.
It can be quite confusing to sort out the fill layers, which one is shadow, which one is the highlight, etc. But you can adjust the appearance any time you want, simply click on the effect to change the setting.
If this method is too complicated for you, you can also bevel and emboss shapes or text using the 3D and Material Effect in Illustrator.
Method 2: 3D and Materials Effect
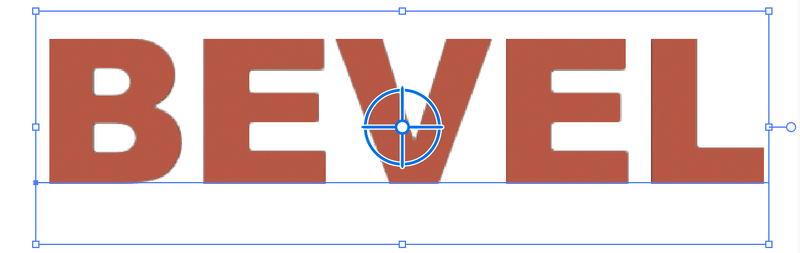
Step 1: Select the text or object you want to bevel, go to the overhead menu and choose Effect > 3D and Materials > Extrude & Bevel.
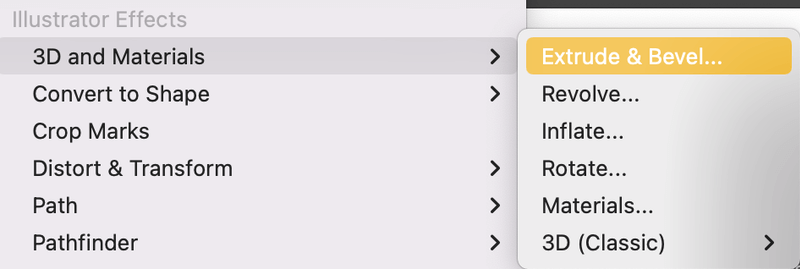
It’ll open a 3D and Materials panel.
Note: If your object or text is in black, I do recommend changing color because you won’t be able to see the 3D effect clearly when it’s in black.
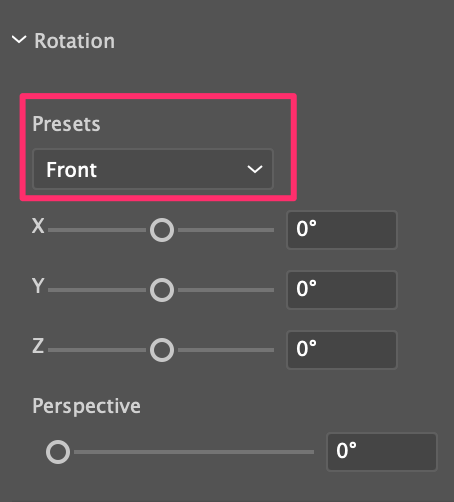
Step 2: Expand the Rotation menu and change the Presets to Front, so that your object/text isn’t showing from any angle.
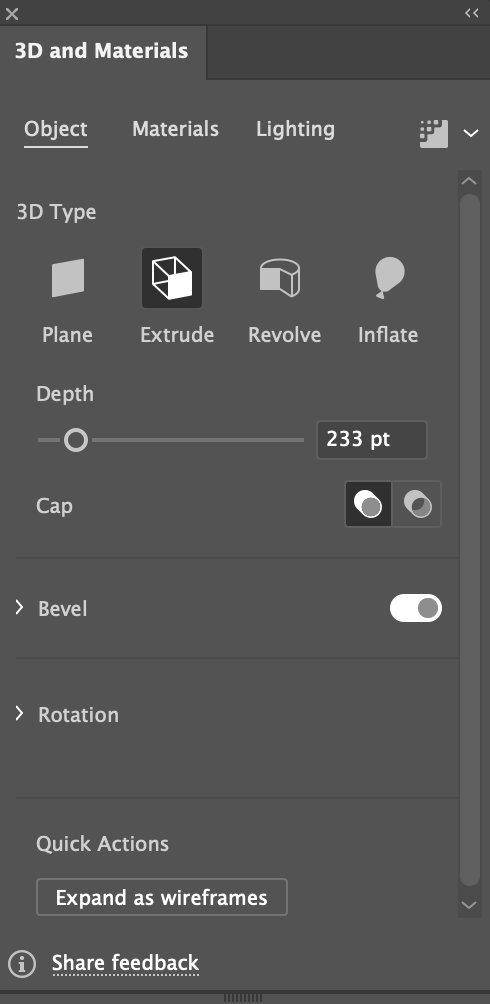
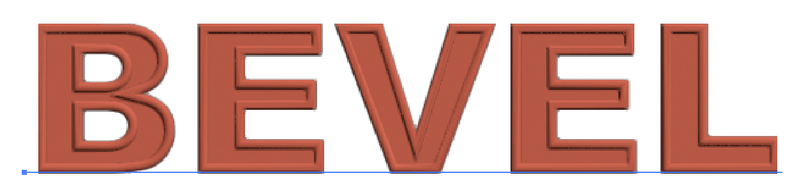
Step 3: Turn on the Bevel option and you can choose the bevel shape, change the size, etc.
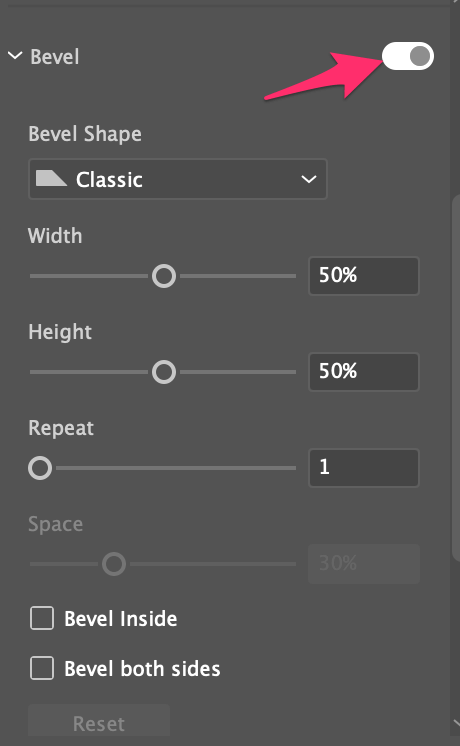
Play with the effect settings and that’s it!
Wrapping Up
Method 2 is a much easier way to add a bevel and emboss effect in Adobe Illustrator but as I said before, the Appearance panel gives you more options to edit the effect while the 3D tool has its default settings.
Anyway, it’s good to learn both methods so that you can choose the best way for different uses.
About June Escalada