Some of you might not be comfortable with the 3D tool. Don’t worry, you’ll find an alternative way to create 3D text without using 3D tools. A lot of graphic designers (including myself at the beginning) would say that 3D design is not our thing.
Well, it can be quite challenging to get the perfect effect because it can get complicated and it takes some practice. But it’s not impossible and I promise I’ll make it easier than you think.
In this tutorial, I’ll show you a simple example of how to make a 3D text effect in Adobe Illustrator using the 3D tool from Illustrator Effect and the Blend Tool. Depending on the effect you want to make, it can be as easy as just four steps.
Now you can choose either method (or try both) to make 3D letters in Adobe Illustrator.
Method 1: 3D Tool
Don’t be afraid of the 3D tool. I know it can sound challenging but it’s actually quite easy because most effects are preset.
If you’re using the latest version of Illustrator CC, you’ll see that the 3D effect is simplified. All you need to do is adjust the level of effect you want to apply to the text. Check out the step below to see how it works.
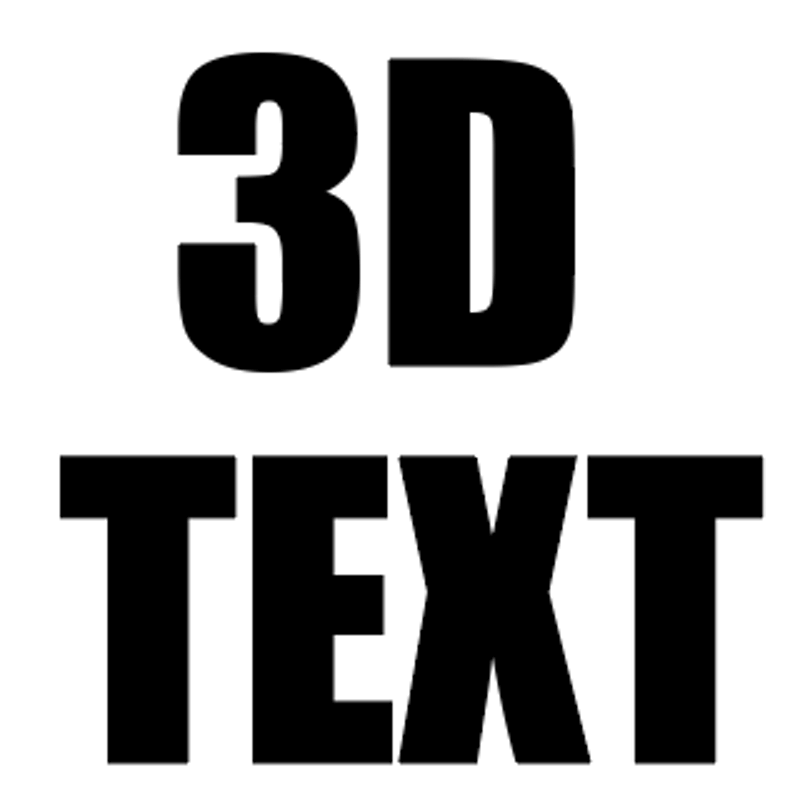
Step 1: Add text to your Illustrator document and create a text outline. The quickest way to outline text is using the keyboard shortcut Command + Shift + O.
Note: all screenshots from this tutorial are taken from Adobe Illustrator CC Mac version. Windows or other versions can look different. Windows users change the Command key to Ctrl.
Tip: You can make a few copies of the text just in case you don’t like the result because once you outlined the text, you can’t change the font.
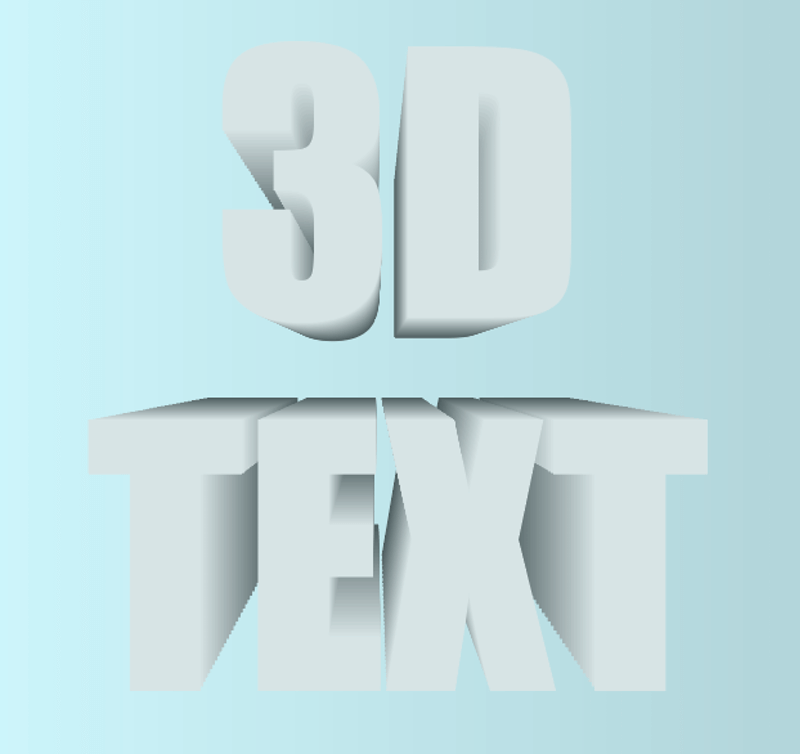
Step 2: Decide what color you’re going to use for your 3D text. The reason why I would choose a color first is that it’s going to show you (in Preview) exactly what your text will look like as you work on it.
For example, I chose these colors/gradients for my text, shadow, and background.

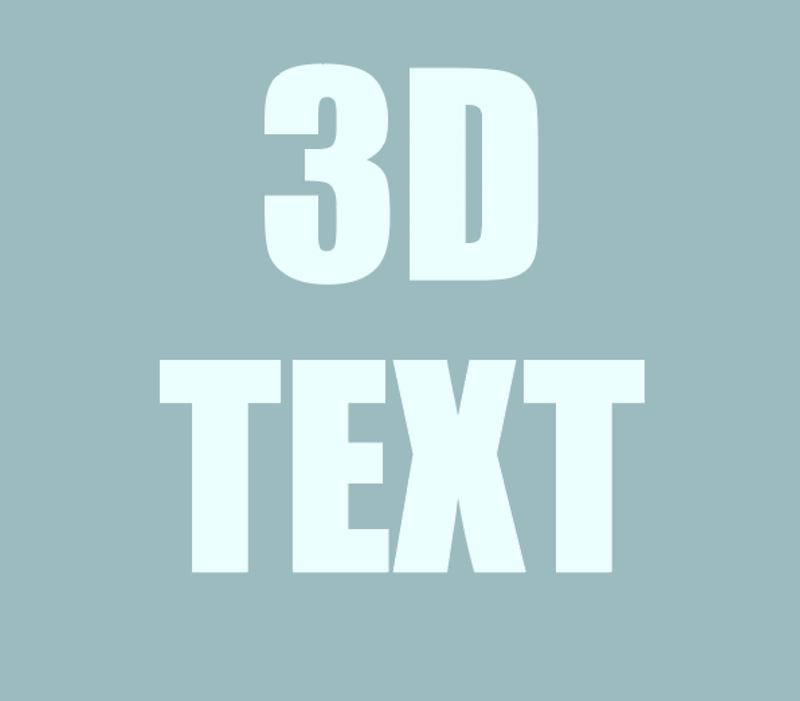
Tip: Usually the effect shows better with lighter text color and darker background color. If it’s hard for you to decide on colors, you can use the Eyedropper Tool to sample colors from an image you like, or you can use the Color Guide panel as a reference.
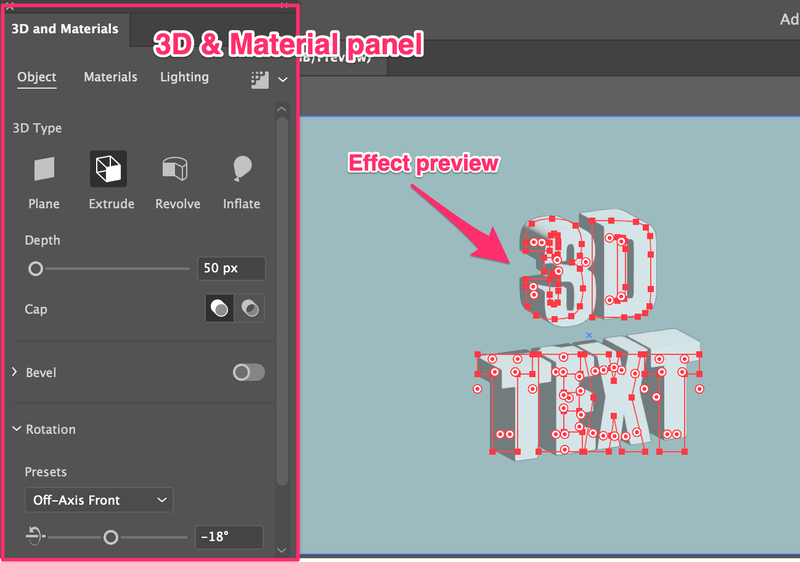
Step 3: Select the text, go to the overhead menu, choose Effect > 3D and Materials, and choose a 3D effect. The most common one is Extrude & Bevel, so let’s start from there.
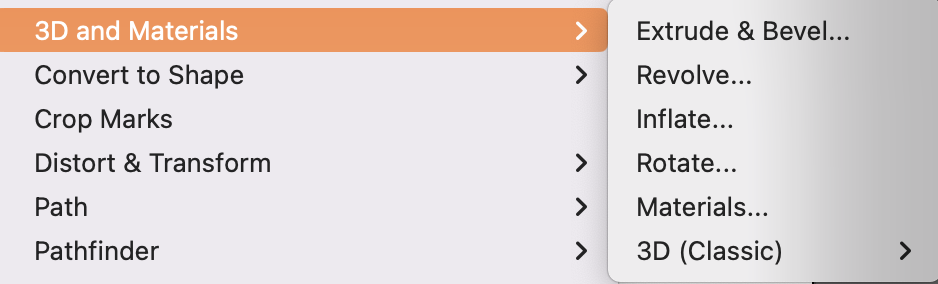
When you choose an effect, the 3D and Material panel will pop up and that’s where you’ll be working on your 3D text effect. You’ll also notice that your text changes as you adjust the settings.
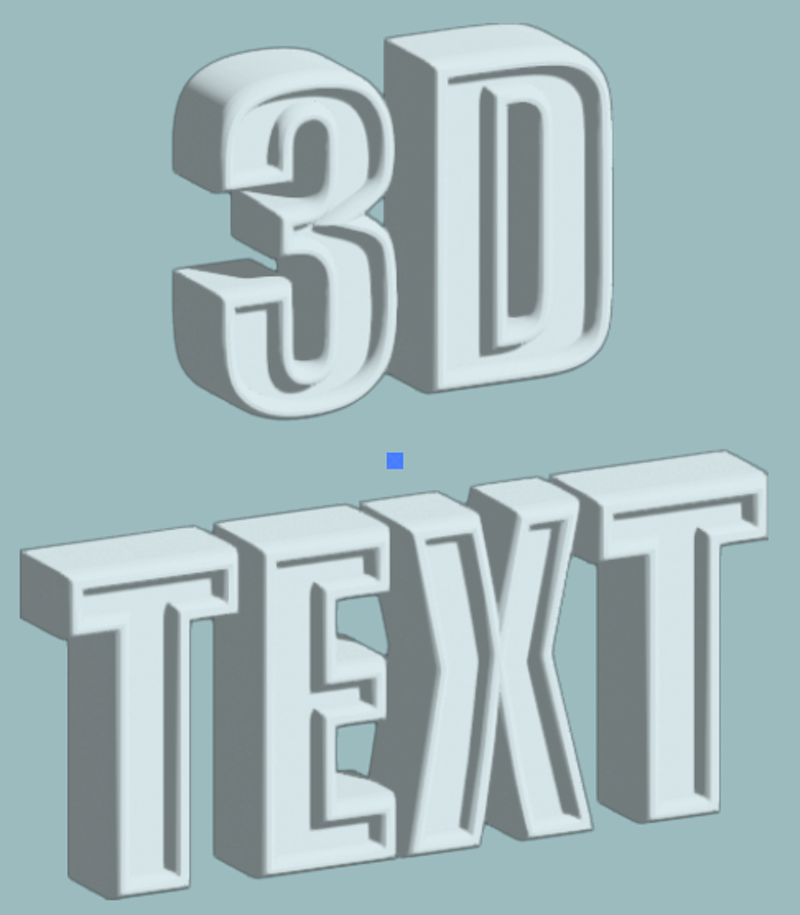
As you can see, you’ve already created 3D text. I told you it isn’t as hard as you think. But let’s get deeper than that.
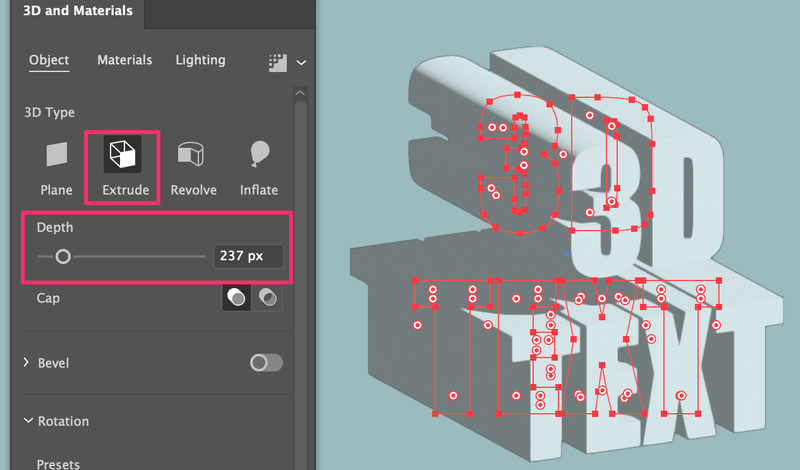
Step 4: Adjust the settings on the 3D and material panel. There’s a lot you can do to create different 3D effects. First of all, choose a 3D type. For example, if you choose Extrude, you can start by adjusting the depth.
If you move the Depth slider to the right, the effect will get more dramatic with a long stretch. On the other hand, if you move it to the left, the text effect is going to be flatter.
You can also add a bevel to make the effect “fancier”.
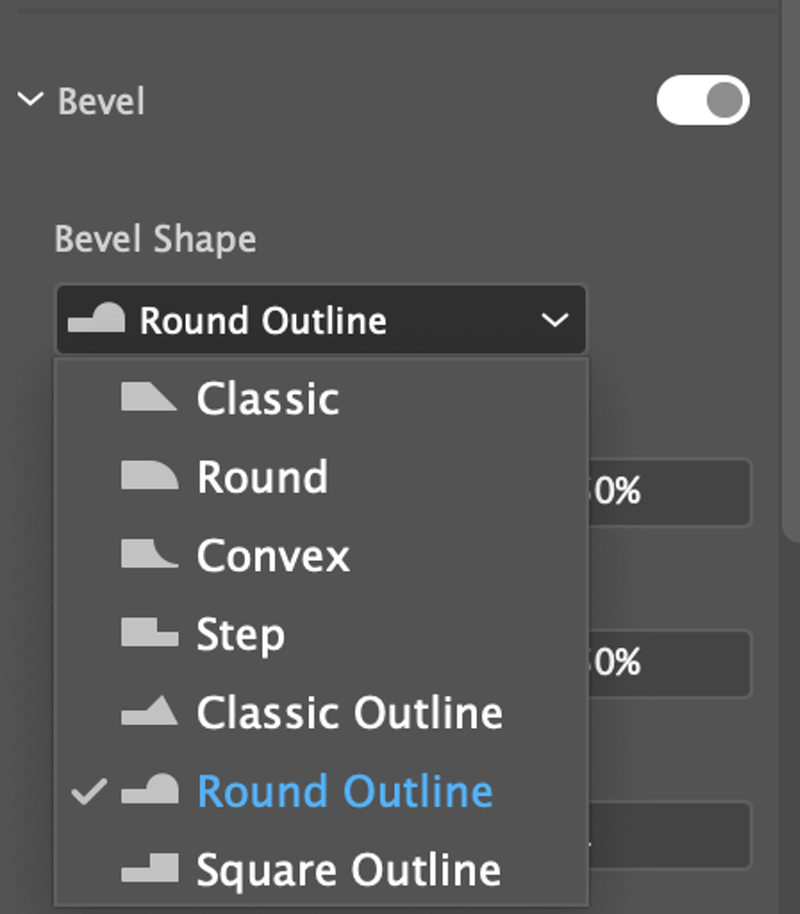
For example, this is what it’ll look like if you need a Round Outline. You can adjust its intensity accordingly.
Then you have the Rotation options. You can choose an angle from the preset options or adjust it manually by moving the sliders.

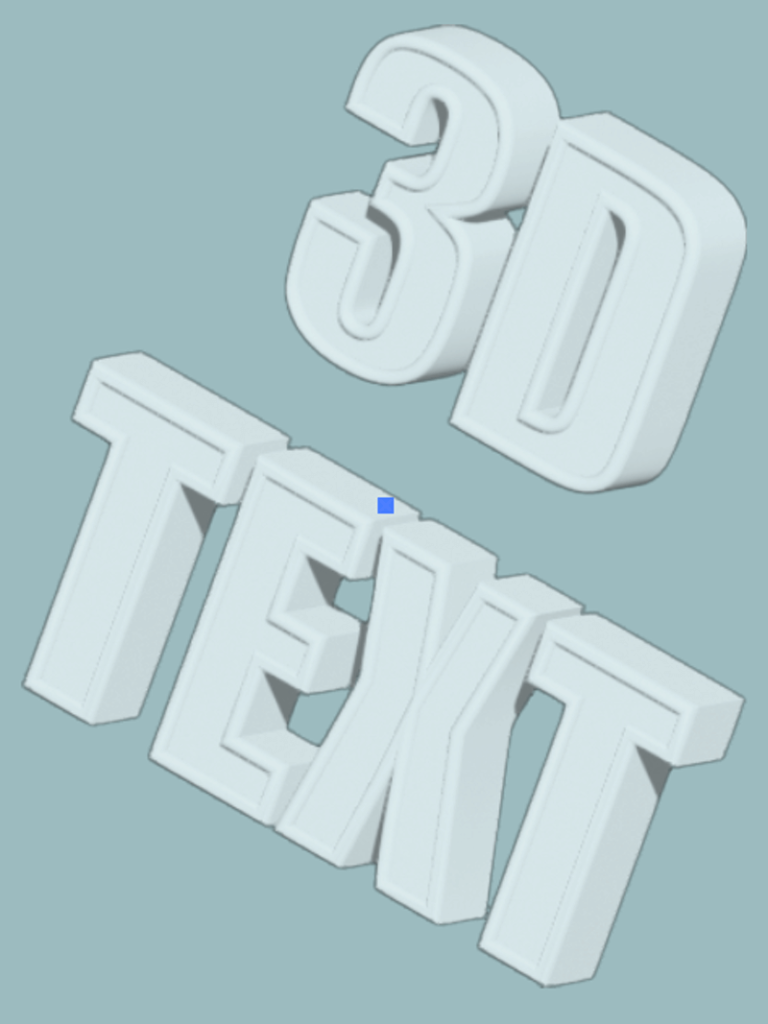
As you can see, the text looks a bit dull somehow, so what you can do is add some lighting to it.
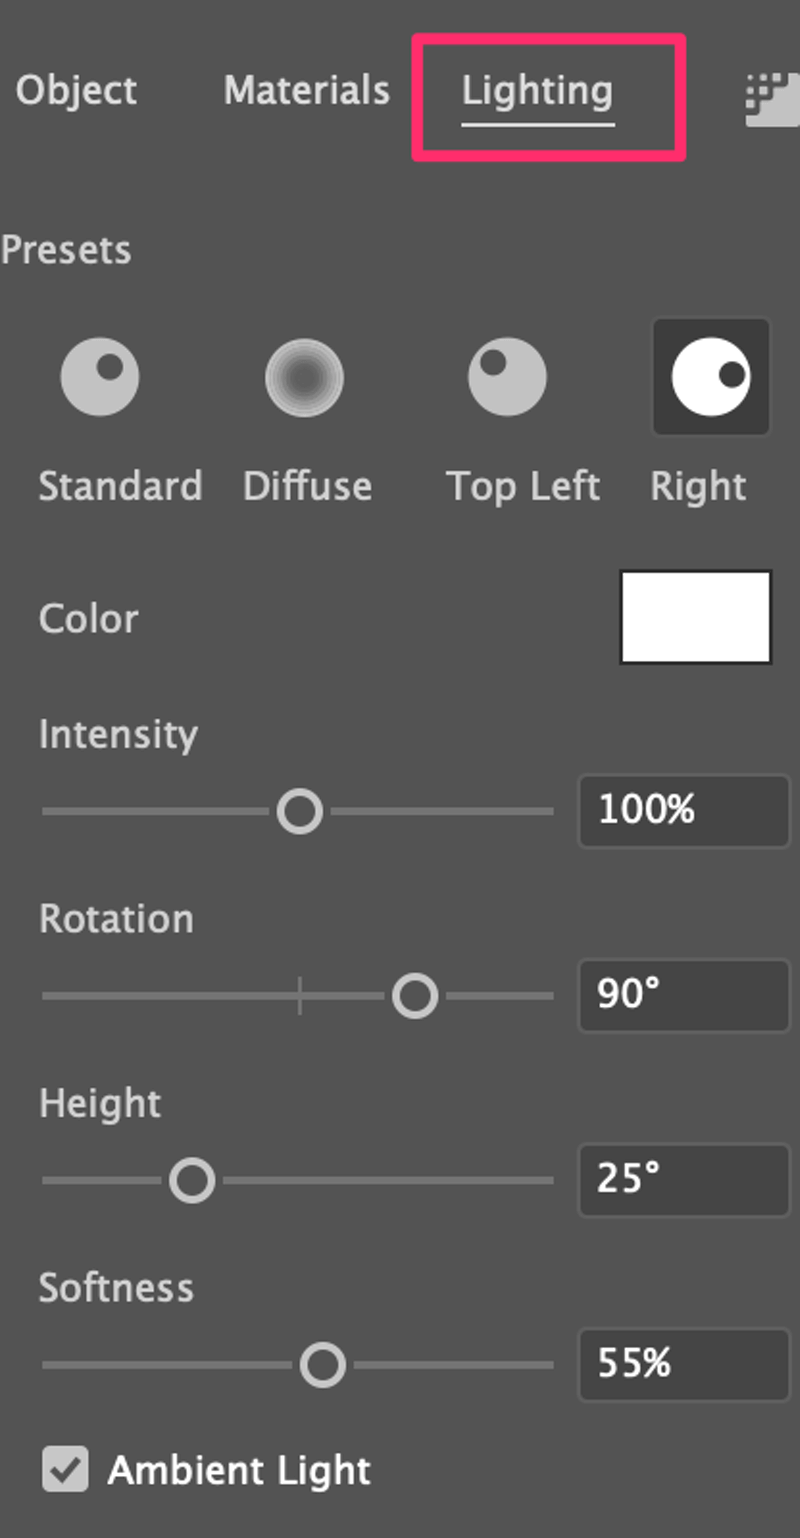
You can choose where the light comes from, the color of the lighting, and adjust its intensity, angles, etc.
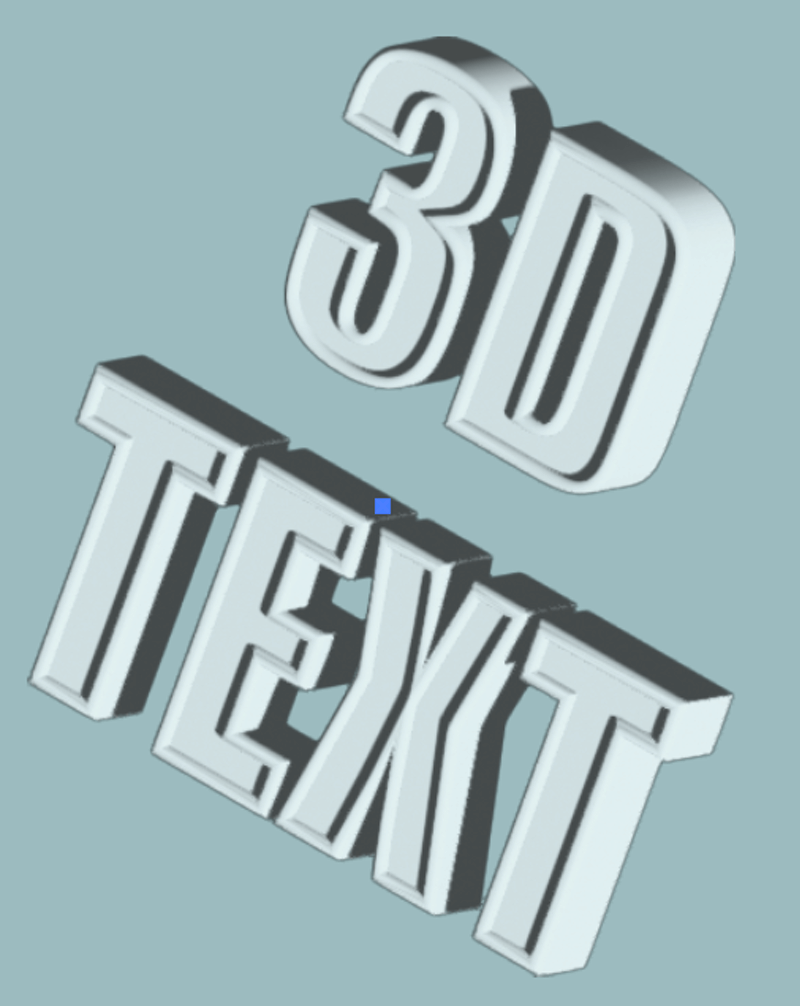
I think it looks pretty good now. Pretty standard. If you want a detailed explanation of making 3D objects/text, you might want to explore and try the different options of each setting.
If you want to create something out of the box. Check out Method 2 below.
Method 2: Blend Tool
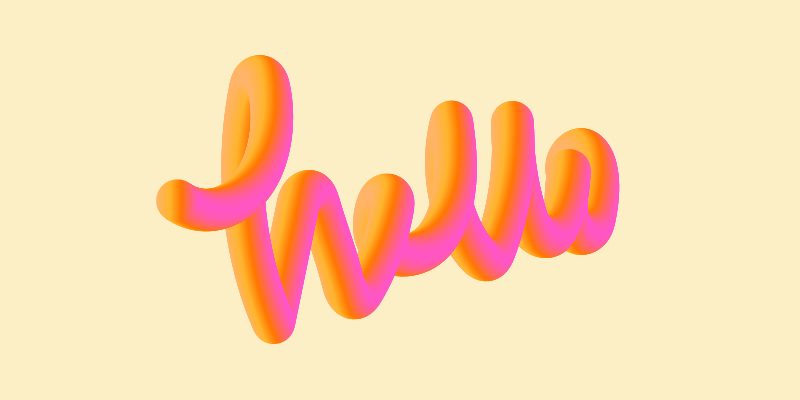
The Blend Tool is also great for creating 3D text effects. For example, you could make something like this.
Or something like this.
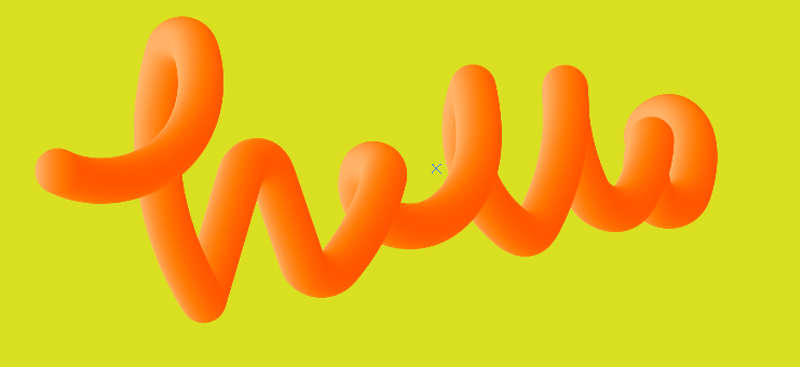
Let’s make something out of the box here, so I’m going to show to how to create the second effect. Heads up, you’ll need to draw out the text instead of typing out the text because this method only works with strokes.
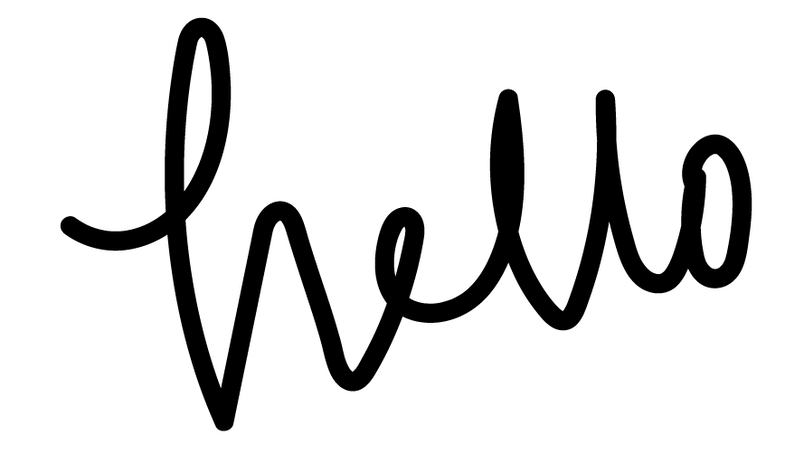
Step 1: Use the pen tool, pencil, or brush to draw the text. This process will be much easier with a graphic tablet, if you don’t have one, you can also type out the text with a preferred font and use the pen tool to trace it.
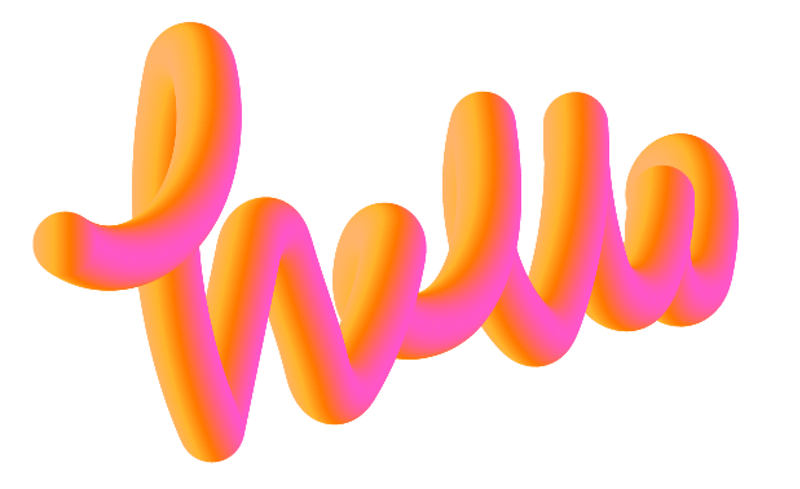
For example, I use the brush tool to draw the text “hello”.
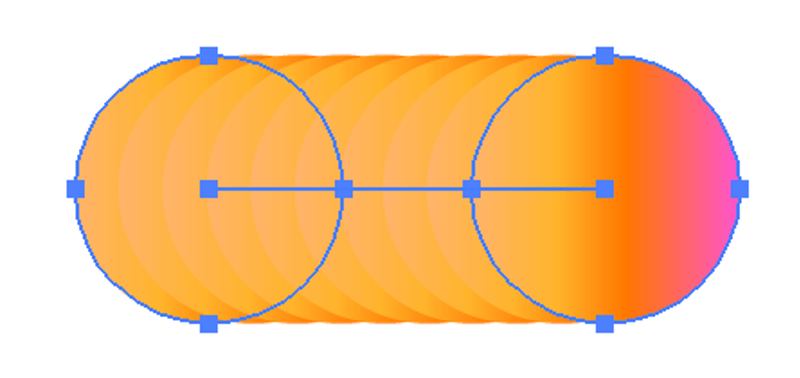
Step 2: Use the Ellipse Tool (keyboard shortcut L) to make a perfect circle, fill it with a gradient color that you like and duplicate the circle.

Step 3: Select both circles and choose the Blend tool (keyboard shortcut W) from the toolbar.
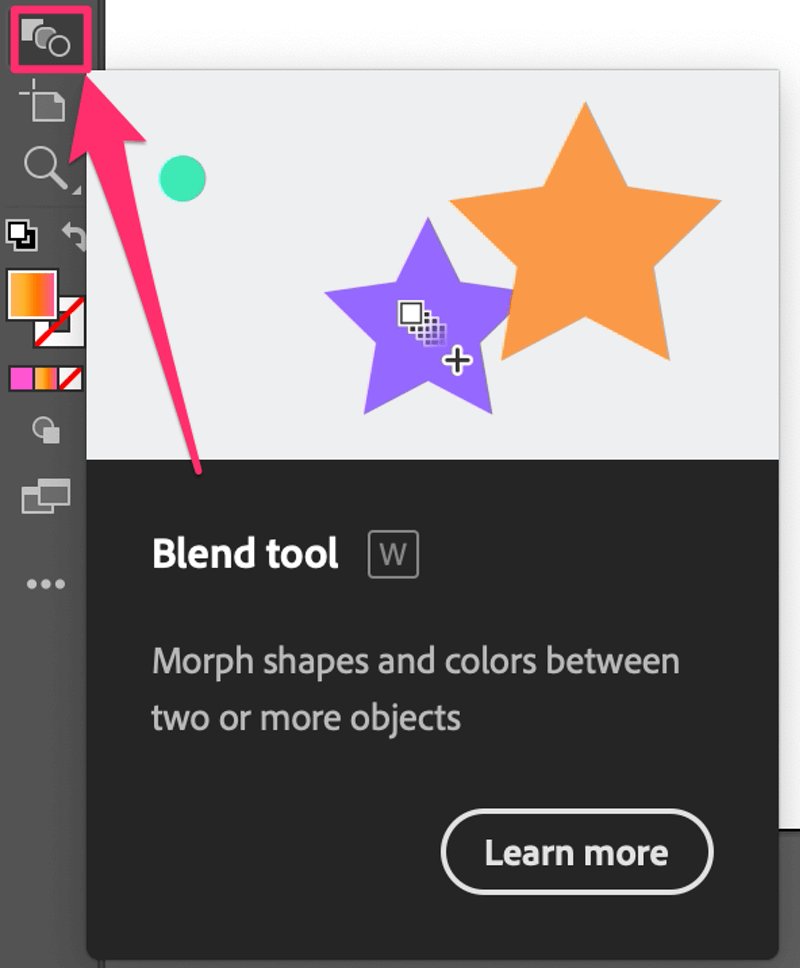
Click on both circles and they’ll blend together like this.
As you can see, the transition isn’t very smooth but you can fix that from Blend Options from the Quick Actions panel.
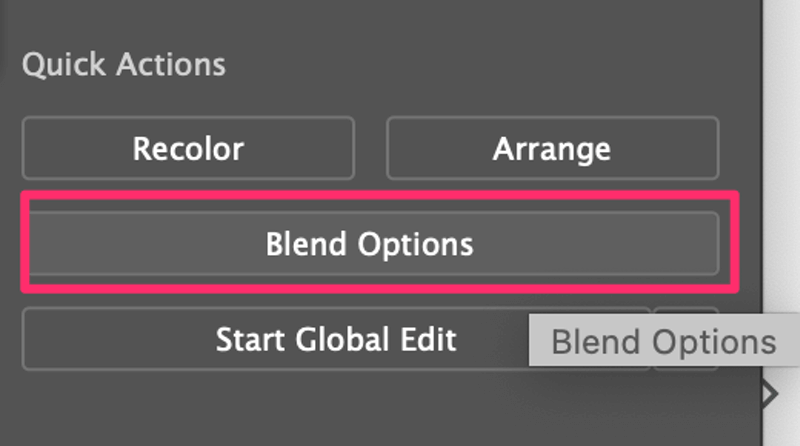
If you don’t see it there, you can find it from the overhead menu Object > Blend > Blend Options. Click on that option and this window will pop up.
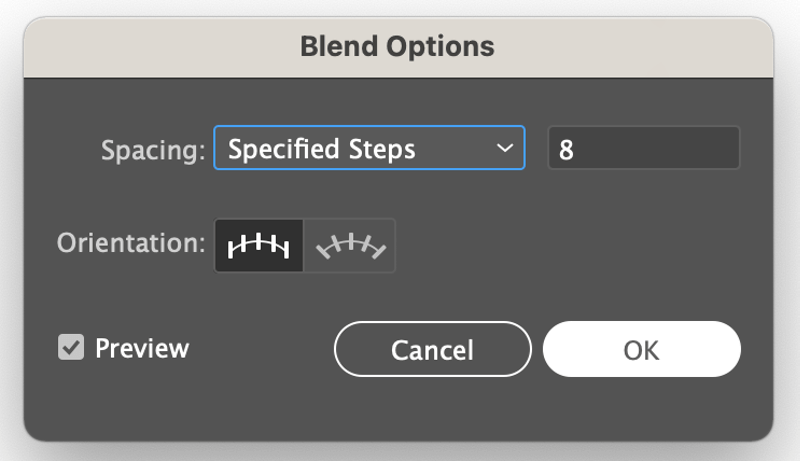
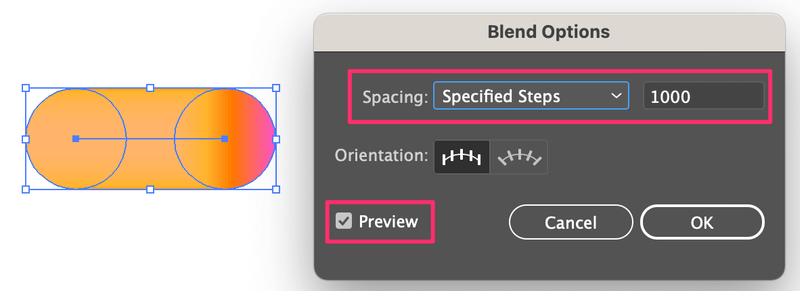
Change the Spacing to Specified Steps and increase the number of steps, the higher the smoother. For example, I put 1000 and as you can see, the transitions are super smooth.
Step 4: Select both the text you created and this blended shape, go to the overhead menu, and choose Object > Blend > Replace Spine.

There you go! You just created an awesome 3D text effect!
Note: If your path is not connected, you need to do the replace spine step for each path individually, so make sure to make enough copies of the blended gradient shapes.
Wrapping Up
See? Making a 3D effect is not that difficult in Adobe Illustrator whether choose to make it with or without the 3D tool.
Actually, for a standard 3D text effect, using the 3D tool is even easier because you don’t have to draw anything, simply type out the text. However, I do like the blend tool method because the effect is more fun.
sanath de silva
lessons are help full good good good
June Escalada
Thanks 🙂